JohnW
-
Posts
29 -
Joined
-
Last visited
Content Type
Events
Profiles
Forums
Gallery
Everything posted by JohnW
-
Well sold it for $3950 which is what I paid plus the rebuilt transmission and clutch. I thought I would hit at least 5 but that's the way it goes. I figure the 20r vice the 22r hurt me a bit as well as the overall age vice an 80's. Shaking it off, deploying and then returning to update you folks on hopefully my chinook 4x4 project....
-
I got my orders and am going overseas in a couple of months so it's time to let this project go http://cgi.ebay.com/ebaymotors/ws/eBayISAPI.dll?ViewItem&item=160593572950 I plan on getting into a chanook and completing a 4x4 conversion when i get back. I know the 1 8 footer is small but i want to go even smaller. My loss is your gain on this one, it's about done and for sure ready for a trip right out of the gate. Thanks for all of your help over the past years.
-
I figured out that all other systems were go but the board was the only suspect. I found a website that rebuilds older suburban circuit boards for 80 bucks. The dinasour brand did not have a board that matched.... www.flightsystems.com Company looks great located on east coast. Emailed back and forth and they are all on top of it, I will let you all know what happens. -John
-
Pulled the heater out of my 1979 sunrader now what? Checked fan switch is good, mother board may be bad but what part number do I use to order a new one? Also, I would buy a new one but not sure which will fit without mods to the exhaust and intake. Looking for an easy repair or replacement if I can. Thanks, John
-
Just curious what size my black water tank is. Heading out tomorrow and plan on showering - quick ones mind you- and don't want to over fill the black water tank. Thanks! I will post pictures of Mojave when I return.
-
I cut the bad piece out and replaced it with a piece of plywood and then oriented strand board (OSB) glued with construction adhesive and screwed. The floor is tight now. Recommend OSB for torsional strength. ( Though with substantial weather it will start to flake off, the structural integrity will not be impaired. Plywood, even cdx, will delaminate and loose its structural integrity with water. Plywood has structural strength in only one direction, osb in two.)

-
I have a 79 sunrader and can't get the fridge or the heater to light, I see the spark on both but seems like it's not getting gas? Water heater and stove work great, btw so i have gas pressure. Is there some service I can preform on the fridge gas lighter area to clean out some possible 30 years of dust? Can I rebuild/ repair the valve for the heater if that indeed is the problem? Heading to mojave for thanks giving and would love to not freeze to death.... Thanks!
-
I did mine on the 79 black water tank. I drained the tank and flushed it a few times with bleach and laundry detergent and then left the valve open to dry things out for a couple of days then the nasty work began. It was not bad from the nasty stuff stand point but from a pain in the but stand point it was. My bolts looked the same and they were all rusted I had to cut them off with a dremel tool being careful not to break the flange side on the tank. New valve assembly is in, plan to fill it up with water to test for leaks... Its not fun but you just have to commit to get it done in one day once you start. I bought a pair of mechanics gloves placed over some nitril gloves and threw the entire mess away when I was done. Good luck.
-
 Just completed this little tune up in a couple of hours. http://www.toyotaminis.com/forum/showthread.php?t=1609 I replaced the fuel lines in the engine compartment and ALL the vaccum lines. Some of the lines just pulled off with no resistance so imagine the kind of seal they were providing. my little 20r runs great, no idle issue at all. It starts up with zero gas peddle now. This tune up costs about 20 bucks in hoses and 6 bucks for a can of carb cleaner. Good luck!
 -
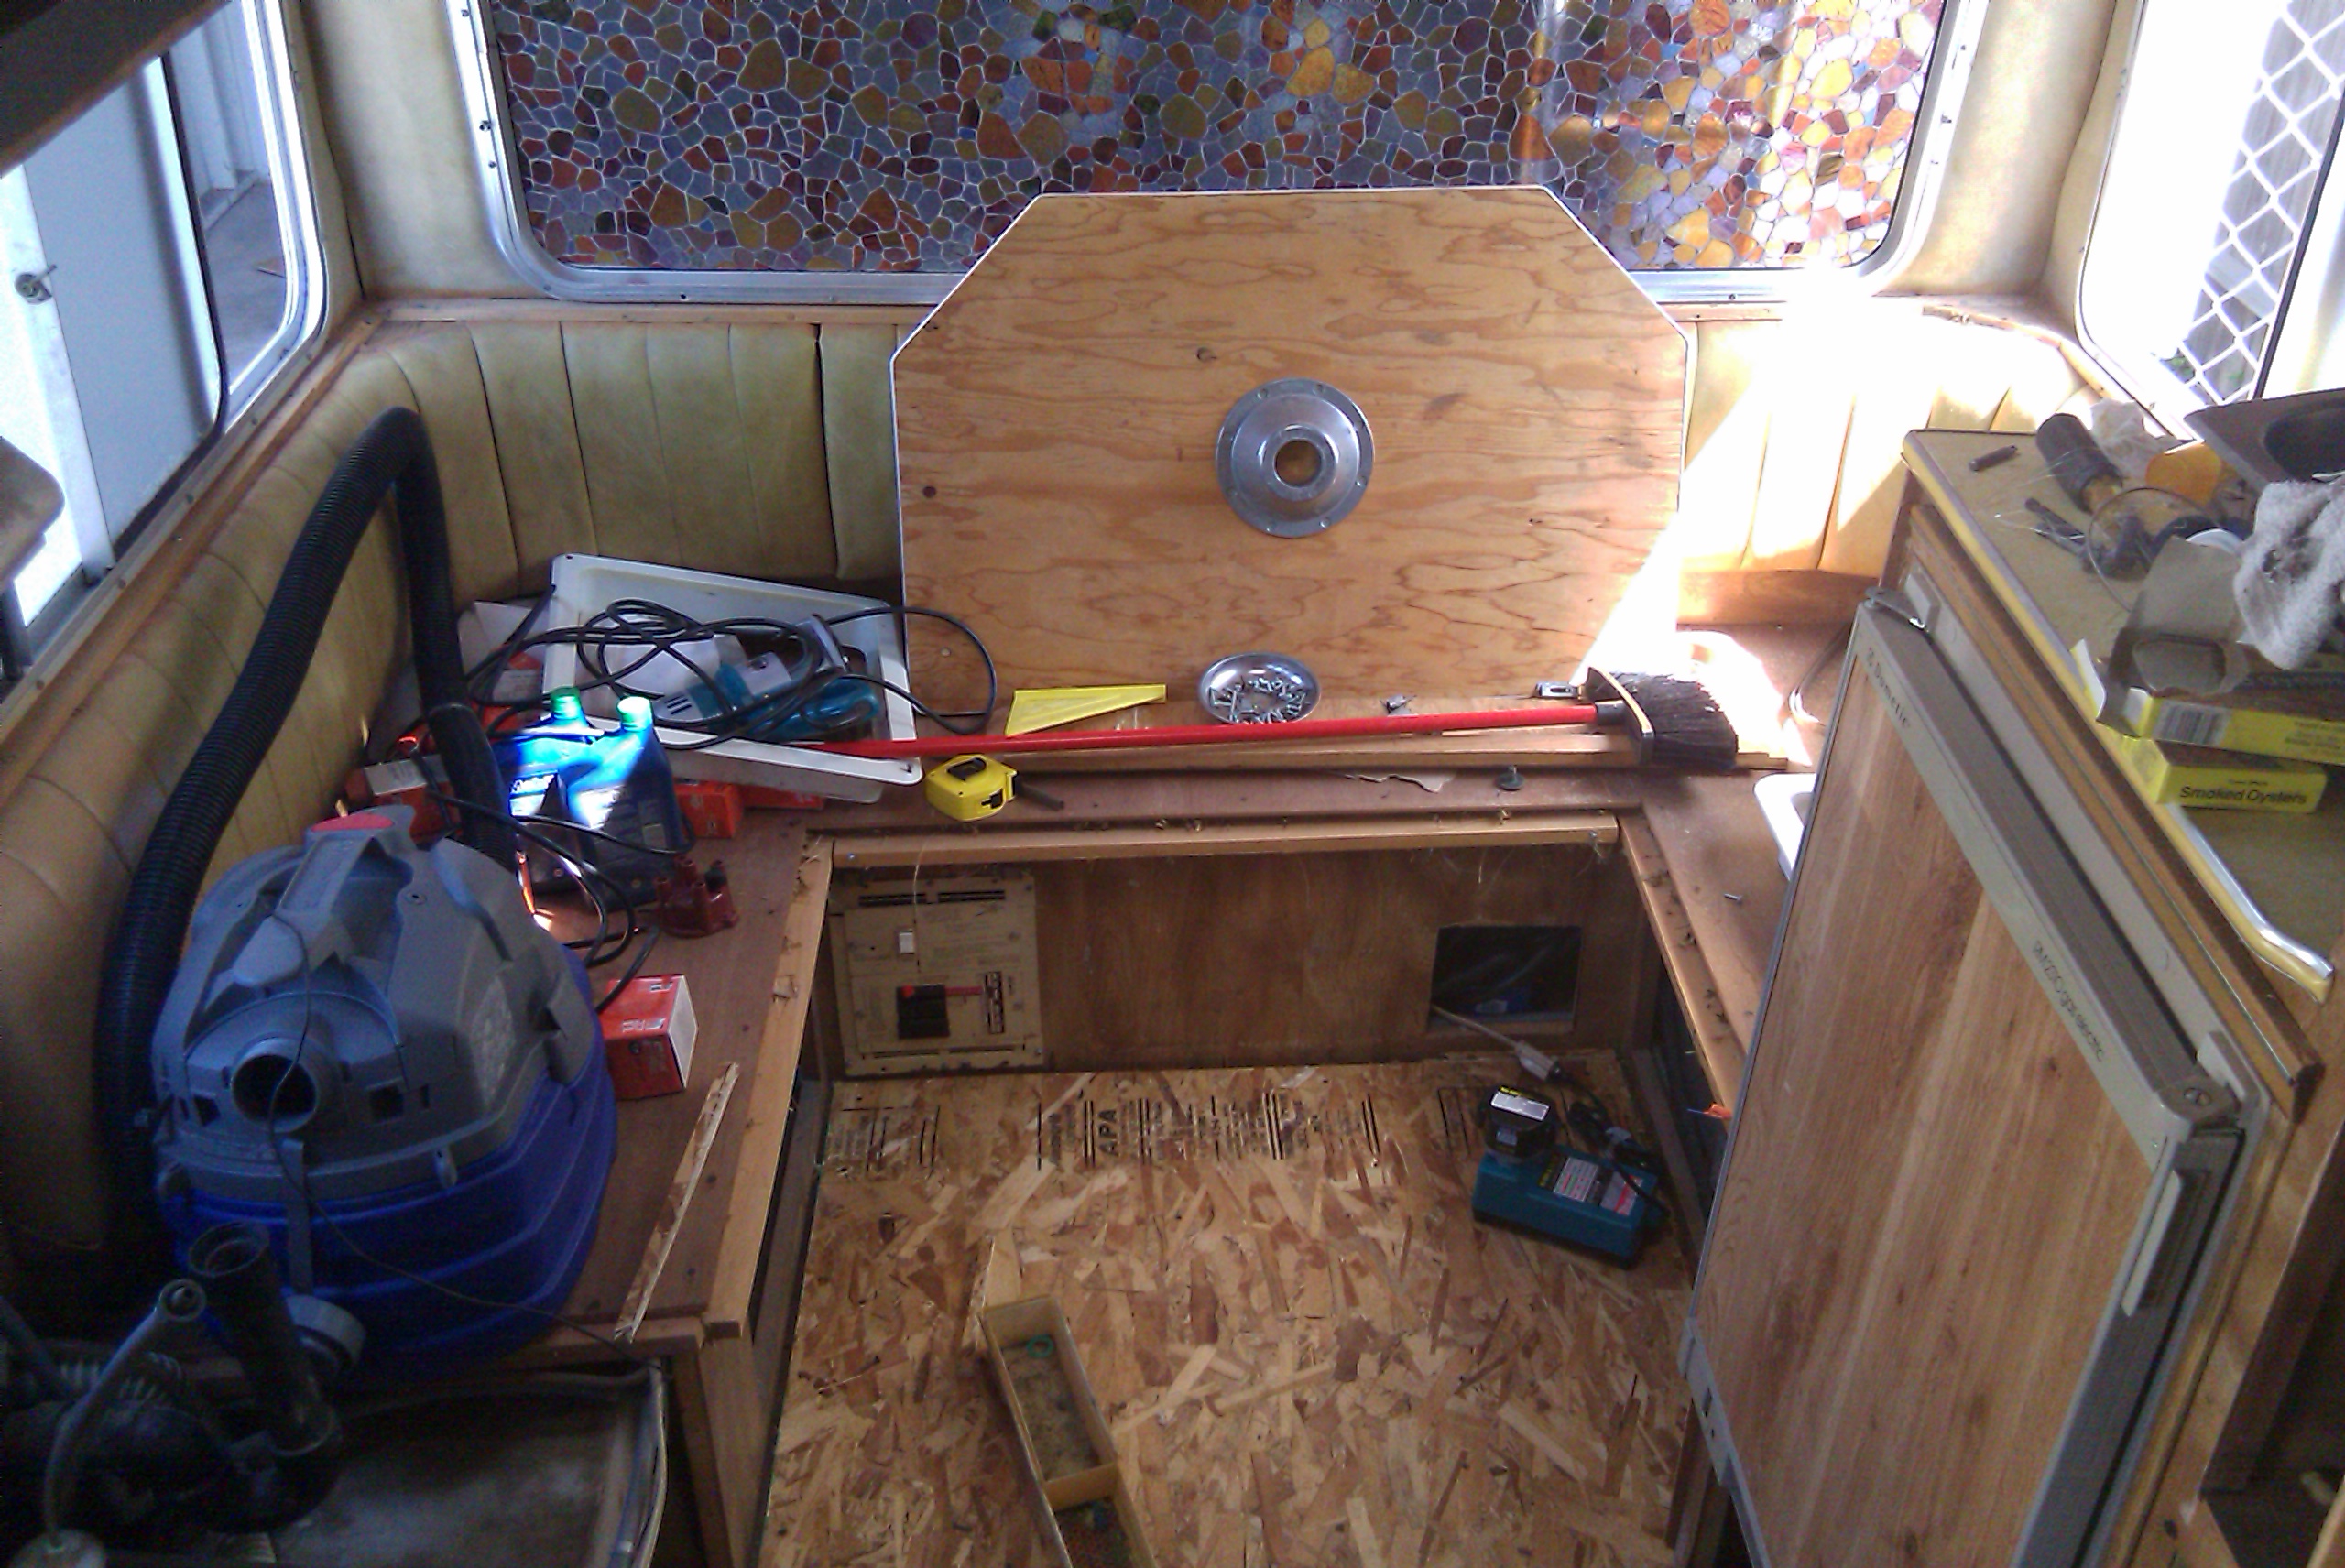
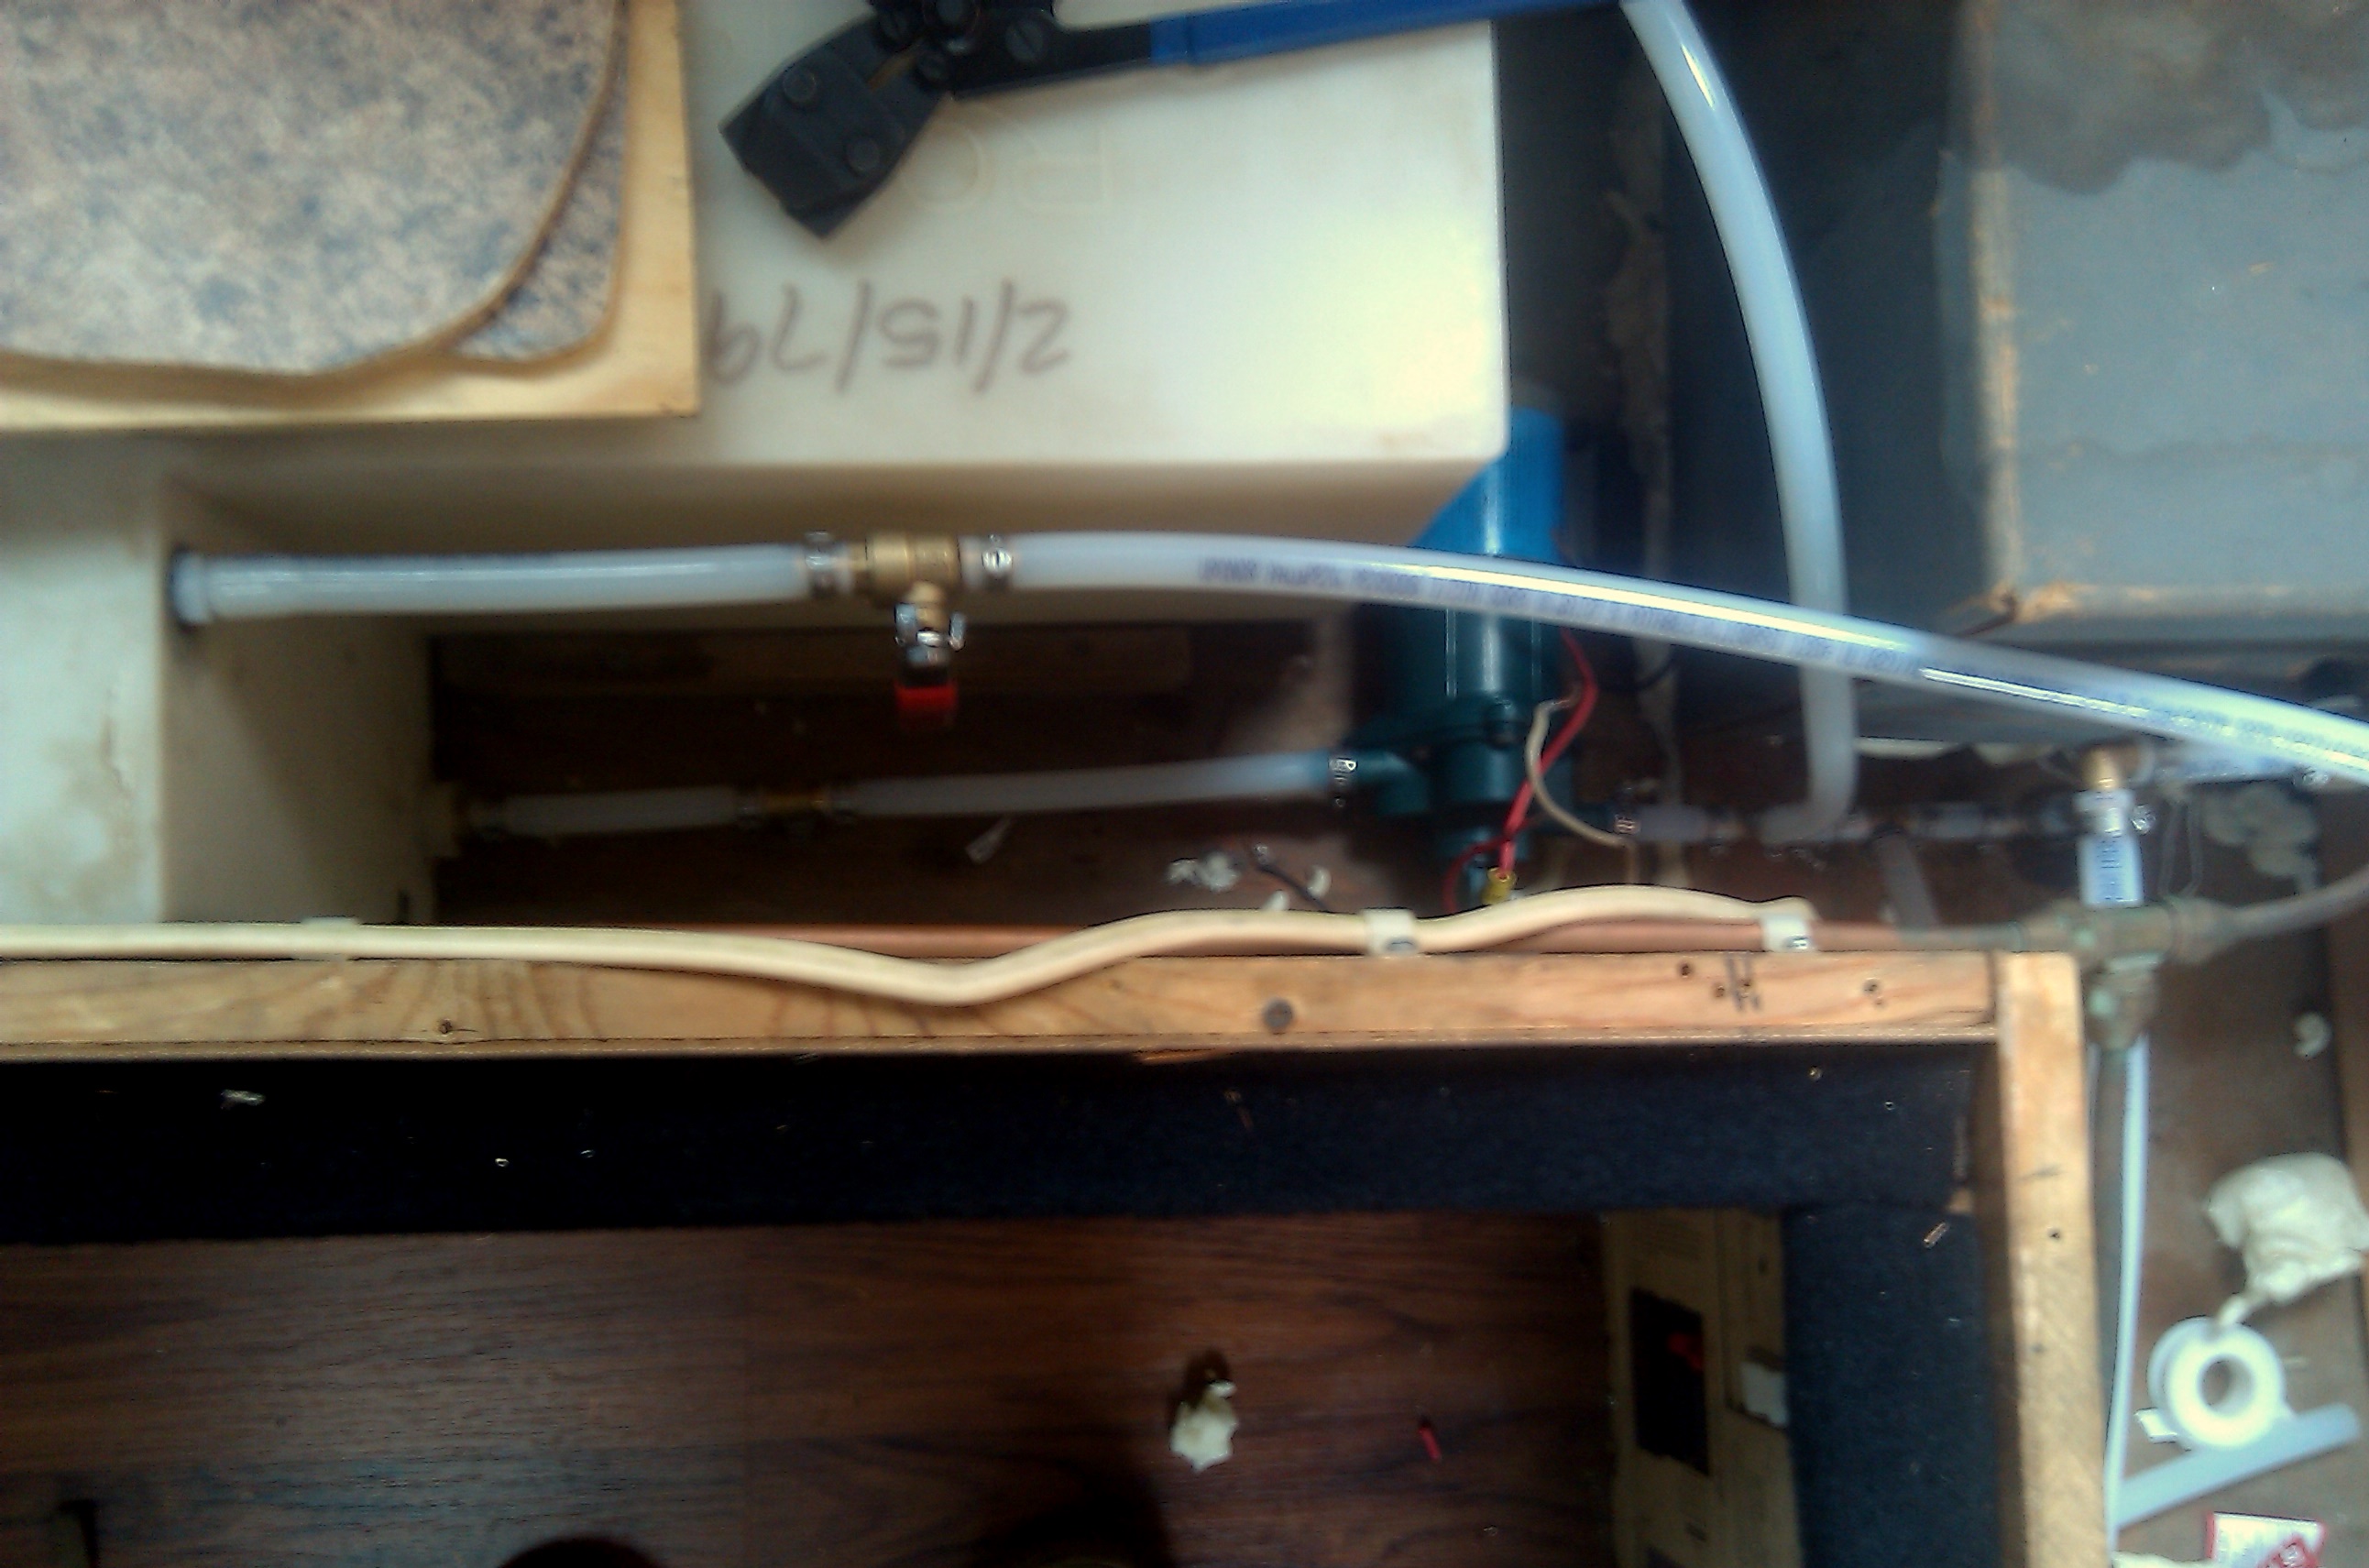
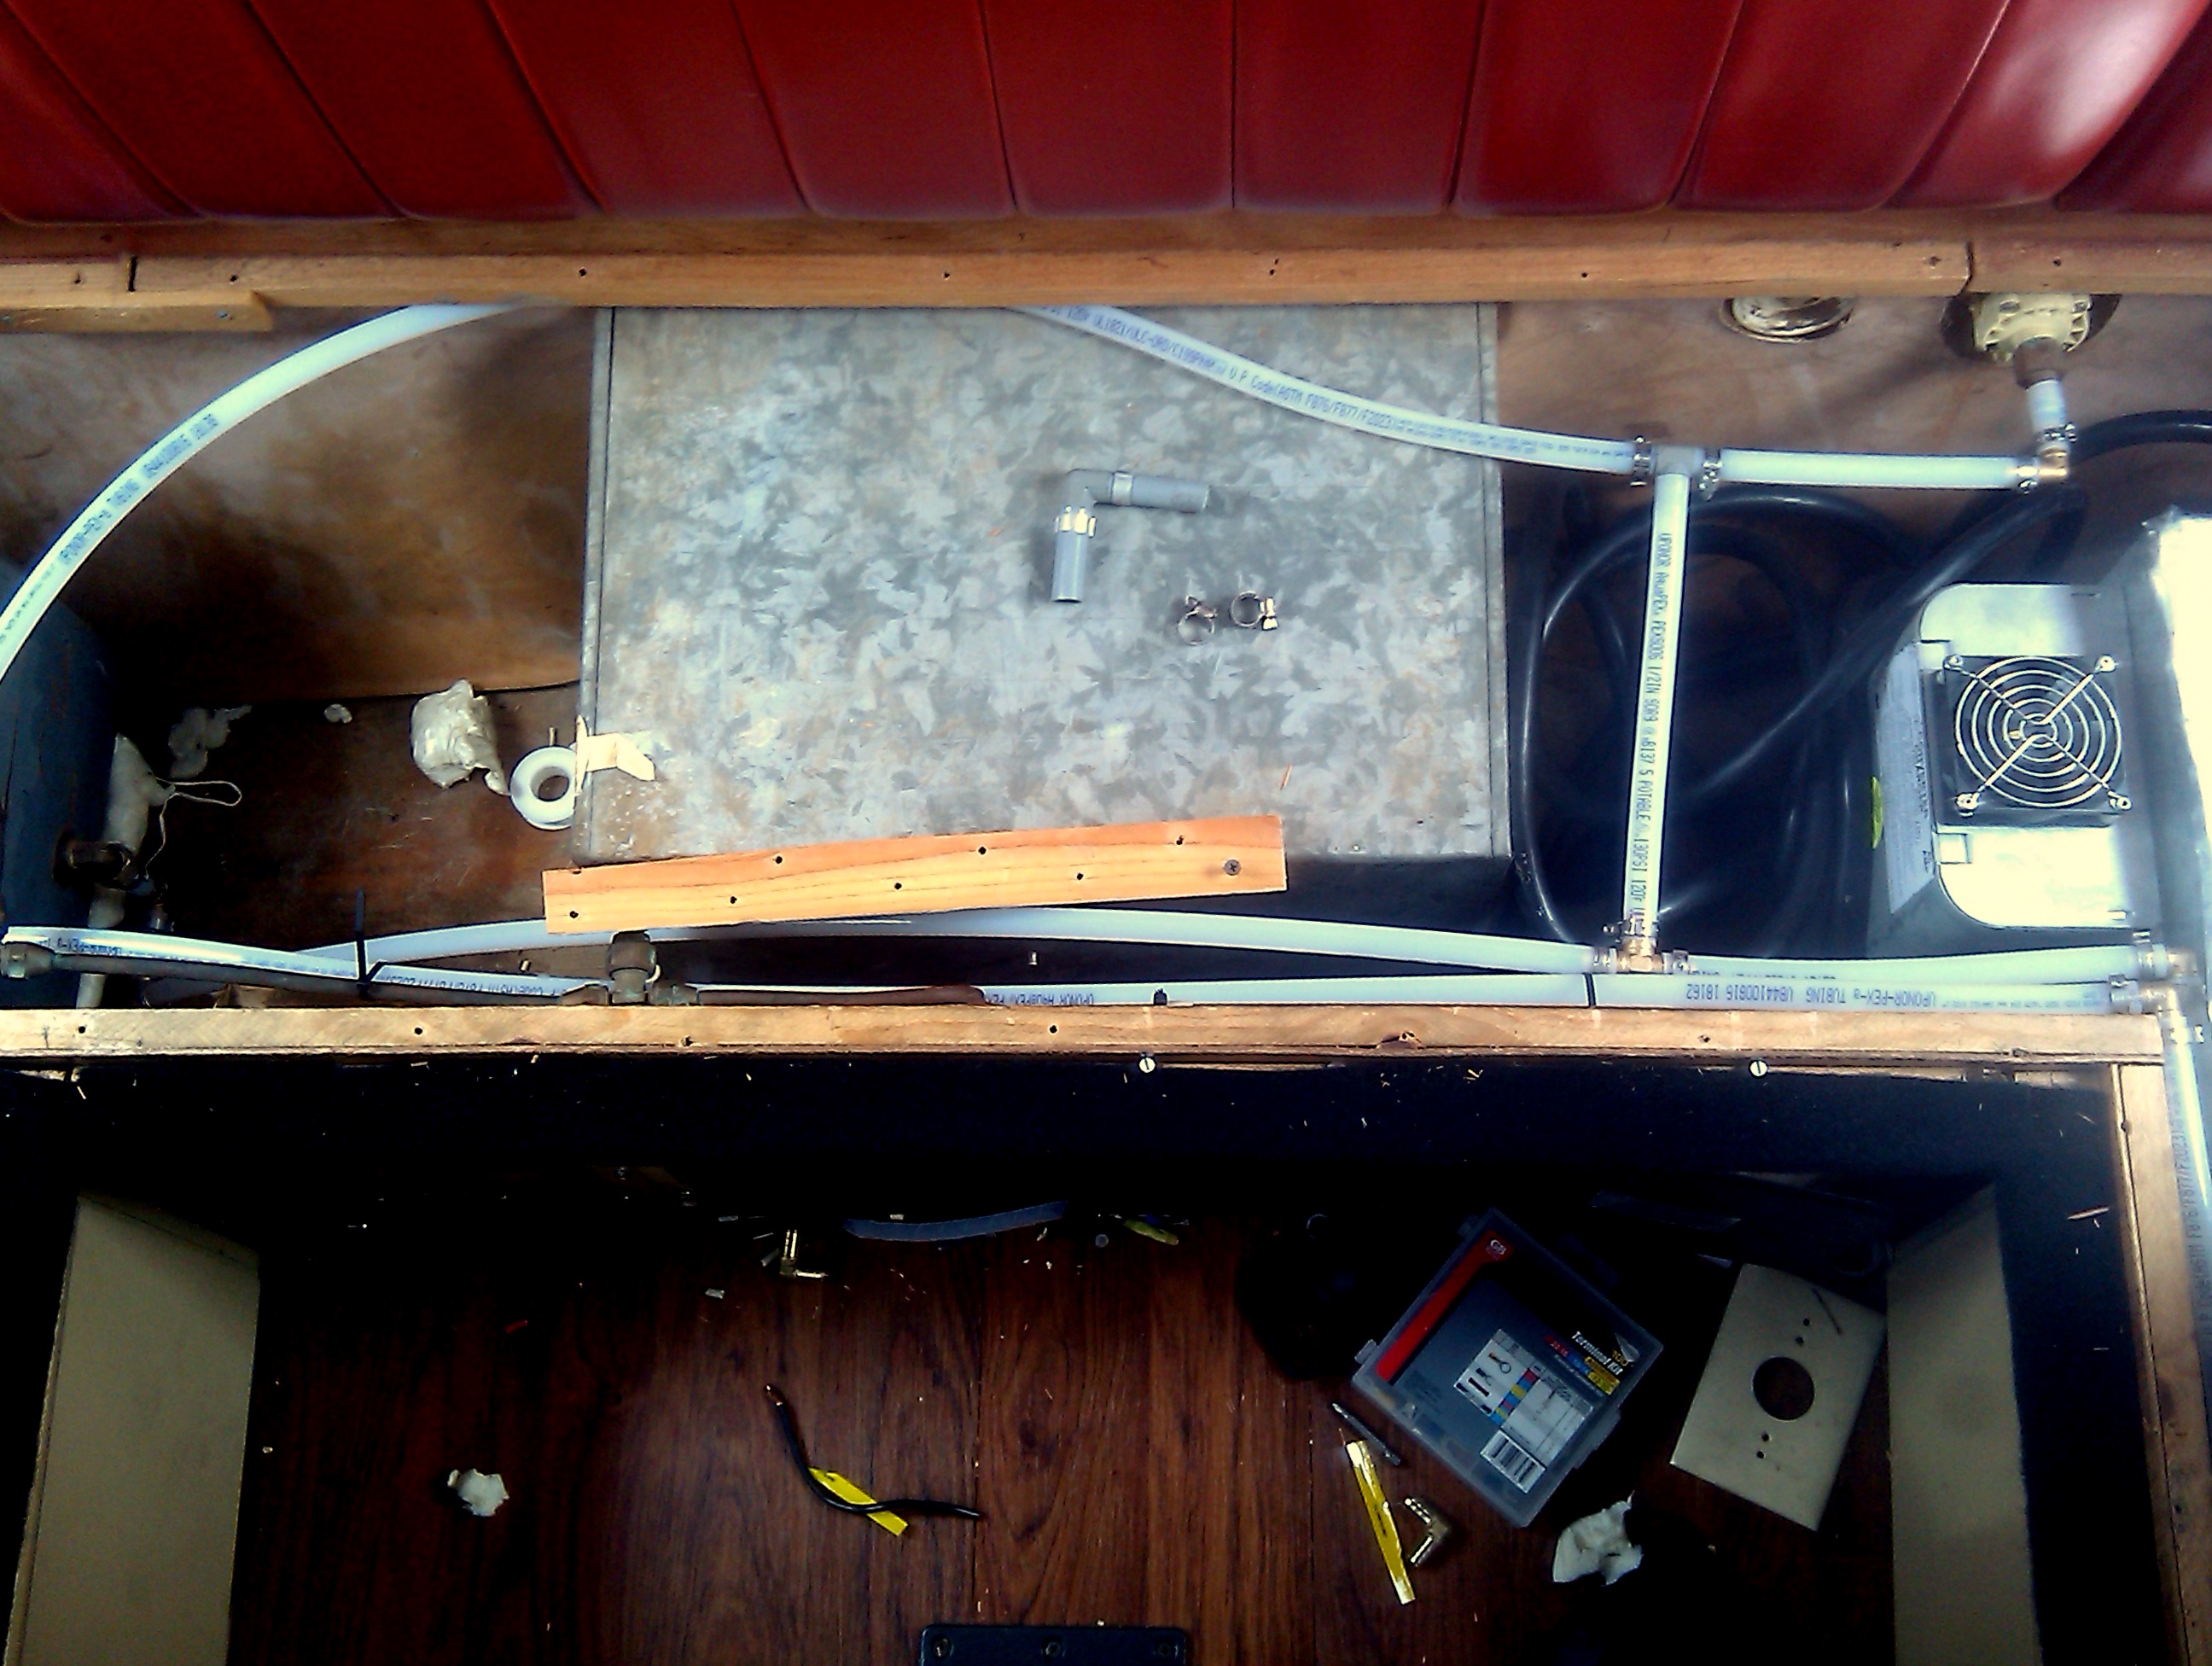
Replaced all the plumbing in the 1979 18' Sunrader this weekend with pex, awesome. I was able to take the tank out as well and cleaned it really well. It had a date on the tank, 2/15/79...funny. I ended up only running cold water to the sink as I don't plan on hot water at the sink so that saved some time and made the install cleaner. I was able to limit junctions and re route the pipes so they are out of the way of all the storeage areas. Also, and i'd like to get some thoughts on this...for the hose hook up I plumbed in a T and a ball valve and drilled mounted a fitting on the top of the tank so when I am hooked up and going to take off to a not hook-up location, I can just throw the ball valve and fill the tank... It works great. It's basically a pump bypass. It saves time from unhooking from the rig's back side and dragging the hose to the side and run in and out to see how full she is. Instead, you can throw the valve from the inside and watch the tank fill from the inside. You can see the T in one picture and then the valve and the fitting into the tank.
-
What type of caulk?
JohnW replied to Bilo's topic in Improvement and Do-It-Yourself Projects you have done to Share!
3M's 5200 is the best out there, once, it's on it's on and seals like a nothing i've ever used.... -
If you do drill holes, make sure you use good stainless steel screws and cover the old and new holes with 3m 5200. I replaced a completely botched vent install with a new one and 5200'd the entire thing and it's solid, not a single drop in many many rain storms this year. It is a sealant used for through-hull application in boats and if you follow the application instructions, it won't let you down. It even comes in off white (almond). Any boating supply store will have it and don't settle for the copy cat products....also wear gloves or you will be wearing the stuff for a week! good luck. -John
-
My sure-flow burned up and I need to replace, what size do I need? The old one does not have any markings.... Thanks folks, John
-
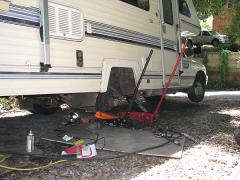
One more thing, grab that water pump and try to shake it. Mine had a lot of movement = bad......It was a cheap fix and I replaced the radiator as well, if it's more than 10 years old and the fluids have not been changed, it tends to corrode. Mine was not leaking but once I removed it, as I loosed the lower radiator hose, it came off in my hand with the metal part of the radiator... Good luck..
-
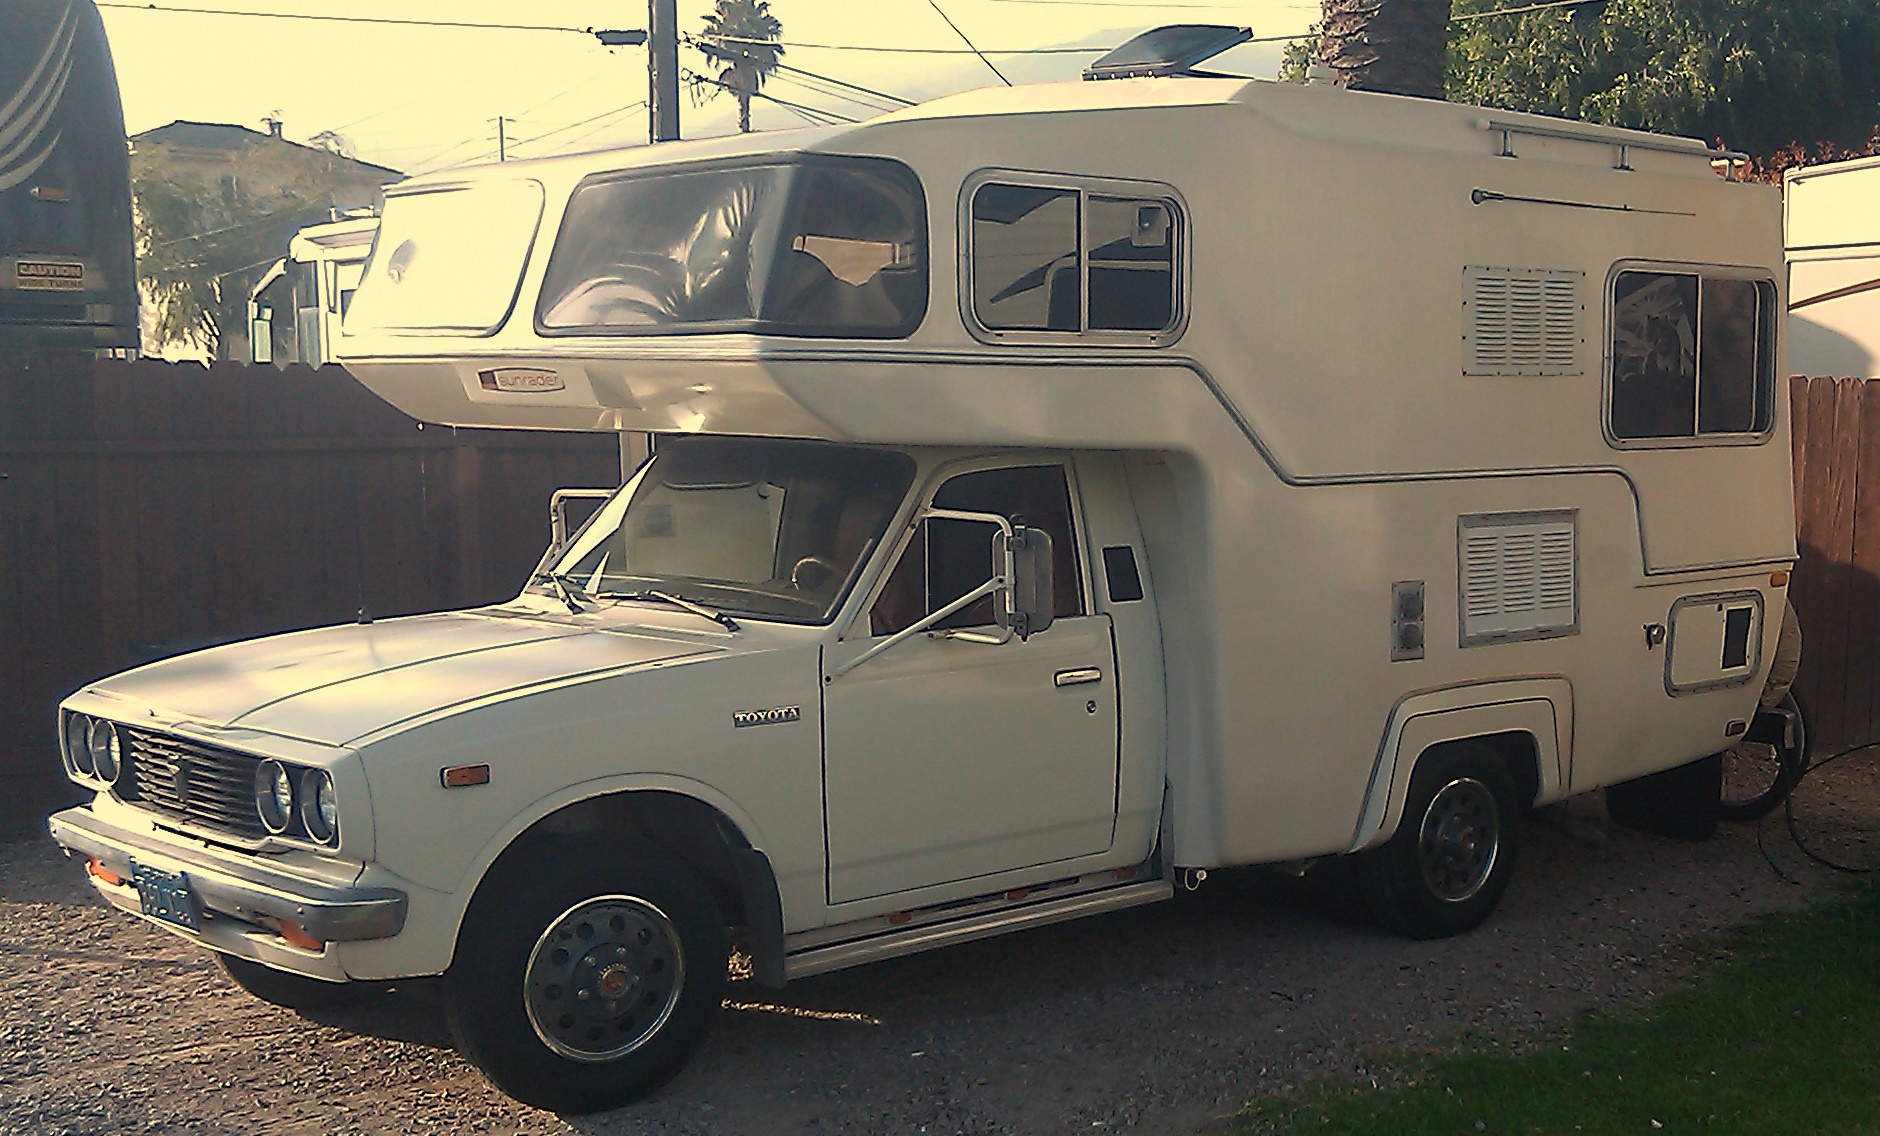
About a month ago I spent about 5 hours cleaning the RV and applying the Poly Glow product for fiberglass and it was worth every dime and all the time. It's the only thing I tried that made the fiberglass shine like new. I know it's only supposed to last a year in between touch ups but I have no problem with that as it looks so good. The prep was the most important and exhausting part. I was on my way to Santa Barbara the following morning and had to get her clean and replace the water pump and radiator as well. (that only took one hour btw, amazing, everything worked out on that install) Unfortunately the old girl blew a transmission seal in the four speed on the way back coming up the camarillo grade. that effectively killed my transmission. Went to this great guy in San Diego - Sparky's transmission - and he was able to locate the parts needed and add a heavy duty clutch for under 1500. Now I know she is solid and ready to go on the long trips. The interior is about done as well and I will add pictures later... I plan to rebuild the front steering assembly - as in new bushings and such - to loose some ofthe sway but that's down the road a bit. -John
-
Hope this does not post again as I keep getting logged off as I atttempt to write this....anyway I have two tanks on my 1979 sunrader and have no idea how to switch to the second tank. I've crawled under there before but not really sure how it's all put together.
-
Hope this does not post again as I keep getting logged off as I atttempt to write this....anyway I have two tanks on my 1979 sunrader and have no idea how to switch to the second tank. I've crawled under there before but not really sure how it's all put together.
-
1-My bathroom is separate so I did not have to deal with that.... 2-N/A 3-cut the hole and placed the metal piece back in. 4-I used a piece of laminate flooring as the toe kick and secured it with gorilla glue. Wedged a piece of wood up against it until it dried and it has not moved. the molding i attached on the top step connecting it to the floor was a 90 degree oak that stained to match and that also helps hold it in. It's nailed to the subfloor in the gap between the riser and floor so the laminate can still move. 5-quarter round trim and even smaller trim under the cabinet doors that are near the floor. on those I simply hot glued them in to get them right and tac in with a couple of brads. I agree with the cold aspect but i throw down a runner. I know, why put down wood and use a runner? I like the idea of throwing out the runner once it gets too dirt to clean and picking up a fresh color or pattern. To me carpet is like a pair of socks you cannot wash, and only shake off once and a while and keep walking...my 2 cents.....oh I also made the new cushion covers like fitted sheets so I can toss them in the wash ever once in a while...I'm a bit of a freak about material that cannot be removed for cleaning.
-
If not, how long does a frig run on gas. I have an 18 foot sunrader and figure I have a 20lb tank? Going camping for a week and want to know how long I can expect the fridge to run. I won't be doing too much gas cooking or using heat so all the gas would go toward the fridge. Thanks!
-
I think we have the same rig. Mine uses a battery relay/isolator. This relay allows for the alternator to charge both batteries when the car is running and when the engine is off, it "isolates" the batteries so that you don't run down your engine battery by running all of your electronics in the "house" part of the rig. It's easy to install and mine had one already it was jut old and rusty so i replaced it. Mine was mounted to the fender by the wiper motor of the truck battery side. http://stingerelectronics.com/productDetails.aspx?ProductId=91&CategoryID=2 Someone had halfa** wired an isolator which looks like a metal box with fins but it appears that they never finished. That operates on a nother prinicpal and requires wiring the alternator to the isolator and other stuff I'm not too familair with. Search the files section on thei site there is a sunrader manual that will give you a general understanding of the rig but specifics are going to be hard to find. There are some wiring charts for newer models that will help you get an idea of how most RV;s are wired. Good luck and post some pictures of what your are trying to figure out and I will do my best to walk you through what I know about it. -John O
-
I have a 78 Sunrader as well with the camper stating 1976...I love it and it's been worth every dime. Plus, during the remodle I came across a package which had a gold 14k necklace from the home shopping network with an invoice stating it cost $93 bucks! It's like I'm making money with this gem of an RV...
-
Mine was rotted as well. I cut out all the old rotted wood and replaced with new wood that was glued and screwed with gorilla glue, oh, also I applied fiberglass resin to the back of the boards prior to install. Then I fiber glassed the entire step to the sides of the step or the surrounding supporting structures. It works great, I've had heavy friends step down on the area without a budge. Good Luck
-
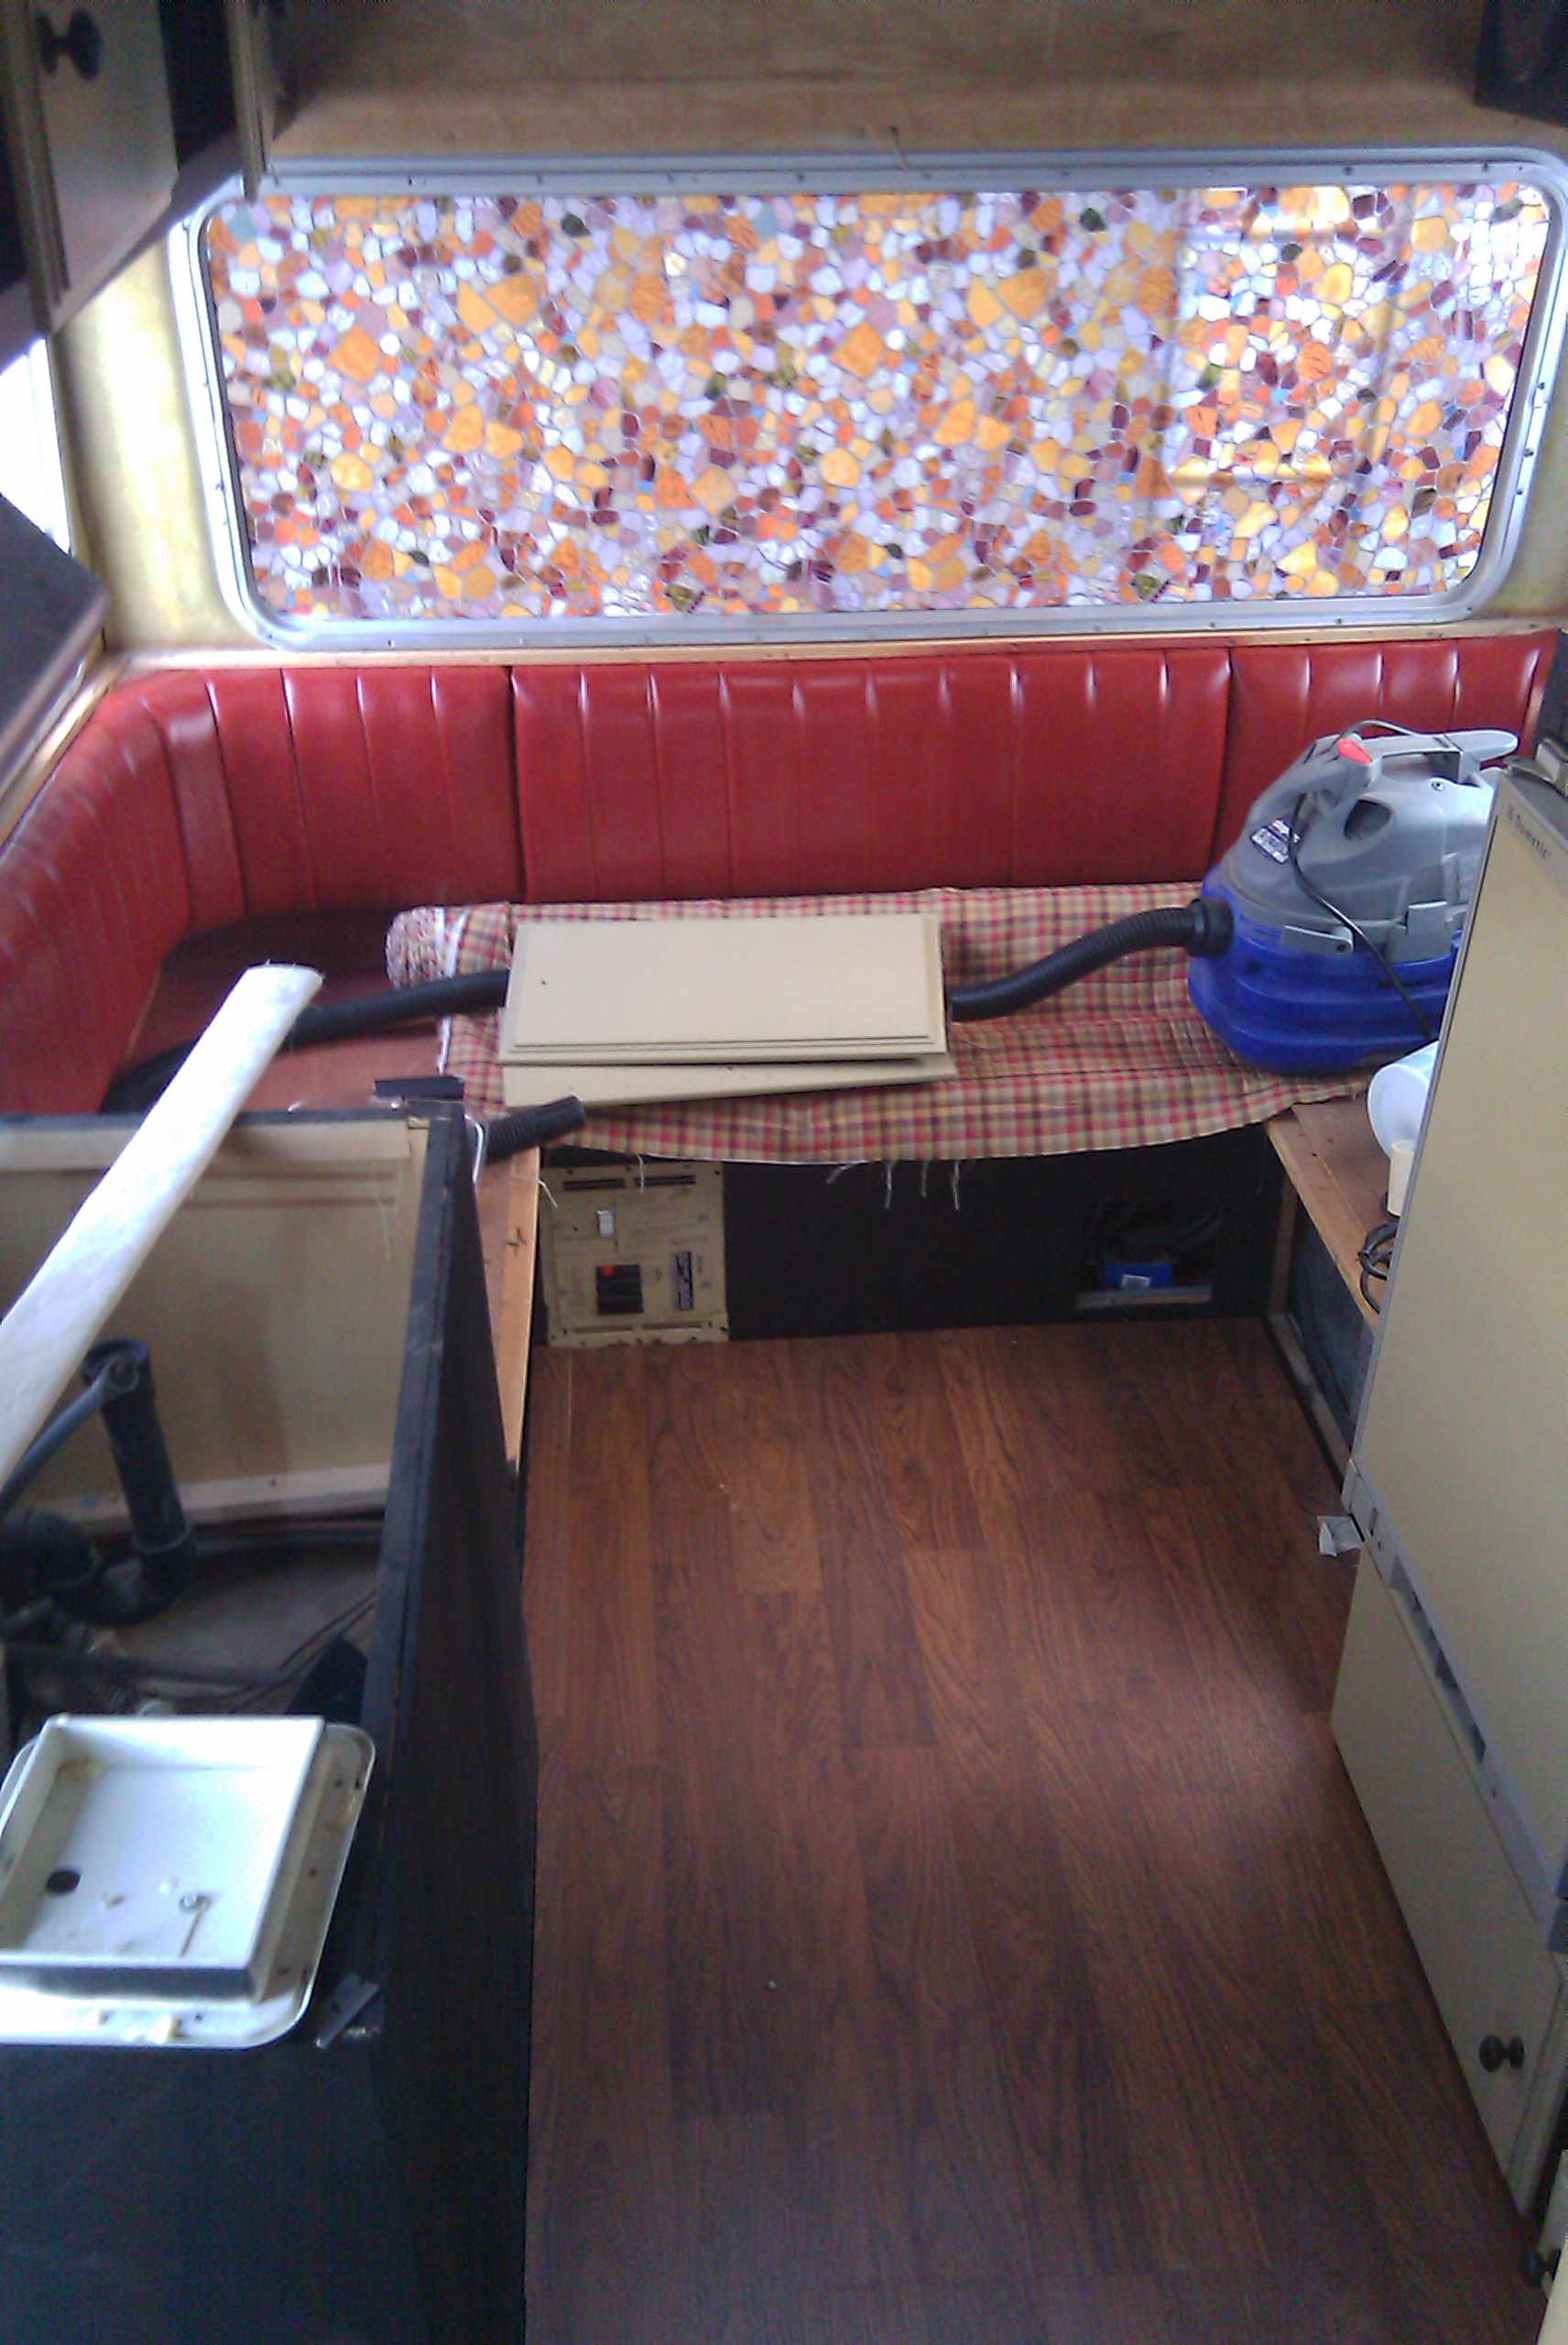
I can't remember the brand name but it's sold at Home Depot back by the blinds and such. There is a brand that is similar to that of the simulated stained glass I have on the back window that is expensive. The frosting is another brand that comes in larger rolls and is much less expensive. If you ask someone in that area at Home Depot they should be able to find it. Like $25 bucks for the roll and one roll covered all the glass save the back window which was about $30 bucks a roll x 2 rolls - Ouch... but at least no curtains to collect dust. -John
-
IMG_2053a.jpg
JohnW commented on Gulfstream Greg's gallery image in Temp global album for root member albums
 I have these on my 1979 Sunrader, they rock.
 -
Well, it's been a long road but I can see some light at the end of the tunnel. I placed some OSB on the sub floor to stiffen it up a bit and laid some IKEA faux wood floors on top, nice fit. Btw, the floor was not rotted but it's a bit thin and there is really no support between the frame rails so it had a little give. I glued and screwed the OSB and it's much better now plus it makes a nice smooth surface for the faux wood floors. I went back and forth on the floors but decided to go for it and am totally happy with the results. I also painted the rear seat backs vice replacing them. Feels just like the original and came out great. The fabric for the seat cushions is what you see in the photo. Also got rid of all the curtains and added frosted coating on the side mirrors (a film sold at home depot - cheap) and a stain glass film for the back, now I don't need curtains, have privacy and light. I painted the cabinets black and the doors a tone of beige. All the colors go with the fabric so it ties in nice. I plan on going a bit more fun in the cab over section will send pictures when I'm done