neubie
-
Posts
484 -
Joined
-
Last visited
Content Type
Events
Profiles
Forums
Gallery
Everything posted by neubie
-
So this is where things stand. The truck cab is back together -vinyl carpet, new surfaces everywhere except dash but still needs rearview camera hookup. The main coach is mostly together just not completely screwed in. The kitchen is done but waiting for power, gas, water hookup to be screwed back in. The bath area is done but for minor fixups. The major work is a buried ac wire in the roof thats come disconnected, and installation of solar and vent fans. And the fridge cabinet needs reassembly and some work. Generally held up in the weather.
-
There is a standard flange attaching the tank to the seat portion. The seal there isnt always a seal and thus provides unintentional overflow protection of sorts. Or you could have a cracked tank. But thats less likely at the neck. The insulation is a home remedy (if its insulation), tanks dont come covered with it.
-
once you stop working on it, its hard to start back up. I just have to screw in the new parts but the project needed a kickstart. The neighbor next door is selling the house and was worried the sight of "that" parked next door would reduce the sale price. Requested I move it to the back parking lot. At that point everything was still unscrewed, seats and all. But it gave me the kickstart. Slowly but surely its being put back together. The truck cabin is done except for the fact that the old screws holding down the seat rear arent long enough with the new insulation and vinyl flooring. Not the end of the world. The coach needs to be reassembled. But its just reassembly for the most part. Parts are ready. May be a bit of work on creating the space for the fridge. It gets hidden away for a week starting tomorrow, hopefully, also gives me time to take pictures of the progress while its empty/cleared.
-
Its almost 6 months later. Weather is finally warm and toasty. I now hope to finish up.
-
Its been a while since any measurable progress. I did put up the entry step. It promptly broke its holding bar the first time I stepped on it. Thankfully thats easily substituted. The bigger problem is clearance. There isnt enough space to hang the step and also close/open it without the sidewall getting in the way. The screws arent long enough to permit lowering it much and cant be replaced without taking off the step from the inside. For now, it doesnt fold. The rest has been sitting without progress. Only a bit of finishing is left. But cold, rain, health, whatever. Winter is not a friendly time. At least things have stayed dry. Hopefully this week I can clean up things enough to start making progress. May be put the water piping back in. Then start finishing up next week. Or something. Lets see. There is may be a day or two of total work left for an able bodied motivated person. May be a month will do for me.

-
best place on 21 foot sunrader to mount permanant leveling jacks?
neubie replied to Totem's topic in General Discussion
Folks are saying all manner of knowledgeable things about leveling. And all I am hearing now is "am i sure my need cant be met with a 12v capable compressor fridge and a large enough battery?". When starting out with an empty pigeon hole, is it necessary to put an absorption pigeon in it? Whats the experience of putting in a 12v or even inverted 110v like? Anyone tried that for long? If you have the means to charge the battery via a generator, solar, what have you, then does it matter? -
Having done this recently on different brand/model, here is a neubie comment. The steps are designed to be contained in a box, and a standard pattern of nuts sometimes emerged at the bottom to permit addition of lower folding steps (amazon ebay: rv steps, not substitute for this step). Either way, its important to assess the health of the frame first. You will need relatively thick wood for the step. Your big box store can cut one in the simple template (that you measure and take) if you want. My step has greater than 1/2in of what looks like some hardwood (can't tell what kind, shouldnt matter, even plywood of 3/4in or great ought to do) and my frame itself is reasonably sound. In any case, also consider placing a metal sheet, stamped thin aluminium is cheap, on top this time when you renew the step. Seal the bottom of the wood well. If there are suspected areas of rust to the point of weakness in the metal frame for the steps then just replacing wood wont do. edit: I see the fiberglassing comment re. step wood above, that is a great idea.
-
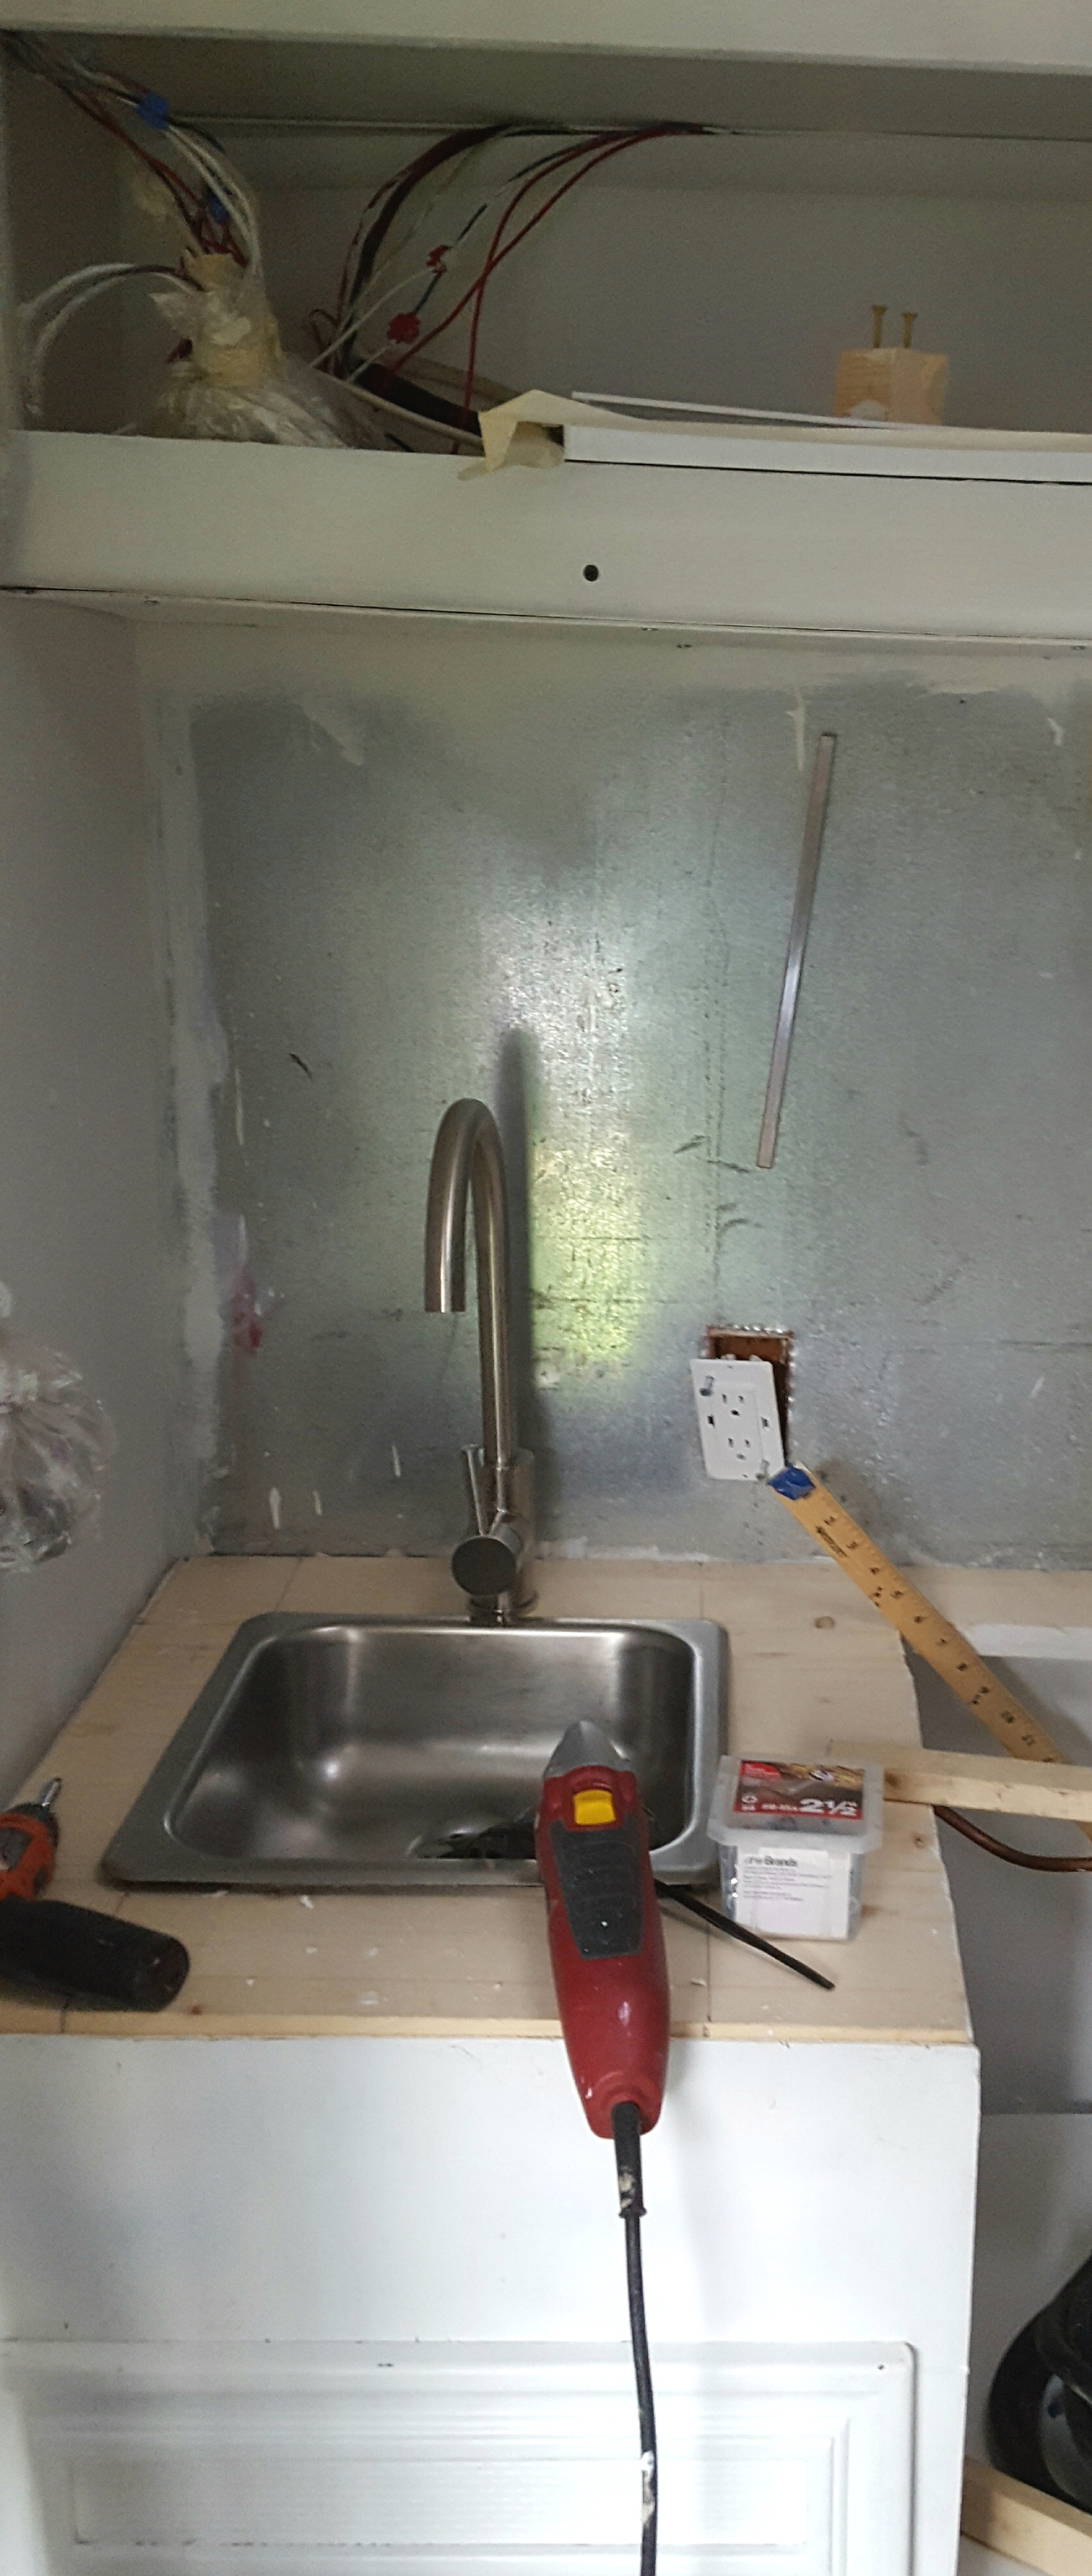
i should take some pictures of el slate blanco while i have a chance. its been a while since i felt like it. Its basically a whitewashed empty space. Totally white. Like every stick and its underside double white. There is a reason. Kilz was needed given there had been water and to at least cover over the 30 year history. Also if water comes in the future discoloration should be obvious. i want to catch it early. But if you paint every stick, nook and crevice, you use a lot of paint brushes and a lot of kilz. Over the floor, ceiling and walls front to back there is now at least 2.5 gallons of it. Hoping thats enough. I have had enough of primering. The bathroom door, the back side of the kitchen and wardrobe faces, etc had been hiding in plain sight. No more. Painting is time consuming, back breaking the way I do it, but not a mind consuming. I am procrastinating on putting the thing back together. Hang doors, connect water and propane, and attach shower wallpaper and kitchen backsplash. May be a bit of counter top polish. Everything else upto floor level is finishing. I need to start screwing appliances back in. But I dont seem to close it out. Tomorrow is entry step day. A new carlson-and-something single step and the one step inside itself is also getting a makeover. May be after that I will screw in some table legs and kitchen counter and stuff.
-
Where do I buy cap and hose for waste drain outlet
neubie replied to hamkid's topic in Coach ApplianceTech Issues
amazon often has them cheap in its warehouse deals section if you put it on a watch list it shouldnt be hard to get them for under 5 dollars. -
best place on 21 foot sunrader to mount permanant leveling jacks?
neubie replied to Totem's topic in General Discussion
So, will a new fridge if put in require this careful calibration or not? If its a three way, at least one way is an absorption method, isnt it? -
best place on 21 foot sunrader to mount permanant leveling jacks?
neubie replied to Totem's topic in General Discussion
My propane lines are about, I dont know, give or take four feet to the oven, lets say. They have enough give to rotate the thing 90 degrees without kinking the copper. Not something one can do on a regular basis. But how often does one need to level? Once per trip? presumably a consumable elbow can be designed if fatigue is expected. -
best place on 21 foot sunrader to mount permanant leveling jacks?
neubie replied to Totem's topic in General Discussion
So wait, marine fridges are non propane? or leveled differently? This is illuminating. I have also never been on a boat in any sort of meaningful capacity. Ferries dont count. Yes, some people lead very limited lives. The 3 degrees rule is also interesting, there are (likely leaking) airbags already there. Two of them can sort of gimbal me a few degrees here or there about if they hold air for a few minutes at least. I doubt I personally can tell plus or minus five. The fridge probably would be able to. Now here is some peculiar another life background. I have seen extensive and really widespread (and I mean at a scale many multiples of all use in the usa) use of propane. Almost all of it sans copper lines. Infact, when I insisted and had copper put in some place, folks moved the tank to the other end of copper instead of using the copper line! They felt gas leaked through copper and pressure dropped (yeah, right). Here, for some reason flexible lines seem like they are always prone to leaks and shunned instead. So I am going by copper only due to manufacturer choice and code/recertification reasons only. The fridge is only a few pounds and a balanced platform that many pounds is not impossible to make. A stetchable diaphragm takes care of seals. Remember, this is all for relatively small motions, limited to some degrees by trucks abilities. You arent going to park on a 45 degree incline any way. This is probably practical. Isnt something I am going to try. Because copper. Another day. etc. -
best place on 21 foot sunrader to mount permanant leveling jacks?
neubie replied to Totem's topic in General Discussion
I have always wanted to ask. Why do you use leveling jacks and not a leveling mechanism just for the fridge? Is there anything else that wants or wont work without leveling? I understand that if your refridgerator space is built in and designed as it were originally you have no choice. But for remodels, why dont folks just mount the refridgerator so it can be adjusted to be level and not have to worry about the rest of the camper. What gives? -
Been a couple weeks here, any updates original poster?
-
I am about the same. Sitting higher is always welcome but for the space constraints overhead. I am getting about 1/2" out of the mixture of things I am adding now over the floor. Hoping current screws will still work. Probably not enough, screws and height improvement both. But will at least try first then modify given that there are so many many other things on the list. The vinyl is cut and laid down. Its not an easy task with garden shears. I actually broke two pairs of general purpose scissors before it occured to me to use hedge repair tools. Its down, doesnt look terrible and seats are sitting on it. Not bolted. Still need to drill some holes. In the process, found at least one more reason for water in the footwell. Numerous holes from erstwhile screws that secured the shag carpet. The screws went forever ago. But I never closed off those holes. Closed off most before I laid down sound deadner but still found more today that would have let water in. Sigh. Its a process. Some day it will all be done.
-
boy, howdy. they make it seem like its 5 minute job.
-
Got as far as putting down reflectix on top of sound deadner and then realised that holes for seats/belts need to be located through to next layer. Hadnt seen the bolts in months. Wasnt event sure I will find them. After going through approximately 1 million and four nuts and bolts there they were in all their rusted glory. I am not doing anything fancy with seat frames or bolts at this point. They get a treatment of WD40 and back they go in. Hopefully I get a youtube certification in cutting/fitting the vinyl tonight and actually put it down tomorrow.
-
Its been a bit too cold and windy of late. Windy more the trouble than cold. Still hoping to get the vinyl in place this week. Roughed up the holes for the oven, both sinks, and the black abs to the vent. That took a lot of courage given my non existent abilities and utter lack of experience. Still the bathroom is mostly roughed up now. Waiting its turn to be primered, abs cemented etc. The vanity will stick out a few inches farther than I would like but it should work out. Tons of little stuff, all water, propane, and appliance hookup. No end in sight yet.
-
Thats very interesting. Does one allow a heat dissipating path by underinsulating over the transmission or cut down on heat and noise by over insulating the hump? Various facebook and youtube postings claim to want to "ventilate the transmission hump for the hard working transmission". Never understood the merits of doing it from inside the truck. I get the idea re. exhaust. Especially since the exhaust had caused three holes in the cab at some time. As of now, first will be ample sound insulation. There is an existing glued layer, I will add a second. Then some reflectix attached to vinyl as backing. I am holding on to the jute layer until dry environment is assured and verified. Then vinyl on top. How high does the vinyl go up the firewall? Do you unscrew the center console attachment and install under it or just work around it?
-
The floor wasnt going to be flat with just sanding, its three separate OSB planks and the edge of one by the entry was warped enough that it would have needed quite a bit of cutting and then Dap leveler or something to stand a chance with sheet vinyl. I was not ready to open/reseal the OSB so just did minor sanding and kilz before flooring. There is 2mm foam protecting the OSB so changes are easy in the future. I did planks on the coach, and tiles in the bath with enough spare to permit dissection and surgery. What about the truck? That is where I have to finish still. Its one hunking piece of vinyl. Its been unwrapped for a few days. Obviously it needs at least two cuts for the seats and several screw holes for each seat/seat belt. They ship it about a foot wider on each side, so its not easiest to work with. I dont have a YouTube diploma yet so am looking for pointers there.
-
My major major challenge in the coach is fitting the bath sink, faucet and routing the abs around all the new obstructions. It was a straight pipe before. Now, thats where the sink goes. When that is done, all parts would have been at least cut to fit. Screwing, priming, painting of cupboards and finishing will remain. Anyone put down vinyl in the truck cabin? Need to get a diploma there before I start cutting it. Spent a good deal of time taking off the carpet earlier. The floor is basically cheese because of all those screw holes. Cant imagine why so many were needed. I am not using any screws or adhesive this time. the vinyl will sit on sound damping foam and under the trim where there is trim. Only holes will be for seats/belts. No point in having vinyl if its still going to let water in below it from top. I doubt its going anywhere given its large size and thickness.
-
Its the 787 that had famous battery fires. But they have also had issues on airbuses. I can get away with a smaller battery with lithium and the hope is that enough has trickled down from tesla and toyota and the other hybrid/electrics by now to get a decent battery if one is not overly cost conscious. I have used lithium jump starters exclusively for some time and those have held up to abuse. They claim upward of 20AH in them these days. Given battery efficiency and all the other factors/differences, two of those can probably hold up against an optima yellowtop agm. The only challenge with those is that they want to be slow charged, so I want to buy something similar but with 12v charging. There are stories on the net of folks off-griding with huge lithium banks. So this isnt a crazy idea, I just dont know the brand/model that fits the little truck yet.
-
That crimping mess is just evil. Why not (aimed at whoever decided to mush the copper) cap off the lines for an empty tank and leave it at that?
-
copper is preferred, but and this is a big BUT best professionally run unless you are handy with a flaring tool etc. Temporarily, you can use a quick connect fixtures for the furnace, for testing, etc. Shouldnt be a big problem. The stock lines in some at least were just 3/8th flared copper. Night pictures dont show enough detail to judge rust, and rust is best judged in a detailed careful examination. If its just surface rust and hand sanding gets it off quickly without any pits or lumps then you may be able to get by with just cleaning and painting. Otherwise, a new side mounted tank is probably best. I am not at all real experienced with propane yet (except for the dimensikns, connections etc from one experiment), so wait for others with more experience to chime in. as well.