getout
-
Posts
107 -
Joined
-
Last visited
Content Type
Events
Profiles
Forums
Gallery
Everything posted by getout
-
Found this while browsing around. http://www.ksl.com/index.php?nid=218&ad=30714849&cat=&lpid=&search=toyota&ad_cid=5 Ad text: Toyota 1986 Sunrader 4x4 RV 85,536 miles, very rare and unique vehicle.

-
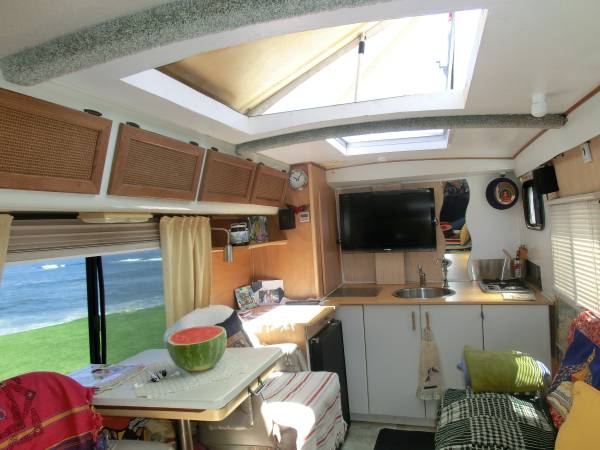
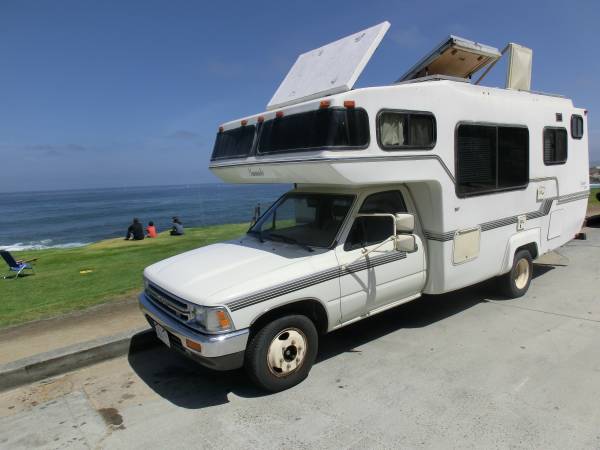
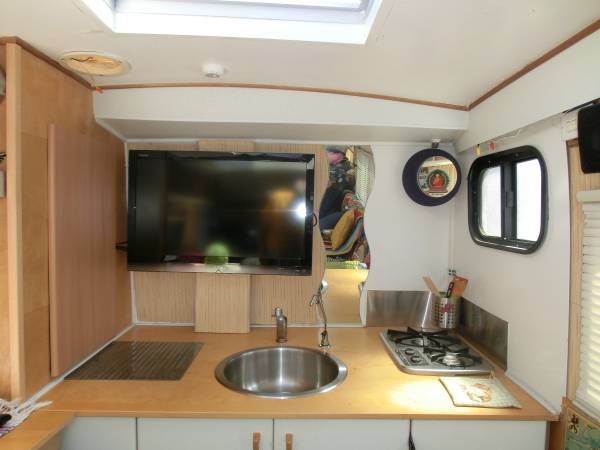
Saw this cruising craigslist. I thought the giant sunroofs and the remodeled interior was nice. http://sandiego.craigslist.org/csd/rvs/4515781617.html
-
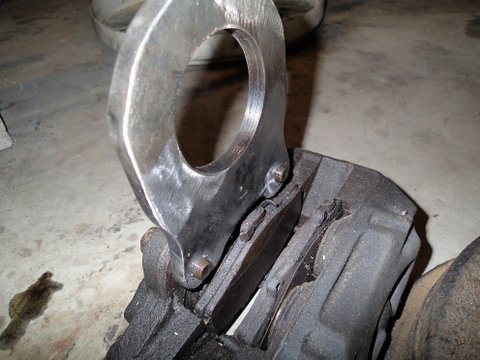
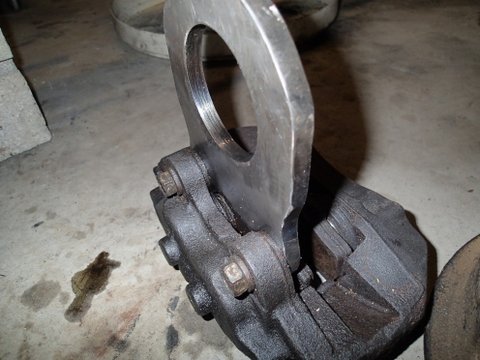
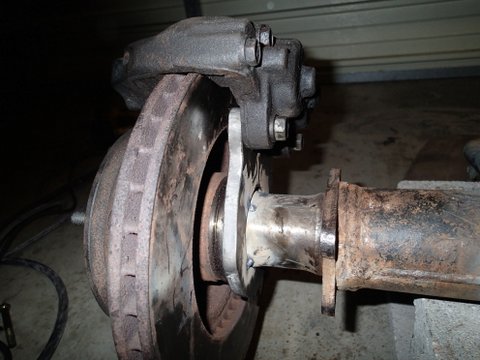
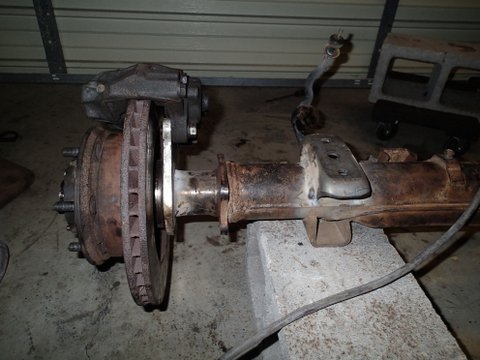
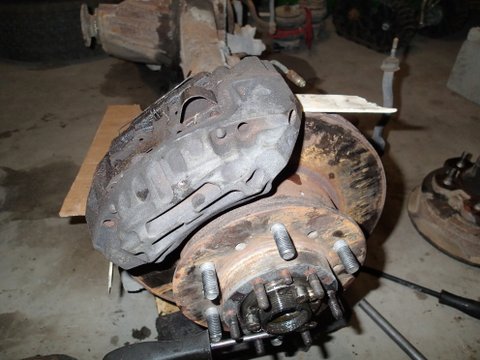
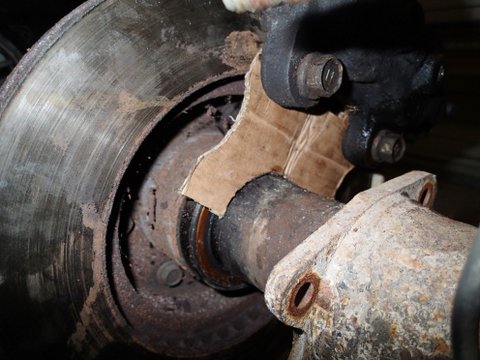
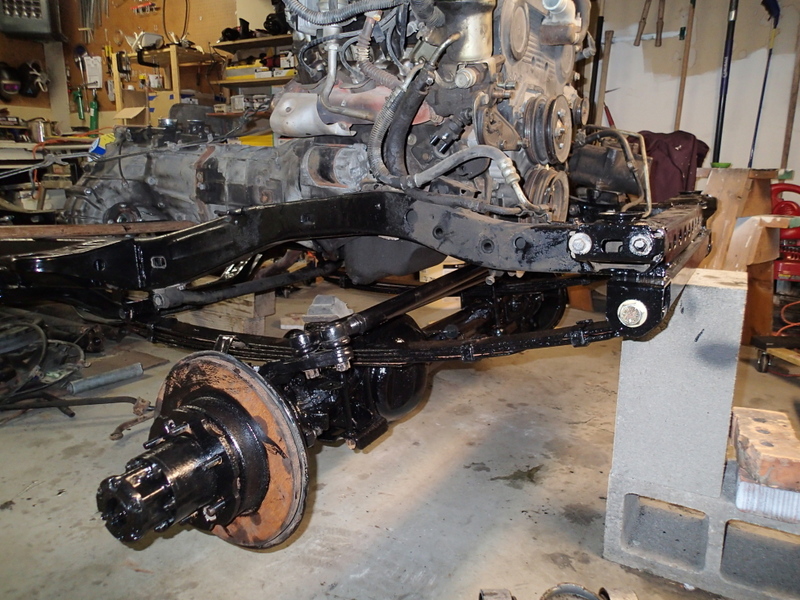
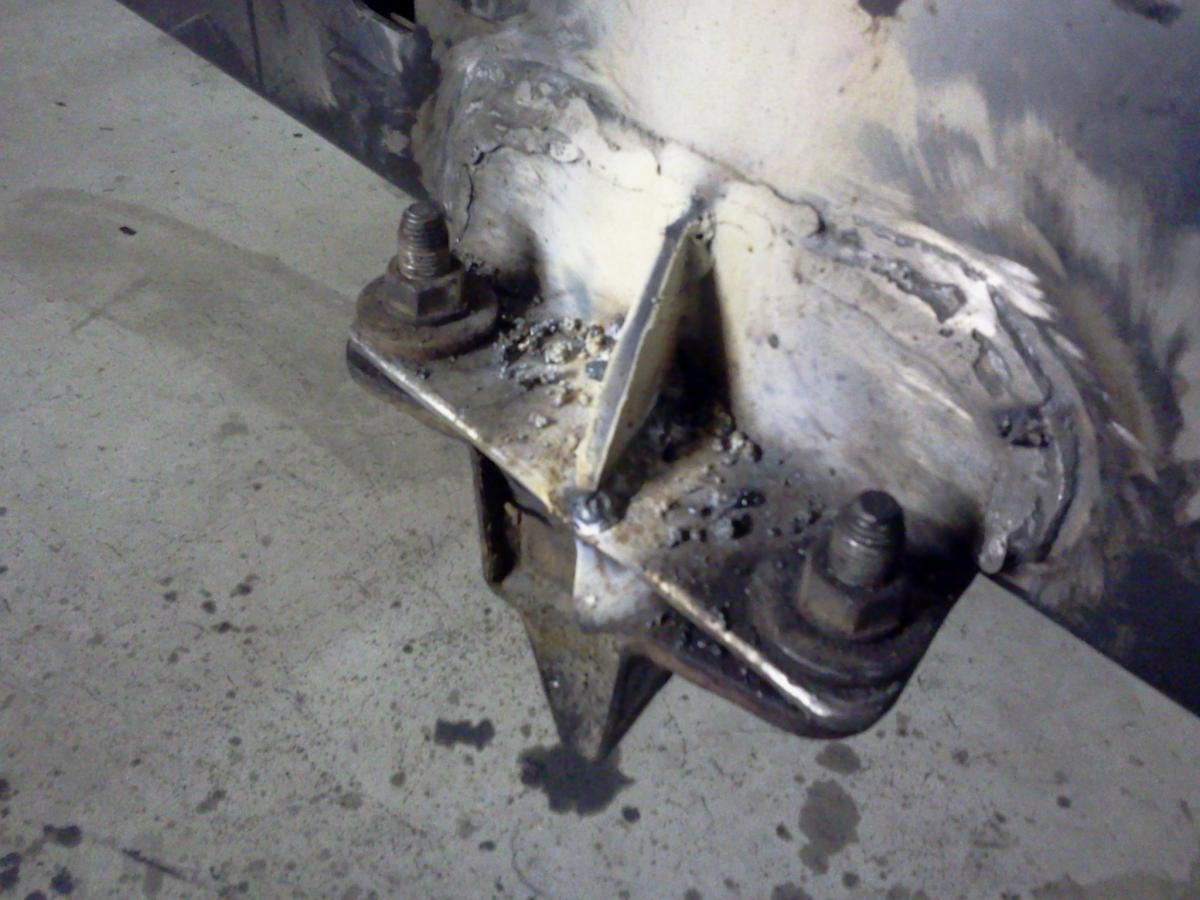
After building the brackets, I tapped the holes for the original 12mmx1.25 bolts and mounted the calipers...this is the first time I've ever tapped anything and I would highly recommend it. It's really easy and turned out really clean: I placed the the calipers on the rotors and put it all on the axle. Then used paint stir sticks as spacers between the top of the rotor and caliper to space them so the pads would land correctly: Leveled the brackets and tacked them in place: The I welded all the way around both the inside and the outside of the brackets: And now I've got a one ton, full float, disc brake, sprung over rear end:
-
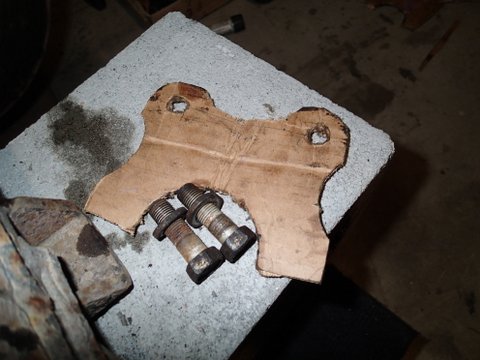
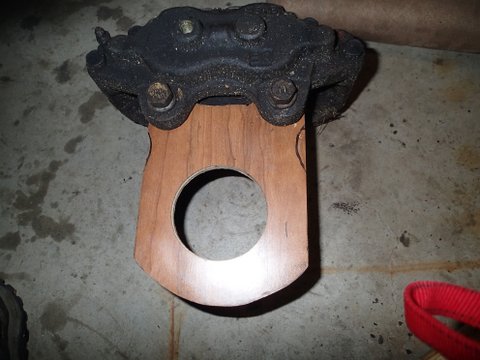
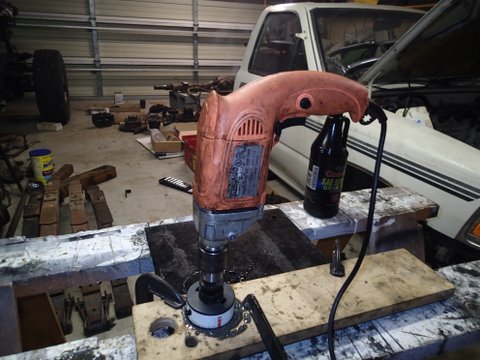
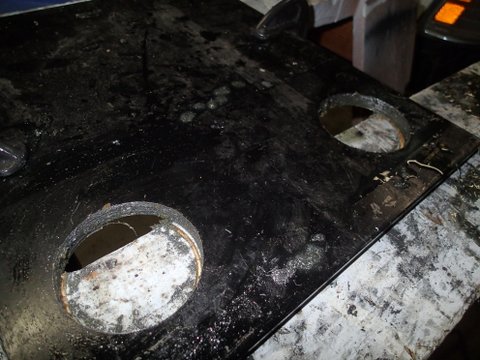
To mount the disc brake calipers, I started by installing the front IFS hubs and placed the caliper on just to get a feel for fit: Then I used some cardboard to mock up the mounting bracket: I transferred the cardboard template to a piece of laminate flooring I had left over from our house. It was about the same thickness of the steel I was planning on using. Checked the fit on the axle: And started cutting the 2 1/2 inch holes through 1/2 steel using my trusty Harbor Freight drill: The drill started on fire about 1/2 way through the first hole...so I bought a new drill: Finished the holes: And cut out the brackets:
-
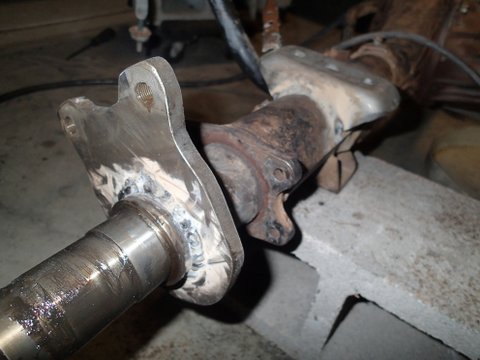
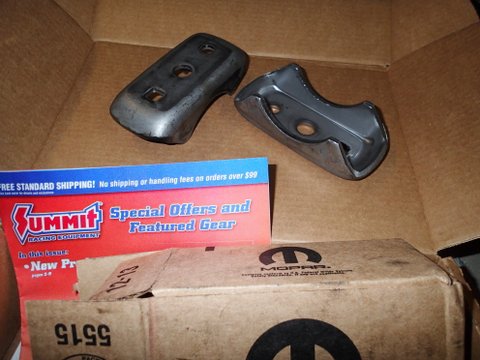
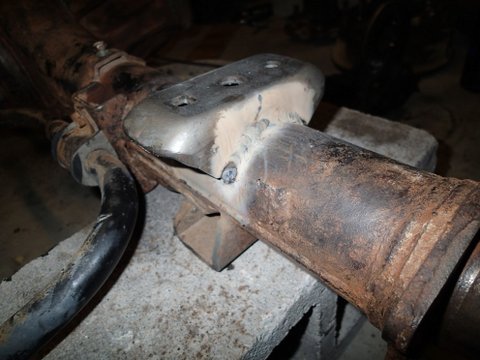
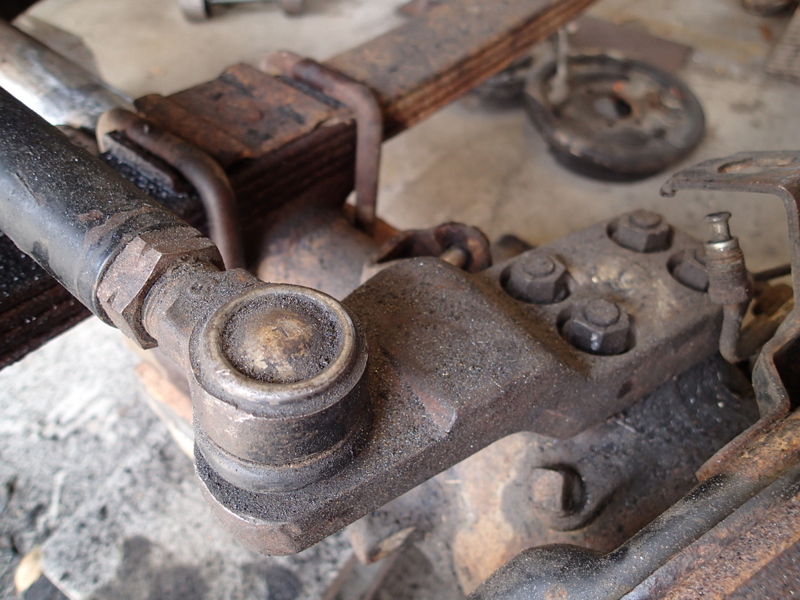
For the spring over, I needed to add spring perches to the top of the axle. I was going to build spring perches from square tubing but found a set on Summit for $18 shipped. I couldn't buy the hole saw and steel for that cheap. Here's the link if anyone needs some: http://www.summitracing.com/parts/dcc-4120074 Checking fit: I leveled a couple cinder blocks and put the perches on them about the right distance apart. Then I turned the axle over and put it on top so they'd both be level with each other. You can't really tell from the pictures but I also rotated the axle a bit more so the pinion would angle up slightly more than it had before since the whole axle will be lower. I tacked them in place and then flipped it over to check the alignment and distance between the center holes. Then welded them in place.
-
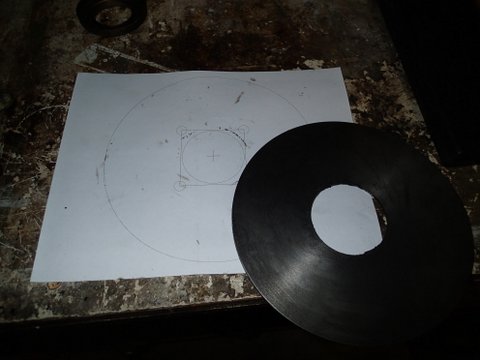
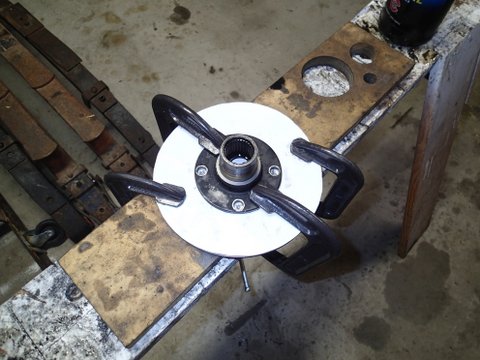
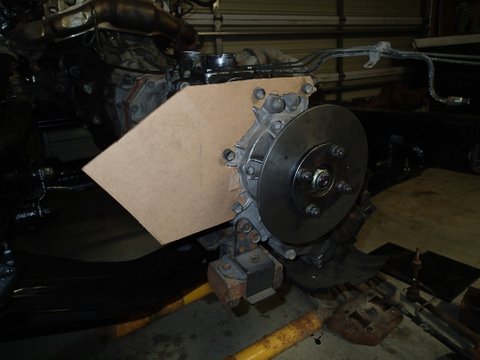
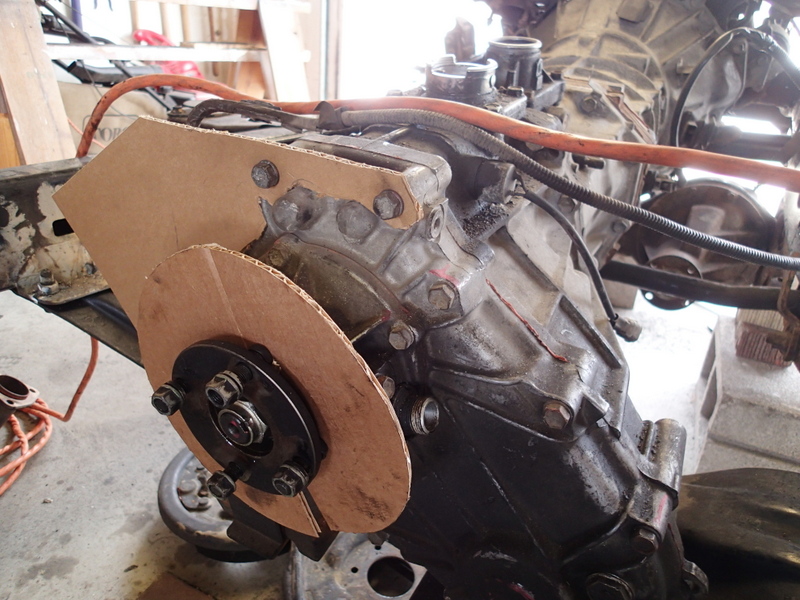
A bit more progress. These next three posts aren't in order of time but I figured I'd consolidate the jobs to make it a bit easier to follow. I cut a 2 1/4 inch hole from the center of my 7 1/4 inch go-cart brake disc that I'm going to use as a t-case parking brake. I used powerpoint to print a template so I'd know where to drill my holes. Got everything lined up. Drill away. Then mounted - it's almost perfectly aligned but I'm a bit worried that the slight amount out of alignment is enough to cause crazy vibrations. I'll probably end up redrilling the mounting holes later...but for now, it's on. The cardboard attached to the t-case is the start of the caliper holding mock-up. I decided I better wait until the body is mounted so I know how much clearance I've got in the tunnel.
-
Just catching up on the improvements. It's looking really nice.
-
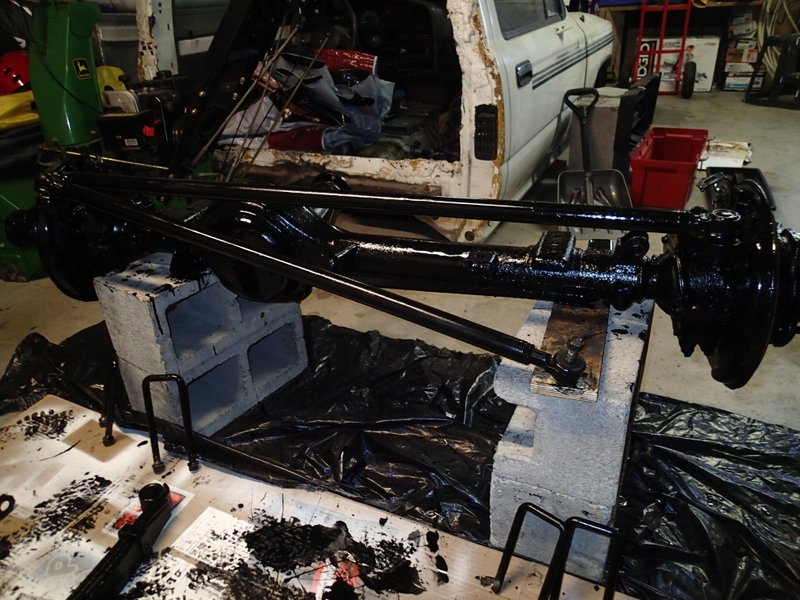
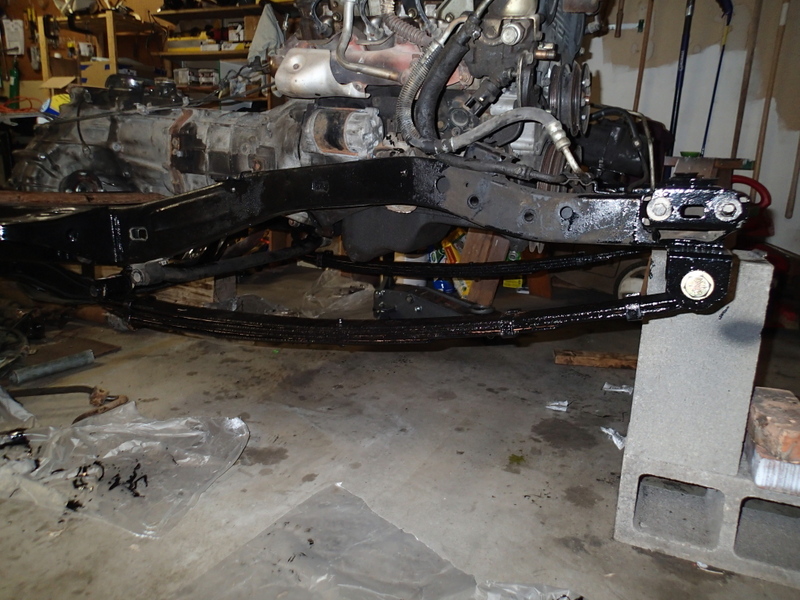
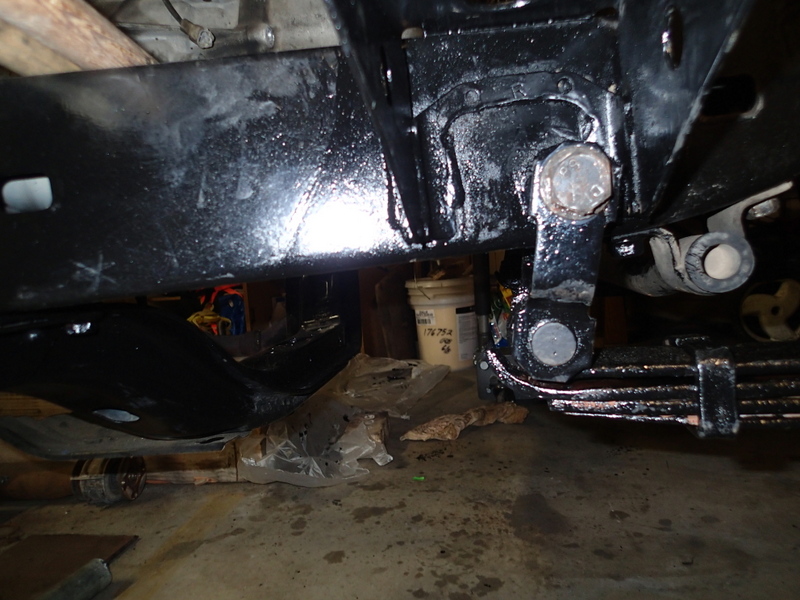
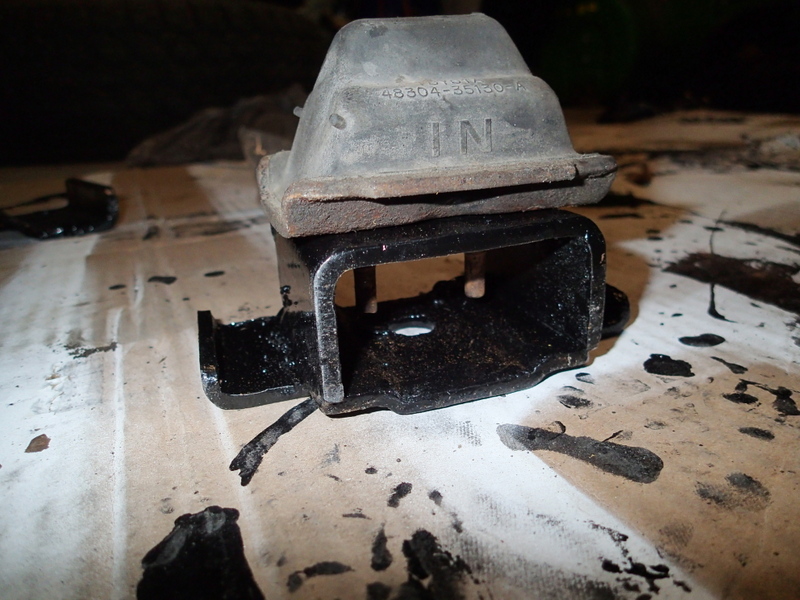
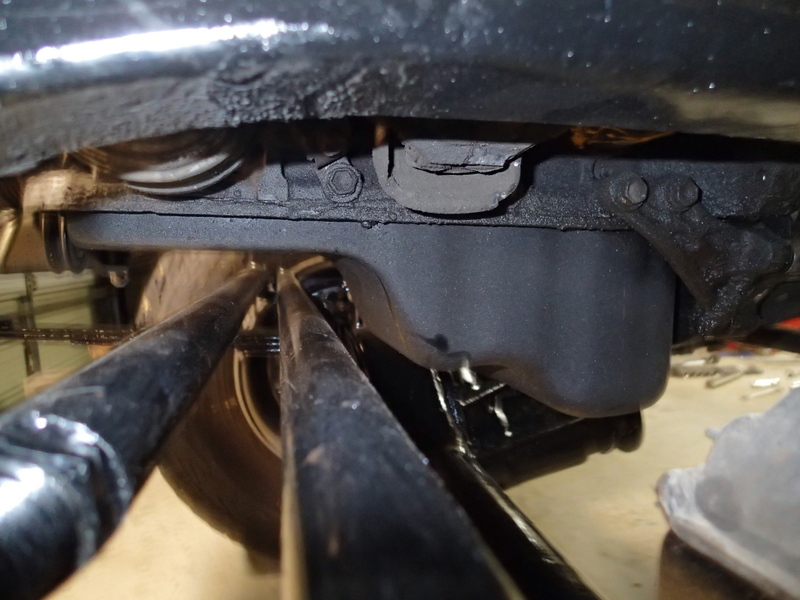
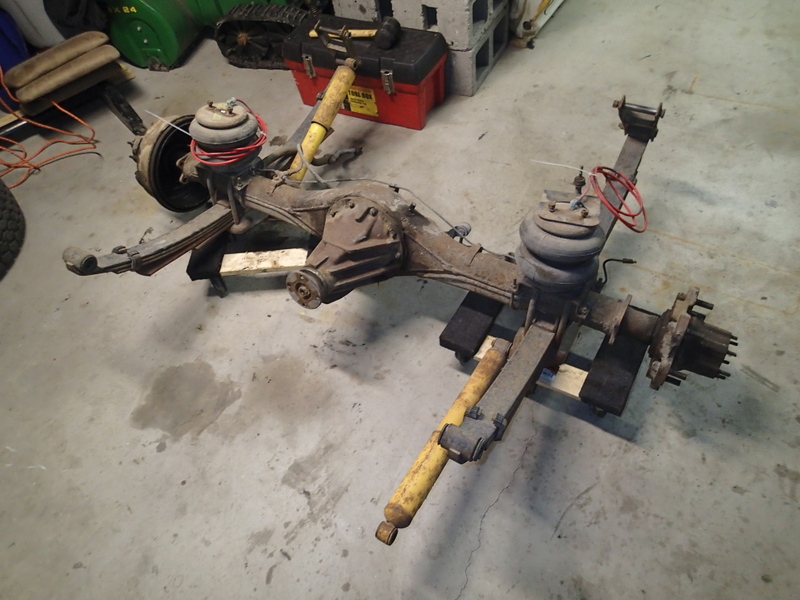
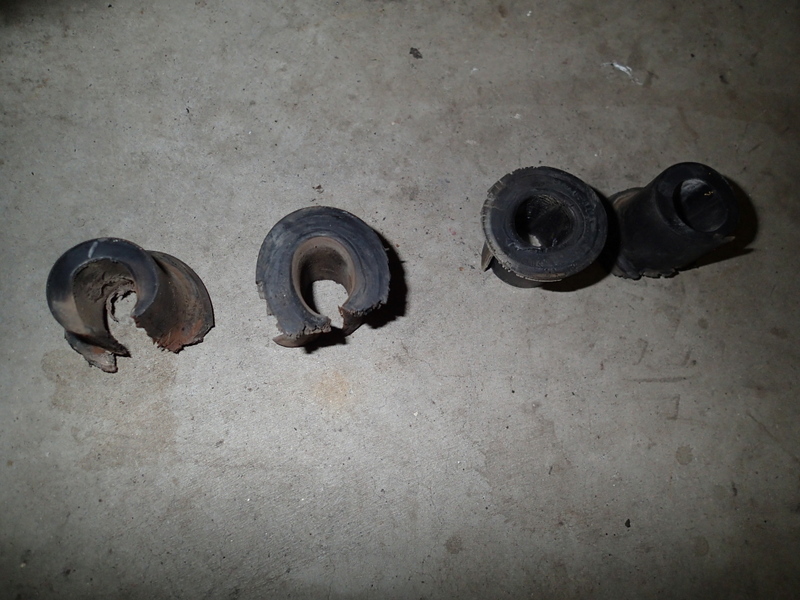
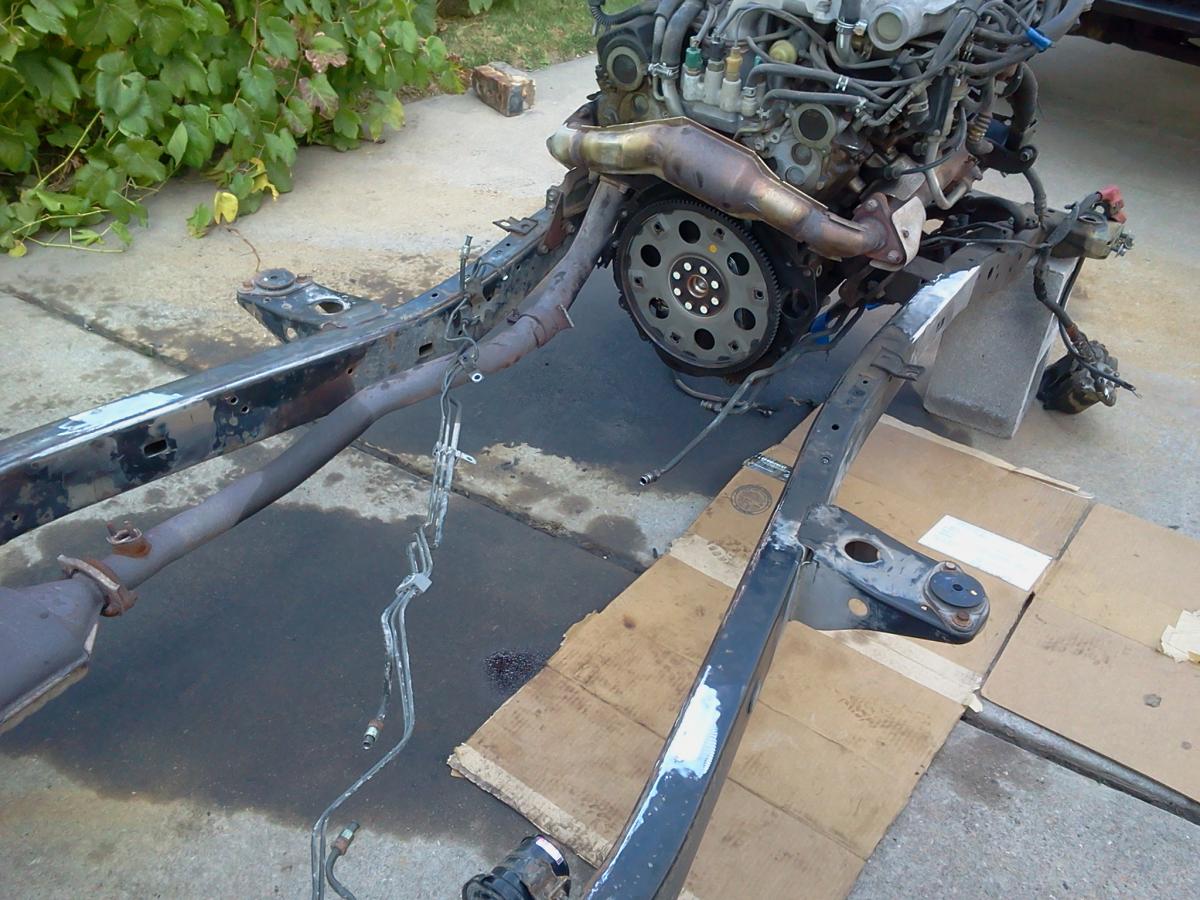
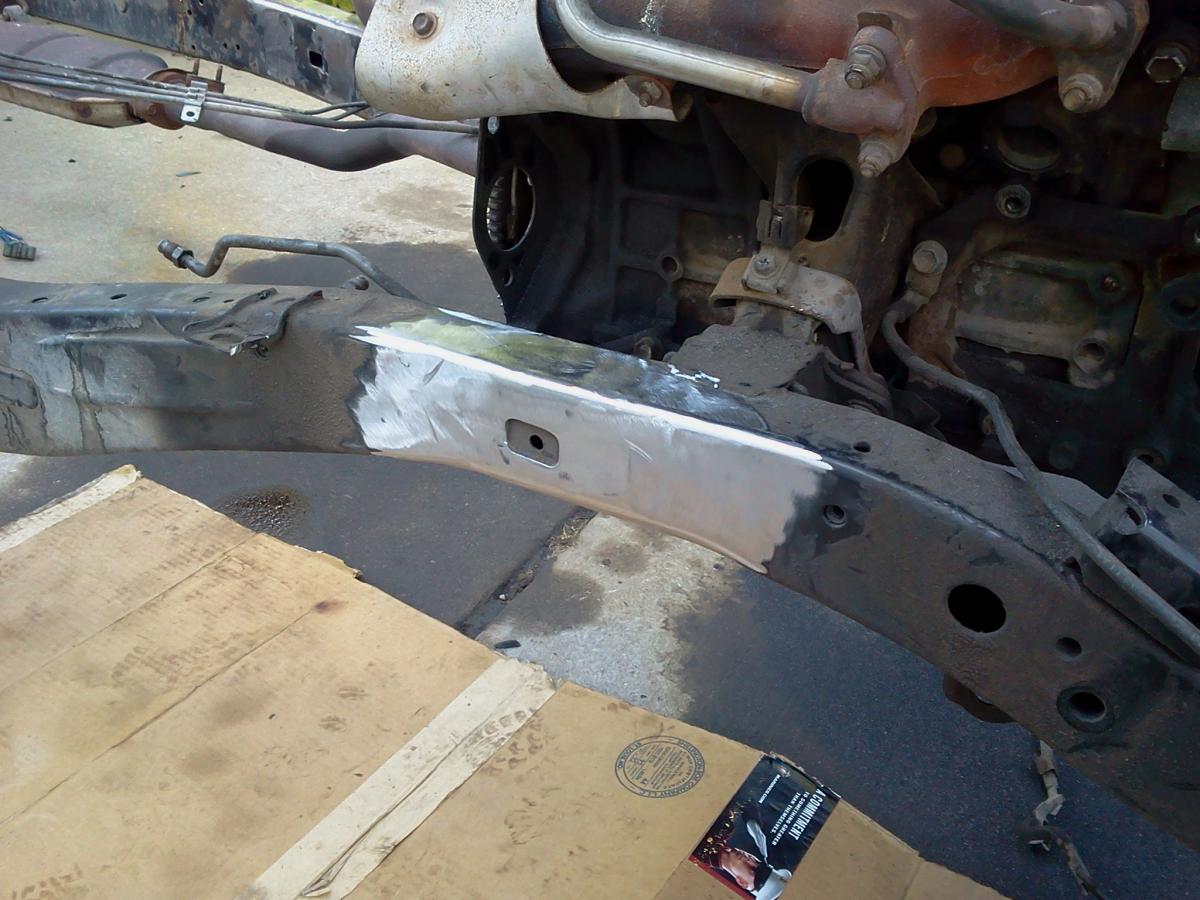
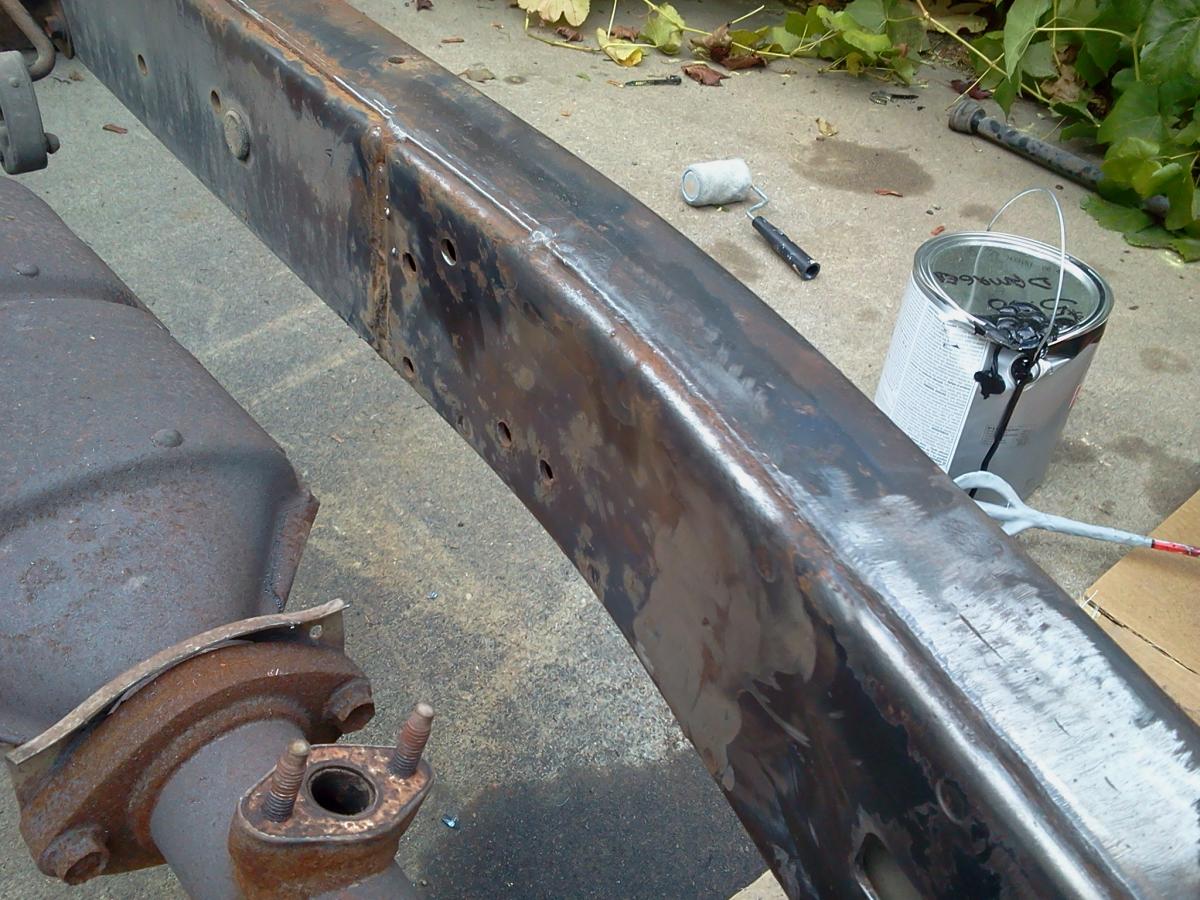
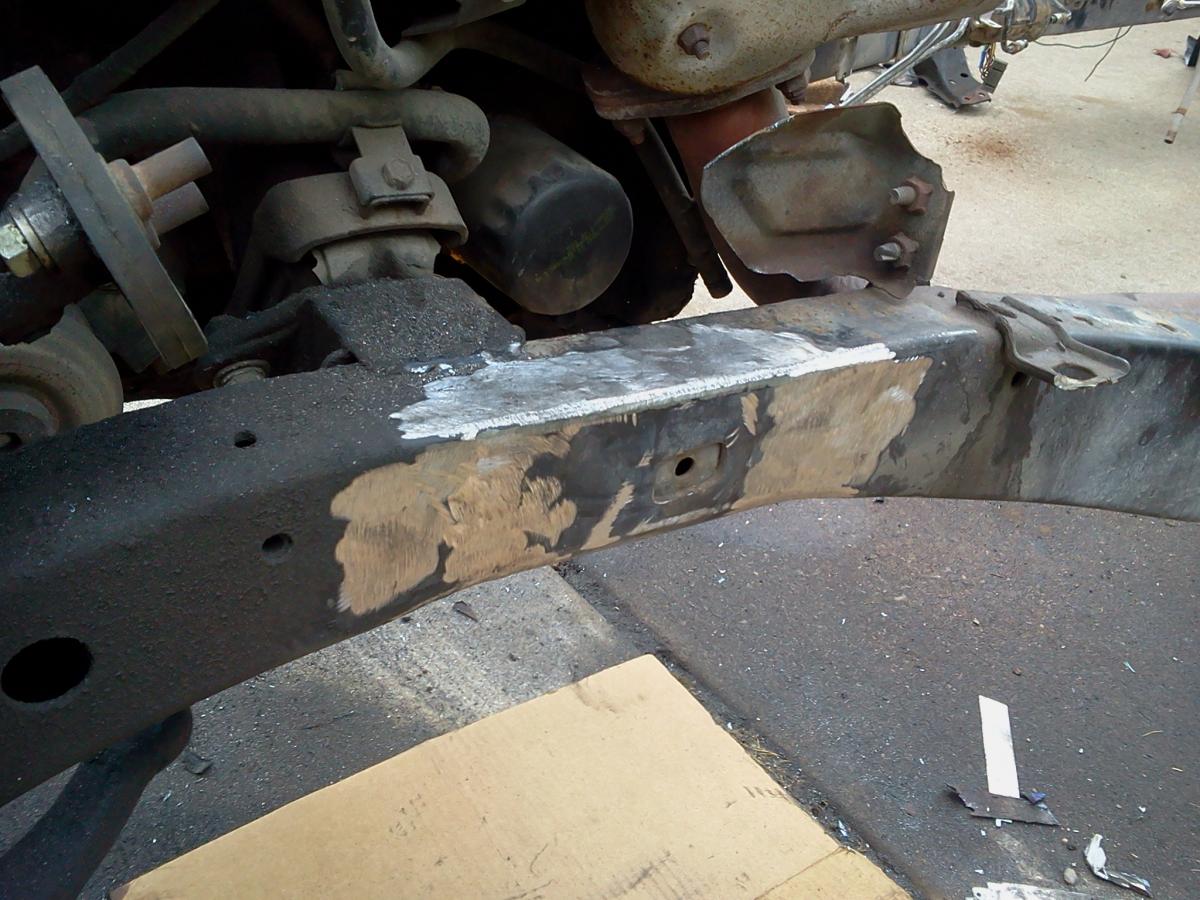
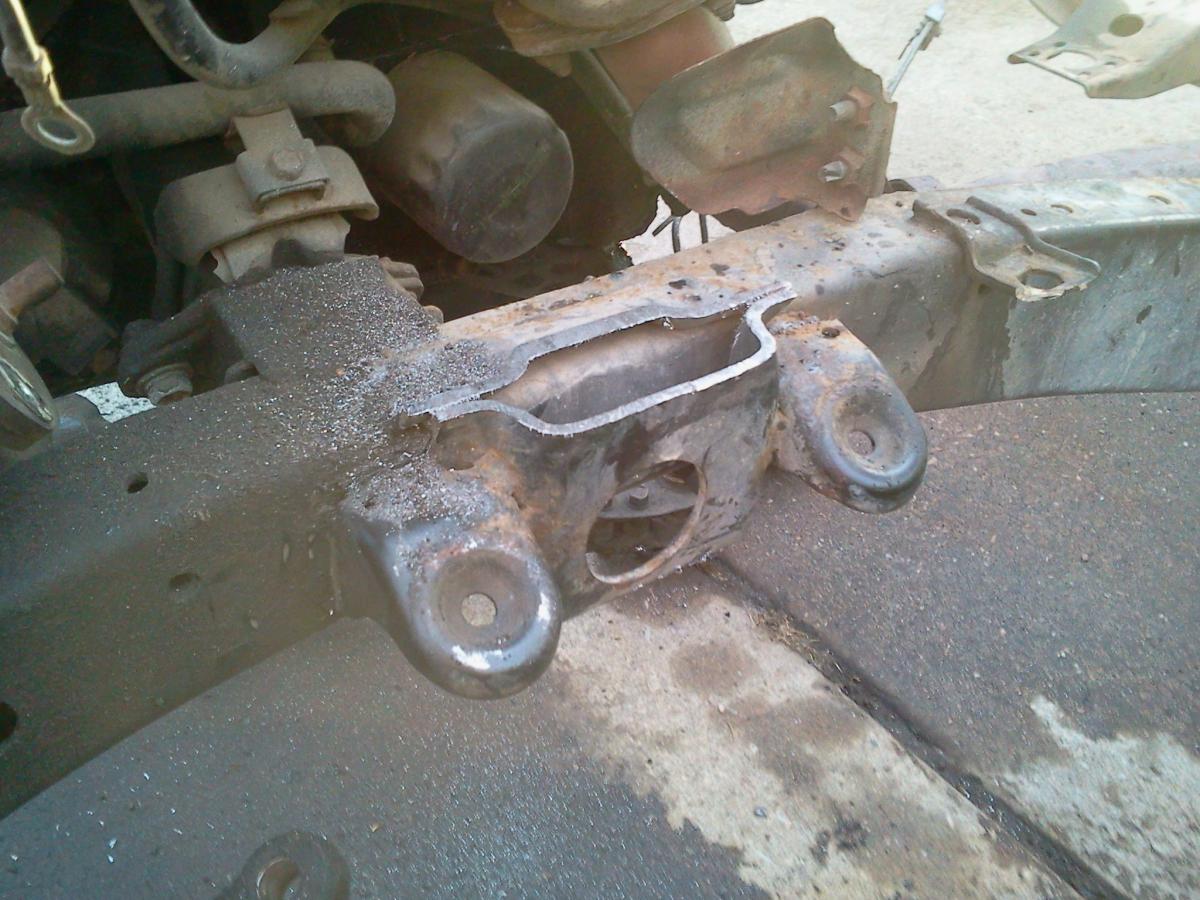
I also drilled holes for my shackle mount tubes (sorry, no pictures). This was a HUGE pain though. The tubes I were fairly expensive ($20 for about a foot of steel). I used a hole saw to cut the holes in the frame under the rear body mounts. Going through the frame would be hard enough but there's also a piece of steel horizontal in the middle of the frame you have to cut all the way through. If you're going to do this, buy good hole saws. I destroyed a cheap Harbor Freight one in about 3/4"s and got a Lenox from Lowes which cut through both sides much cleaner and faster. I painted the axle and stock springs: I also welded a 1/2 piece of box section to the stock u-bolt keepers so I could re-use the 2wd bump stops (since new bump stops are super expensive). Got it all attached and now it looks like I'm actually getting somewhere. Brand new bushings too so it should ride nice and tight. There's only about 2" of space between the cross over steering and the oil pan. I may end up having to add another leaf up front to give it a bit more lift when everything's attached, but we'll see how it goes. I've still got to make an anti sway bar, weld on upper shock mounts, and something for bump stops to hit...but I'll do all that with the body on. It's starting to look like a vehicle again. This is the point I brought my wife outside to convince her that I'm actually making some progress. Now it's time for start on the rear end. I'm going to mount spring perches on the top and run the springs over the axle instead of under. This should set me pretty close to level with the front end...or at least closer. The rear bushings have seen better days though. If you haven't checked yours lately, I'd highly recommend it after seeing these. Until next time...which I hope isn't months and months away.
-
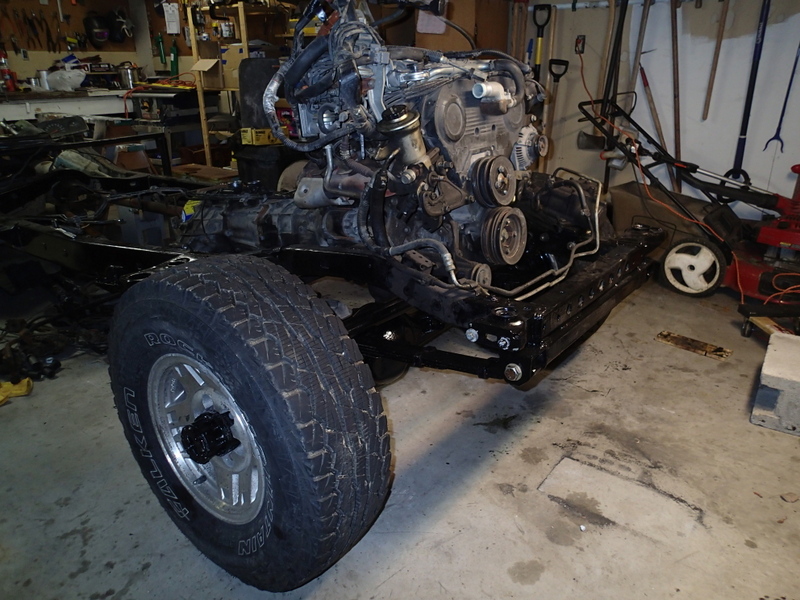
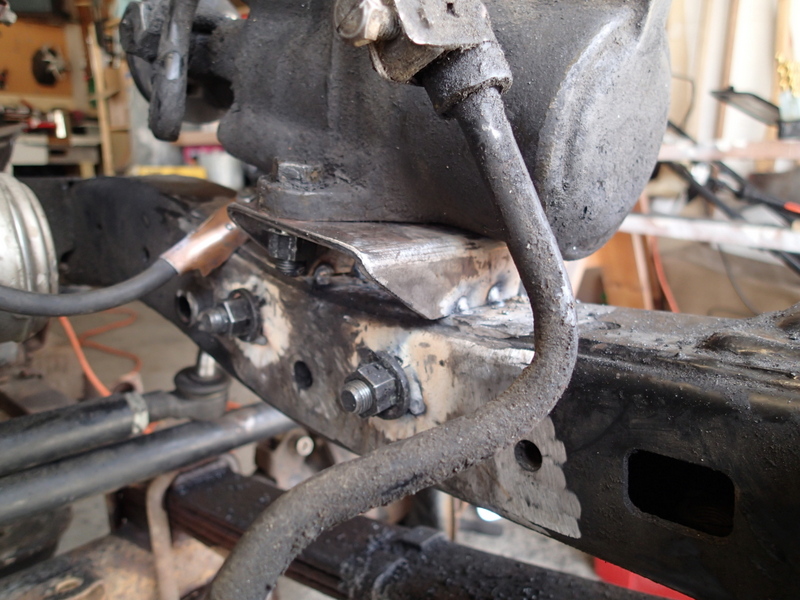
So, I've been busy. Got a front spring hanger built and mounted. I used a long piece of 2x3 box tubing with two 3x3 box section pieces for the actual hangers. I drilled 3/4" holes for the bolts to go through the springs. When I first built it I welded nuts on the inside but ended up having to cut them out because I used two different size nuts accidentally. I ended up having to move my steering box forward a couple inches as well. I used the stock 2wd box instead of swapping out for an IFS box like most SAS/High Steer conversions call for. I think these 2wd boxes are bigger than a standard one...and I didn't want to mess with trying to re-plump the IFS box. I got the high steer attached. And started a bit on a cardboard mock-up of the t-case parking brake I'm going to end up having to build since I'll be running front IFS calipers and hubs on the rear axle. I didn't get too far with this though because I think I want the body mounted before I make any final decisions.
-
Anyone Know Anything About This 4X4 Sunrader?
getout replied to getout's topic in General Discussion
It looks very Southern California in the video so you're probably right. It'd be nice to get some more info about it. -
Anyone Know Anything About This 4X4 Sunrader?
getout replied to getout's topic in General Discussion
Yeah. I was trying to figure that out. Maybe not a 4x4. Maybe just adapters or something else to run 15" wheels and bigger tires. Did they make an 18' V6? I thought they were all the 21's like mine. -
Does anyone know anything about this 4x4 sunrader? It's pretty.
-
That is one clean looking swap. Nicely done. It'll be fun to see that in the rader.
-
Does Anyone Here Have A V6 Rear Dinette Toyhome?
getout replied to stamar's topic in General Discussion
Mine is/was a rear dinette V6 21' Sunrader...it's now a no-dinette shell, frame, and cab but will eventually be a rear dinette again....eventually. -
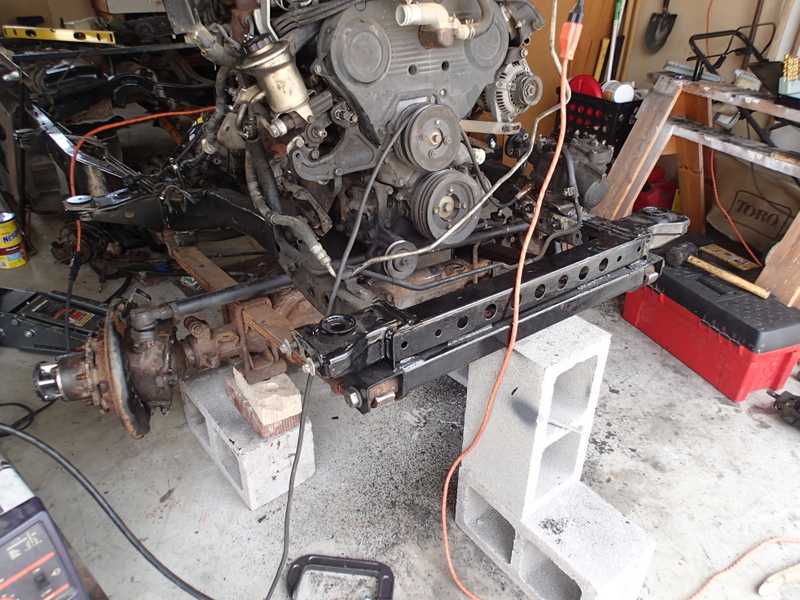
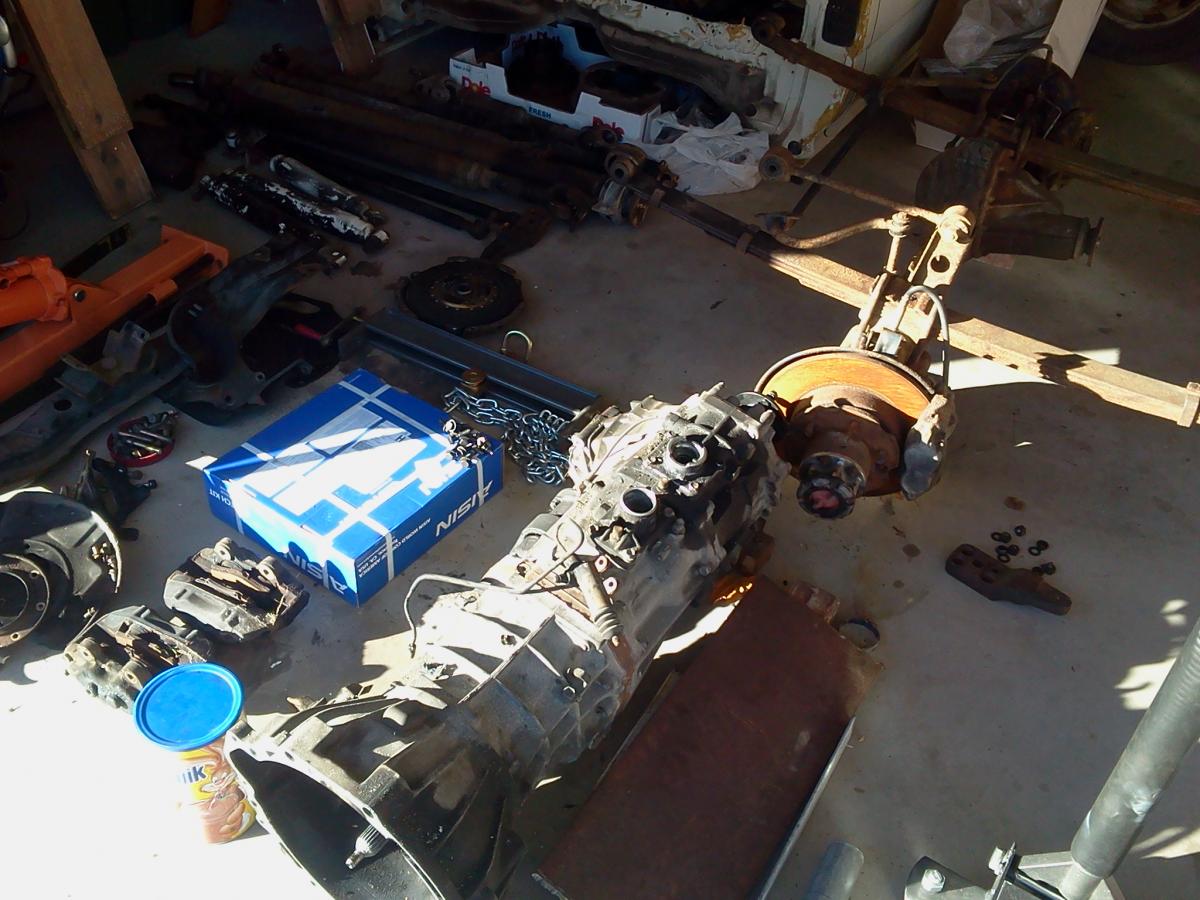
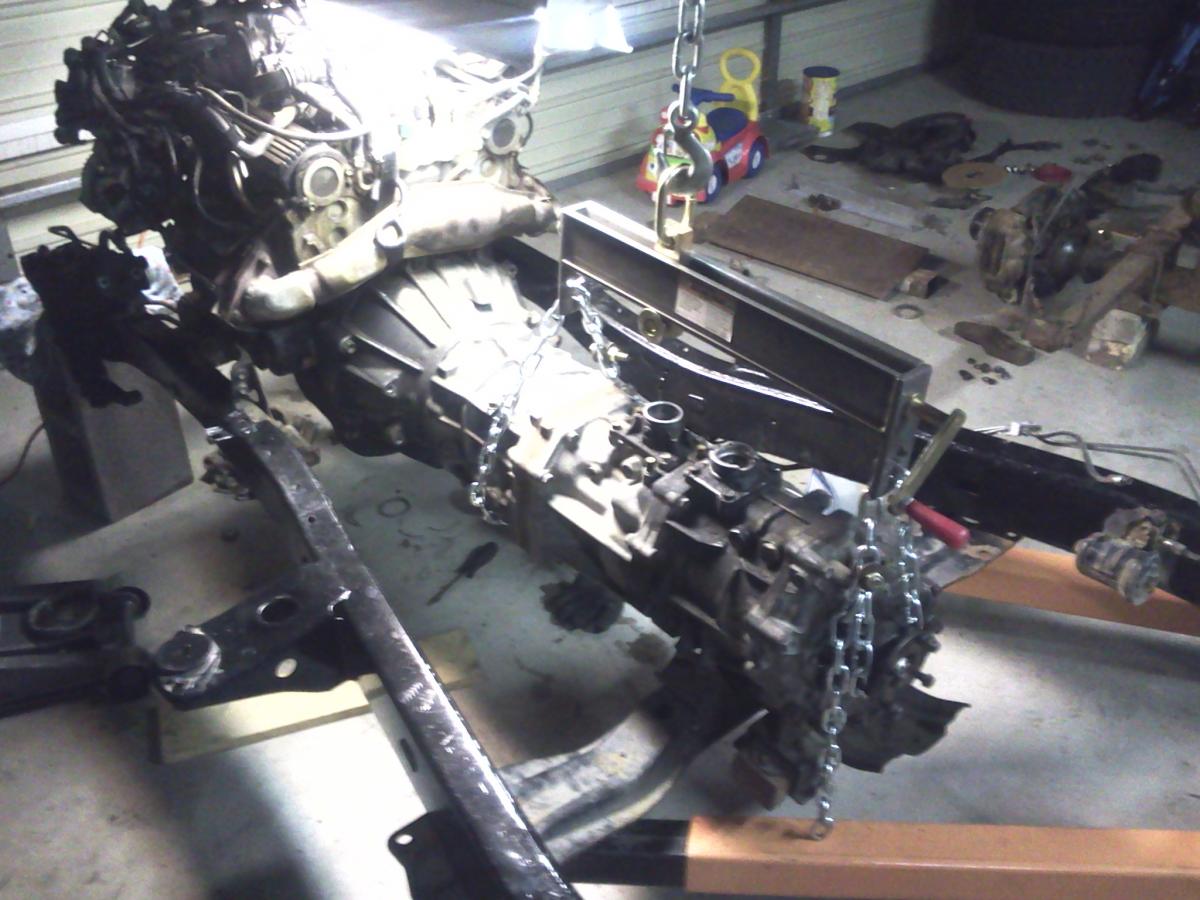
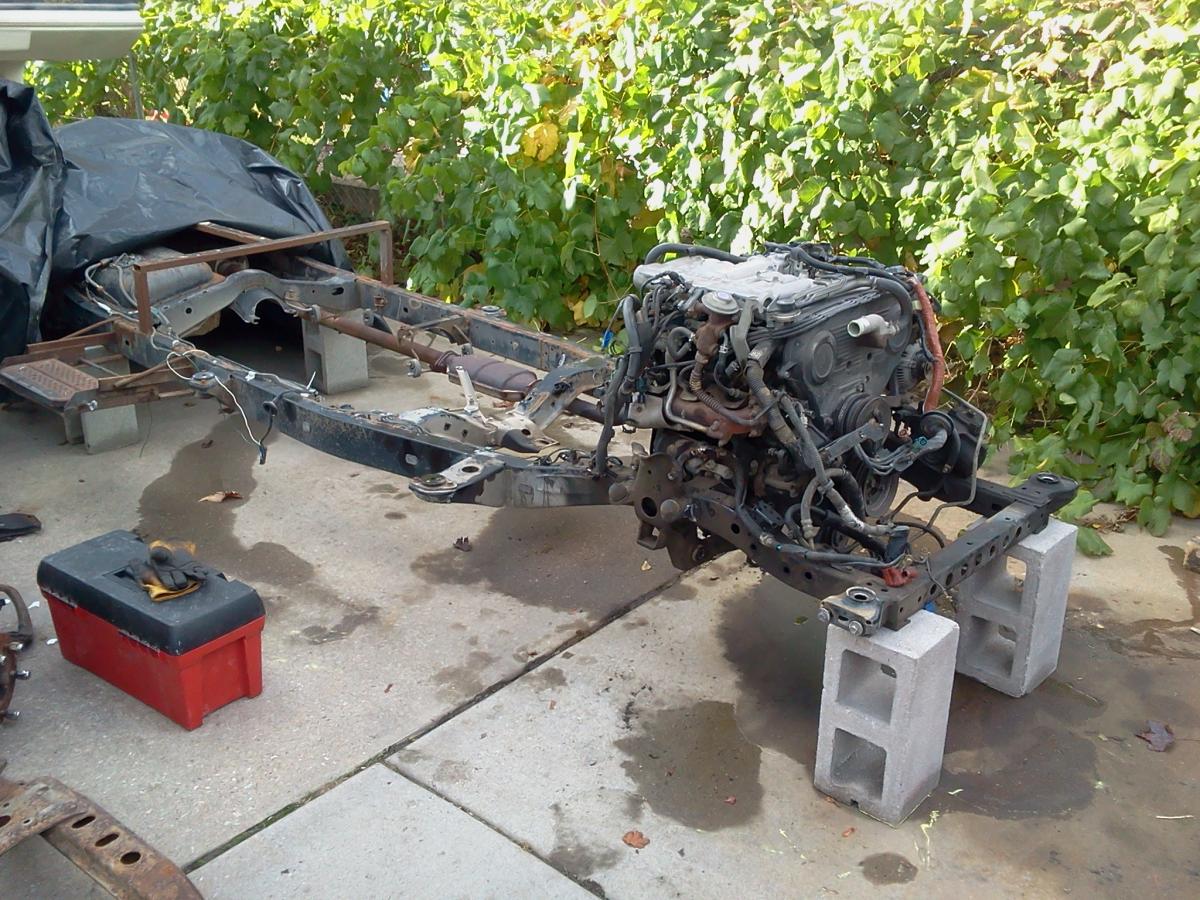
Thanks! Still haven't done much yet and I think this is going to get put on hold for a bit (more house projects) but I did get the transmission complete installed. It's not cleaned up but you can see what I did.
-
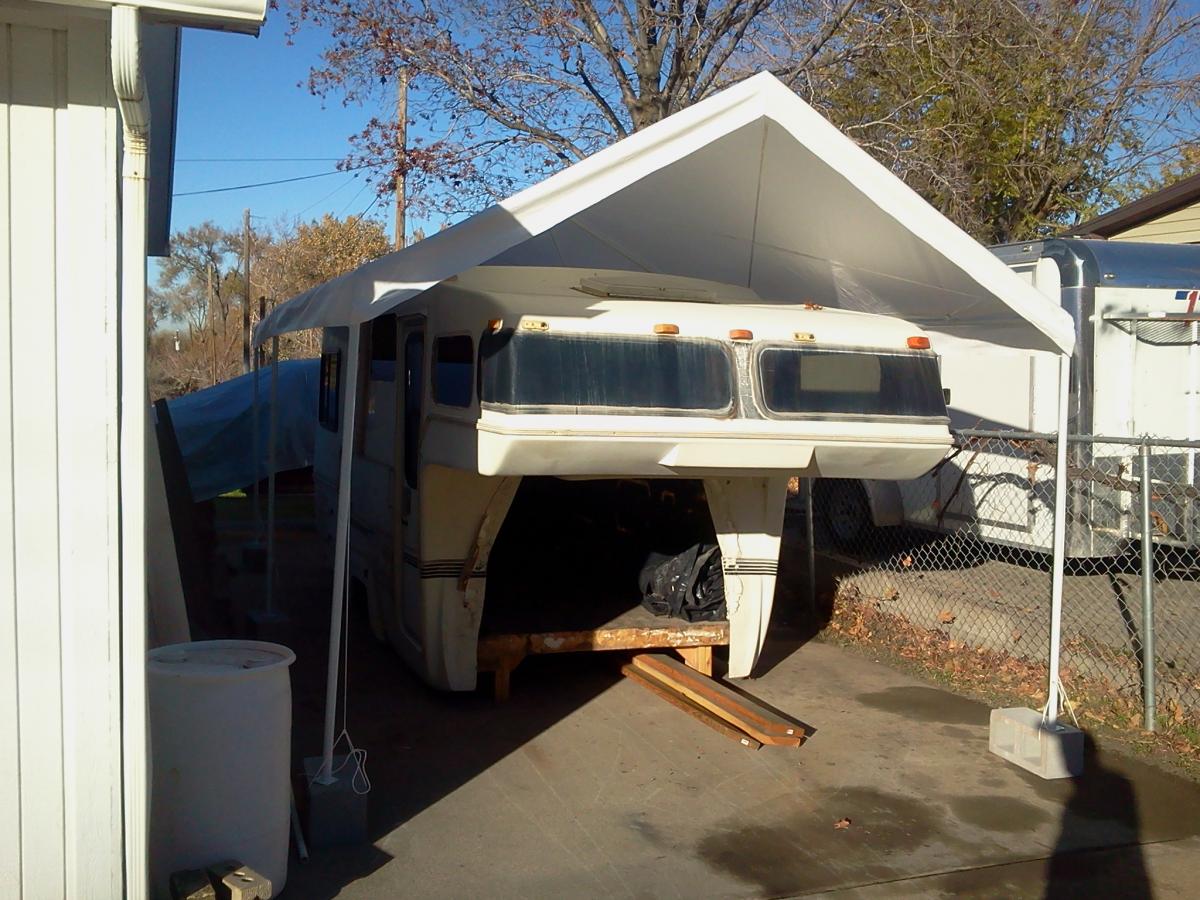
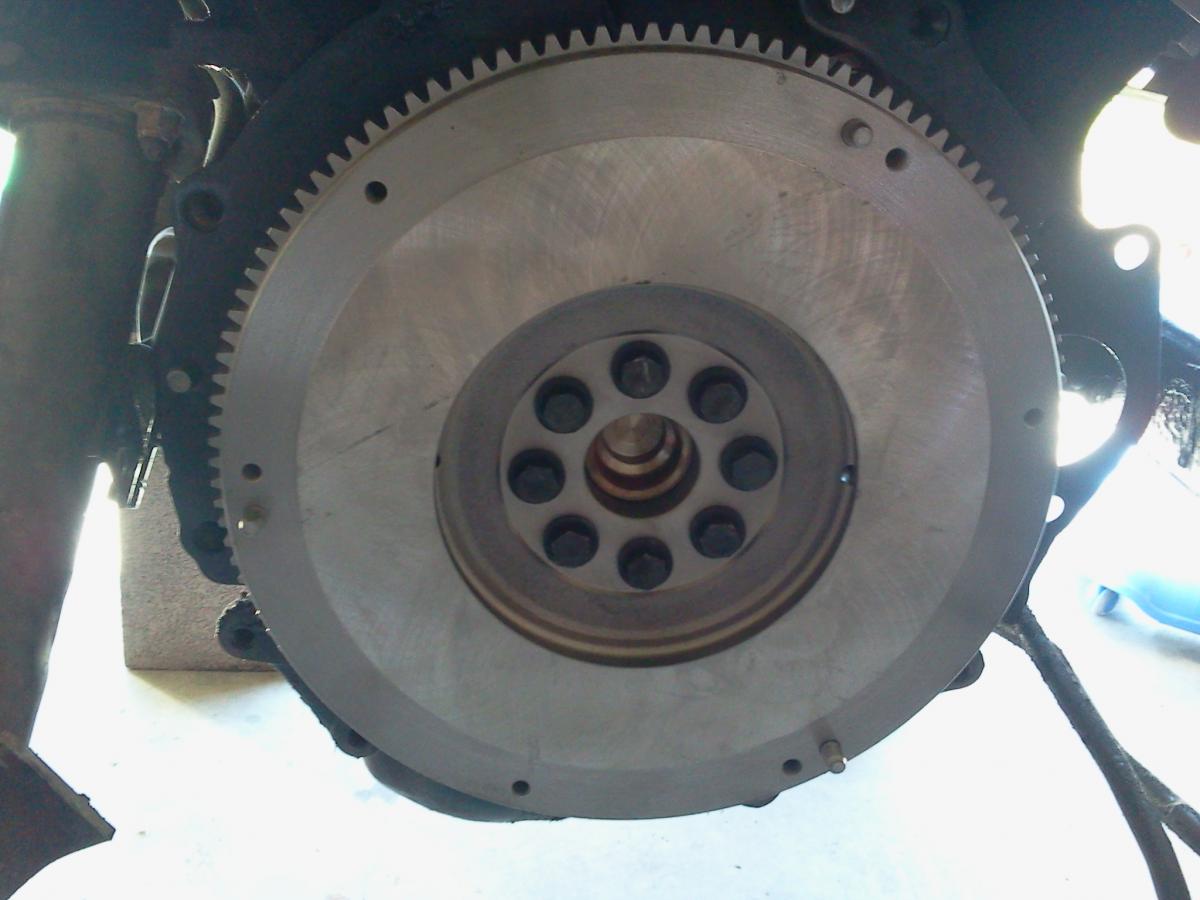
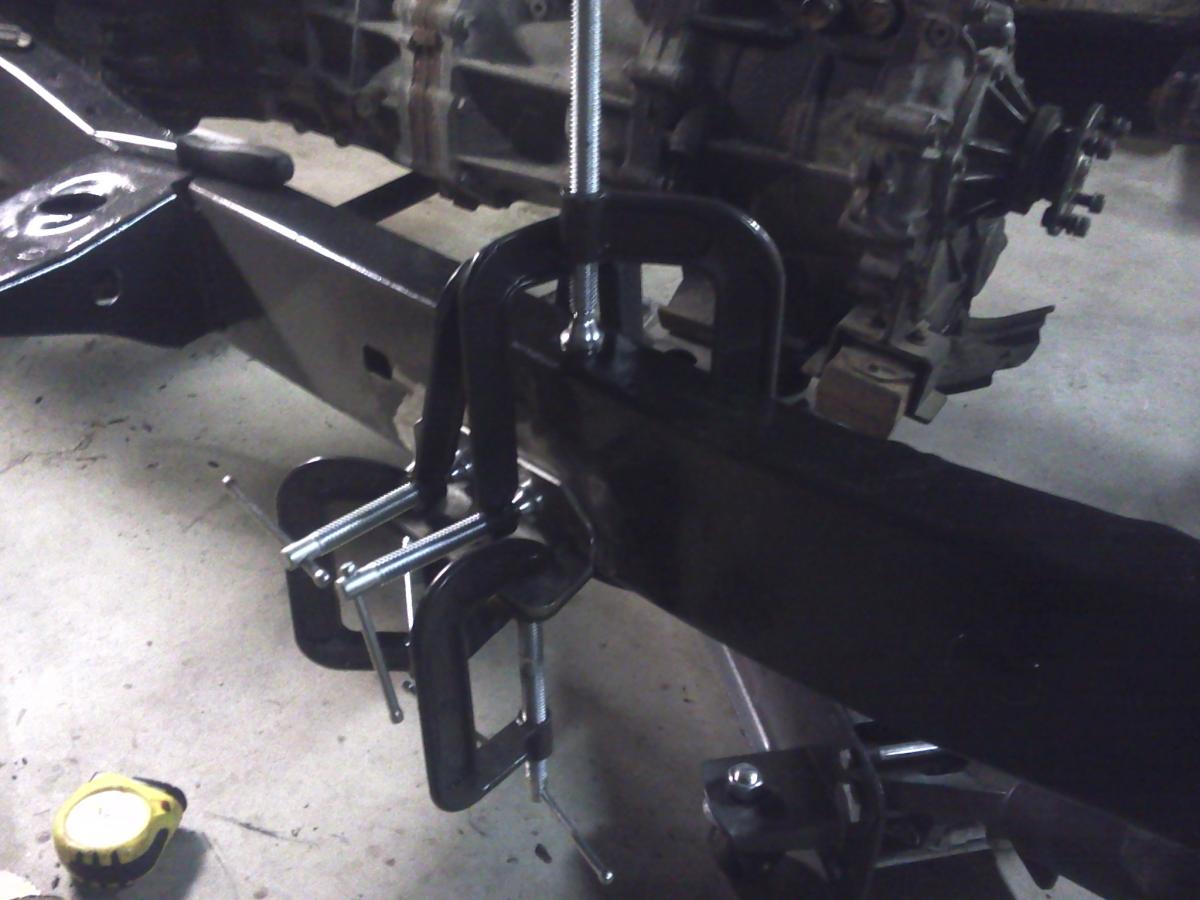
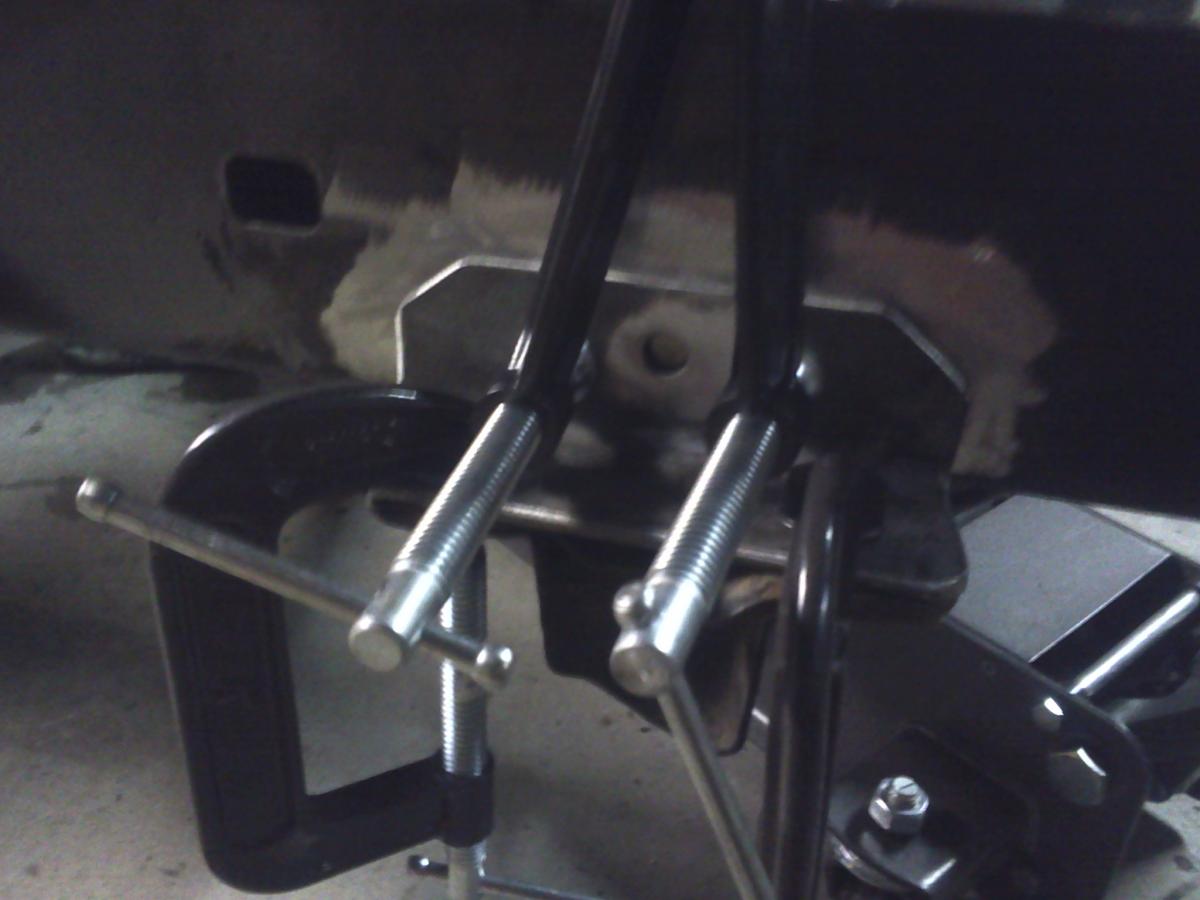
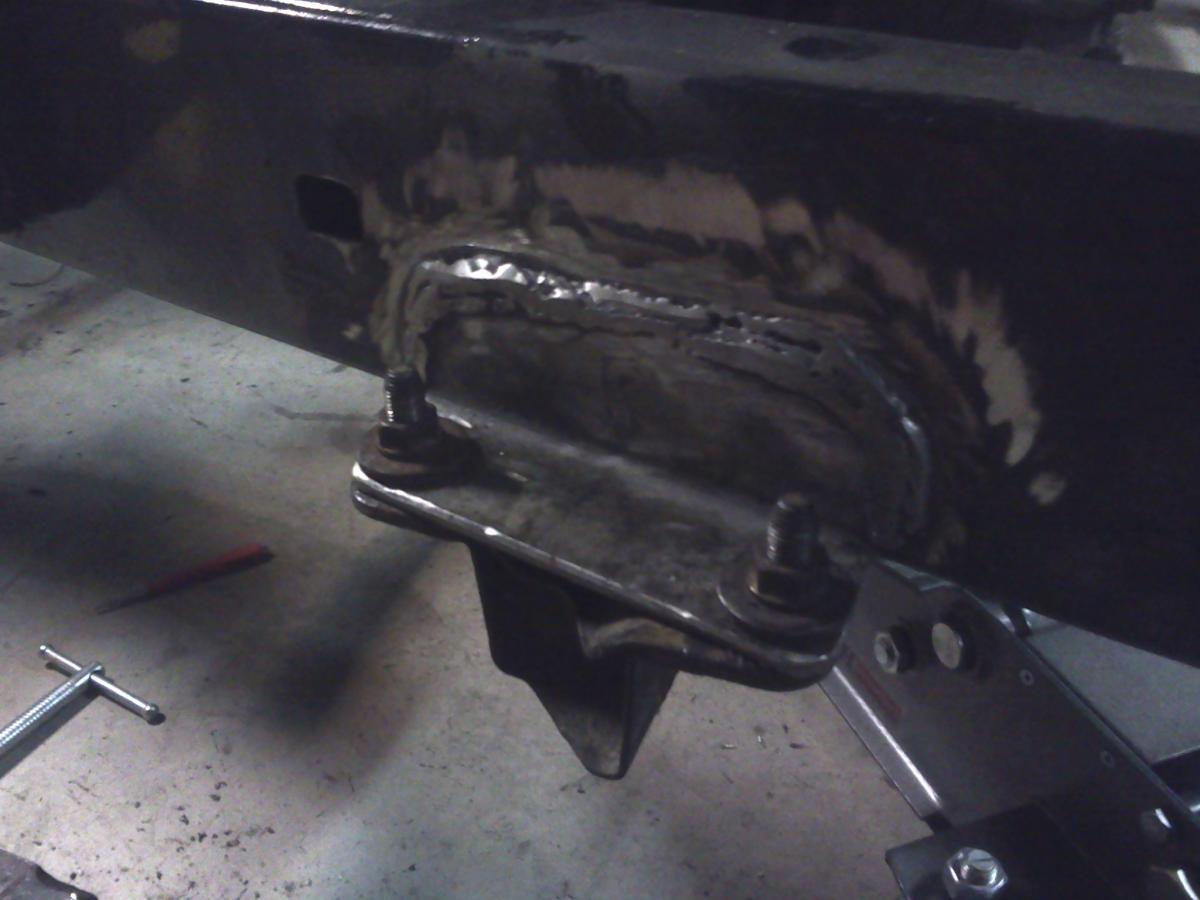
Sorry I haven't had much to post lately. I've been pulling parts from the 4runner which has been time consuming and boring. I did some clean up on Saturday in anticipation of the snow and picked up a little portable car port for the shell to live in during the winter. Got the flywheel, clutch, and trans/tcase hooked to the engine last night. Then started making some brackets for the transmission cross member (since there aren't mounting points). I only got one side done and need to make some more but it's going ok.
-
That set up look pretty similar to what I pulled off so if it doesn't work I bet it's a sizing issue. I'll reply to your PM.
-
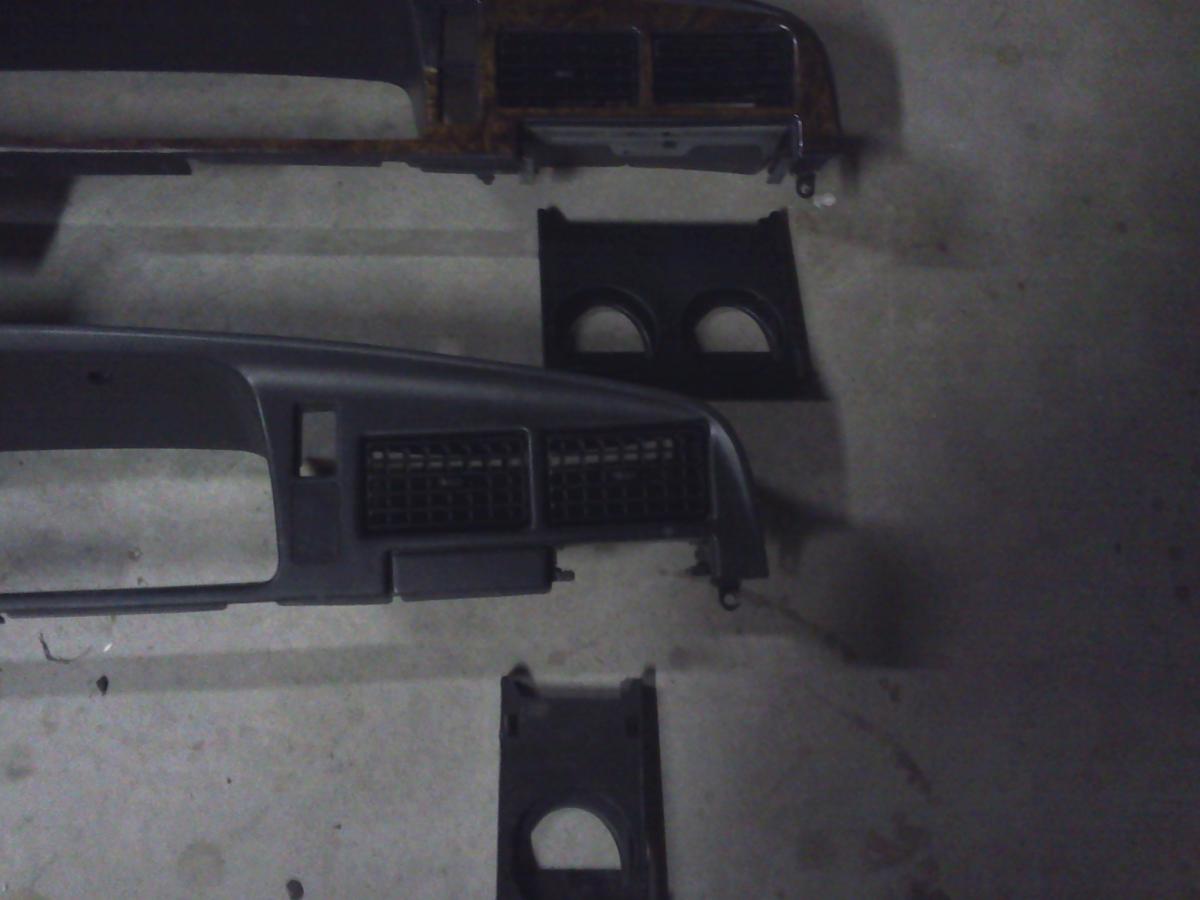
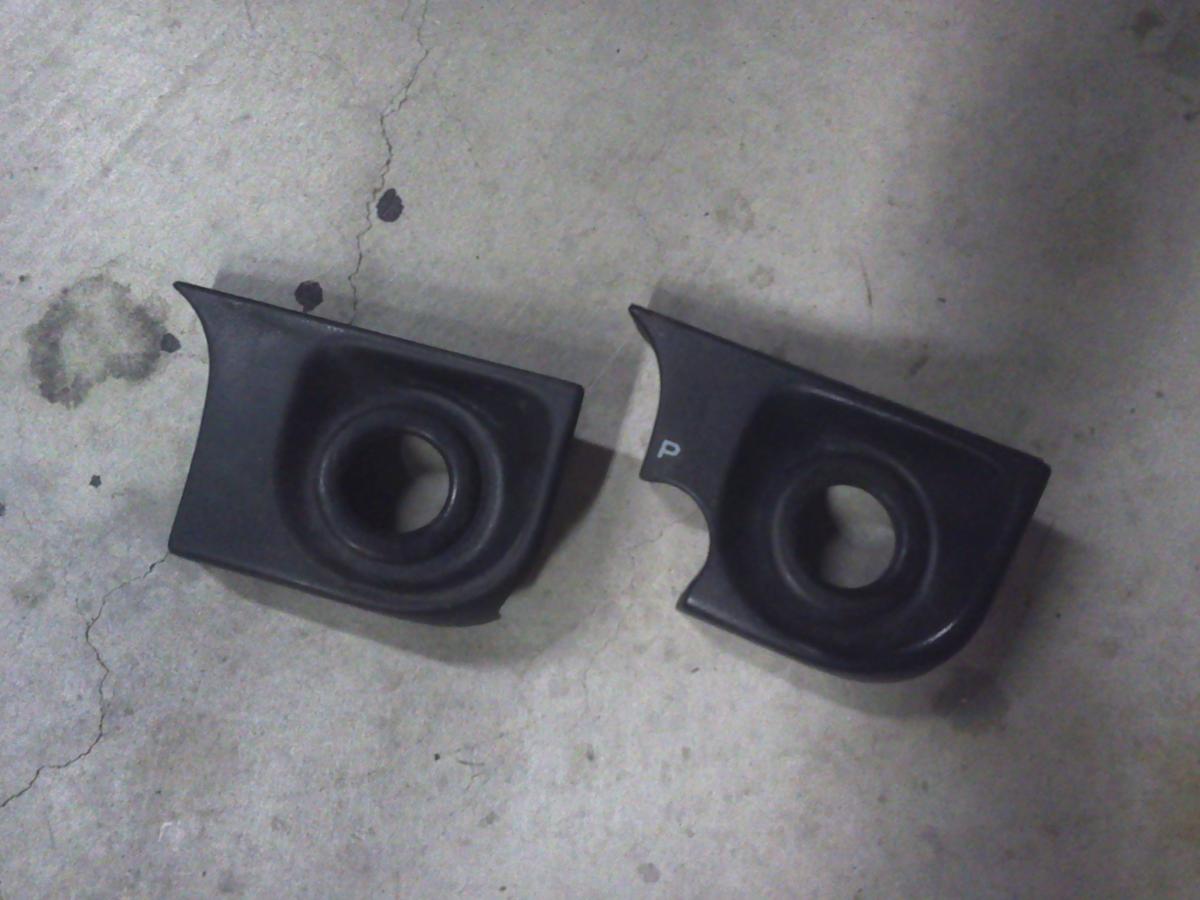
Yesterday I accomplished what is arguably the most important conversion of this. Changing from a single cup holder to a double in the cab. The single was there to accommodate the column shift level for the automatic transmission. Also, the 4runner is proving to be much more valuable than I originally anticipated. I also found I was missing almost all of the air ducting on the driver side and the speaker boxes. I pulled the dash out completely and added these parts back in from the 4runner.
-
I wonder if just the hubs would fit on the spindles. You'd have to figure out a way to mount the brake calipers for the huge discs but that might be easier than swapping the entire front end.
-
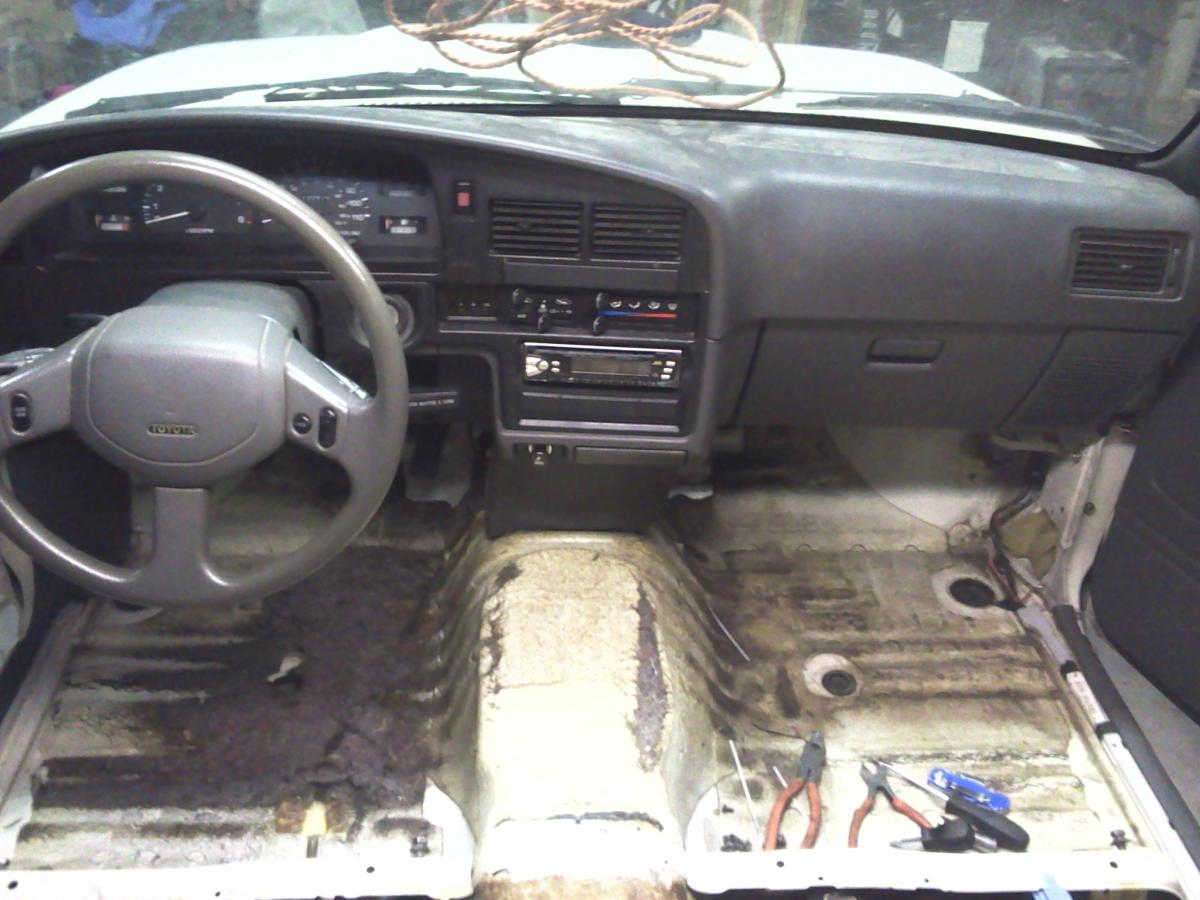
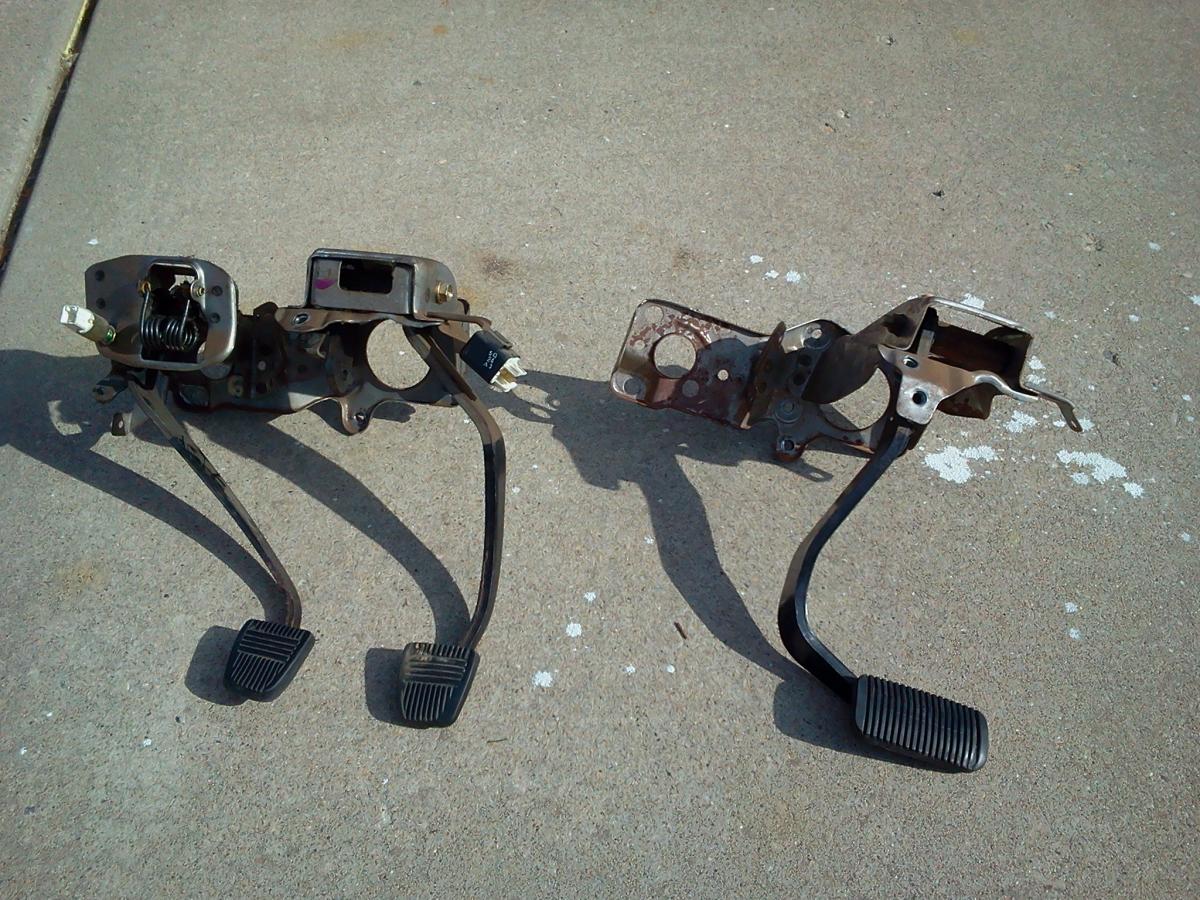
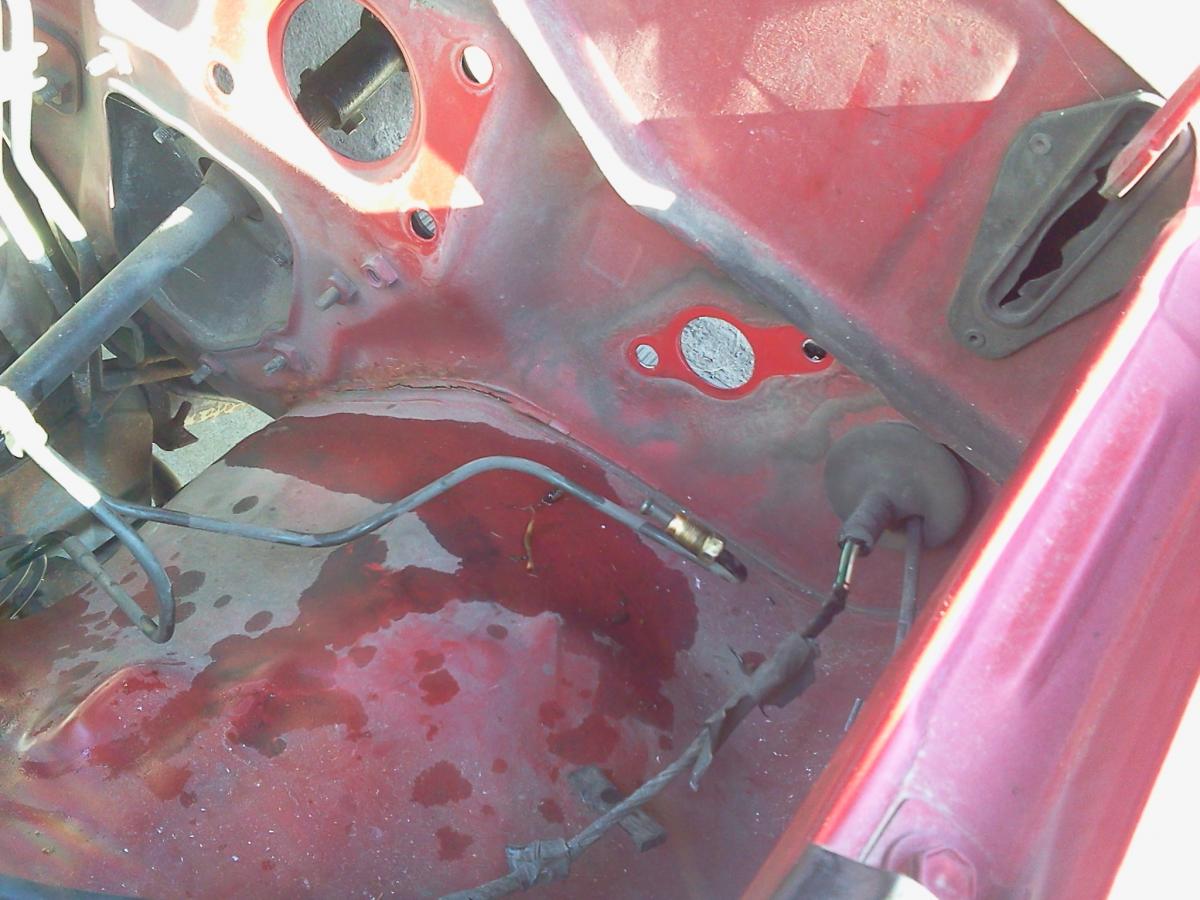
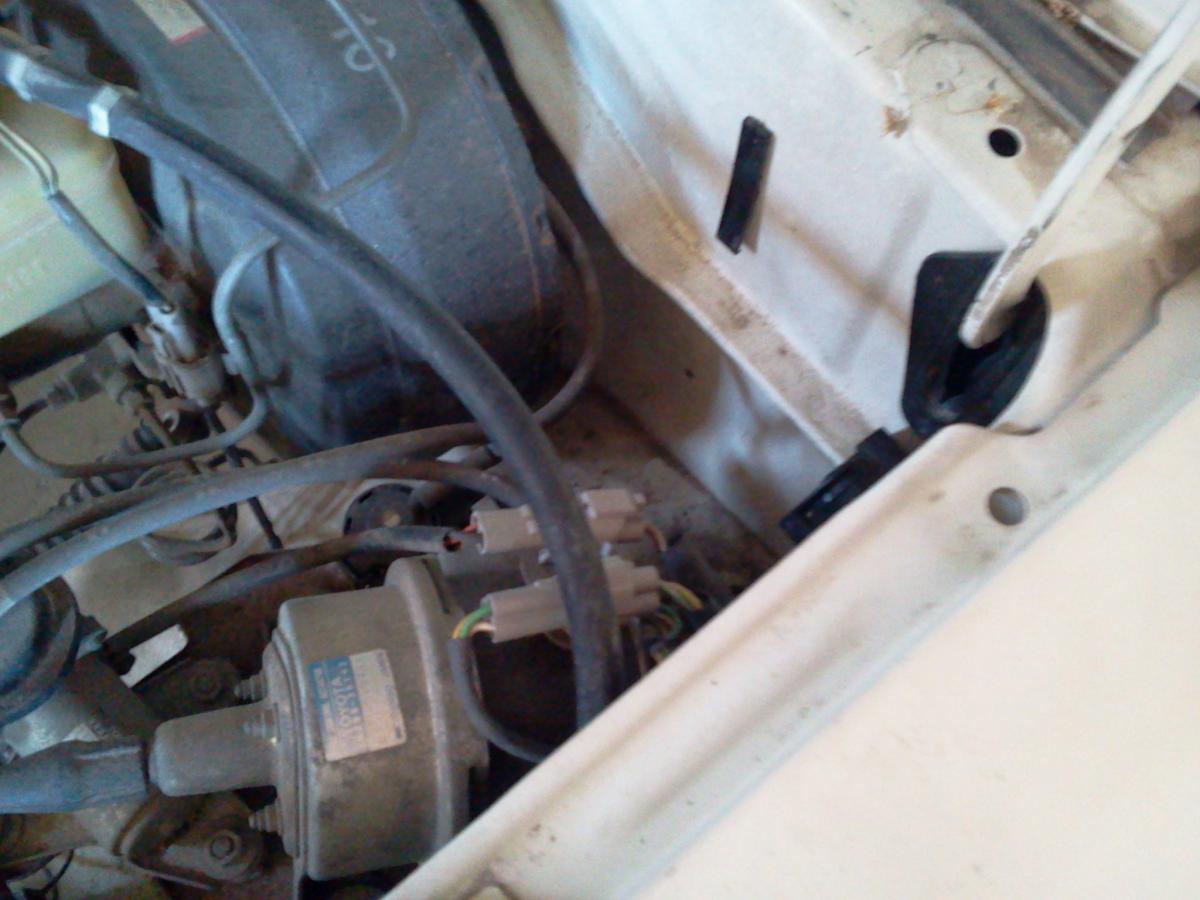
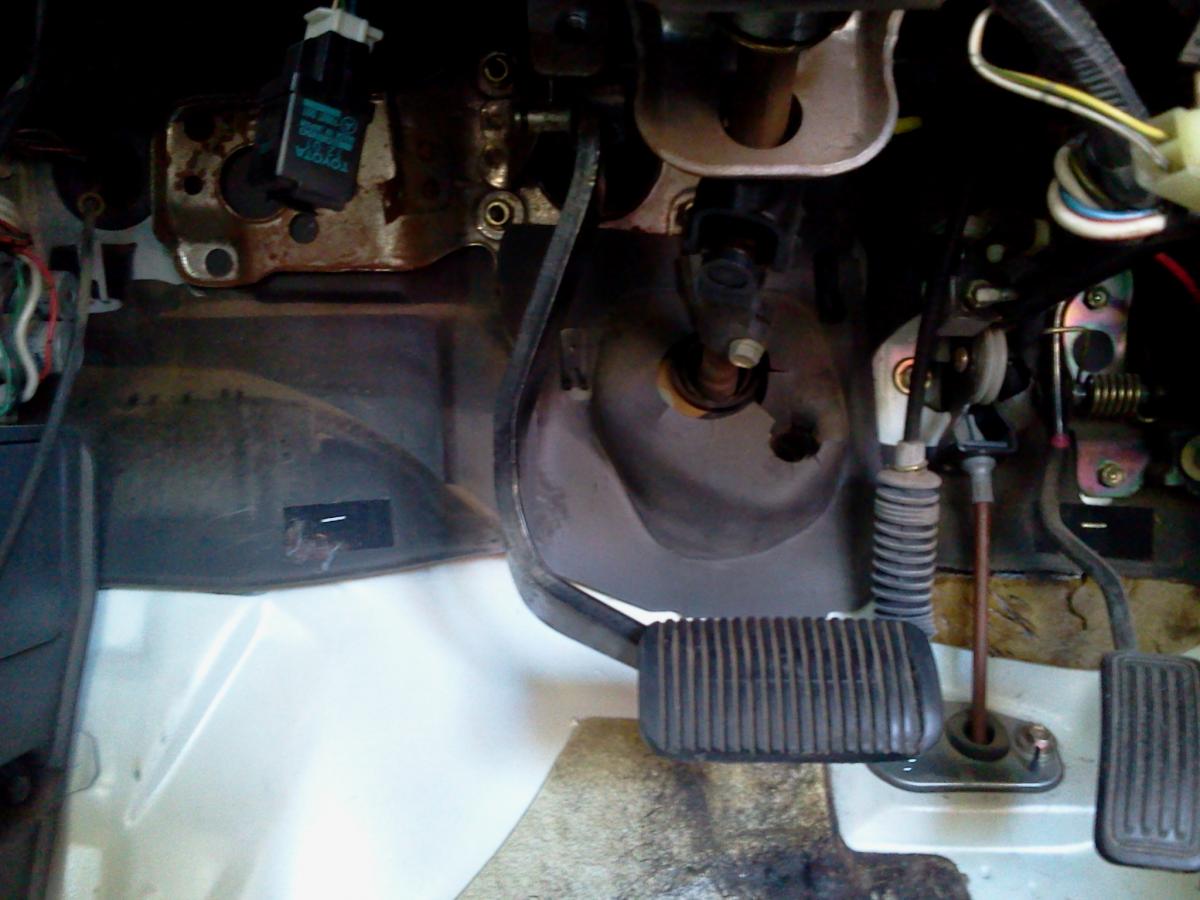
Finally put something together today! It's the first time I haven't been only taking things apart. This is good news. I pulled the clutch/brake pedal assembly out of the 4runner and installed them into the Sunrader cab. I was thinking I could just use the clutch pedal but the bracket also included the brake pedal as well. I had to take off the brake boosters as well. The removal and install isn't too difficult. It's all bolt-on parts. The only part that took away was making the hole in the firewall for the master cylinder plunger. I don't have a hole saw. I think that would be the way to go. Instead I drilled a bunch of tiny holes using the original pedal assembly (which has the place for the clutch) as a guide. Original pedal in the truck: Clutch master cylinder removed, look at all that room: A little tighter fit on the new one. I have no idea what all this extra stuff is for: Comparison of the new clutch and brake pedals vs. the old brake pedal: Pedals installed: Master cylinder installed:
-
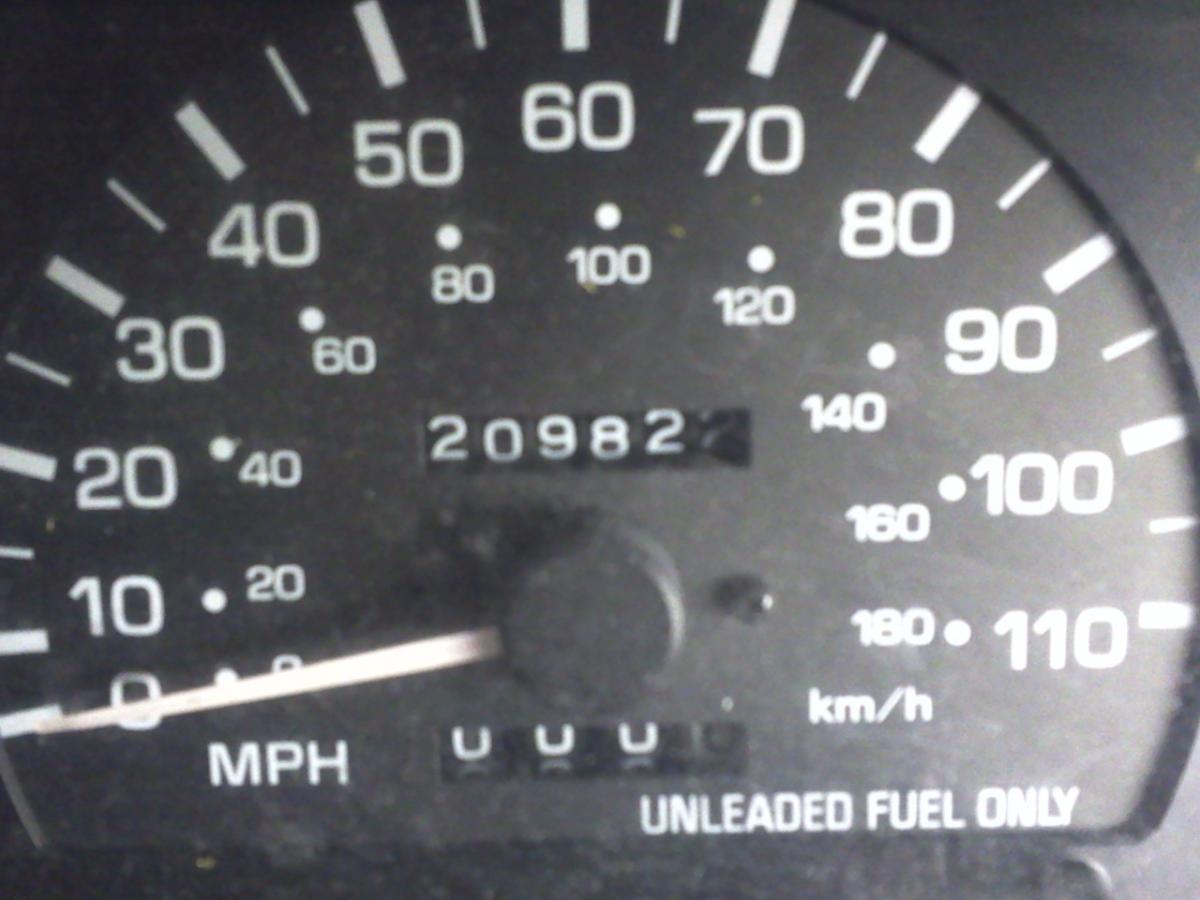
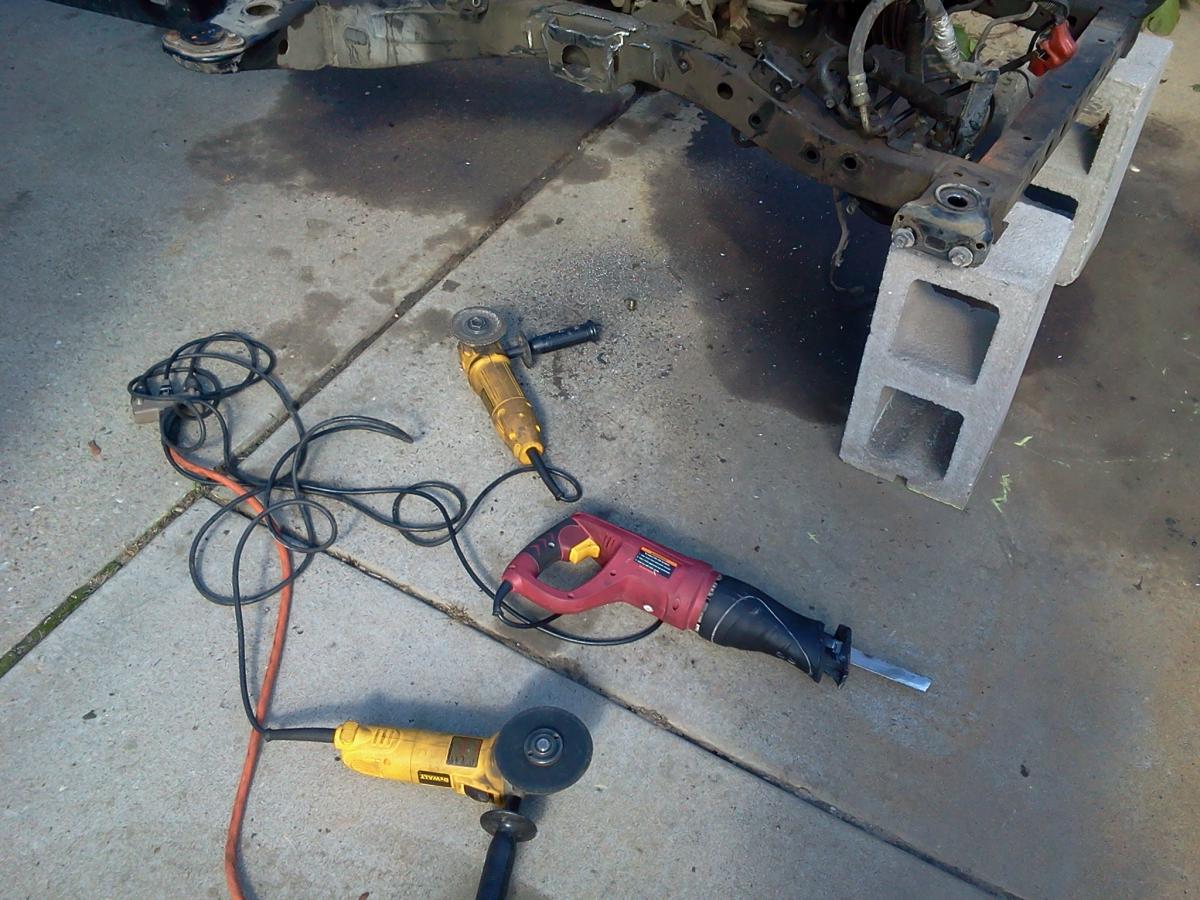
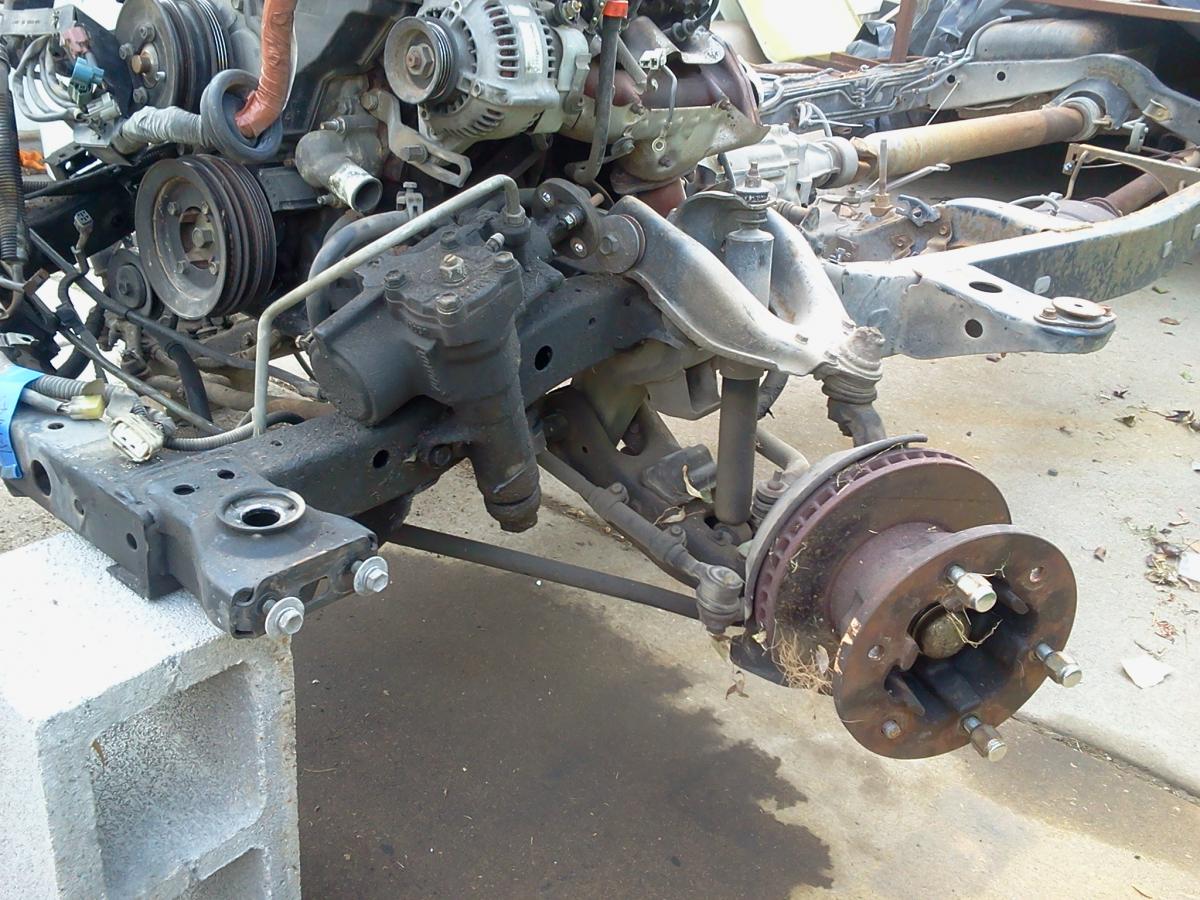
About 6 hours, 4 sawzall blades, 3 grinding discs, and 2 cut off wheels later....all the welded 2wd suspension pieces and the 2wd transmission cross member are off and clean. I also pulled the dash apart on the 4runner and pulled the gauge cluster out and changed the mileage to match the sunrader odometer. to Not much cool stuff to show for today but a lot of work.
-
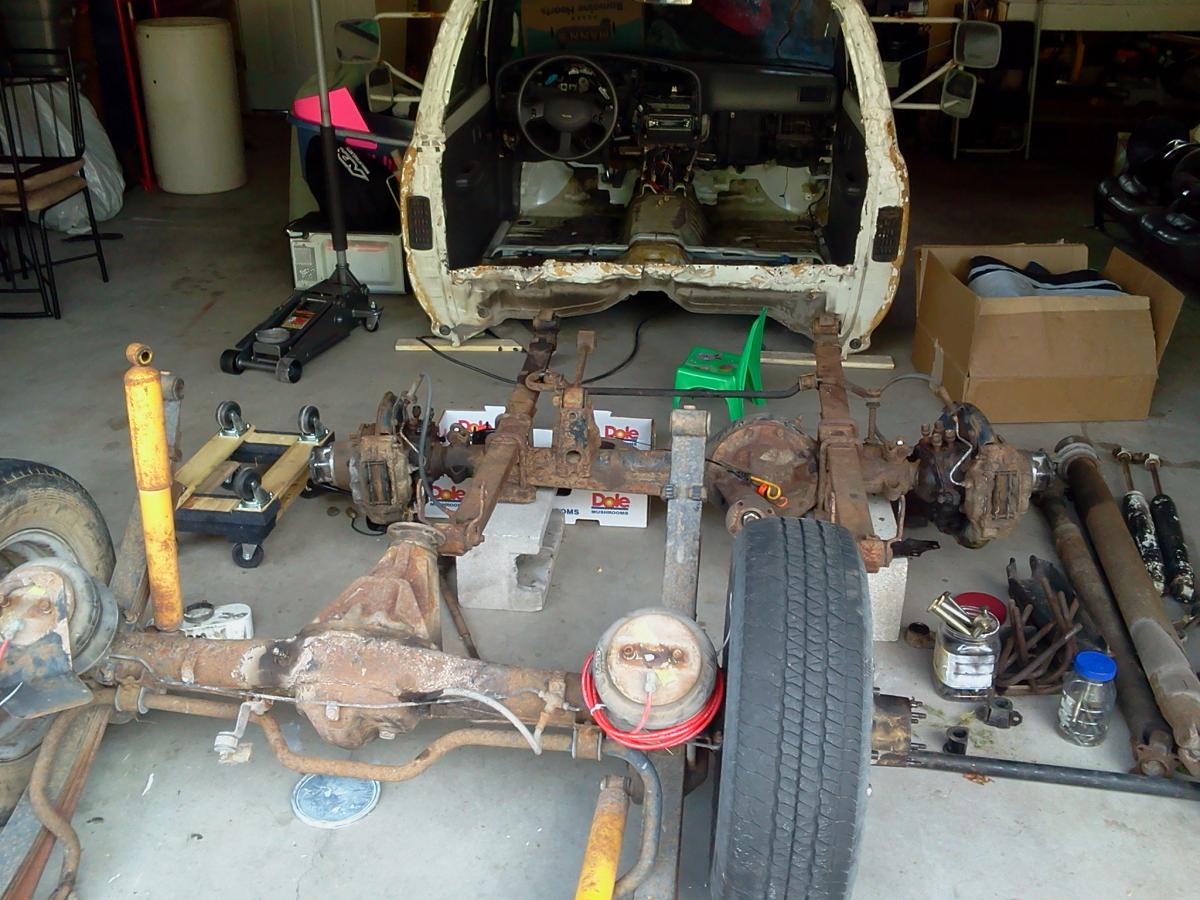
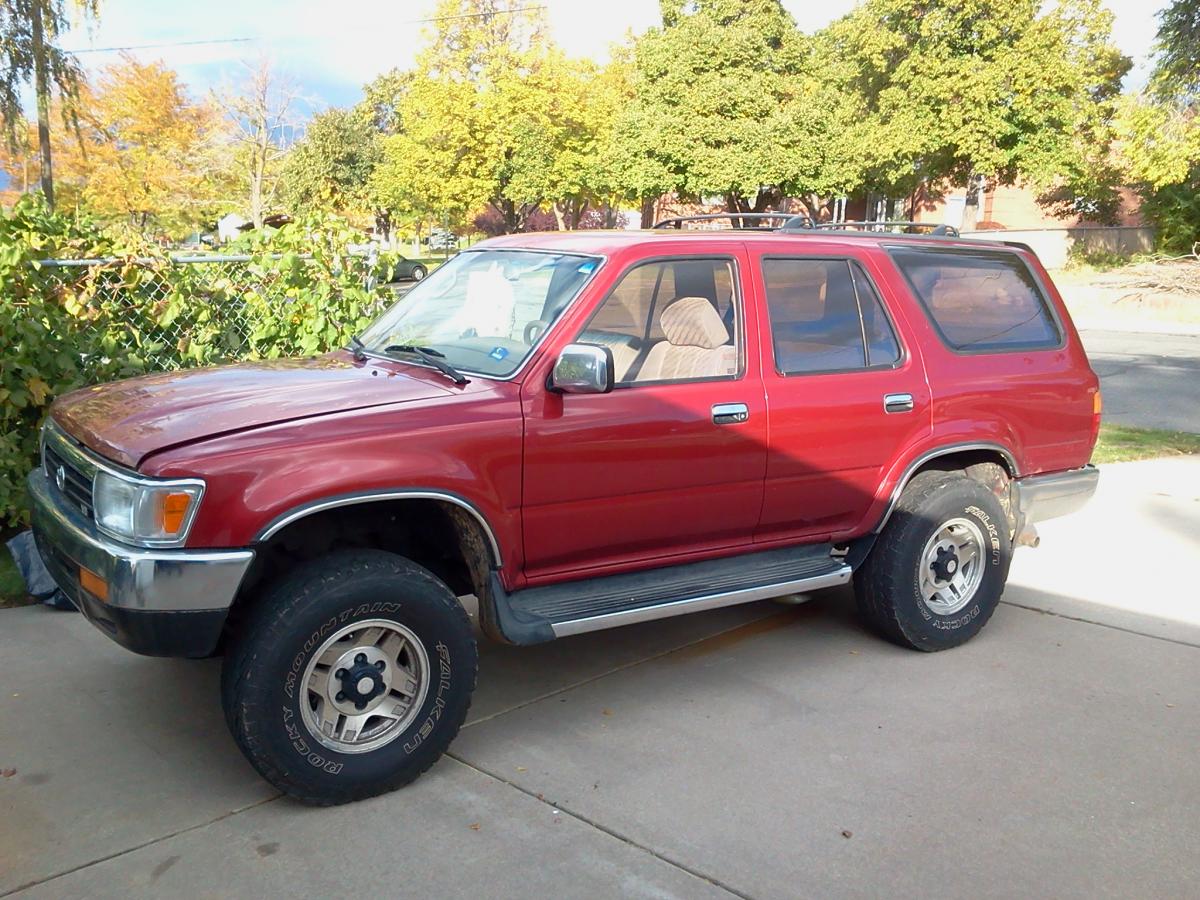
More progress. I pulled the rear end out, got the transmission out and sold, started cutting the remaining front suspension bits off, and got myself a donor 4runner. The 4runner has a blown engine so I'm planning on taking the following parts from it: Needed items: Transmission and T-case Clutch pedal assembly, master and slave cylinders, and lines Wheels and tires (which look nearly new) Probably change because they're nicer items: Hood, Front fender and grill (4wd version and newer headlights/grill) Rotor cap (mine got munched during the body removal) Might use: Some of the sheet metal to clean up the original cab Doors...maybe but probably not Speakers (if they're not blown, I'll throw them in the camper eventually) Intake (looks like some upgraded something) Other random bits depending on what I problems I run into Part out and scrap the rest
-
122,674 miles
-
The front hubs use the same wheels as the back. big, beefy rotors and calipers. I've got 7 14" duelly wheels, two have brand new tires (7 miles). I'm in Salt Lake City.
-
Well, it's been a long time coming but I finally got around to taking some more stuff apart. Anyone need any 2wd front end stuff before I scrap it all? I'm in the process of looking for a 90-95 v6 manual 4x4 truck or 4runner to use for the tranny, wheels, and clutch assembly. Trying to find something with less than 200k miles but nothing out there at the moment. I've still got plenty to do though before I really need that stuff so I'll be patient and see what I can come up with.