wadingthroughlife
-
Posts
145 -
Joined
-
Last visited
Content Type
Events
Profiles
Forums
Gallery
Everything posted by wadingthroughlife
-
Hey all, I browsed around but couldn't seem to find answers to if a powered vent / fan could replace the crank up vent over the bathroom of a 18' Sunrader. I wasn't sure how it'd get power other than drilling through the side wall or going to the light. If it goes to the light, does the light have to be on for the fan to receive power, or would they be independent? Just for reference: I'll hopefully be adding one of the Dometic Penguin II 11k btu rooftop A/C to replace the the rear-center roof vent, but I need to pull out the vent to see if there is existing wiring or not. I'm hopeful it was placed from the factory for the A/C option. We're in the South, so A/C will let us do some hooked up camping in the dead of summer or near the beach, but we'd really only want the Maxx Air for the other 3 seasons. I was hoping to replace the bathroom roll up vent with a powered vent to accomplish getting the best of both worlds. I'm not sure it being in the closed off space would add much ventilation throughout the truck though. Thanks for any info!
-
Overcab amber markers - none working
wadingthroughlife replied to wadingthroughlife's topic in Electrical
Where do the wires continue on to, aside from behind the medicine cabinet? To the converter/rear fuse box area? Just thinking about other access points to test on. It'd be super cool to get these going before replacing the taillight housings with led housings (etrailer slightly shorter replacements and filling the gap with abs panels) and moving onto the stereo/speaker replacement and rear camera. -
Overcab amber markers - none working
wadingthroughlife replied to wadingthroughlife's topic in Electrical
Noted! -
Overcab amber markers - none working
wadingthroughlife replied to wadingthroughlife's topic in Electrical
Hm.. So I have to try to find where it's going into them somehow. I'd super prefer not to remove the ceiling panel, but I will have to in order to install a solar panel at some point I guess. Maybe this project waits till then. -
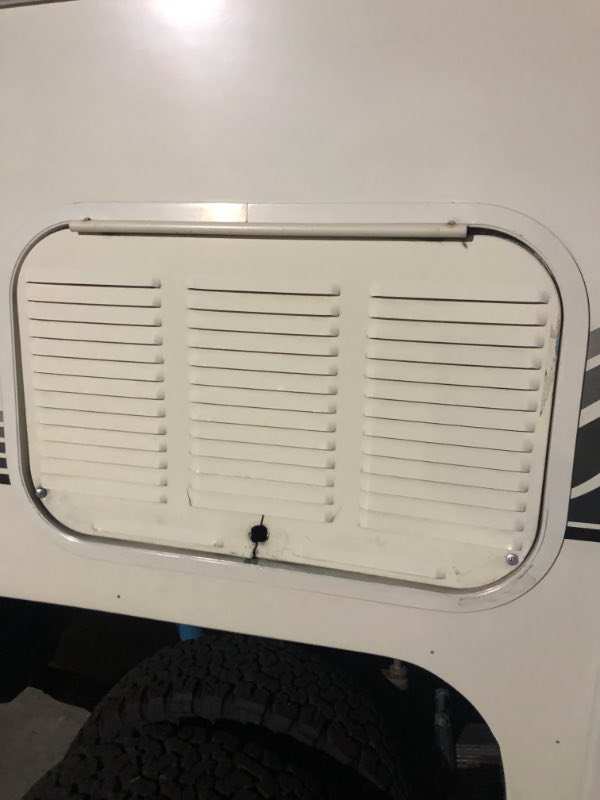
Refrigerator outside vent door
wadingthroughlife replied to wadingthroughlife's topic in General Discussion
Hey Linda, What parameters did you use for that search on their site to locate the Dolphin? Thanks again a million. -
Refrigerator outside vent door
wadingthroughlife replied to wadingthroughlife's topic in General Discussion
Worth a try on both accounts, and I super appreciate it. Hate to trim out the fiberglass, but it doesn’t seem like it would take too awfully much work. Just some commitment perhaps. thanks so much!! -
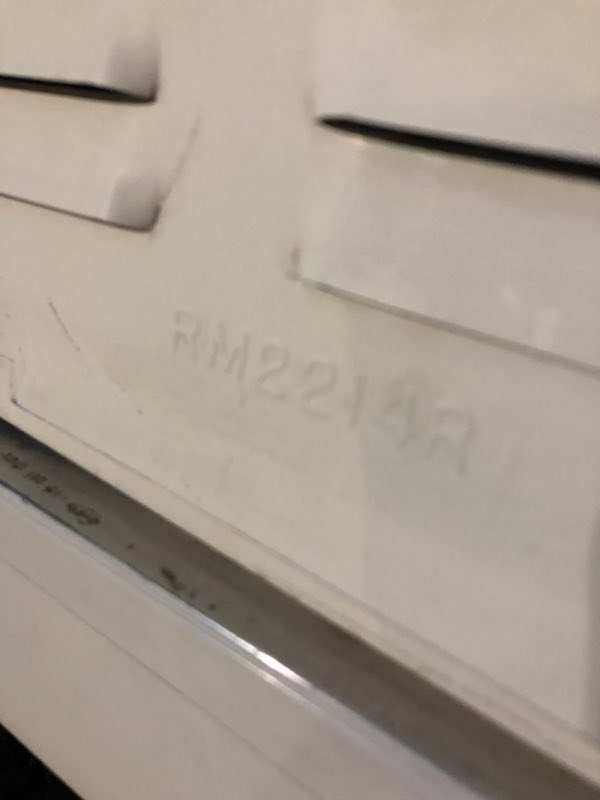
Refrigerator outside vent door
wadingthroughlife replied to wadingthroughlife's topic in General Discussion
Frame: 23.25 x 15 Door: 21.25 x 13 -
It does have the beam!
-
Howdy y’all! I replaced a few cracked Bargman amber covers over the cab of our ‘87 Sunrader, but since buying a few months back, they haven’t lit up. I read that they are all tied in the same line that runs down the whole truck to the rear, but I haven’t really put a meter on anything. I guess I was wondering which order of operations I should take to investigate. I definitely don’t want to bother re-sealing around the markers until they’re all lighting up. Thanks!

-
Looking into finding a replacement door for the outside vented fridge hitch. Looks discontinued on Dometic: https://www.dometic.com/en-us/outdoor/food-and-beverage/refrigerators/accessories/dometic-refrigerator-vent-47050 Mine is cracked and screwed to stay tight. 1987 18’ Sunrader. Anyone have any clues? Thanks!!!
-
Hahaha thanks!!!
-
Awesome! Now just to read the threads about where it’s safe to sit on roof and how to work on the hard to reach spots haha!
-
Thanks! Is this the product? The gel coat on ours was refinished n the sides but not the top, and it’s got a little of the white streaking on the windows after it rains. https://www.homedepot.com/p/ZEP-1-Gal-High-Traffic-Floor-Polish-ZUHTFF128/202860171
-
How is the zep floor wax applied?
-
Interested in recommendations as well.
-
Thanks! Enjoy that trip!!
-
I'm guessing inside versus outside measurements may allow the one WME posted to work with some trimming. May be worth ordering just to see if it could work. An original might be pretty hard to source.
-
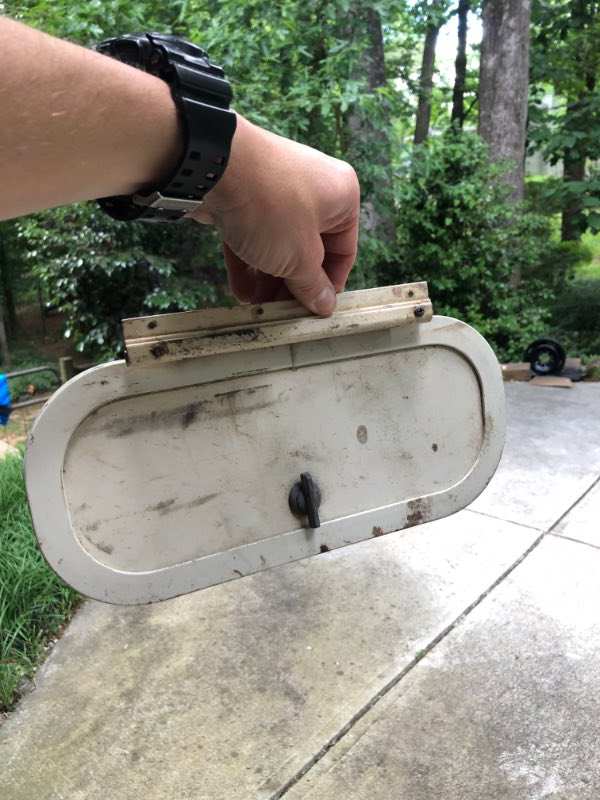
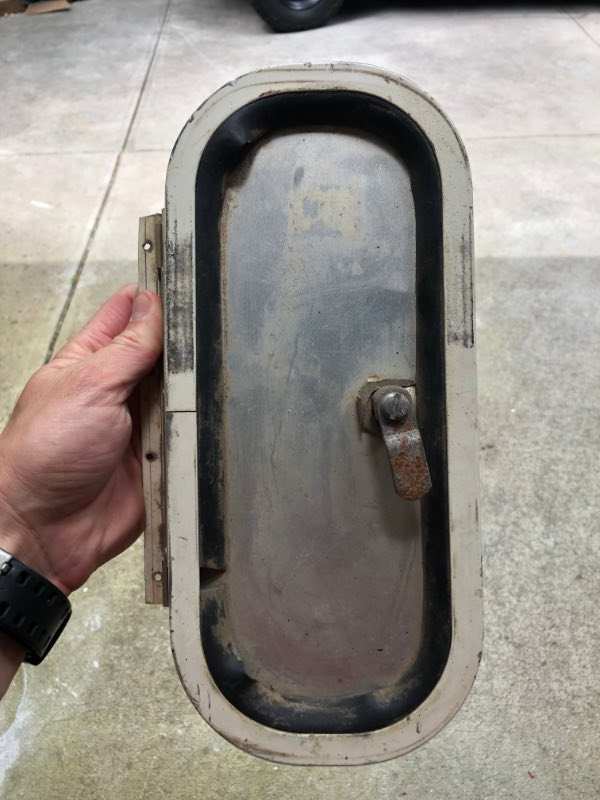
Pic of the hatch, sans seal as promised. Would love any tips on what to put back around it.
-
Great! I'll get pics of the propane hatch too.
-
Oh I was reversing course on the single spare, meaning, I was searching for a 2nd spare to match the fronts. I think it might save some expense but add weight. I wasnt sure exactly what to Google that would work as a spare front wheel. Thanks!
-
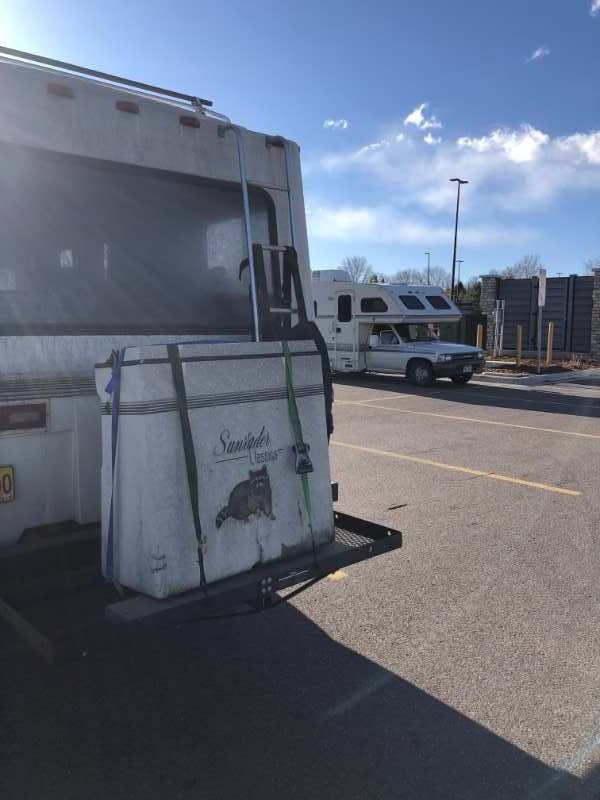
I thought it'd be easy, but I can't seem to uncover the correct search terms it would seem. (15" 6lug M12 wheel)? 7.25 wide per the C&C website, or is that 6x7.25 the lug pattern not rim width? It doesn't have to match the look necessarily to me, just the fitment specs. I agree it's interesting that the spare is the dually. I took some relief in being able to run the single in the event of a flat as you mentioned. Noted on the ladder mount. I honestly haven't even climbed it yet. The propane door is in the original cargo box in the basement. I need to find the seal / gasket that goes around it, since it wasnt included. It was removed to replace the on board tank system but not re-attached. I do at least have the door, but searching for the seal hasnt yielded results. I was guessing I might have to cut and fit a newer oval style hatch. Thoughts? Not the best pics of the rear; I'll get more. The rear bumper was completely re-welded with a new box bumper. The carrier is plugged into a receiver on one of those pressure mounted "sandwich" deals.
-
That all makes sense, Linda. Thanks so much. Great info on the lugs too. Perhaps the most reasonable option, sans the loss of space + extra weight, would be to mount an additional spare, aye? I'm guessing I could find another similar M12 6 lug 15" wheel relatively easily with some searching, right? Maybe mount it on the ladder.
-
Hey yall, I've been looking around at other posts, but I wasn't able to 100% answer my own question(s): What are spare tire/wheel options for a 6 lug front setup? I'd like to only carry the single under body mounted spare if possible. It's a 1987 4x4 Sunrader. It has the 6 lug rear axle and also, from what I read here, the factory 6 lug fronts that began in 1987. *With all that said, I have also noticed the lug nuts are different sizes front vs rear. Would this pose an issue using the body mounted spare that is for the rear axle/duallys? So I guess this is a 2 part question - The lug sizes front vs rear and if it's possible to use the rear designated spare on the front using spacers of some sort. I've seen some photos around the web but wasn't sure what to search for really. Thanks so much - I'm still due to introduce the truck and myself to the forum, but I'm sort of waiting until it's back from the shop getting the clutch sorted out.
-
I actually ended up grounding the isolator to the chassis as well instead of the battery. I’ll take a pic of the final cleaned up setup with the 4 post soon to share.
-
It seems to be fixed by adding the extra 4g ground from house battery to chassis. No more noise from the isolator using 12v without the engine running. Thank you all for the input!! The only odd voltage seems to be at the ignition post of the isolator. With the key in the on position, I see 10-11 volts.