jimiflow
-
Posts
35 -
Joined
-
Last visited
Content Type
Events
Profiles
Forums
Gallery
Everything posted by jimiflow
-
As I familiarize myself with this little rig, I'm realizing it's actually 1985. VIN search brings that up, but it's titled and registered as an 86... kinda confusing. Build date on drivers side door says June 85, Motorhome manufacturer info says July 85. My mechanic immediately called it out as an 85. I'm assuming it was sold from the motorhome manufacturer as part of their 86 inventory/model year? I dunno... just trying to sort out all the little nuances in this thing. It's both super interesting and kinda frustrating. Anywho, this is slightly challenging as there seem to be some quirks in 1985 year build. Check out those leaf springs... helper springs rather than a larger spring pack. And it appears to have air shocks? Note the little inlet on the shock in the pic above... I found this little valve on the rear generator mount when I was removing it. One line goes to each rear shock. Another interesting quirk is I found a spec sheet that shows 3.9 rear gear ration for the 1 ton and commercial chassis options Sooooo.... I'll be adding a rear gear swap and new leaf springs to my to-do list. This is what exploring has looked like so far with this rig. Looking forward to exploring more of PNW when I get it on the road (soonish!?) Fortunately it looks to have either been manufactured with the proper FF axle or was retrofitted as part of the recall...

-
WME, this is super helpful. You happen to know if a third member from a 95 4runner would fit an 85 pickup/commercial chassis?
-
What was the donor vehicle? I'm looking to do the same with 4.56, or 4.88... whichever I can find.
-
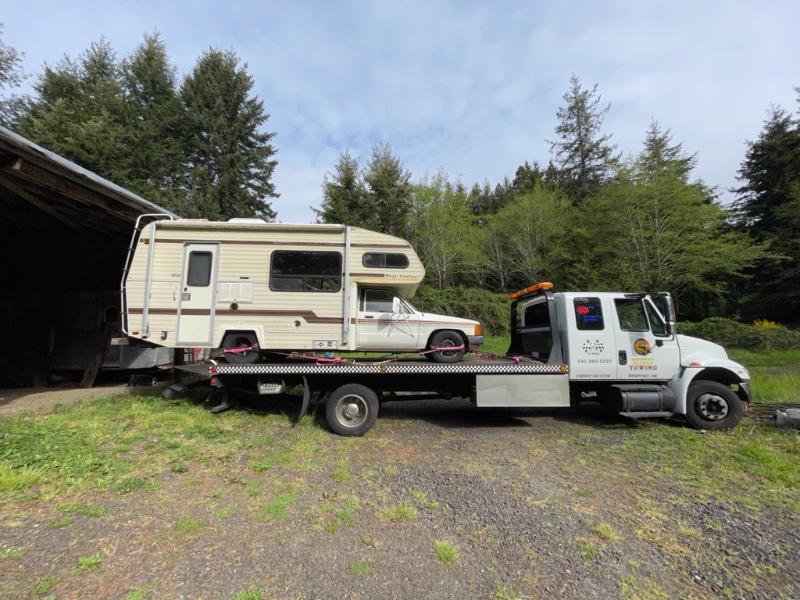
Bit of progress... she's been towed to the mechanic for the remanufactured engine to be installed!
-
So far, I've found aluminum in the walls and a combination of steel and 1x3 wood in the ceiling. Happy to have only found isolated water damage.
-
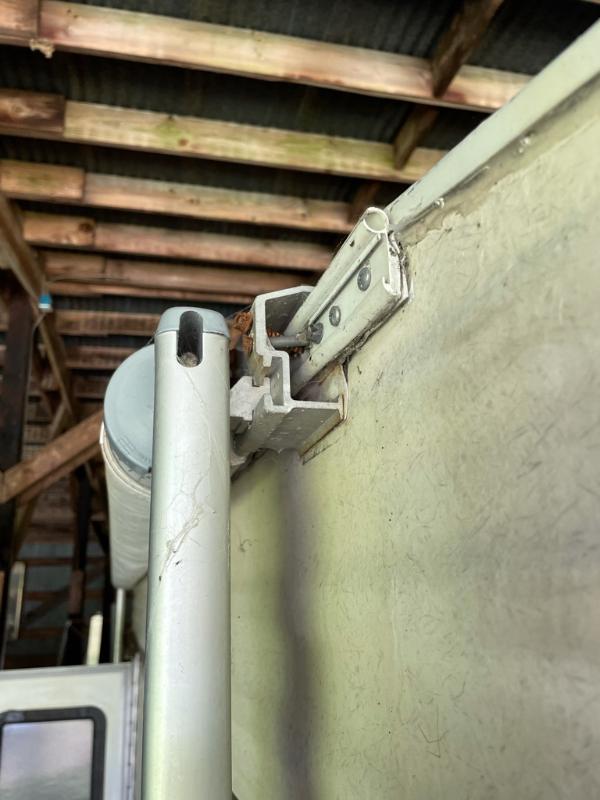
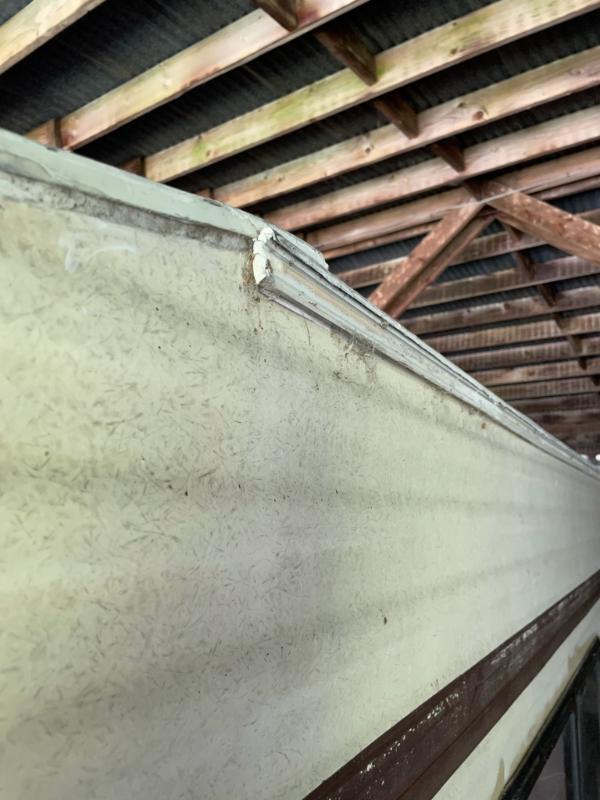
I've attached a picture for reference. Pretty sure there's a couple things wrong here... looks like the rail is installed upside down and the lag bolt looks like its pulled the rail away from the side a bit (saw a spider crawl up in the gap). Second pic is the driver side termination rail which also looks to be installed upside down... the gutter shouldn't be on the top, right?
-
Amazing work CrogDog! Excellent rebuild CrogDog! I'm just getting into my '86 Mini-Cruiser and discovered some water damage in the floor... I'd love to hear more detail on how you reinforced the floor on you rig? I'm guessing the floor structures are the same or very similar. Any additional input is appreciated! Feel free to message me if you prefer.
-
Combining different charging systems, Solar, House, and Engine...
jimiflow replied to thewanderlustking's topic in Electrical
WME- what are some “gotta have loads” you suggest. So far I’ve got water pump, fans, lights and refrigerator on my list. Probably gonna have a separate stereo in the cabin too. -
Combining different charging systems, Solar, House, and Engine...
jimiflow replied to thewanderlustking's topic in Electrical
I also have an ‘86 Mini-Cruiser. I quickly discovered the original 110v to 12v converter was cooking my house battery. I could hear the bubbling and see the smoke/steam coming off of it. Glad I discovered that quickly. Turns out the battery was just charging off the 12v panel without any kind of controller. I think it was originally wired that way, but can’t tell. It’s a 35yo unit so I decided to replace it, along with the rest of the electrical distribution system with an all in one panel that includes charging wizard for the battery. I went with this Progressive Dynamics product: https://www.etrailer.com/Battery-Charger/Progressive-Dynamics/PD4135K.html I got mine for around $150 in December... not sure why the price went up so much? Thanks COVID? I’ve yet to replace the house battery so can’t speak to the charge wizard functionality. Waiting to pull the trigger on a new battery until I’v decided on my solar set up and overall configuration. I will say the voltage is much better and my 12v reading light with built in USB charger actually charges my phone now. Small win. -
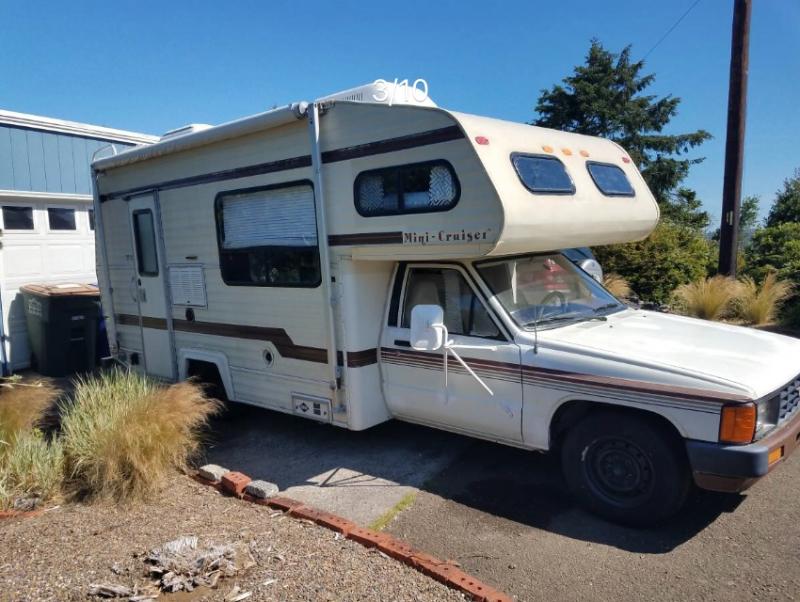
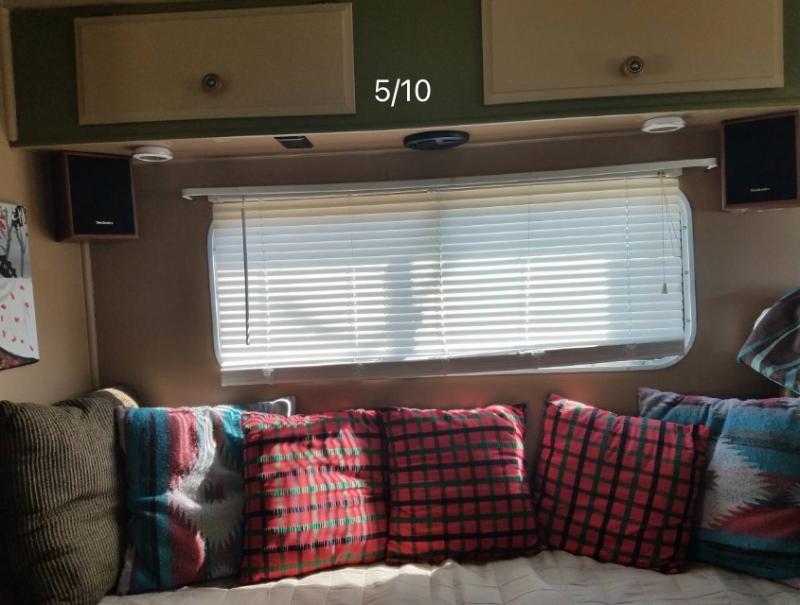
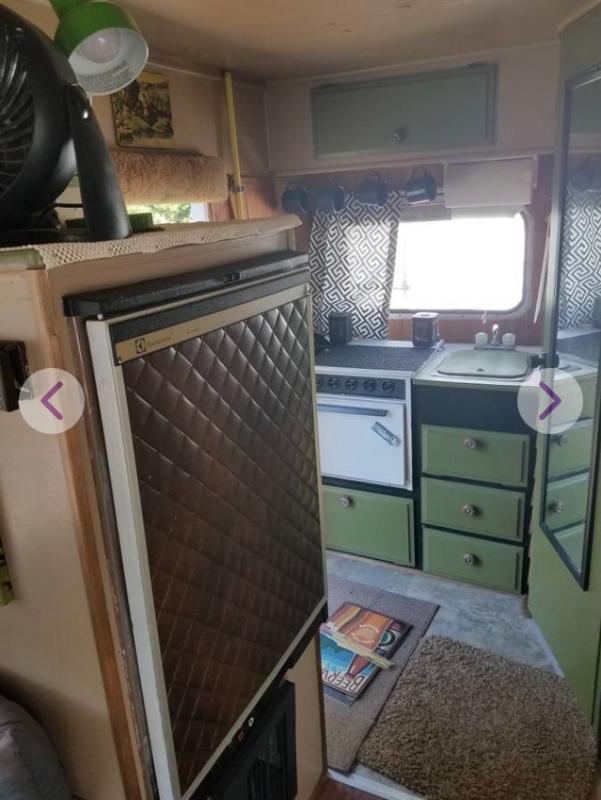
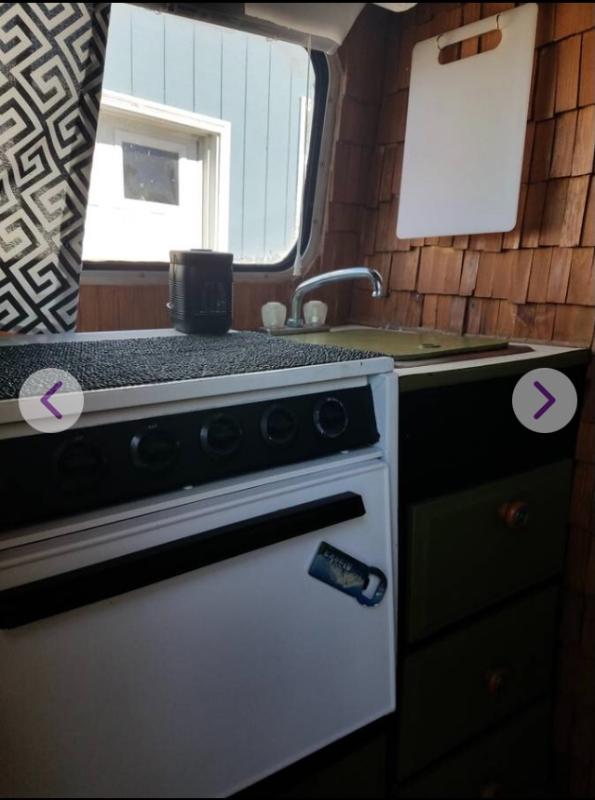
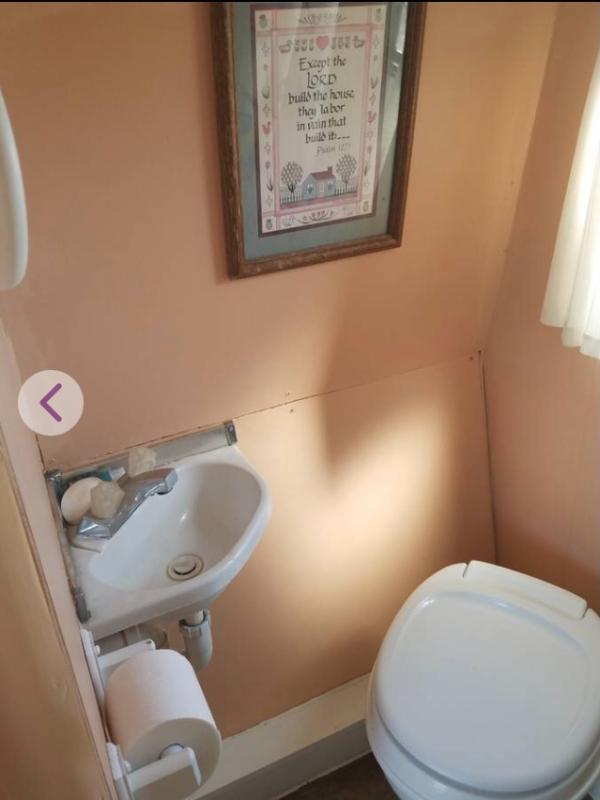
Hi all! First a huge thanks to everyone who contributes so much helpful info, advice, and general enthusiasm on this forum! 🙏 🙌 In November of 2020 I purchased a 1986 Minicruiser with the a blown engine. The interior had been somewhat redone and the cabin is pretty livable. It was priced appropriately (IMO) and I figure after the engine replacement it's still a decent deal. The rig (photos from CL add)- Pros: -The interior is pretty cozy already -New water heater less than a year ago (found the receipt in the glove box... $1000+ professionally installed 😲) -I have a dry place to store it through the winter (in my home town, about 2 1/2hrs away from where I live currently) -all original appliances (or is that a con?) -Its a Toyota Motorhome! Cons: -Blown engine threw a rod through the block so not a rebuildable core... I've gotta find a rebuildable core or pay a core deposit. -Normal water damage on the corners... previous owner said leaks were fixed and water damage repaired, but it looks like a quick fix with eternabond/dicor tape and a lot of caulk. -AC unit doesn't blow cold and the type of freon is uses isn't legal anymore (or so said the previous owner) -all 12v lights have been removed... previous owner ran everything off of 110v or rechargeable LED puck lights The Plan: -get it running by summer -get it water tight -paint the exterior (any suggestions, dos/don'ts are welcome... I'm just going for a clean white, DIY) -get interior more suited to my needs -add solar at some point What's been done since November: I was originally planning to work on the engine replacement myself, with all this new found free time thanks to COVID. I ended up getting some part time construction work where I have it stored so I've just tinkered a bit and stayed in it when I'm in town for work. In the meantime I sourced an engine which is local here in Oregon. https://www.oregonengines.net/ I went with their 22RE Super Stock. I figure a slightly more robust engine will be a good way to go with the extra load. They also recommend a mechanic that can to the install for a reasonable price and I'm going to have it professionally installed. I was able to keep the RV plugged into 110v where I was parked and soon realized the converter and battery charger were cooking the battery, so I installed a new electrical distribution panel which has 12v converter and charging wizard all in one unit. I should add a picture, but here's the link to the unit. https://www.etrailer.com/Battery-Charger/Progressive-Dynamics/PD4135K.html I traced some of the 12v wiring and added an LED reading light for the sleeping bunk, an LED light over the cooktop and a wired LED puck light. What I've learned so far: -As cute as the rear cook nook is, I really want more space to cook. Just a little bit of counter top and having the counter higher than they are now.... might move the cook area to be galley kitchen along the driver side wall under the window -These RVs were designed for hobbits. I'm 5'10" and can sometimes feel my hair touch the ceiling. The little corner shower pan is a slight step up so I have to hunch over a bit to shower. I definitely want to create more shower space. We'll see what I come up with. -In my tinkering I found that the walls are aluminum framed (yay!) Here's hoping there's some of that incorporated in the roofing as I dig deeper. -the overhead bunk is goin to need some attention/possible rebuild -I need to replace the roof membrane...Just received the EPDM membrane -I keep hitting my head on interior AC housing.... that thing has to go... Maxxfan will replace that -The termination rails on both sides are installed upside down? Shouldn't the gutter be on the bottom and the awning track be on the bottom? -The awning anchor points look to be a main source of water penetration. -THIS GOING TO BE A BIGGER PROJECT THAN ORIGINALLY PLANNED.... but I'm really enjoying getting into it. That's all for now. I'll add more when there is more. Thanks!