Search the Community
Showing results for tags 'cabinets'.
-
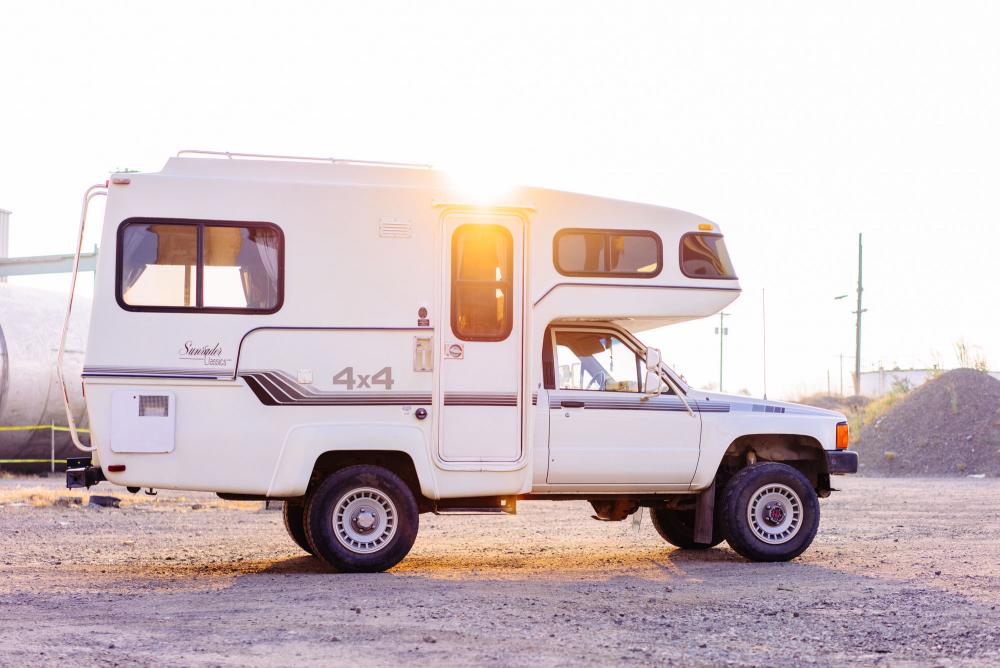
Hey everyone, thought I'd share some of the work my wife and I have been doing on our 4x4 Sunrader. We bought it in August 2017 in Bozeman, MT. We drove it around the west coast for a while and then made our way to Florida to begin a renovation on it. My wife and I have been living in a VW Vanagon for the last two years and decided to make the move to the Sunrader for the extra room, 4WD, Toyota reliability, and cheaper parts. We started the renovation at the beginning of November and are currently still working on it. We've heavily documented the process with photos, videos, and blog posts so I'll try not to be too redundant and post links here. I'll keep posting as we have more to show! Her name is Amelia and this was her before we started working on her. There's plenty more picture of her and her interior before we started the process over here: http://www.boundfornowhere.com/blog/2017/new-home-on-wheels Our goal was to start with a clean slate on renovation so we tore her down to the fiberglass and salvaged what we could. We found LOTS of dead mice in the walls which made us feel better about peeling back everything so we could get a fresh start. Here is a video of that process: We also cover it with some photos and writing in this blog post. This post also shows our first attempts at fiberglassing as we decided to teach ourselves. http://www.boundfornowhere.com/blog/build-out-week-1-2 I'll leave it at here for now. Don't want to overwhelm you with too much all at once. Be back soon with some more process. -MAK and Owen
- 102 replies
-
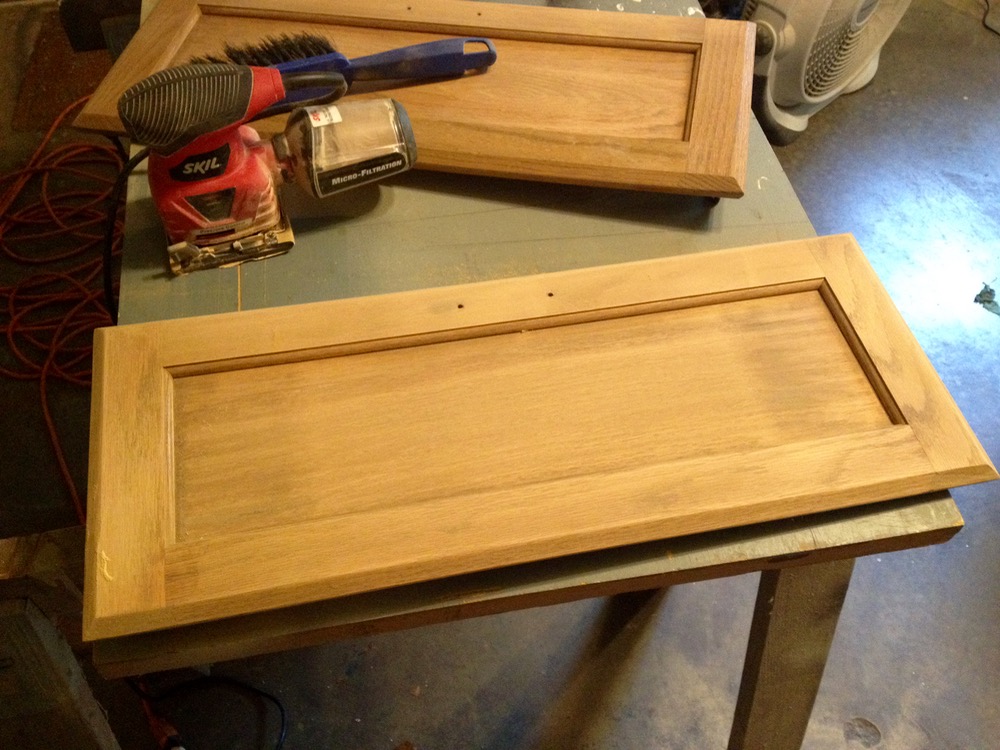
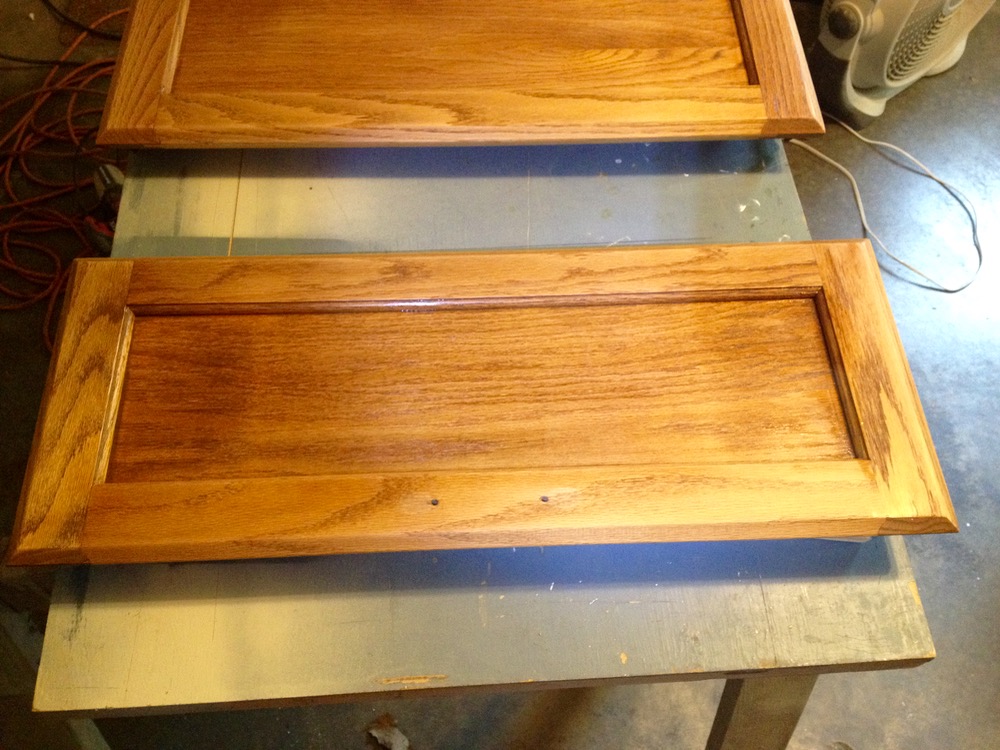
This is a pretty simple upgrade project that I'm working on, one door at a time. Basically, our 91 Warrior is full of these old cabinets that are darkened and weathered, finish peeling and flaking off, etc. We had originally planned on painting them all white or grey, which seems to be pretty common. But, I have to say, I like real wood, and these are quality oak cabinet doors, so I decided to go with a simple sand-and-refinish. Here's what I did: Remove cabinet doors and their handles. (Easy to do just a couple doors at a time, which is a nice thing about this approach—you can take your sweet time, spread it out over a few weeks or whatever.) Sand each door in the direction of the grain with 150-grit. Do it again with 220, and then remove all dust with shop-vac and wipe down with tack cloth or slightly damp, clean rag. Wipe on a light coat of polyurethane (I'm a big fan of the Minwax satin) with a clean, soft cotton rag. Wait 4 hours. Sand the new finish very lightly with 220 again. Remove dust and wipe on another coat of poly. Leave it alone to cure for a day or two. Reinstall doors and hardware. Here are a few photos of the before-during-and-after. (I also decided to clean and polish the dingy old handles, too. Any decent metal polish should work.)
-
Well, lets just say this '89 is not turn key. But I am embracing the project. I need to remove cabinets and hope to put them back in place without destroying the electrical or the cabinets. Its on the passenger side. There are lights and speakers installed with wiring inside the cabinet and mounted there as well. Any help would be appreciated.
-
Soooo, how is your paint job holding up on the cupboards and walls? I see some have opted for the make-over and I would love to know what works best, because the plastic wood has to go! I've painted paneling before and have always scuffed, used Kilz, or something, but I dread sanding. Is this the method here too?


