

LittleShack
-
Posts
120 -
Joined
-
Last visited
Content Type
Events
Profiles
Forums
Gallery
Posts posted by LittleShack
-
-
On 2/26/2018 at 3:36 AM, wonderabout said:
Yes your 92 should have an aluminum frame work on the sides only. I beleive it is 1.5" square. Hope this photo helps. Look on the right side, you see two angles supporting the door frame

This is great! Thanks! I can see now how things look underneath it all and it gives me a much better idea of what I'll need to deal with as I go about this project. I have already begun removing the wet wood at the front. It seems to be, at this point anyways, fairly contained to the area in front of the metal joint that goes from one side to the other. I am hoping for the best, but want to be prepared for the worst. Your input and advice is much appreciated.
-
On 2/25/2018 at 4:37 PM, DanAatTheCape said:
pretty sure the cabover is all wood. The metal in the back is basic framing. You need someone who likes working with wood - if you search around this forum you can find several examples where people have done the job. Lots of time and some investment in material. If you a not a craftsman (with the time) or have a relative or friend, sounds like you might be totaled, Here is a pic of a wrecked 92 spirit (the semi truck "won").
This literally made me feel sick! How awful!! But thanks for sharing. I can see where there is some metal framing on the edges.
-
Thanks to you both!
-
As we have discovered that paying professionals to repair the cab over bed base on our RV is out of the budget, I'm now intently researching all I will need to know to do the work myself, with my hubby's help. I haven't been able to find anything about the inner framework on a Winnebago built model. The guy at the RV repair shop mentioned that Winnies have aluminium frames, which makes them easier to repair due to the frame itself not rotting. But, I haven't found anything that mentions that online. Does anyone know or know where I can find this info? Thanks!
-
Got the RV in to the repair shop and have received the estimate. For the replacement of the cab-over bed base, possible wall damage, plus all the hours they believe it will take just removing old sealant to replace it with new, they have given me an estimate of $4,186.89 cdn. Then, for them to reseal the whole rig, not including the part they will have resealed from the repairs, another 2200. This includes removing old sealant. So, needless to say, we will NOT be going this route. The hourly rate is $110/hr. The parts come to less than $1000. Anyhow, my darling husband will help me through this part of the RV reno this summer. Actually looking forward to it! On the plus side, the tech at the repair shop was super impressed with the condition she is in, despite the rotten area. I am now beginning the process of gathering all the info I can on this and appreciate all of your input!
-
On 1/27/2018 at 3:35 PM, Derek up North said:
Thanks Derek!! The photos in this are my rig to a T!!
-
That's awesome!! Got one for a 1992 Itasca Spirit?!!
-
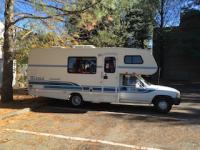
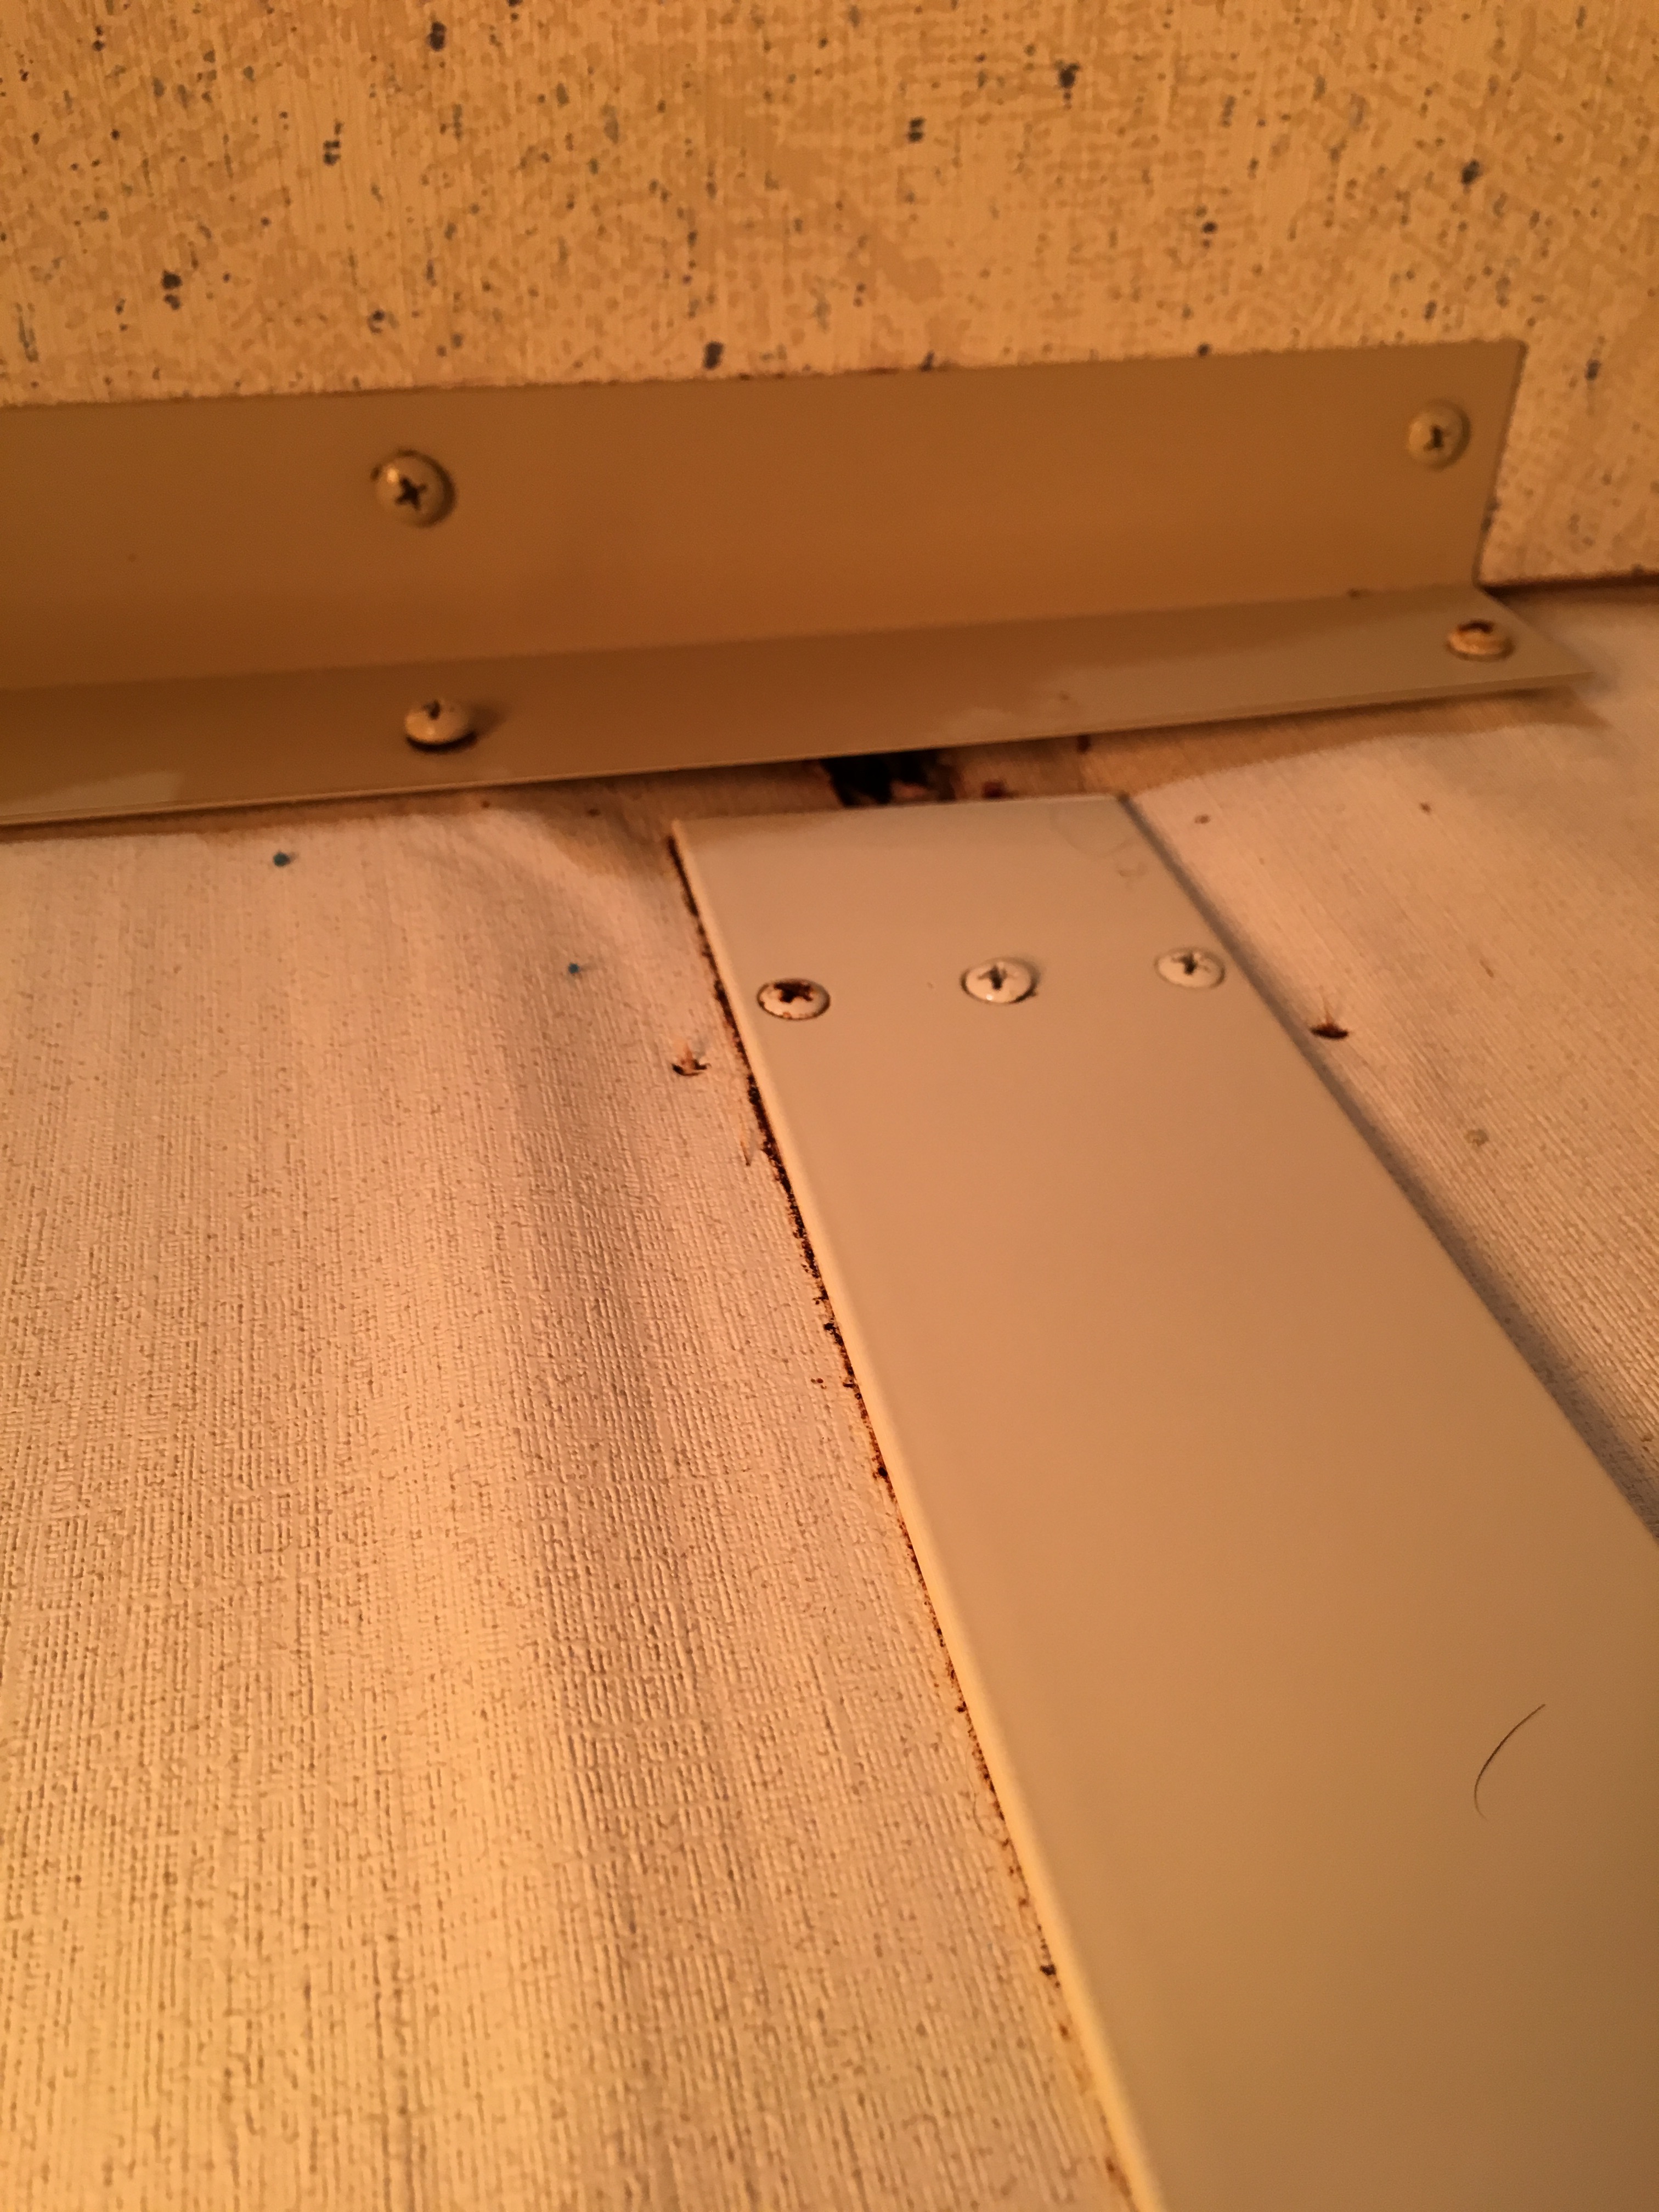
I thought I'd start a thread on dealing with the bit of rot I discovered in the process of painting the interior of the RV. I had begun the painting process in the kitchen area and was working my way forward. I was due to head to my daughter's with the RV to stay and help her out for a few days after the birth of her 3rd and would be sleeping in the RV while parked in their yard. We have been having an extra wet winter here on Vancouver Island (and that's saying ALOT!). I had been investigating drip from the over cab vent and had been catching the drips with a basin. It was a slow drip and hard to pinpoint, but it didn't seem to be from the frame of the vent. Finally realized it was actually coming through where the rivets attach the plastic dome to the wind up mechanism. It dripped worse when the weather was windy as well as rainy. I checked under the mattress to see if it had gotten wet and found it to be quite damp. So, was removing it to take inside and dry out. After getting that awkward beast off the bunk, I noticed on the driver side of the bed platform that the wallboard wood look a bit warpy. On further investigation, it was downright rotten!! It is a fairly contained area, which I'm hoping is a good thing. The pictures below show the area with the damage/rot. The screws in the metal support right there are not holding anything. I have since taken it to a local RV repair place that was recommended to me by a friend. They were really helpful in showing me what had probably happened. The sealant was obviously pulled away from the trim and over time, it has gotten wet and rotted. They plan to peel back the fibreglass siding to get at it and replace the rotted area. The repair guy said as it was a Winnebago, it would have aluminium structure supports, making it easier to repair. They pointed out a few other areas where they could see that water would/could be getting in and said they could reseal the whole thing for me. They showed me around their shop where there were at least 6 other RVs being worked on. One was a 30 foot Class C Frontier with all the siding and windows stripped off. The owner was having the wiring redone, insulated and any areas of rot replaced. A huge job! It was a 1985! It made me feel slightly better about having to pay to have mine repaired. If it was cost efficient for the owner of this oldie to have all that work done, they couldn't be too outrageously expensive. I have mine booked in for Feb. 23rd. They will give me quotes on all the work prior to doing anything. They will call me as they work on it, getting my ok to proceed with what needs to e done.
In the meantime, I have sealed some of the seams myself as we continue to have wet, wet weather. I have successfully stopped a leak that was coming in on the passenger side of the over cab with Pro Flex RV and was the reason the underside of the mattress was wet. I have had an electric heater drying out the rotted area and the new leak. I now have it at the back in the bathroom in the shower drying any wet that may be there where I found the seam needed to be sealed. I will update here as to the work that is done on it, costs and any further dilemmas. I did have to take it in to the Toyota dealer to have the hood latch fixed last week. My son in law was all set to do some work on the engine for me and wasn't able to get it open! It cost me $110cdn. for them to get it open and then clean up the latch mechanism and reattach the release cable. Yikes!
-
1 minute ago, LittleShack said:
I will call and ask about this as it should probably be done on mine now too. I'lll let you know.
Sooo... I called and asked and it is NOT something they do as part of the HG replacement.
-
12 hours ago, hunkaman said:
littleshack, I would appreciate very much if you could ask the service people where you are getting your HG replaced, if when doing a HG, replacement is a valve adjustment part of the process of replacing the HG ? I also have a 92, mine had the HG, done about 1998 with 28k miles on it, it has been generally advised to have the valves adjusted at 60k. I currently have about 57k, soooo, if I knew that the valves were adjusted at the time of the HG, I could assume, (in my case) I wouldn't need to worry about the valve adjustment for many, many, more miles. if valve adjustment is NOT usual and customary during a HG replacement, I will have the valve adjustment scheduled in the next 3k miles or so. thanks in advance for your help with my question. joe from dover.
I will call and ask about this as it should probably be done on mine now too. I'll let you know.
-
My 92 is in the shop for the head gasket now. It's been there for a few days now. It was mentioned by a fellow Toy RV owner to have them do the Knock Sensor while they are in the engine. Is this something I should consider?
-
On 11/5/2017 at 9:57 AM, Derek up North said:
Did you have any success getting answers to my questions?
My 1992 headed into the Toyota service department today ready to be worked on tomorrow. I will see what I can find out when I pick it up.
-
When it stops raining sideways here, I'll go take a photo of the rack. The spare is right above it and it is attached with an EazeLift.
-
On 10/27/2017 at 5:09 AM, Derek up North said:
A couple of bits of info you could try to get out of your contact:-
- Does the SSC include checking valve clearances?
- There's a report floating around that the SSC ends at the end on this year yet Toyota's website says that all SSCs have no expiry date.
- Over the years, a few people have posted their invoices from having the HG SSC done. 1 included oil (but no filter!), 2 didn't. Maybe you could ask your friend if there's actually a Toyota 'List' of what's included and what's not!
I got the required papers from my Toyota dealer friend, and am good to go. Now, I just have to wait til the snow that fell here in the last couple days melts and I can get my RV to the dealership! If it's not one thing, it's another.
-
My Itasca Spirit has a rack on the back and I would like to use it to carry folding chairs, toolbox, sun canopy...What do others use to keep things safe and dry on the racks some have on the back of the RVs? Something lockable and bolt-on-able would be ideal, but also watertight. Thanks!
Sue
-
12 hours ago, Ctgriffi said:
Yep, I use an older-model iPhone to stream Netflix/Amazon to the TV, so it should work for you. You'll just need the correct adapter for the phone-to-HDMI connection, depending on your model (research before buying!).
- AWESOME!!!!!
-
Darrel, that is quite brilliant! Thanks for that!
On 10/25/2017 at 4:18 PM, Ctgriffi said:To answer LittleShack's actual question, however: I would highly recommend this mount which works great for the size of TV you're likely to use in these little rigs: http://a.co/3bcoAuE
Also, you can find the post about my TV install here
And thank you Ctgriffi, for the above as well. I love your rig's layout! I'll have to order one of these mounts. I also didn't know you could hook your phone up to your tv. I have an iphone...will it work with that too? Must do some investigating!
-
Another question...I plan to take the MH to my mechanic after Toyota does their thing. Just curious...would an oil change be part of a head gasket replacement? Or is that only if the head gasket actually blows? Thanks!
-
On 10/22/2017 at 6:56 PM, LittleShack said:
I have a friend who owns a Toyota Dealership here in BC, Canada. He is going to look into this SSC for me. He has my VIN and will let me know where I stand. He's a great guy...we buy our everyday vehicles from him alone. I'll keep you posted.
So, my Toyota dealer friend had his service guy dig up the nitty gritty. My 1992 rig still has the head gasket service coming to it and it will be done. He is doing all the paper work for me, which is so nice. It is just a formality, because it qualifies, but has to be approved. Then he will send it to my local Toyota dealer and away we go! Timing belt, water pump, get the valves checked and adjusted if needed, idler pulleys, anything else?? I have a local guy who I will take it to after for spark plug wires, filters, rear diff and an oil change. He is really good and works on our other vehicles. Is the idler pulley easier to change out with the engine apart? Or can 'my guy' do that too?
Thanks! Sue
-
6 hours ago, WME said:
IF it will restart without flipping the fan then it was just gunked up. WD 40 is not the best. See if you can find furnace fan oil. It come in a small plastic bottle with a long small nozzle.
IF the fan won't restart on its own then your looking at a starting capacitor
Had to rush off to babysit grandkids, but will go try it again tomorrow. Thanks so much for your help!
-
On 10/21/2017 at 9:20 PM, WME said:
Remove the cover/filter and see if you can see the blower fan. With the POWER OFF see if you can move the blower fan, if you can get it to move freely then its probably not the problem. So power on and see if it will turn
So, today, I went out and took the cover off the AC. Started looking around in there for anything my totally unknowing mind might see as an issue. Started tapping here and there with the handle of my screwdriver, with the idea that maybe something was loose. Then, looked up the black hole and saw the fan. Gave it a nudge, turned on the power and away she went!
Woohoo!!! I'm doing the happy dance!! Thanks for all the help! Should I spray some WD40 up there to lubricate it a bit? It must have just sat unused and sorta stuck.
-
13 hours ago, linda s said:
PS I'm a baker too. I would be lost without my oven. For all these guys who say they never use them, they are the first guys to wander over to my campsite when I'm baking blueberry muffins or brownies.
Love it!! Yeah, they say the way to a man's heart is through his stomach. That saying had to come from somewhere!
-
6 hours ago, Maineah said:
When I remodeled my tow behind I removed the cooktop/oven and put in new counters and a hob used the space where the oven was for the TV. I watch slightly more TV than I would baking and that say a lot.
I like to eat fresh baked cookies while I watch TV
-
8 hours ago, Derek up North said:
How about swapping in a Microwave/Convection oven? Would that work?
That could work! I'll have to do some investigating on sizes. Thanks!

.JPG.21249835ba0f90d659eea9cd2e92f4fa.JPG)

 Woohoo!!! I'm doing the happy dance!! Thanks for all the help! Should I spray some WD40 up there to lubricate it a bit? It must have just sat unused and sorta stuck.
Framework in a 1992 Itasca Spirit??
in General Discussion
Posted
Thanks for the link. I've read through it and it has been very helpful.