Jmark40
-
Posts
33 -
Joined
-
Last visited
Content Type
Events
Profiles
Forums
Gallery
Everything posted by Jmark40
-
No, but I hope to come your way after January.
-
Try not to tear any more apart then you need to. More of these projects end up not getting completed. Bite off small things. Take it camping. Coolers work fine.
-
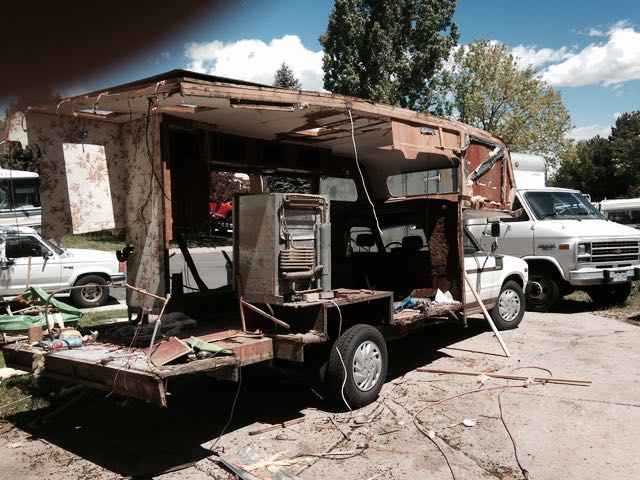
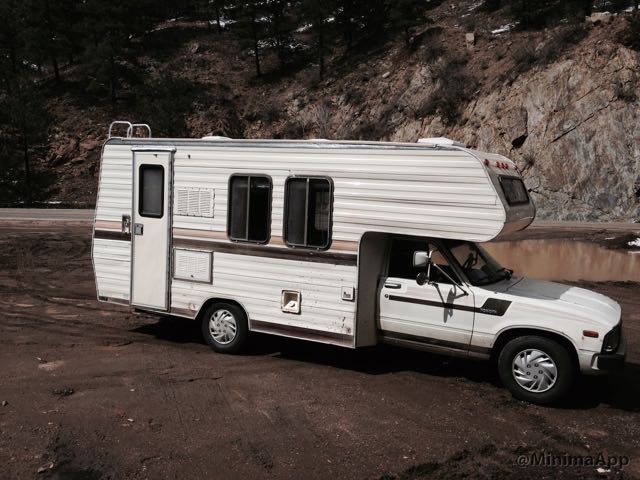
Sorry Dolly but some are not worth restoring. A National being one of the worst constructed Rvs These are not GMC or Airstreams or even Sunraders. This was on the way to the recyclers if I had not taken it.
-
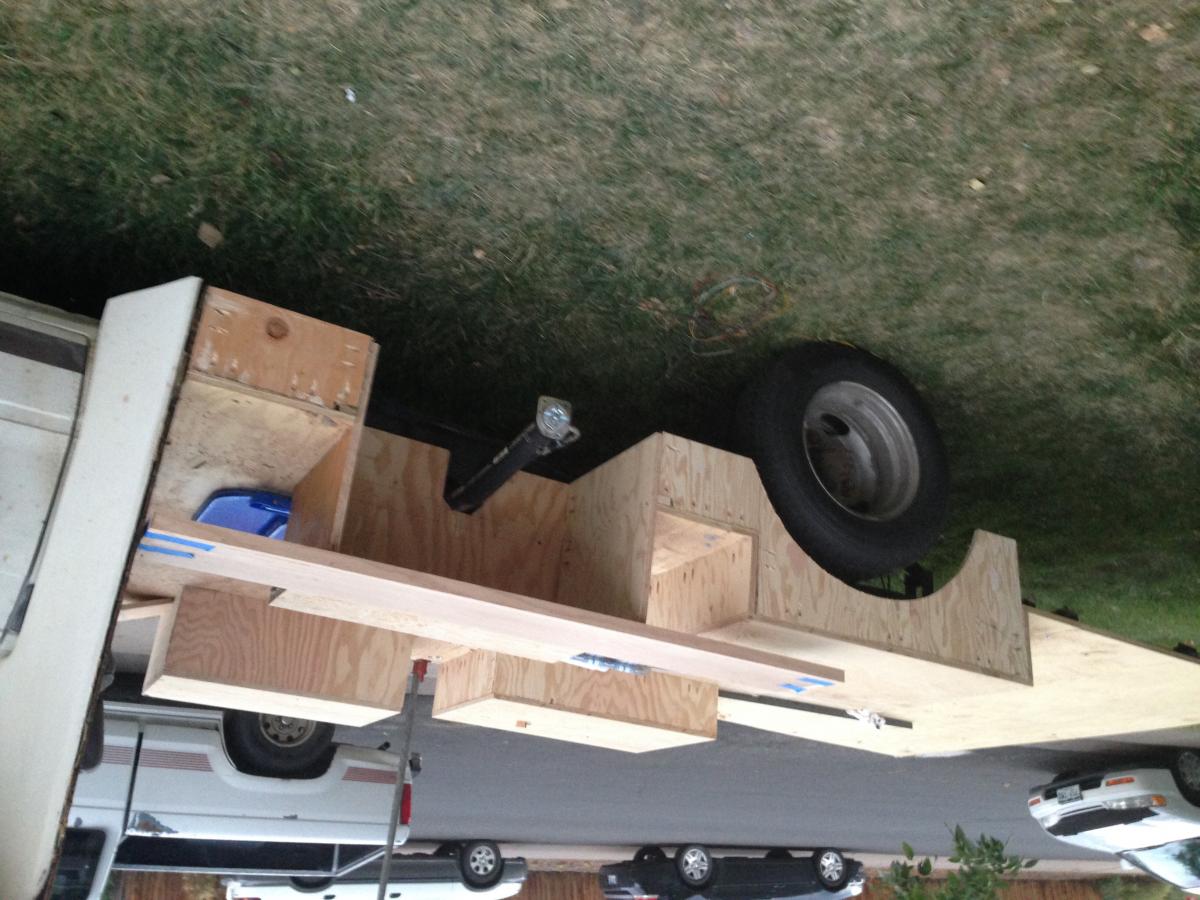
I used steel angle iron welded to the frame on ours. 3/4 plywood floor. I epoxy coated the bottom before I laced them in. I used the outside boxes as headers to the floor instead of extra angle iron. Used pocket screws and polyurethane subfloor glue to hold it al together. The floor does not move.
-

-
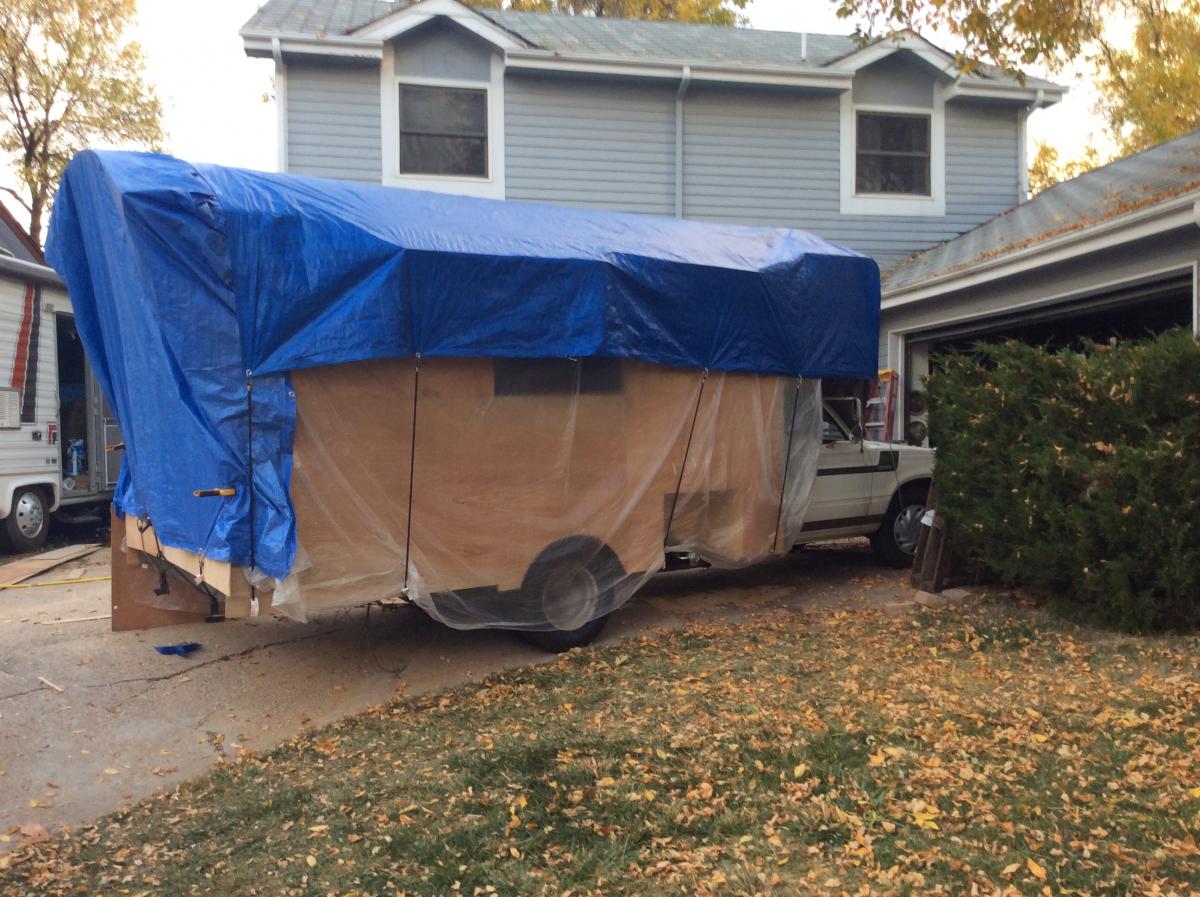
GoNe for a couple weeks and look what happen! We have not had a whole lot of time to put in ours. Here are the newest picks.
-
I've seen it. Kinda cool. Not quite what ours will look like.
-
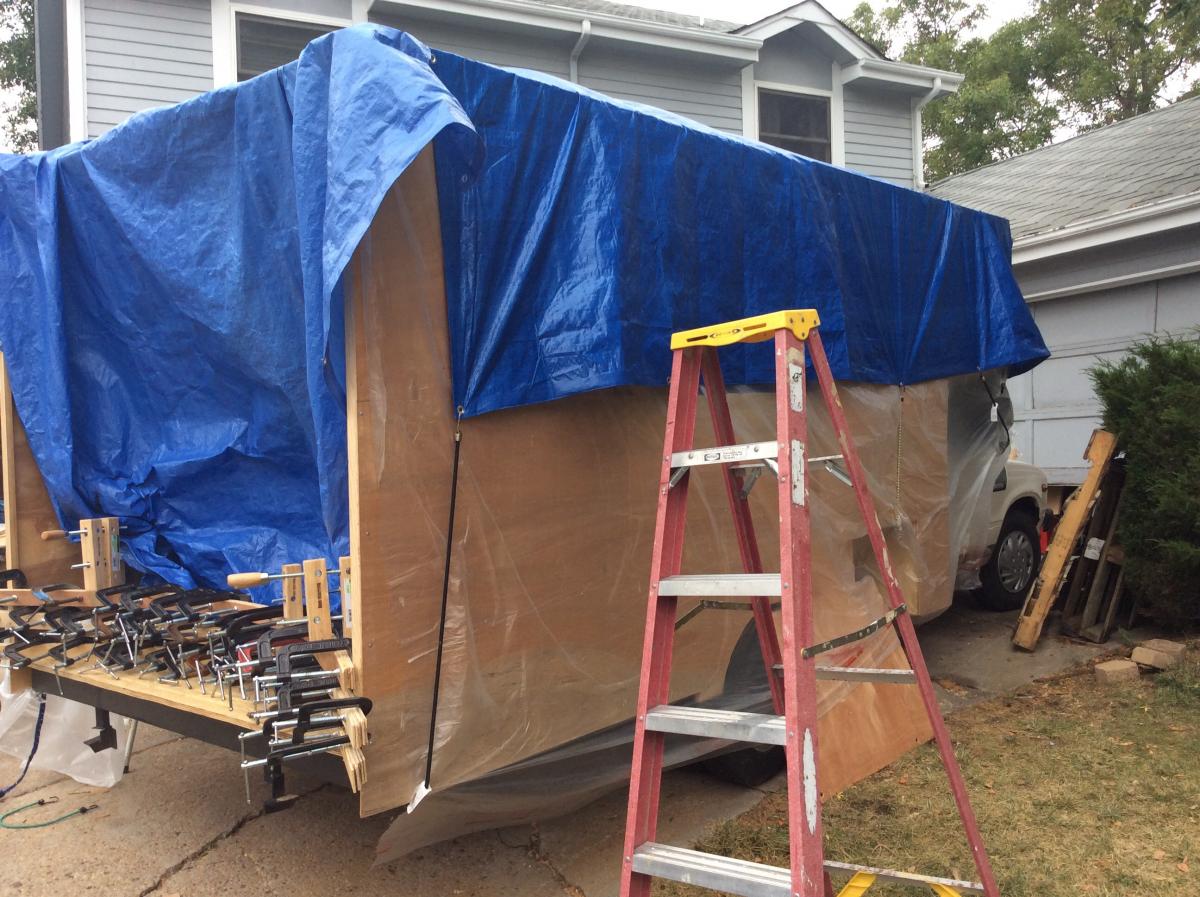
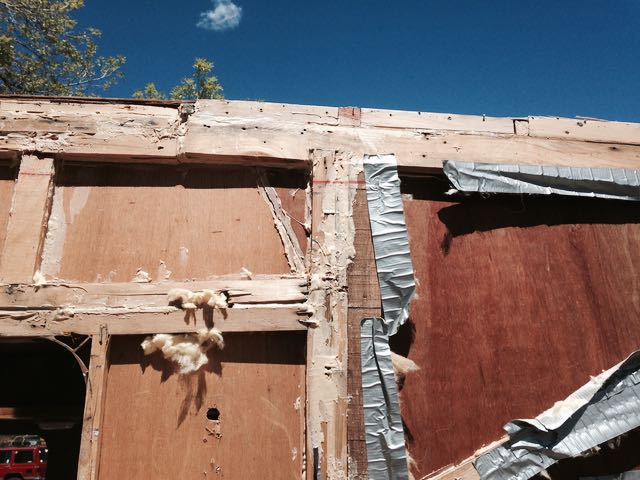
Jim, the walls are 1 1/2 thick poplar. I used pocket screws to hold most of it. I plan on installing Dow foam between the walls. National built the side walls on a table with everything but the metal siding. Then they screwed the panel to the sides of the floor. Leaving interior paneling to rot below the floor line. The wall framing was 3/4 pine with thin fiberglass insulation. The original floor framing was just as bad in regards to structure. I found areas over 32 inches void of any support. Just a sandwich of 1//4 FRP, 1/4 foam and 3/4 plywood. The FRP did keep the water off the bottom. I did weld in quite a bit of angle iron to better support the floor. We need all those clamps for building curved handrails. Our day job is stair construction.
-
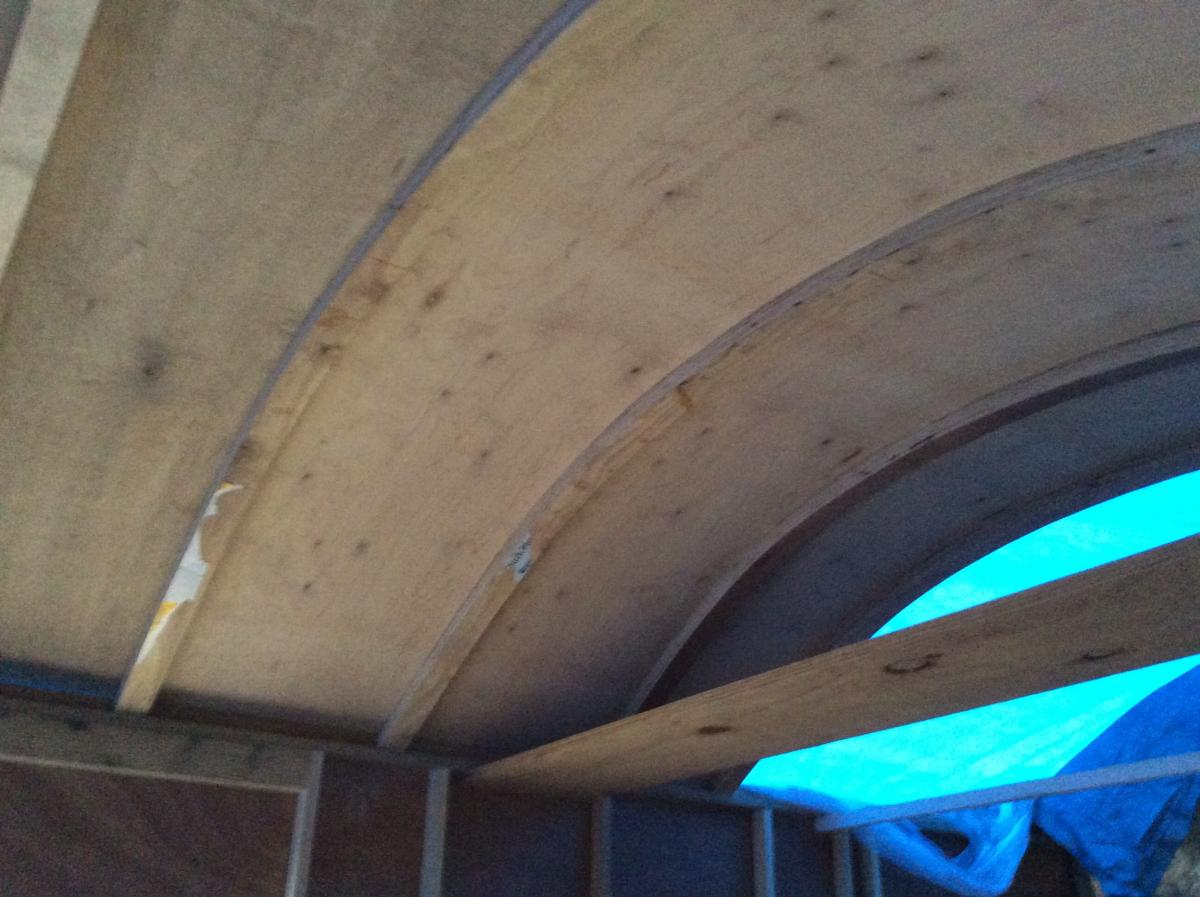
Making the roof bows. I bent 1/4 Baltic birch to a form. Six laminations to each bow. It was rainy in Denver this weekend. Slowing my progress. Hope to have the roof on by the end of next week. The birch was cover sheets from the shipping boxes. The price was right. All the plywood except the floor was cover sheets. My hardwood supplier has big stack of it.
-
The side walls are framed and covered with thin plywood. Glued and screwed. I will be laminating the roof framing next. I am bending 1/4 inch plywood in 2 inch wide strips 6 at a time to make the curve for the roof. Then the end walls can go in. I will upload pics from my desktop later. The pics from my iPad end upside down.
-
The filon is a nice option. It would look brand new. It installs with contact cement. Would not recommend applying on a windy fall day. Just not the look I want for this use. It could easily morph into a motor home. I think of this project as the perfect mobile man cave
-
The scope and use changed. As I now have a larger motorhome. This will be a rolling workshop. I am using 1 1/2 inch poplar for the walls. I have 1/4 plywood going to the exterior with a thin beadboard paneling as infill to 3/4 a oak trim. The ceiling now is a curved bow made by glued and laminated pieces of hardwood. Epdm For the roof covering. A dutch door on the rear. Think gypsy wagon. 1 1/2 inch solid foam for wall and ceiling. I was going to use filon for the walls and roof, but found it too plain for my new use. For heat I use a buddy heater in my current box truck.
-
If your talking about the other motorhome, it's a 80s ford with a 460. 45000 miles. It's a Mallard and very clean. Transmission replaced 1000 miles ago. Had not been ran in ten years. Drained the tanks, cleaned the Holley. Engine purrs!
-
Yes, it's our kids toy. Don't like the wind in what's left of my hair.
-
Not sure what's up with image upload
-
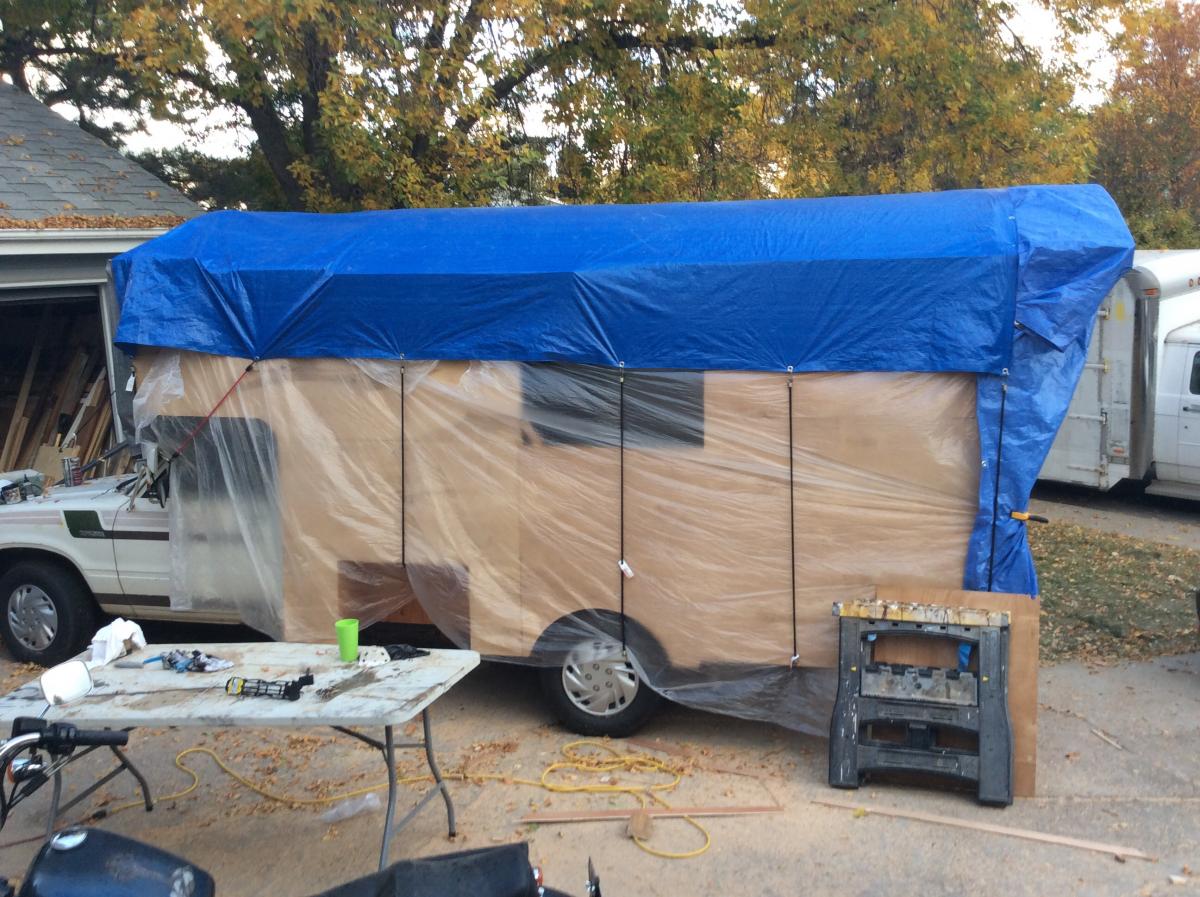
I used expensive plywood from my hardwood dealer. Was going the foam sandwich but the scope changed. More pics from last week end.
-
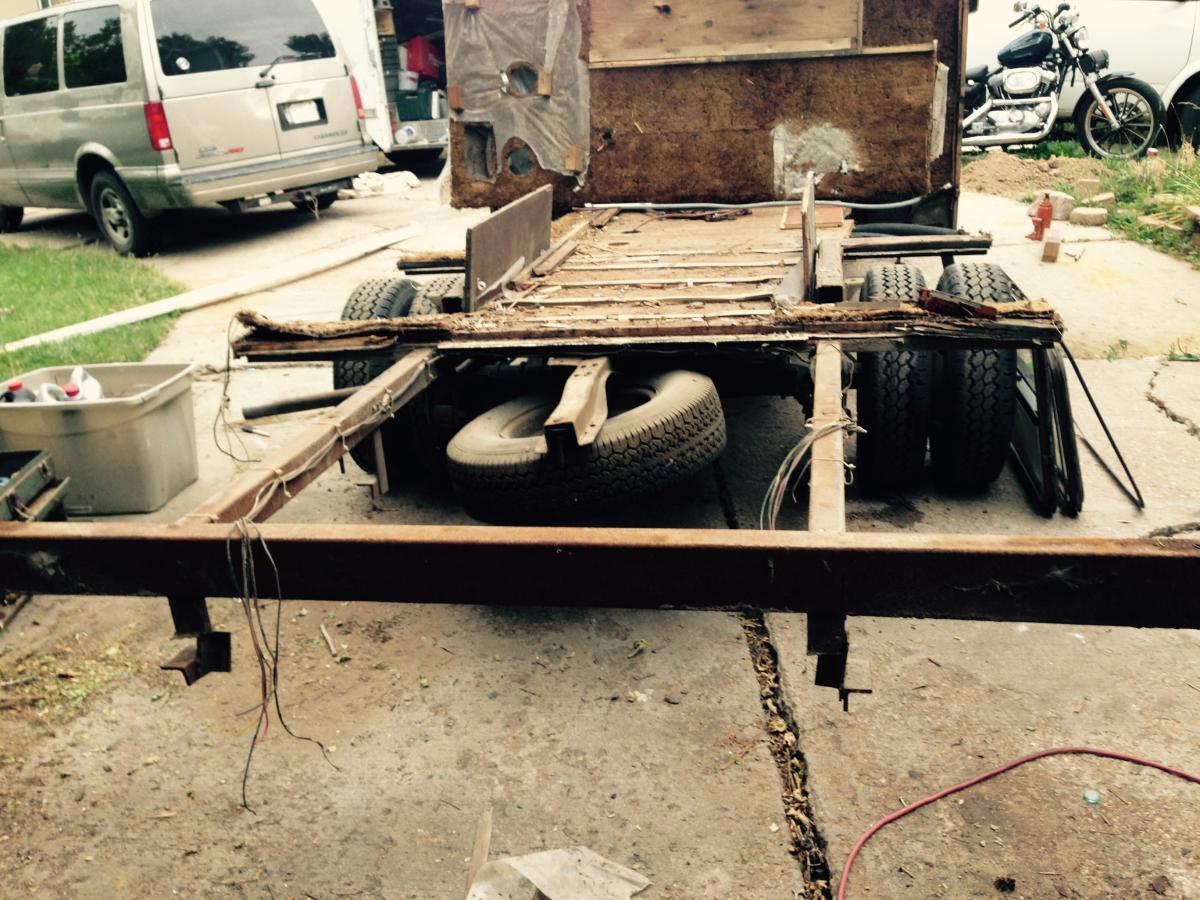
Been a while. Scope has changed. Picked up a larger class c motorhome. This one will now be a little different. I welded in angle iron to beef up the floor. Amazing how little structure these things left the factory with. I installed 5 sheets of 3/4 plywood for the floor after coating the bottom with a coating of fiberglass resin.
-
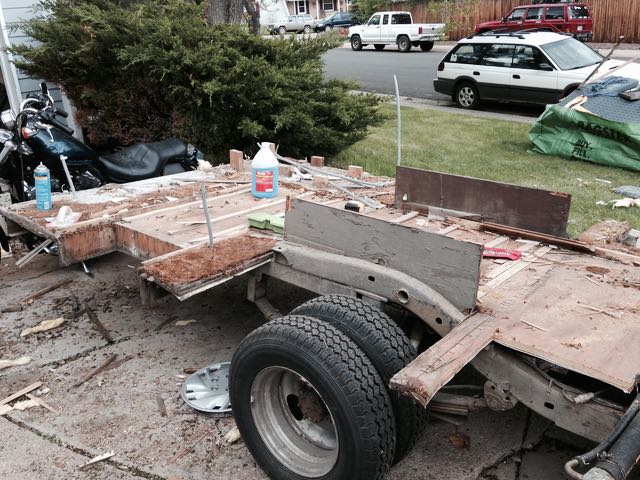
Well, it's been weeks of working weekends and a family reunion to attend. I managed to get the beast out of the garage this afternoon. I only got around to pulling off the back two sheets of plywood floor. Six carriage bolts with 2 inch washers hold the floor to the frame. I will not say national went all out on the steel or the floor deck. Four foot centers on the steel to plywood explained why the floor was horribly wavy. I plan on getting the frame painted. I will pick up some square tubing to weld up some extra supports and drop some storage boxes to the sides. Anyone here installed a larger gas tank on the inside rails where the spare tire sits? Is there a source for larger torsion bars on a 1983 ? Anti sway bars look mandatory for the rear as well.
-
Thanks for the feedback, not going to be a quick build. I have to work 5 to 6 days a week. I hope to start the floor in a couple weeks.
-
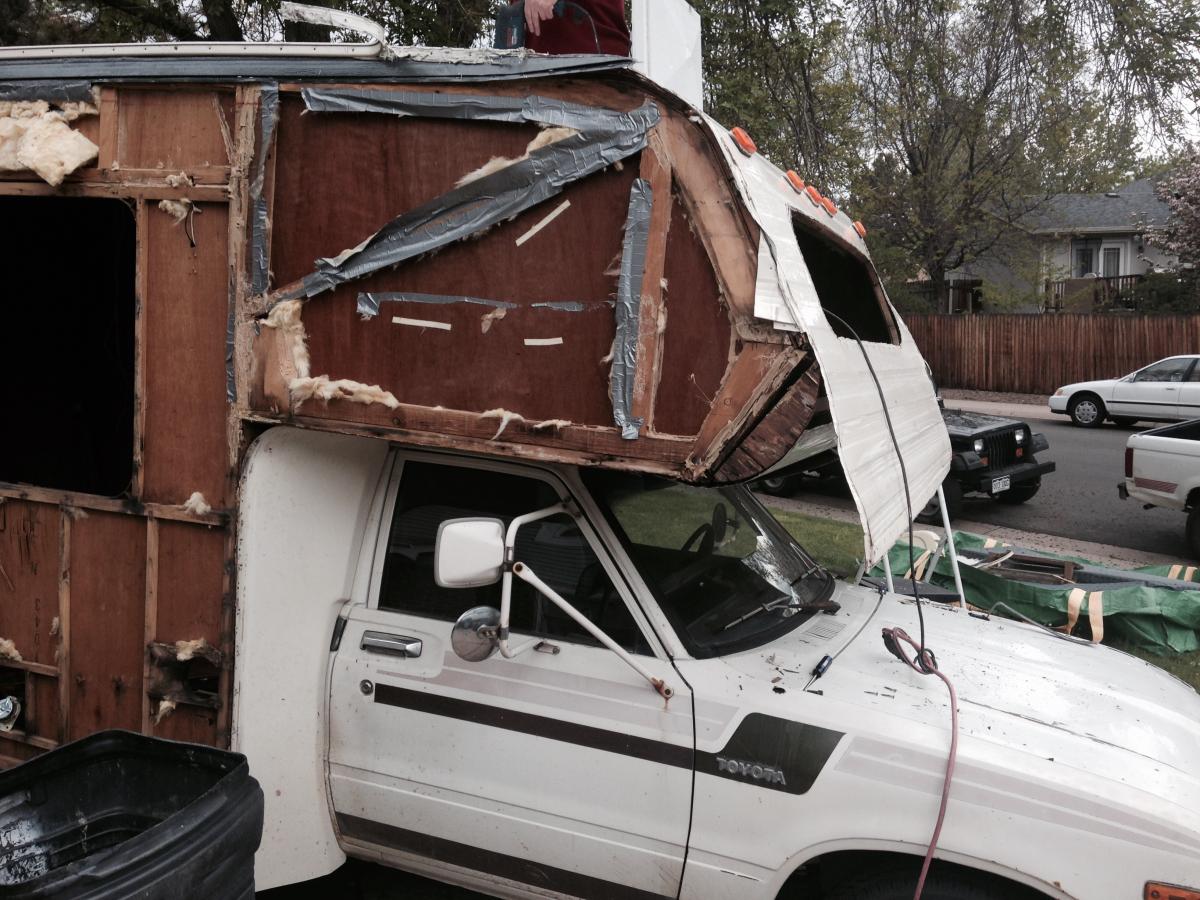
On one of the pics you can see a previous repair to the cabover.
-
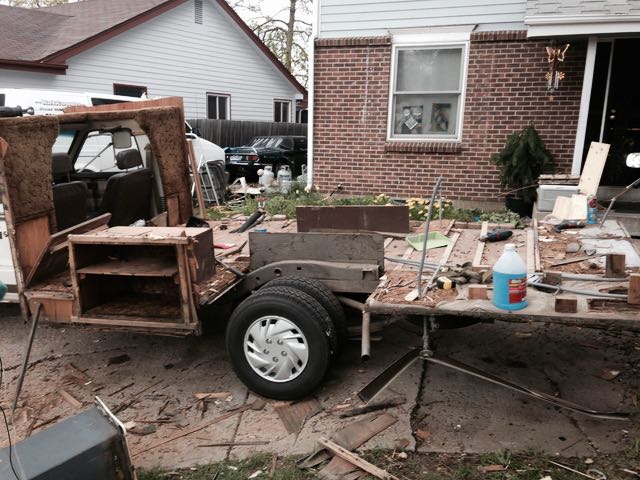
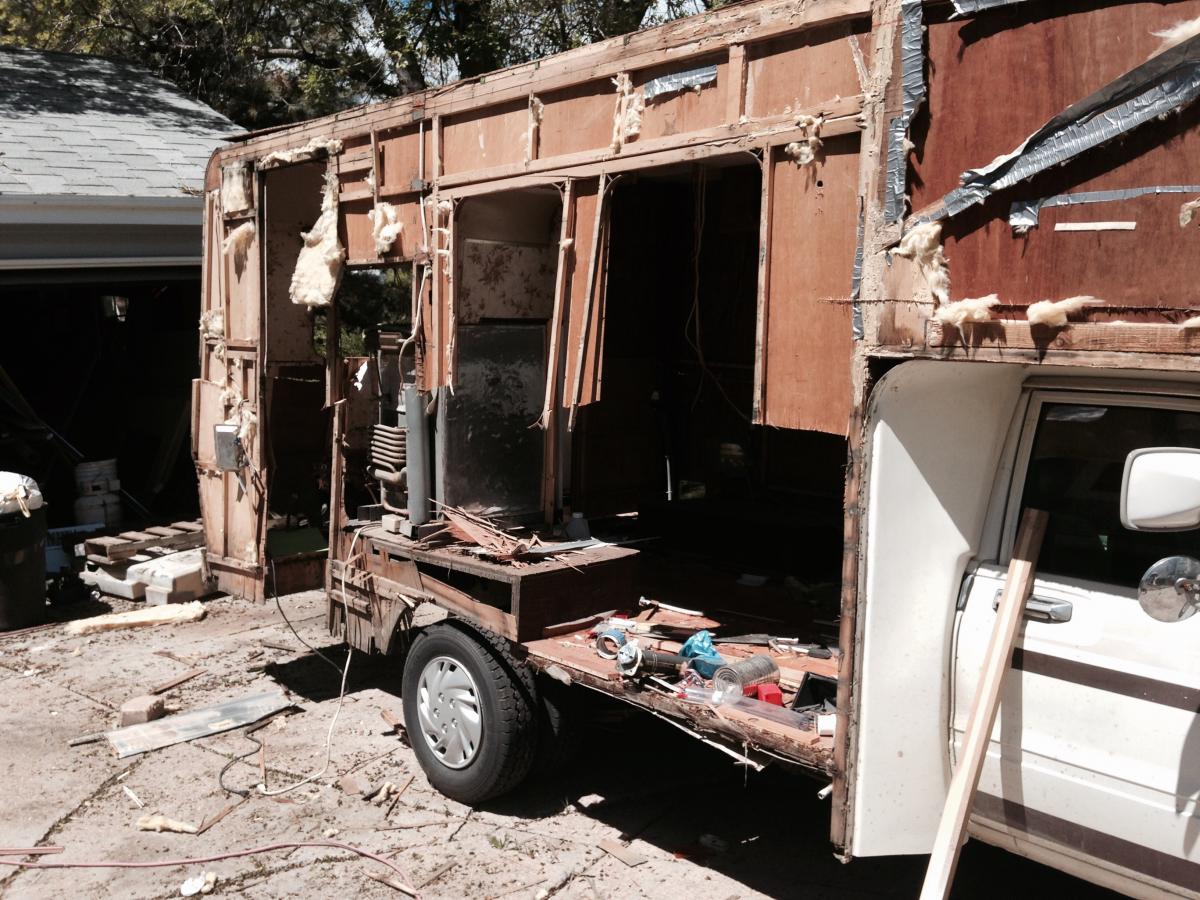
More photos, I have some image resizing to do. To big to upload most. I did get the box off and loaded into two waste management dumpster bags. I have a van full of alum siding I will drop off at a he recyclers this week. Next project is to build a 16 x 8 table in the garage to build the floor panel. The original floor is 3/4 ply with a 1/4 foil foam and a layer of thin frp on the bottom. Not really a lot of structure under to support the floor. Steel ribs on 4ft centers. Explains the wavy floors.
-
More
-
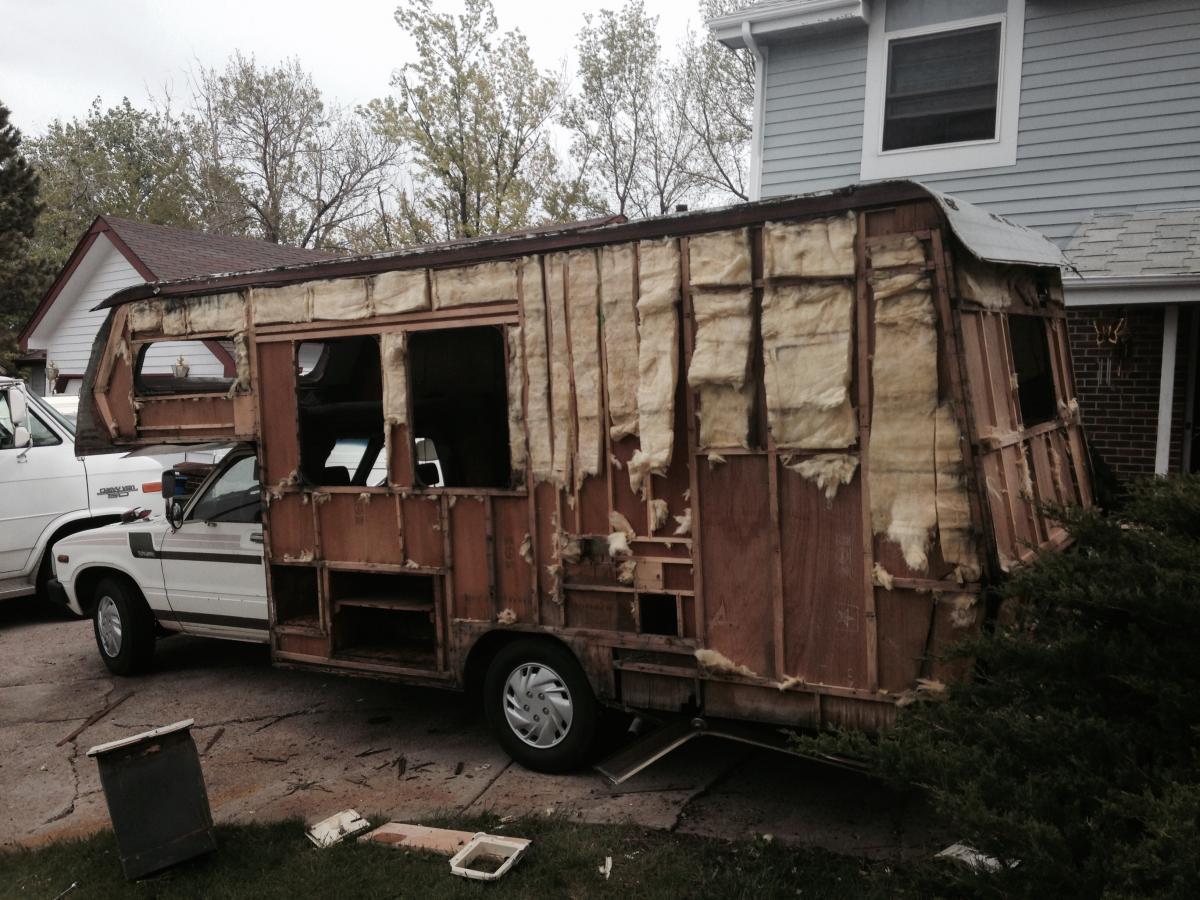
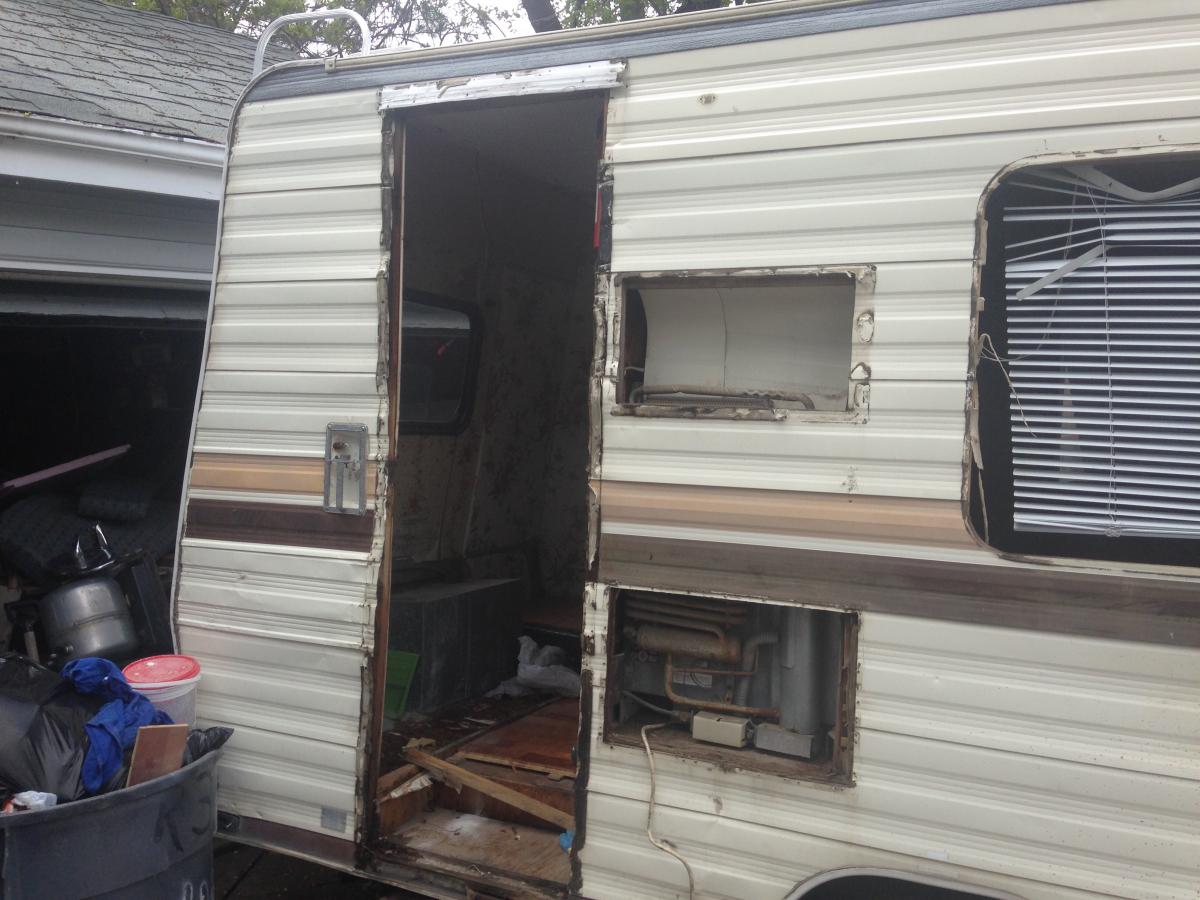
Removing windows, siding and inspecting for rot.
-
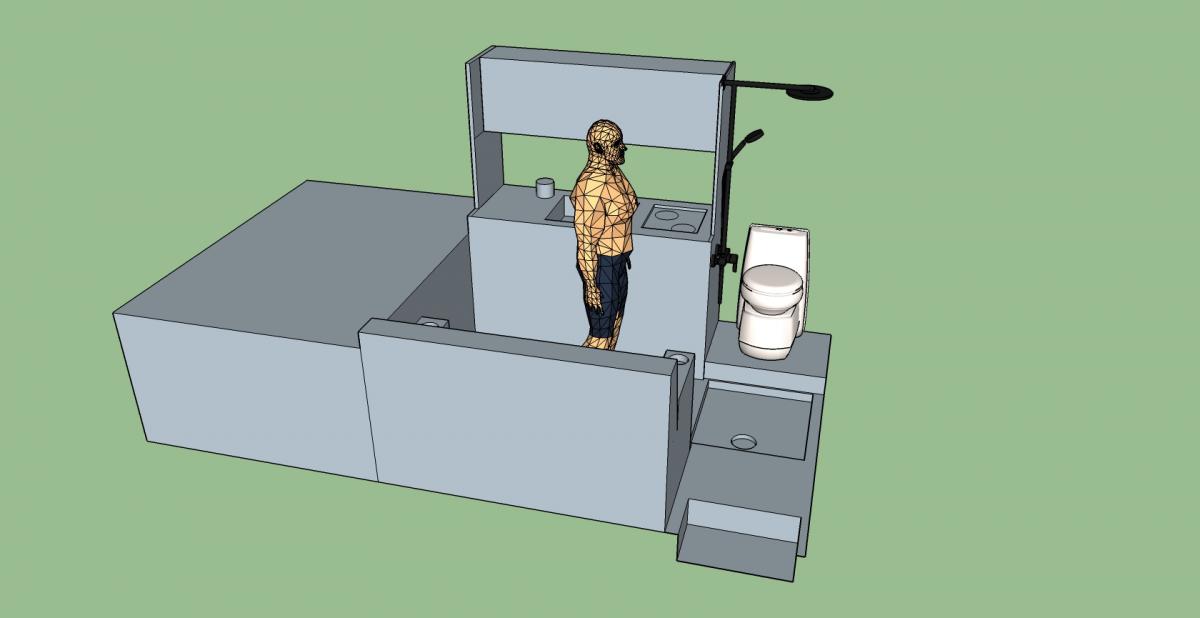
Playing with sketchup, this is the the start of the floorplan I had in my mind. Based on a 144 x 78 inch footprint of the floor area. I don't care for black tanks. I am going with a cassette toilet. I put the bed high for more storage underneath. We are building this for two. scared if we put in another, one of our kids will want to move in. I plan on using a pump on the shower drain rigged to a flow switch on the water faucet unless I can get a new tank located within a foot of the drain. .
-