


DanAatTheCape
-
Posts
1,366 -
Joined
-
Last visited
Content Type
Events
Profiles
Forums
Gallery
Posts posted by DanAatTheCape
-
-
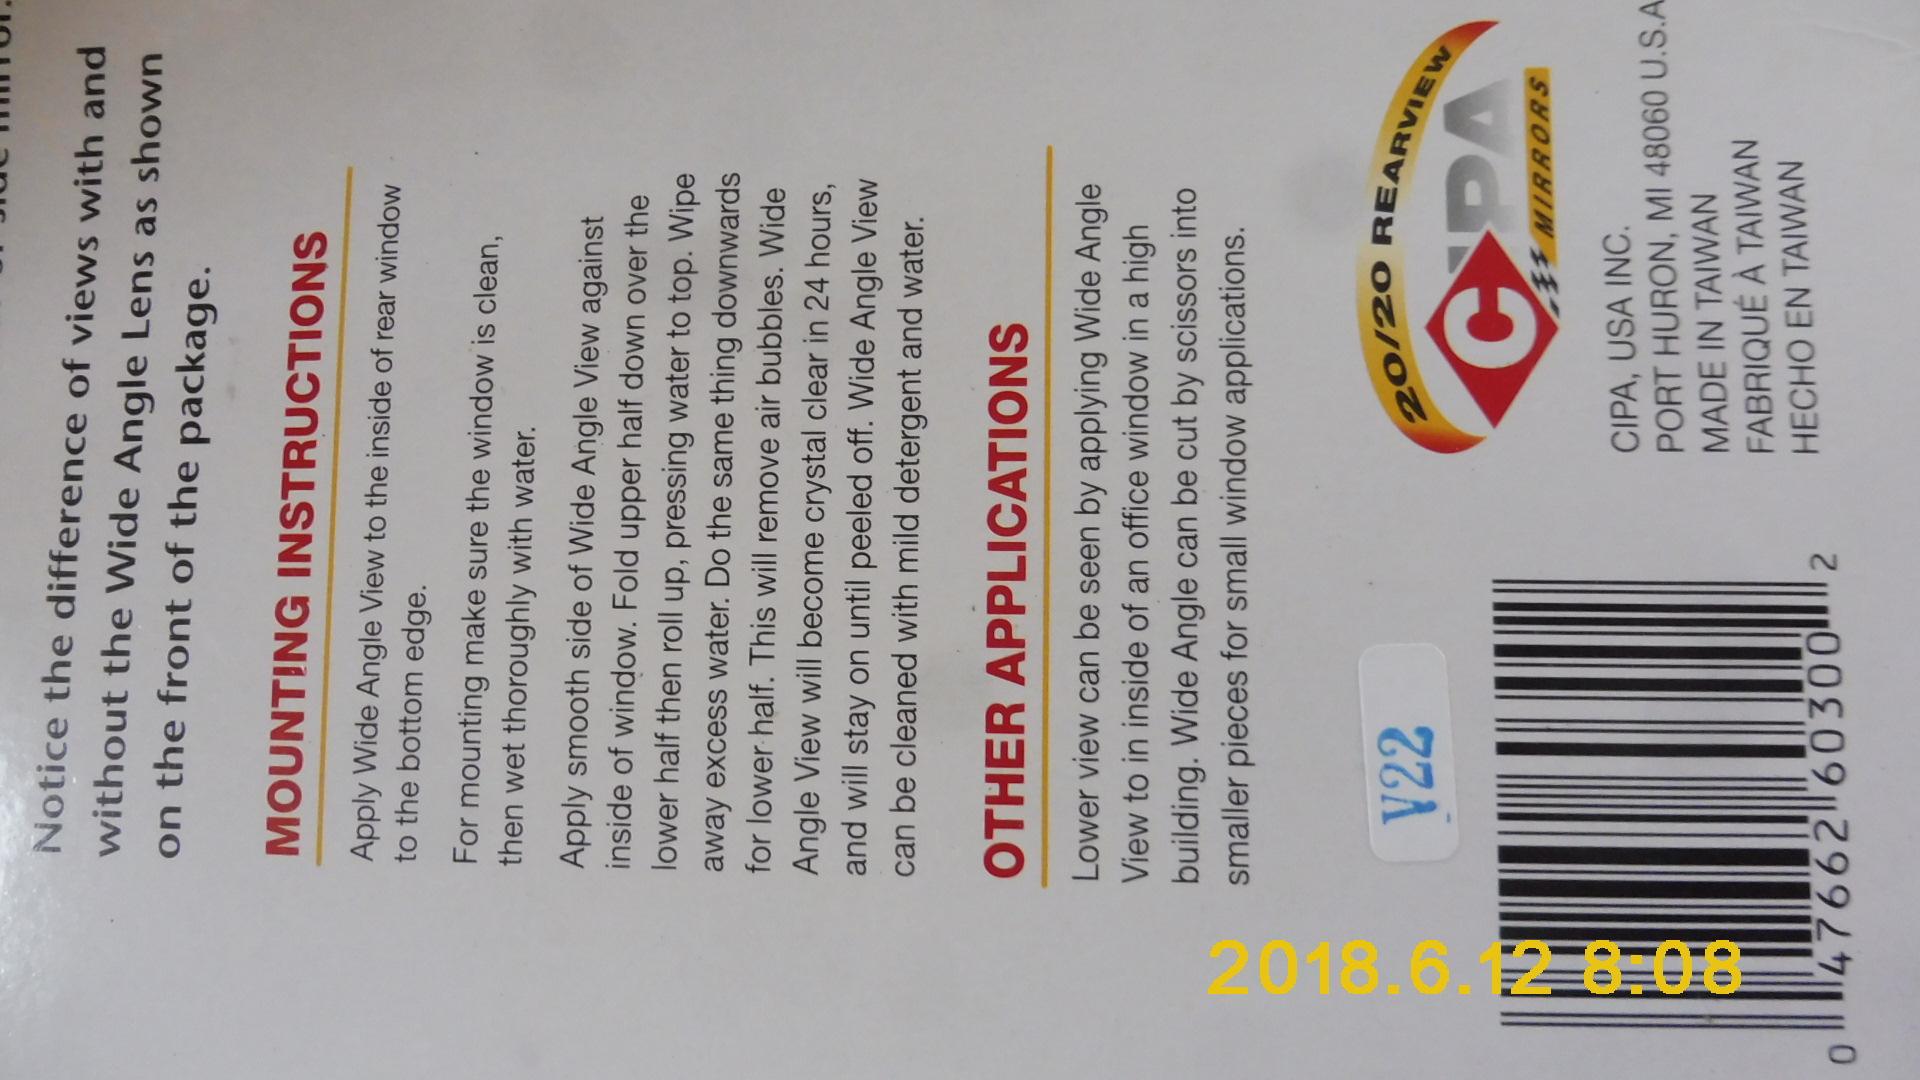
I found the packaging for the one I bought last year.

-
On 6/11/2018 at 6:54 AM, jjrbus said:
Grinding the tool down did 2 things, it thinned the tool, then I had to clean up the edge of the tool that sits on the bucket with a file, So now I am curious if pricier tools are thinner or if sharpening the edge that did the trick.
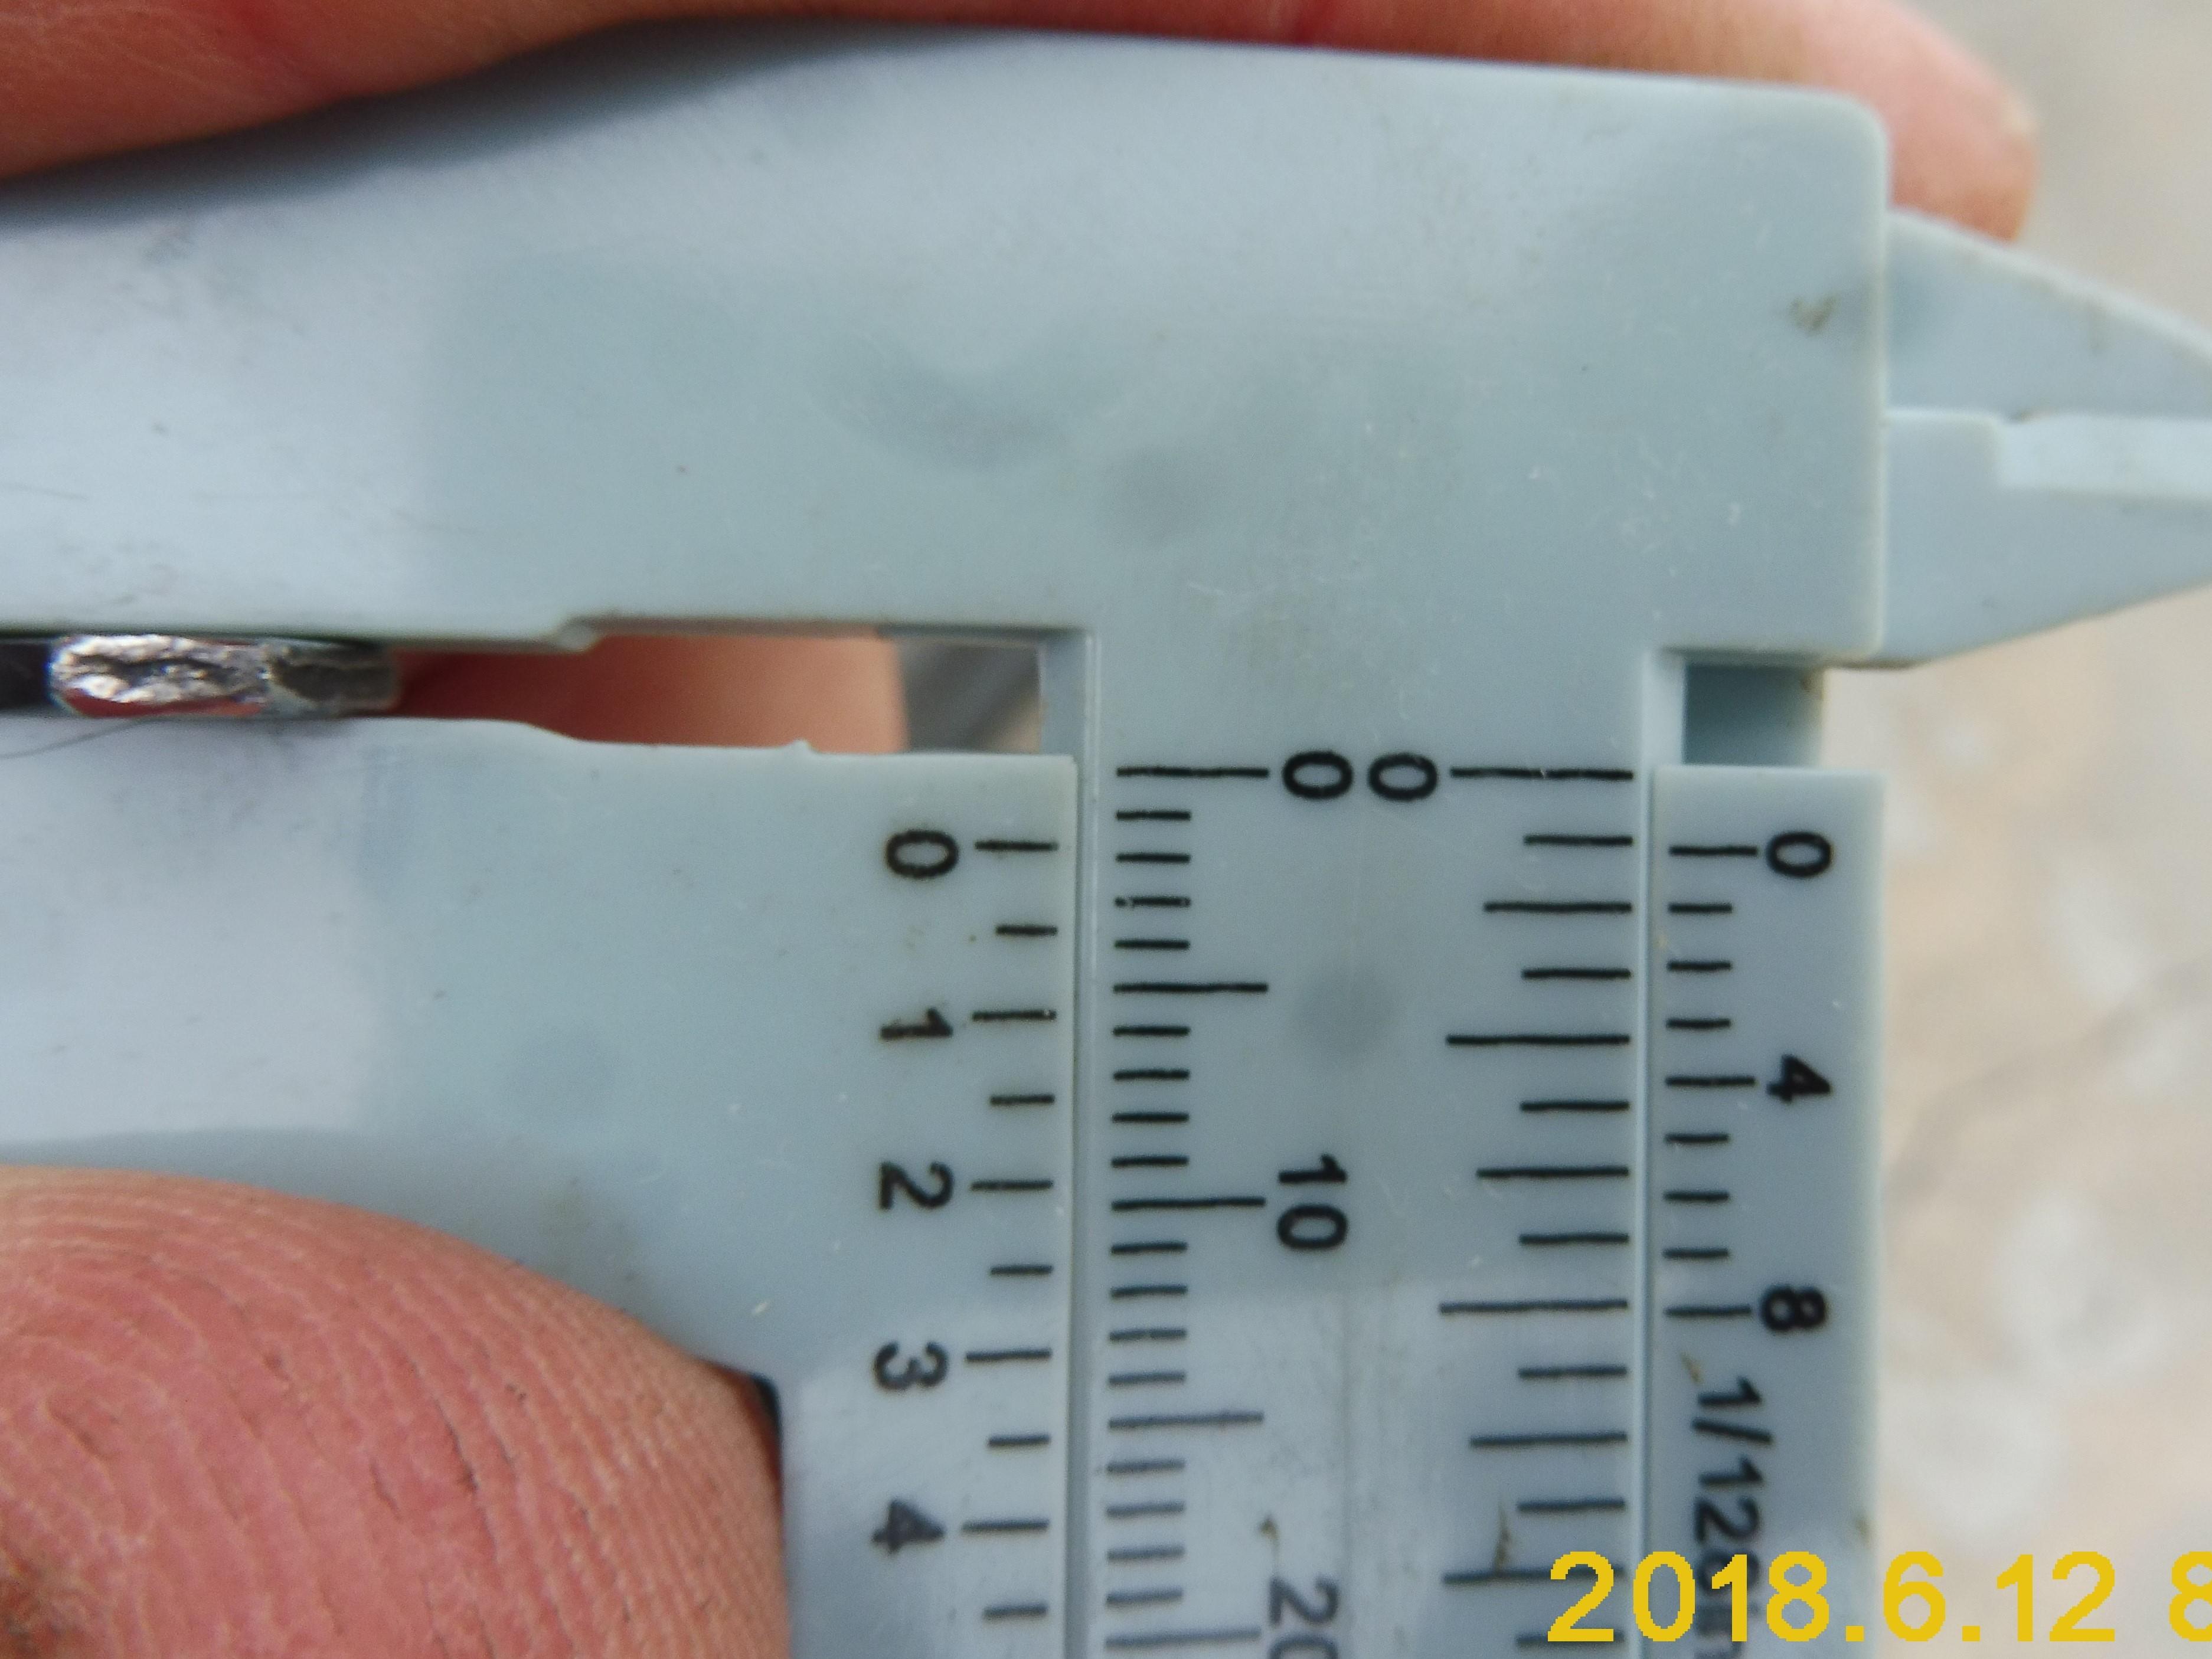
I measured the thickness for your perusal using my Harbor Freight plastic measuring device. I also included a picture of the bent screwdriver I used on the exhaust valves I could not access with the 88250 tool. When I used that tool, it was a 5 step procedure- 1) use screwdriver to compress lifter (would not compress all the way); 2) use little end of 88251 to hold lifter while I re-positioned screwdriver; 3) used little screwdriver to compress the lifter the rest of the way necessary; 4) used large end of 88251 - placing it on edge of lifter (on the rim of the cup); 5) Then I could use a magnet and a pointed tool to pop out the shim.
-
I bought a Schley 88250 -- many available - google if interested.
-
I run my camper about 55-62 on level ground - it seems to like that speed, stays in 4th gear (O/D) and seems not be lugging.
Drag increases exponentially as speed increases. We are pushing some boxes thru the air that are lacking in the aerodynamic dept.
-
I had the same problem once, I found that when I got up there and wiggled the wires the whole string came on. On mine, and I suspect also on yours, the lights are in series. Also the wires going into and out of each light fixture are tarnished and making poor connections. The wiring diagram helps visualize the path.
If you can figure out where the path is "broken", then fiddle with those contacts, you might have success.
See the attached file below.
-
IF a shop will not take you - ASK WHY. Also ask for suggestions / recommendations as to who COULD do it.
BTW, they need a lift that can handle 6,000 lbs. I have seen regular lifts used with a floor jack under the pumpkin (rear differential).
You are about 9' 2" tall, so they have to accommodate that too.
-
you can not read the codes with a OBDII reader - these have OBD-I (which are not standard- each mfg did whatever they felt like doing) . You have to put a jumper under the hood then count the flashes.
If you are not mechanically inclined, I would start searching for a local shop which has a good reputation with a mature mechanic who is familiar with the VZ3E engine. Hint: that guy will have gray hair.
The VZE3 engine is a good engine, but it has it quirks. During the era (~late 80's, early 90's), the VZE3 was used on the toyota pickup & 4runner.
Some shops won't take us because their shops can not physically handle the "big box". The dealers seem to have younger guys who can use the proprietary software but who have no clue about older vehicles. You will have to do some searching to find a good shop - talk it up whenever at dealerships - a lot of times the older guys go out on their own where they can get more job satisfaction,
If you are mechanically inclined, you can get a copy of the toyota service manual. I have attached the chapter on how to read codes.
Not knowing the history of your vehicle, it would be guessing to diagnose based on what info you gave. My first GUESS (emphasis added) is that you have a vacuum leak - a hose came off. For instance, if the hose to the pcv valve comes loose, the engine would run quite rough and posting a code would not be a surprise. I would take a good look at the many vacuum lines that run about. The pcv hose is hard to see - it is on the passenger side about 2/3rds of the way back UNDER the plenum, tucked in behind the PAIR.
-
I think you might be overthinking this thing. I found that compressing the lifter (centered on shim) THEN placing the little tool on the edge worked quite well.
For the ones where the curved tool could not be used due to stuff in the way (I only did exhaust , my intake were good, I found about 1/2 had access issues). When I could not use the tool, I used a small bent screwdriver - which required a copy of iterations to get the lifter all the way compressed - I would use the smaller end of the tool to hold the whole thing down, then I could re-position the screwdriver to get enough action to compress all the way.
-
3 hours ago, jjrbus said:
Thanks for the response, interested in the thickness of your tool, mine is not thin when compared to the width of the bucket. My tool measures 0.063 before I ground it down, 0.051 thickness after grinding.
The one I have looks like it is stamped out of sheet metal.
Actually measuring this is surprising I thought I took off more.
curious, why do you want to modify the tool?
-
It would help of you break down to SPECIFIC questions. You can get plenty of info on appliance, electrical systems, plumbing, propane etc in this forum.
Iguess you do not have an owner's manual AND the previous owner did not brief you?
I plan to cross OK on the way to Colorado toward the end of the month, I suspect by then you will have drilled down on your questions by then.
Just searched this forum - found :
-
It would help of you break down to SPECIFIC questions. You can get plenty of info on appliance, electrical systems, plumbing, propane etc in this forum.
I guess you do not have an owner's manual AND the previous owner did not brief you?
I plan to cross OK on the way to Colorado toward the end of the month, I suspect by then you will have drilled down on your questions by then.
-
I replace my solenoid years ago -the instructors for that solenoid specify 10 gauge. If your camper came with 8 gauge that is better yet.
-
in a sunrader, can you see a rear window? In the warrior, my inside read view mirror can clearly see the rear window - with the fisheye lens I have excellent rear visibility.
I changed mine -after 25 years, the factory finally failed. Cleaned inside of window, got the lens wet and put it on - squeegeed out what I could
there are many sources --- here is one https://www.walmart.com/ip/CIPA-60300-11-x-14-Wide-Angle-Lens/17805989
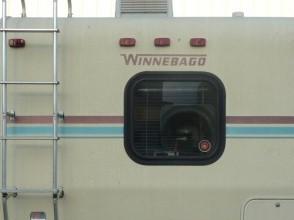
here is an old pic looking at it from the outside
-
<<<Now to satisfy my curiosity if you still have the shim hold down tool could you measure the thickness of it?>>> I do have it - I thought I had pics showing the heights of the 2 "heads".... are you interested in the width of the "heads"?
I recall it was thin, not much wider then the thickness of the "cup" that holds the shim, I should be down by the camper Monday.
-
mine does not shut it itself off under any condition that I have noticed. When I am high altitude pulling uphill hard I have turned it off myself though.
-
drove her around today - no curtain, pulled below 40 for a while then settled at 40.. When stopped in traffic it would creep up a bit. After about 50 miles, part highway part in town I think it might last - sure hope so.
-
On 5/24/2018 at 9:27 PM, jjrbus said:
I will start doing everything in MM that should uncomplicated things a bit. Most every measuring tool I own today has dual readings except for an antique micrometer the neighbor give me. I can still use it to double check the caliper #'s.
#'s seem simple enough put that way!
I do not seem to be getting the hang of the bucket hold down tool, any suggestions on that?
I got the area clean today, took about 45 minutes, now I can try writing #'s on head.
Thanks for the input, always appreciated.
here's my thread from a few years ago:
-
well I put in the new expansion valve - evaporator was not very dirty - got a can of ac coil cleaner from Home depot - took a 3 or 4 cycles but it looked pretty good when I put it back together.
It was putting out 40 degrees with the cab curtain down -yah!
Evacuated the system yesterday for an hour. Left the gauges hooked up overnight -stayed within 5 psi. Evacuated for another 1 hour this morning, waited 30 minutes then added 2 cans of R134.
BTW, the rockauto parts "GPD" brand have "Korea" tags on them.... Seem to work fine.
BIG SHOUT OUT for Oreilly's Auto Parts Titusville/Cheney Highway for having a "loaner tool" vacuum pump and manifold gauge set.
-
what kind of camper are we talking about? Most people put that in their profile.
-
sounds like the problem here has been solved, but my 2 cents worth:
1) "tanks" are designed to be "permanently" mounted and are horizontal
2) "cylinders" are designed to be portable and vertical.
On some rv's the "permanent" tanks can be easily removed, but do carry the characteristics of a "tank". The forklift example above shows the characteristics.
t
-
20 hours ago, stayingretired said:
USAA handed off almost the entire claim when the other insurance company (Progressive) accepted liability, which means that I am financing the whole claim while the insurance companies decide what to do. Head-on with a drunk. Liability decided on site by the law enforcement (I couldn't make up what actually happened!) He was led away in cuffs; there were firearms involved; it was bizarre.
That was early February. It's June and I'm getting dirty looks from the office staff at the doctor's office. USAA rejects claims and Progressive only last week got in touch with me. (USAA has been billing me all this time for coverage after they totalled the minivan in Feb.) Having had coverage with both, I can't speak highly of either anymore.
Now you know why I am a new owner of a Yotahome.
sounds like you need a good lawyer - good luck!
-
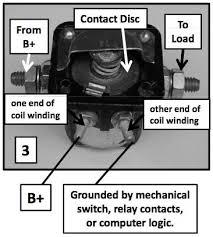
I disagree with Alvin, E.Montana is right. I am assuming that I am seeing an older mechanical solenoid. Something that looked and function like these was used on Ford starters for decades; except one BIG difference - the ford starter is a heavy duty/ short cycle solenoid whereas the one's in our camper are light duty/ long cycle.
As E.Montana explained, the little terminal is for control - on my camper it is connected to the hotwire on the wipers. That means whenever my ign switch is "on", the solenoid activates and the house battery and the coach battery are connected. The alternator output is connected to the + terminal on the engine battery.
The 2 larger contacts connect to the 2 batteries. The wire running from solenoid to coach battery should have a circuit breaker,
A solenoid is essentially an electric switch - a small bit of juice activates the solenoid (switch). The attached pic might give you the idea
I also attached the instructions - I changed mine years ago.
Note Alvin's diagram would work IF the blue wire is to the engine battery terminal (a large lug)
-
we slid sideways at about a 45 degree angle into the back of a semi. It's bumper came in the drivers door. My guardian angel had her hands full that day.
-
4 hours ago, Oldgriz said:
That seems to be the game you pay for insurance but then have to produce the pope to speak on your behalf to collect on a claim. Insurance is the biggest scam and progressive and USAA are not good on paying out on claims.
I had a better experience with geico. Initially they "totaled" my 92 spirit , listing a bunch of body damage at far less then it was worth. Once I provided some ads showing real value $$ and I told them what I paid - $9k, they asked if I would accept that and I said yes - they paid off. They also paid off contents, medical & trip interruption without any grief. They also gave my Girl some $$ - she was banged up a bit in the accident ( I took the brunt).


Dual fuel tanks ?
in Fuel Tanks
Posted
I see lots of issues - where would you put it? Then you have to plumb it which will make your evap system rather interesting - also another fuel pump/ transfer pump.
Did I mention weight?
I have a spare mounted on the rear bumper - mine has a steel bumper. I carry a 2.5 gallon gas can (plastic) between spare & chassis - it sits on the bumper. Makes me a lot bolder if I need to push that 17 gallons. I have never added more then 16 gallons. I usually stop more often (my bladder has a small tank to).
Traveling in remote areas does require fuel planning.. I find "gasbuddy" app on my smart phone very helpful. I have even stopped just to get 4 gallon top off because of the limited range.
It is a toyota rv kind of thing.
btw, I can not see any practical way to add another tank.