


darrel
-
Posts
526 -
Joined
-
Last visited
Content Type
Events
Profiles
Forums
Gallery
Posts posted by darrel
-
-
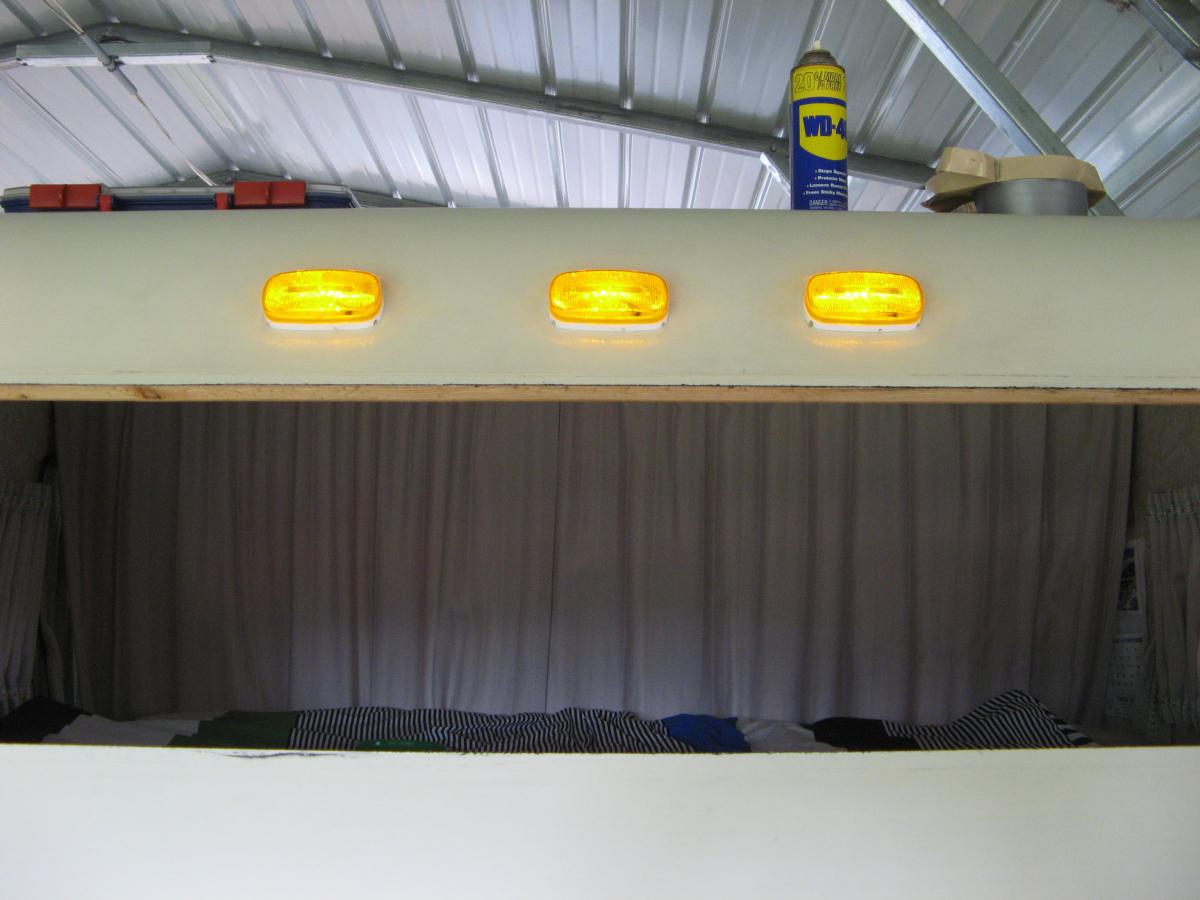
Totem I used PM Peterson 180 Piranah LED lights. V180A and V180R =A-amber R=red
They are a near perfect match for outside measurements but the mounting holes are different. You have to seal old holes and drill for new screw holes. They are much brighter and always work. Installed them 2/2014

-
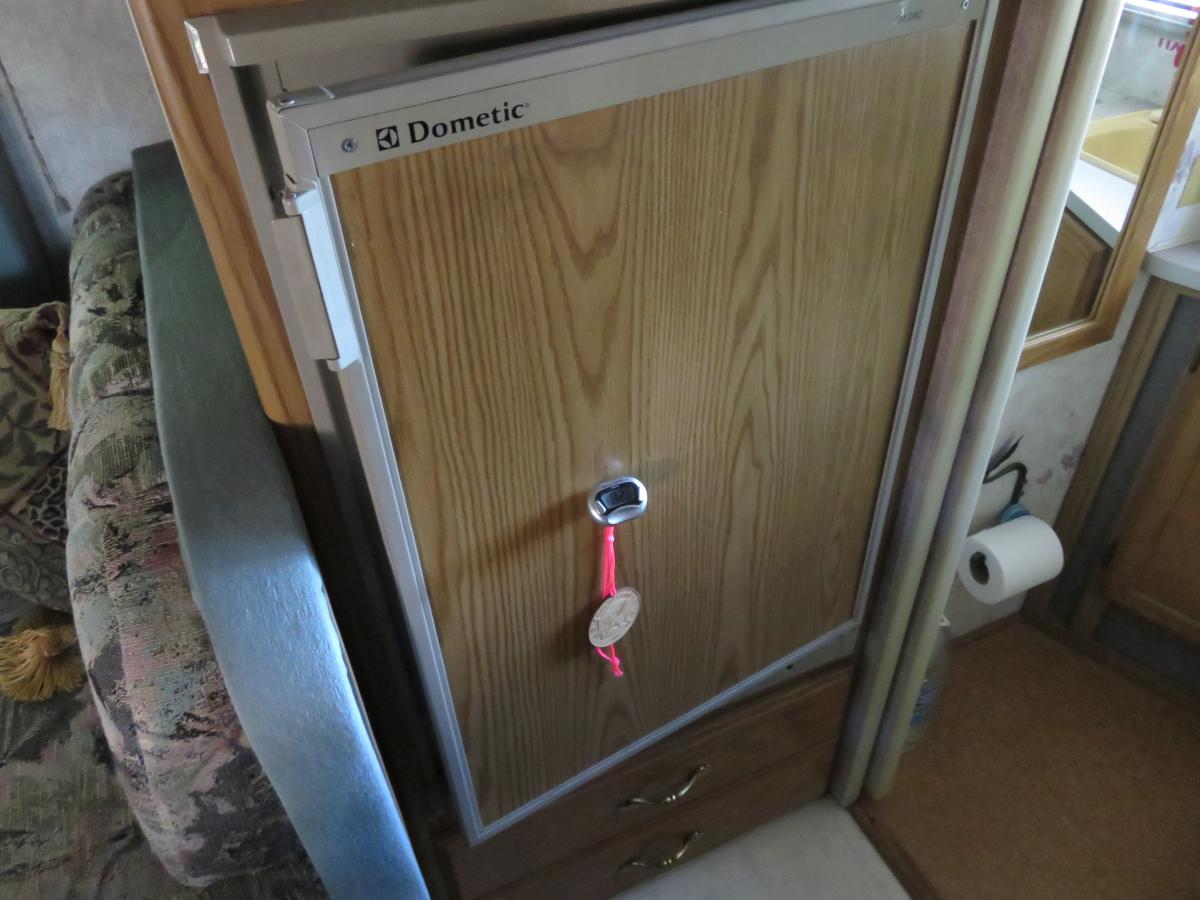
Drill a hole in the front of refer door, at an angle, and insert a digital meat thermometer. Now you have digital read out of the temp inside your refer without opening the door.
-
I installed a YADA wireless camera system that I bought at Costco. I wanted the camera to have power when I wanted, so I hooked the camera to the middle red clearance light. Cut a hole inside the medicine cabinet and wired the camera. The monitor is installed with the suction mount on the windshield beside the GPS. Both monitors are out of the way for forward vision. Turn on the clearance lights and you have a backup camera. The monitor has a on-off button for the times you do not want the camera on while driving at night it also gets its power from a cigarette lighter. I wired everything under the dash cus I did not want the wires running up the dash. The camera picture is not not not the best. If I were to do it again I would shop for a higher quality system, maybe a "Rear Safety View product".
-
I bought a Sceptre 19 inch TV with dvd player from Walmart 1 year ago for $89 on sale. It runs on 12 volt, not the best sound but ok picture. You can cut the ends off of a extension cord for electric cable.
-
Thank you Fred.
-
We had to turn around, My brother in Washington is very sick. Wanted to be close to him. Made it to Williams Lake. It was not to be.
-
Weighted my 94 Warrior two days ago. Leaving for Alaska and have the kitchen sink along with everything else. Water 21 gal, fuel 17.5 gal. propane full, two occupants, not telling their weights, more clothes than we need and food. Front 2150 Rear 5050, total 7200 #. Running 60 psi all around. Handles ok with the occasional wander with wind gusts.
-
I replaced my sway bar bushings and shock bushings. Got the sway bar bushings from Auto Zone and the shock bushings from a RV repair shop. They had plastic bags of different sized polyurethane bushings, just matched up the sizes. The RV repair shop specialized in alignment, shocks, and upgrades for motorhomes, Hendersons repair in Grants Pass, Or.
Just saying that a alignment shop or 4 wheel drive shop may have a variety of bushings in stock.
-
It starts on the 22nd, Monday. Have quite a few places to see and got the sign to put up in Watson Lake, BC.
Papa Fred, have you come up with a location of your Rockmart, Ga. sign?
Plan on 3 months of pleasure. Hope the smoke isn't bad.
-
In my area all of those pex fittings are available at local plumbing store and rv centers. I recently replaced all of my fittings with pex and used some of the old gray line. No leaks and a perfect fit.
-
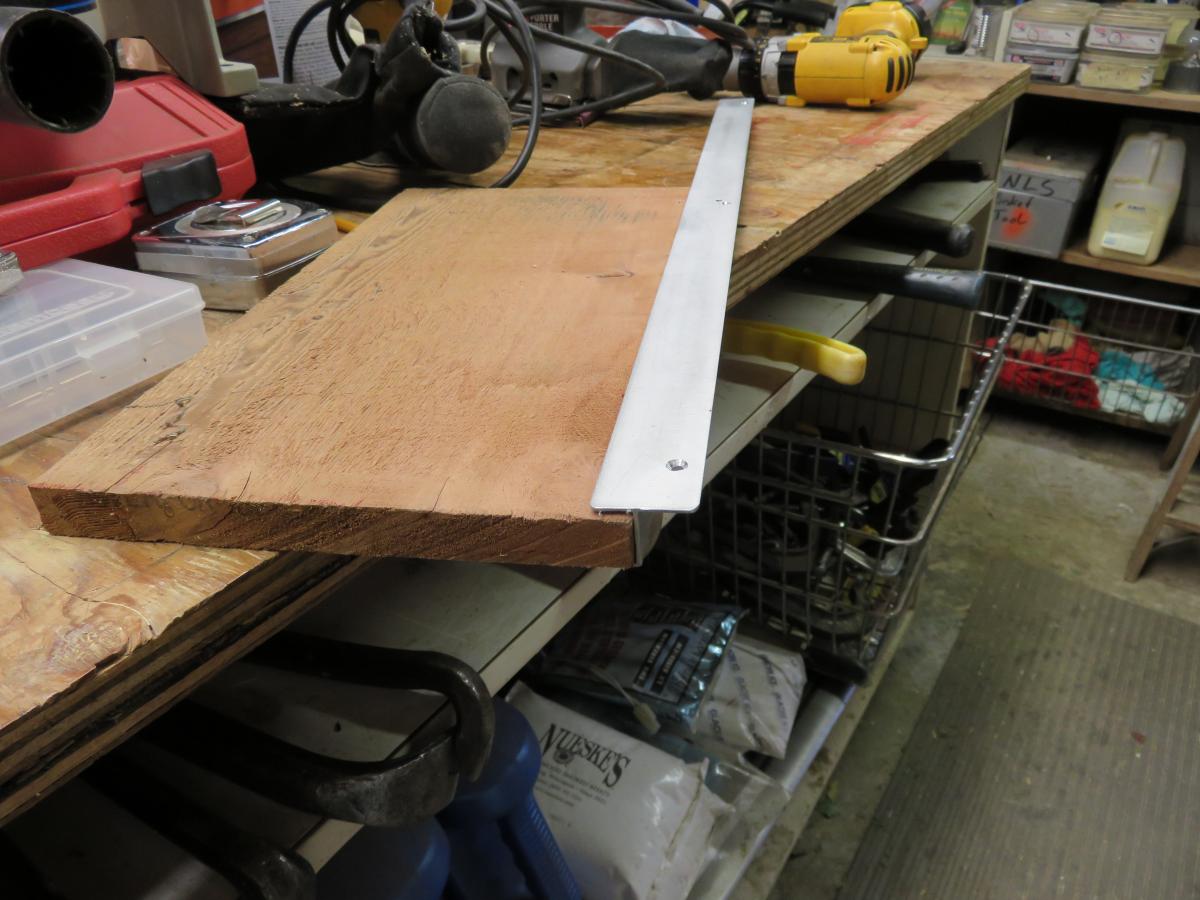
I found this neat extruded aluminum a few rears ago. 3/4" plywood fits in the groove an the flange lays on top of the cut out. It makes a very solid bed platform and light weight.
-
If you can give very precise location I would very gladly do that. Will post pictures also. The reason I say precise location, there are thousands maybe tens of thousands of signs. We visited the sign post in 2010 and did not know of the signs. This year we will put up a sign saying our name an 2010/2015. I will take pictures an note the locating.
1984 a long time ago, why don't we meet there this year?
-
I'd go with a rear dinette area, v6, 5 speed. Love the Odyssey Americana. Just got a rough quote from Toyota dealership for valve adjustment 500-600 dollars.
-
The rotating mechanism on my 94 Warrior was binding also. Sprayed the mechanism with silicone spray and it now turns freely. Had to re-spray two times and work the mechanism.
-
Corbin you put "how to spray paint" into poetry.
-
I don't own the 84 Dolphin anymore so can't help on door measurements.
-
I replaced my 20# for a 30# tank but it was on a 1984 Dolphin. It was a tight fit. You may have to remove the tank to fill it at some areas especially in Canada. Then it is more difficult to reinstall, heavier and close fit. You will like the extra volume. I got a used tank from a propane dealer and they recertified it for $35.00.
-
Sitting at the Ferndale campgrounds,$10.00 for dry camping. Free hot showers and dump.
-
When is the Kinetic race in Port Townsend?
-
We will be at the Samoa bridge on Friday and Saturday nights, no charge, then at the Ferndale fair grounds for Sunday night. Fair grounds charges $15 ? for water and electricity and free hot showers. Also includes free dump station.
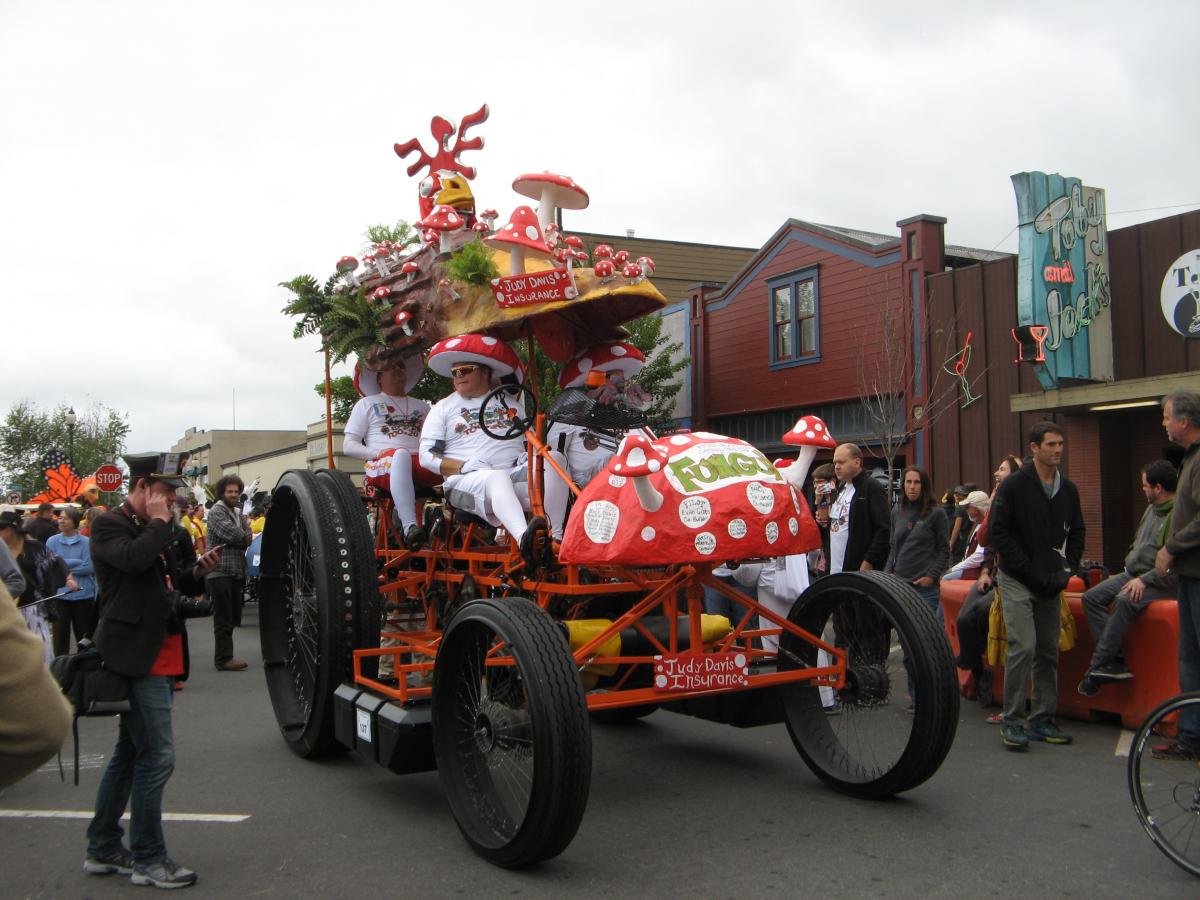
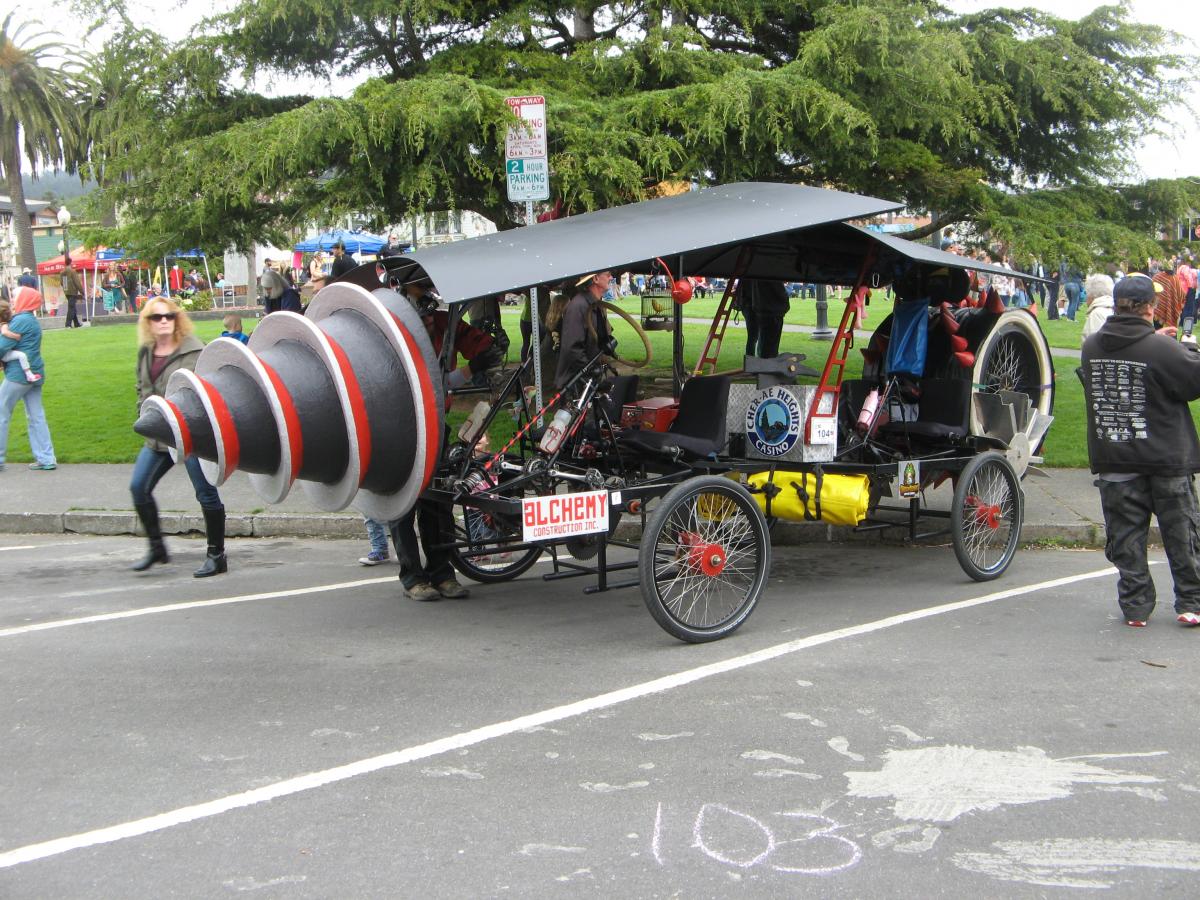
The Samoa bridge is the first night stop and sleep-over for the racers with viewing and beer garden. We camp on the grass below the bridge. Racers depart for a river water race before heading on land. There is another river crossing close to Ferndale weather permitting IE wind. The awards ceremony is downtown Ferndale on Sunday.
-
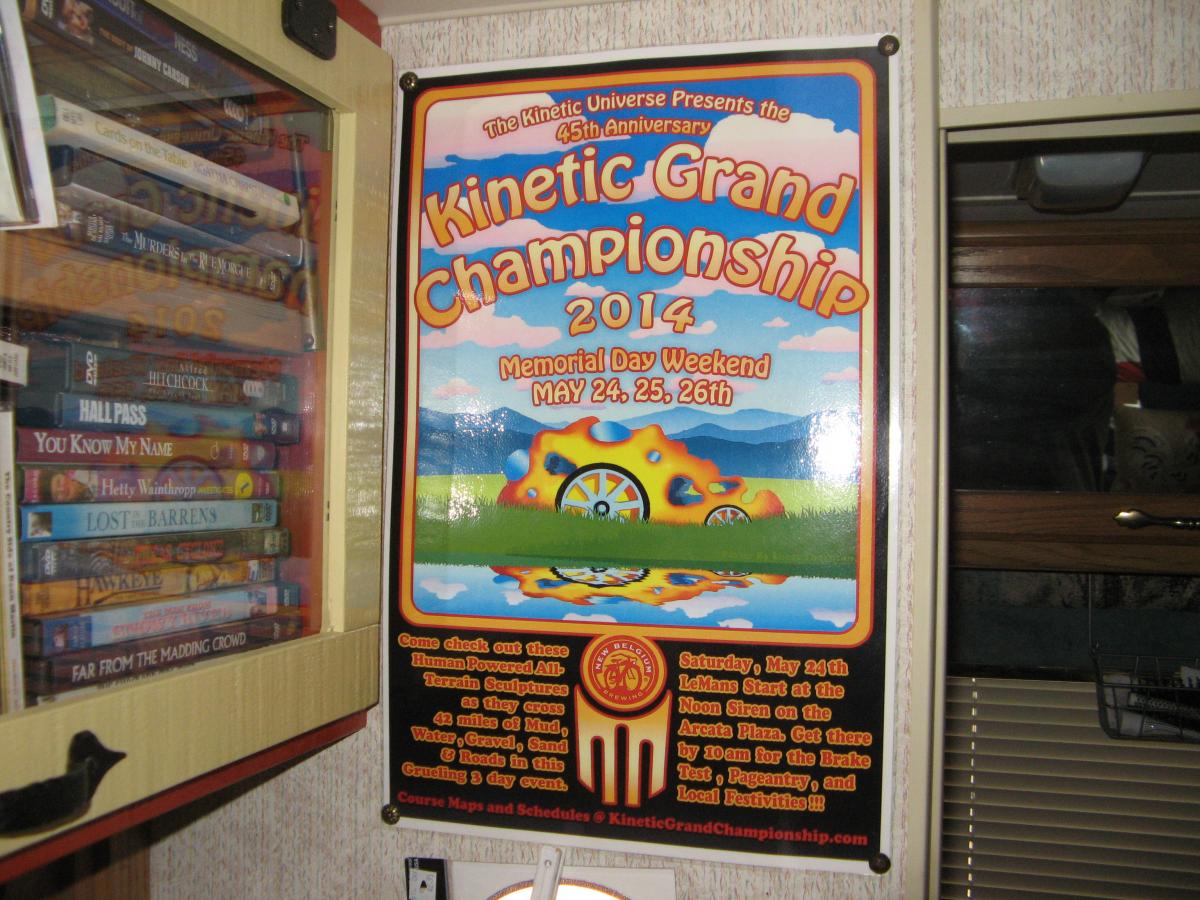
Going to the "Kinetic Grand Sculpture Race" this weekend, 23/25th. The race starts in Arcata, CA and ends in Ferndale, CA.
-
This is what I made years ago for leveling up. I cut four pieces of plywood 8" wide, staggered the length so it made a step up and glued and screwed. The 2x6 block under the thick end gives me another 1 3/4" height when I need it. This is what I pack around for leveling. Only one of the rear wheels is supported when leveling. Never have a problem.
-
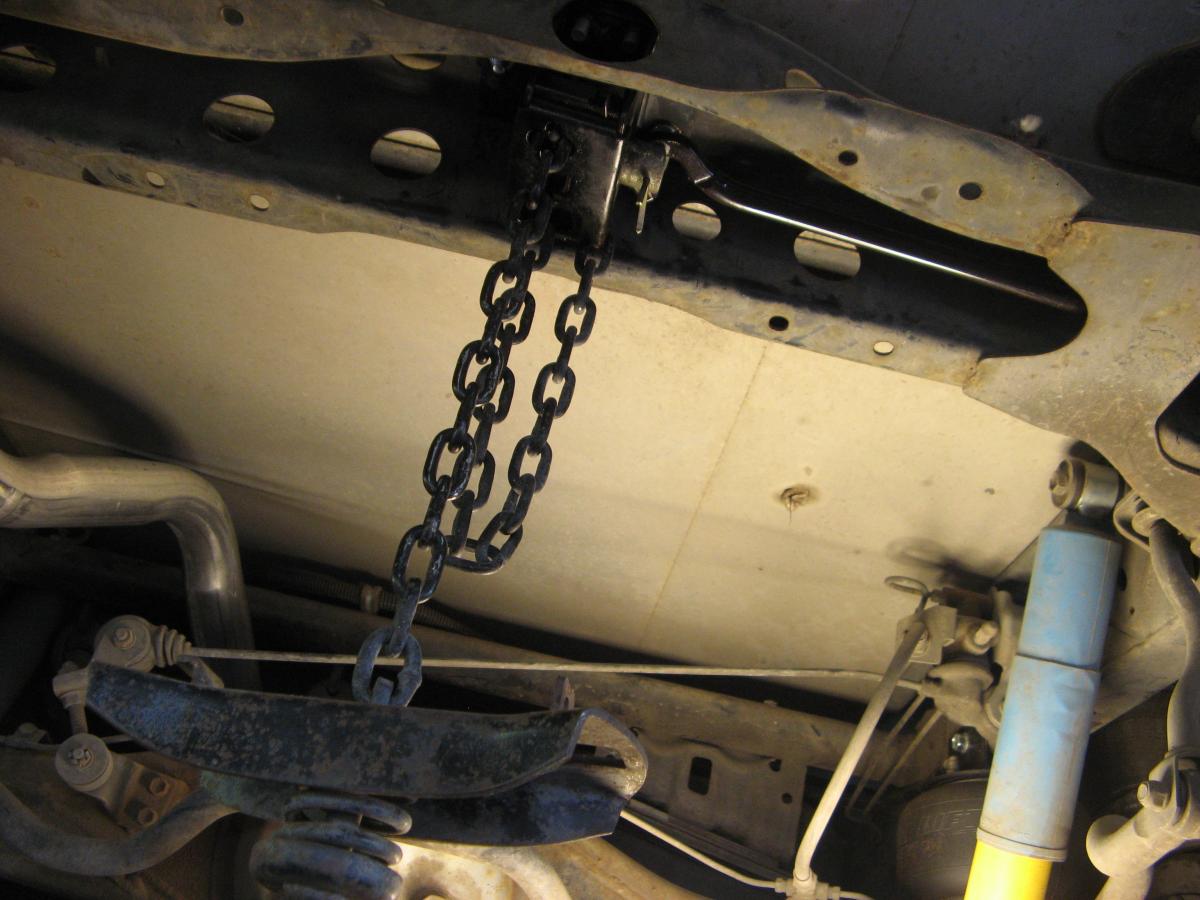
Today I finished up with a project that needed to be done. Installing and moving the spare wheel. We have been running around for two years without a spare wheel. Since we are leaving in about one month for Alaska I wanted to have a spare wheel on board. Because of other mod's I did, the spare was left behind. After much calculating I decided to mount the spare where it was originally mounted, to the cross member just rear of the rear end. There is a plastic plug covering a hole on both sides of the frame. This hole is lined up where the original spare wheel lift was mounted. Removed the plug, mounted the spare wheel lift, and fabricated a crank rod from the original rod. This rod exits the rear skirt behind the right rear wheel. Now all I have to do is use the original crank handle to raise-lower the wheel. The crank rod is permanent now.
I also had to rework the propane lines. Also had to have the rear exhaust rerouted to make clearance for the wheel.
Everything worked out great.
-
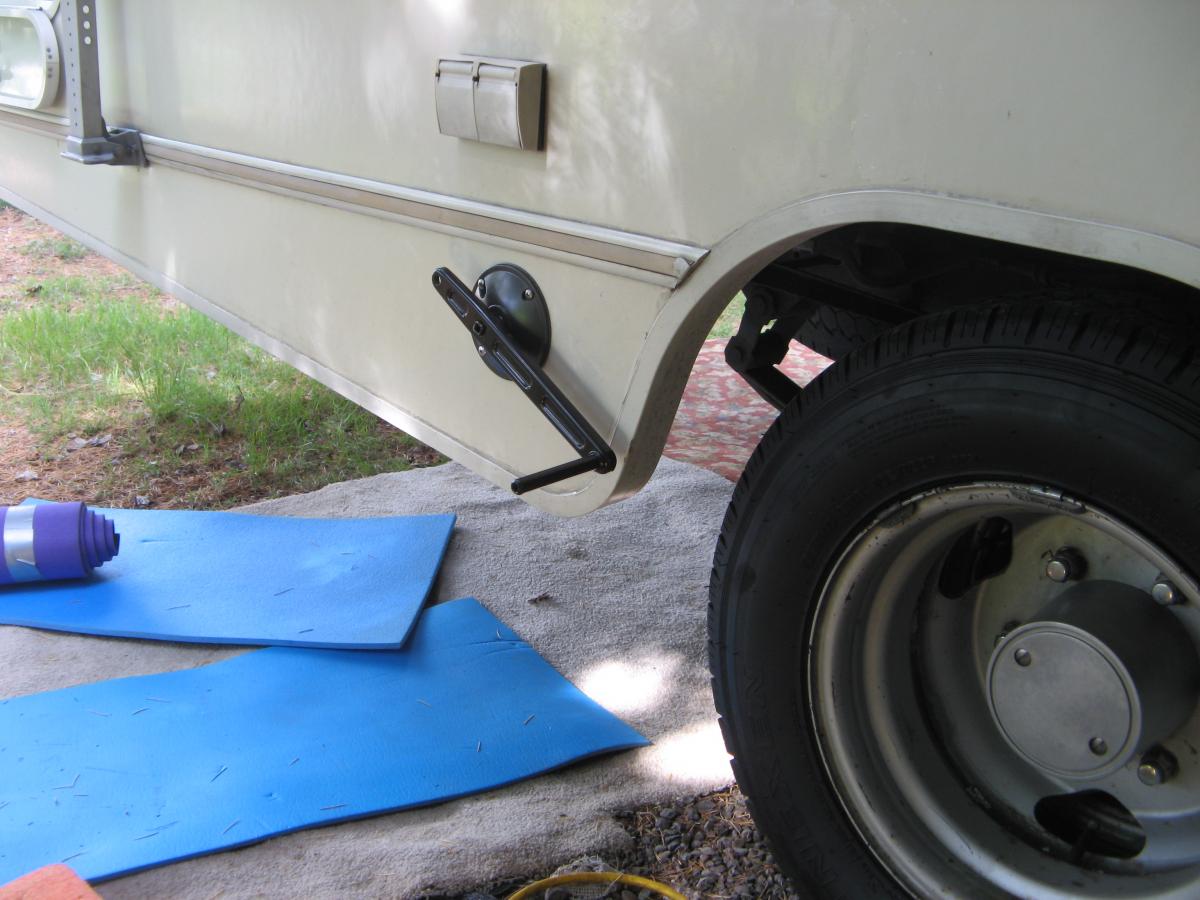
I installed this gadget today, it works perfectly.
No it does not make the motorhome go faster. It is a crank to lower-raise the spare wheel.


Axle Swap: "foolie" To 1 Ton "full Float"
in Improvement and Do-It-Yourself Projects you have done to Share!
Posted
Very nice looking rig. Like the Mercedes hub caps. Thanks for posting the pictures.