


neilp
-
Posts
123 -
Joined
-
Last visited
Content Type
Events
Profiles
Forums
Gallery
Posts posted by neilp
-
-
Maybe I should add that behind the axel there is wiring attached and little room before the frame extension - and I know that I shouldn't jack it up on those.
-
I already replaced the front shocks but I can't find a good way to jack up the rear. I have a decent floor jack and jack stands. I tried to jack in front of the rear wheel and use the stand on the first flat chassis rail area in the front the of the axel, just in front of the spring hanger. That did not work as the whole side of the camper was suspended, and I need to get both sides in the air at the back. How best to do this? TIA
-
19 hours ago, Gary_M said:
That's odd Neil considering how small the drain hole is in these oil pans. How big is that large gasket piece?
Considering... did you doing anything else to the engine while the oil pan was under there. Could there have been loose gasket material lying about from the overhaul that fell in?
Cheers!
Gary
Gary that is not gasket material, although I can see how it looks like it. It is part of what I call a "C-clip" although Maineah may have the correct name: E-clip. Either way it should not have been in there!
19 hours ago, Maineah said:That's an "E" ring there is nothing in the engine that would use that, that I can think of. It looks like something that would be on throttle linkage. Probably dropped and lost forever probably when the valve cover was off.
I couldn't think of a likely place it came from either, other than a careless drop, but I have not been inside a 3VZ motor. I hope not to be any time soon. Anyway it's running well so I'm going to put it on the list of stuff I don't need to worry about. Got enough on that list already!
-
I was doing a routine oil change on the camper yesterday and found the remnants of a C-clip in the oil as it drained. It still runs great but it is concerning. The engine had a lot of work done just before I bought it - cylinder heads rebuilt, water pump, timing belt etc. It has always run very well. If anyone has some thoughts where this may have come from I'd appreciate it!

-
The mounting is standard across RV toilets to my knowledge. The biggest issues is getting the right height (all the Toymos I have seen need the high type) and choosing foot or hand flush. I replaced mine with an Aqua-Magic Residence High Profile which is a foot flush. My girlfriend had requested a foot flush toilet and these popped up on sale at Camping World. I think because it is off-white color (bone?) it was marked down to $70. Fits nicely although the pedal touches the side of the shower pan lightly when you use it. If it bothered me at all I think I could rotate the toilet flange a few degrees to resolve it.
-
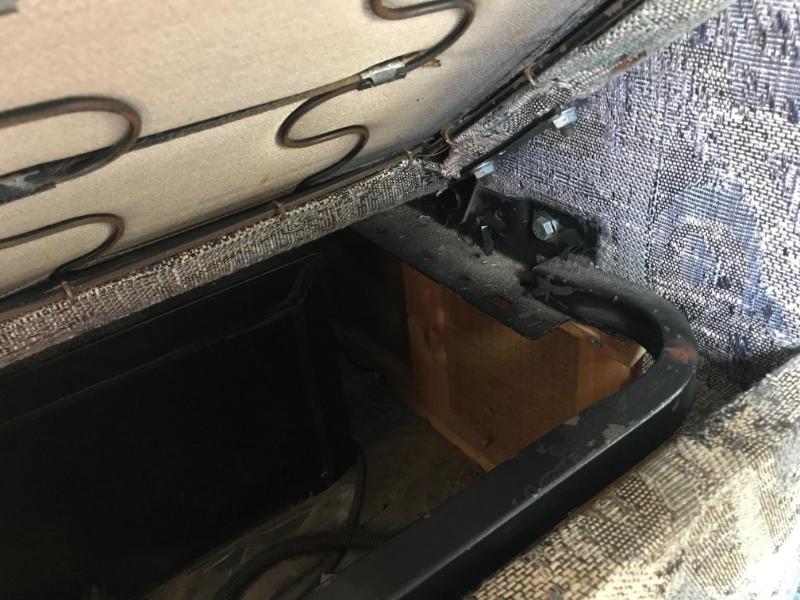
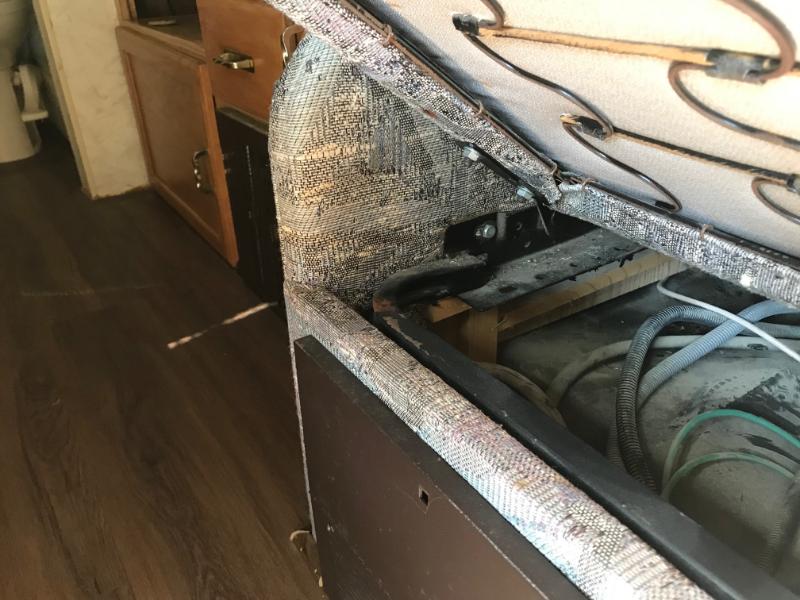
Apologies for the slower than expected reply. I am attaching a few pics that I think are what you wanted - please le me know what you need if further pics will help.
-
Not exactly sure what you need pics of. I'll get a few and post them later. I've also added the parts book in case that helps you out.
-
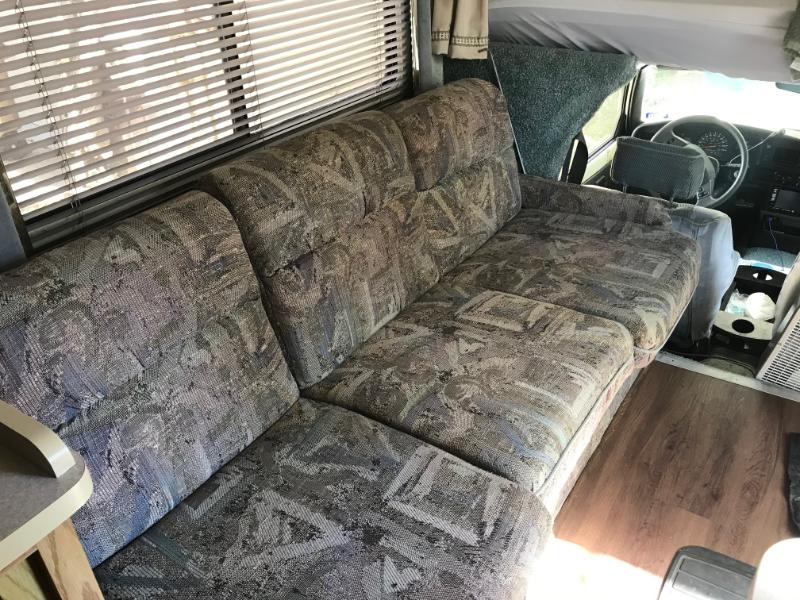
I have the same model and year camper, except mine is the 321RL with the L-shape dinette . I can take some pics of the entire couch if that helps. I've attached the year model brochure which has pics and dimensions as well.
-
Thanks for the replies. I went to the hardware store : it's M8x1.25 30mm long. I've replaced them all and re-tapped the hole for the one that snapped and I had to drill out. Back in business!
-
Linda, On my Toy there's a plastic cover over the hub that has to be removed before taking the wheel off. Like the one in the photo below.
-
I went camping last weekend and the vibration I have had since I got the camper is now at the point where I have to get it resolved. It feels like it's coming from the rear but I know that can be deceptive. So first thoughts are wheel balancing, old tires or the very old looking shocks. I chose to investigate the wheel balance / tire issue first. Finding somewhere that can (and will) balance these wheels has been a challenge, many refuse as it's an RV and most do not have the large adapter needed for the spin balance machine. The local Walmart agreed but tat was an ordeal. They could not find a socket the right size for the lugs so had to use my lug wrench which slowed things down a lot, and then found two damaged lugs, likely cross threaded in the past but they are holding torque for now... The biggest issues that stopped all progress was a rusted hub cover bolt. This has a 6-lug rear. The bolt is rusted to the hub very thoroughly. I had to drill the head off to remove the cover and then the remains of the bolt snapped in the hub while I tried to remove it. So I now need to drill and tap it out - so to the question: What size are those hub cover bolts? I think M8 / 1.25 but would appreciate confirmation.
TIA
Neil
-
7 hours ago, Maineah said:
Two things no air pocket in the heater tank open the pressure valve lever drain off a couple gallons close it off and refill. If that does not help there is a plastic check valve inside of the top tank fitting they sometimes fall apart.
I have released the pressure in the tank. There's water coming from the valve, although I have only let about a cup or so out not gallons? Would that help? I'm interested in the check valve that you mention as I have not seen this - it is located in the top of tank?
Thanks for your help!
-
4 hours ago, Maineah said:
There is a built in check valve in the hot discharge.
I'm not quite sure I understand this - could you elaborate please?
-
5 minutes ago, tstockma said:
Especially for $80, I think you found a gem. It appears to have a good non-Sony night vision CMOS camera setup, and a very good full-screen touch screen setup. The 1080p resolution is perfectly adequate IMO. A terrific example of a great "previous generation" setup. Nice!
Exactly. I didn't want to pay a premium for the latest tech. And this one does all that I need, and for a decent price. I'm pleased with it so far. I have not used it at night, but day time performance is good, a huge improvement on not having a rear view that works!
-
I recently installed the one linked below. I've been pleased with the performance so far. It's not the fanciest but does the job well enough. It has more capabilities but I primarily use it as a rear view. I do let it it record the front and rear cams when travelling in case of a wreck. Installation was fairly straight forward. The main hassle was running the wire from front to back. I hooked into the rear marker lights for power and mounted the rear cam on the central red marker light by drilling some small holes for the bolts through the red lens. Wiring into the rear light proved unnecessary as the camera is always on - I thought it would act more like other rear cams I have installed and only come on with power at the rear connection. This model seems to draw power for the rear cam from the front wiring. Still works well the way I did it. Let me know if you have any questions!
https://www.amazon.com/gp/product/B07MHK6JRJ/ref=ppx_yo_dt_b_asin_title_o03_s00?ie=UTF8&psc=1
-
So I managed to mcgyver a solution to the low point drains. That's the good news. Unfortunately I managed to create a leak on the shower supply lines while doing that. So no camping this weekend. I'm pondering how to repair that problem. I'm guessing that you have to pull the shower controls to access the top of the plumbing lines, reinstall with new lines that you have pre-mounted at the top end. And then reattach the lines underneath the stove at the low point drains. As poly line is no longer sold I'm guessing I need to convert those lines to PEX?
Part of me says I should just replace all the plumbing with PEX but that would be a lot of work. And I seem to create as many leaks as I solve when I do plumbing work!
-
Google found me a couple of thread here with some ideas:
So maybe I can save the weekend with a trip to the plumbing supply in the morning...
-
-
I need some quick ideas as I have a camping trip planned this weekend. I've (finally) found my leak - the low point drain valves that are under the stove by the water heater on my model.
I cannot seem to find a suitable replacement at Home Depot or Lowes online but may go to the stores for ideas. Does anyone know what to look for - especially the size of the threads? 1/2" NPT is my guess but it's just that. I suppose worst case I can just bypass them.
I'll go get a photo and post it in a few minutes.
TIA
-
Sounds like that was the issue. Most alternators will put out about 14.4v but I haven't checked my camper.
-
Have you checked the belt is tight enough and in decent condition? A slipping belt would give the symptoms you noted. Otherwise as stated likely a diode in the regulator, one of the windings or the brushes are failing.
-
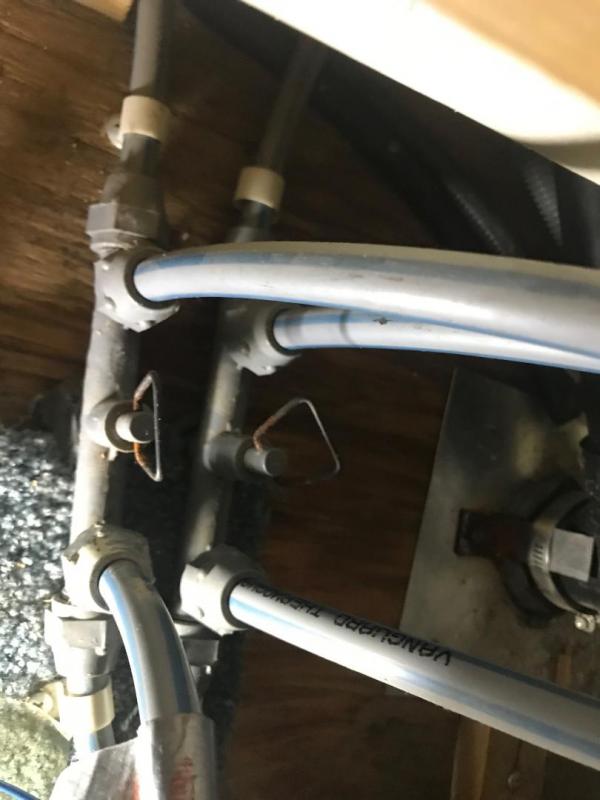
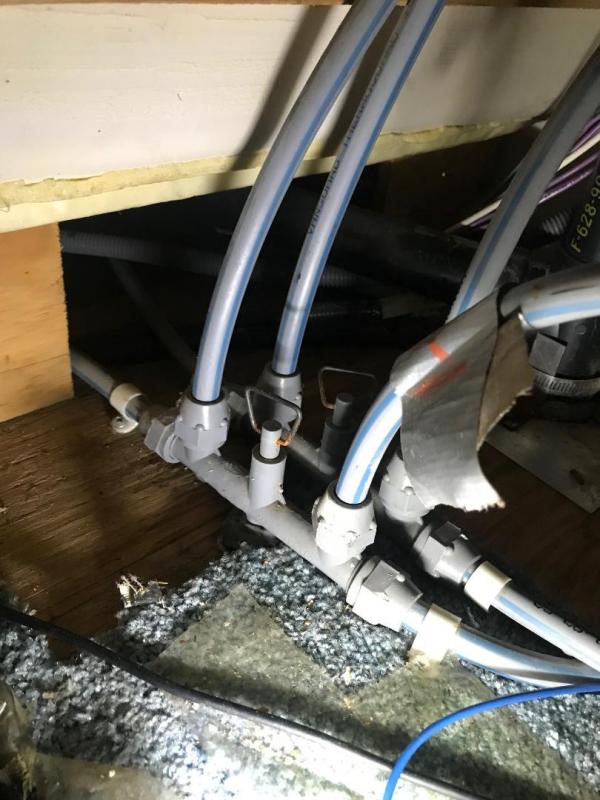
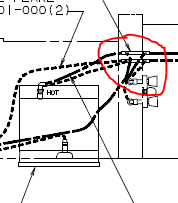
I've looked at the schematics. The valves that I found by the fresh water tank are labelled as drains. Ok, I guess I'll use those in future! But there are two pull ring valves under the stove right by the water heater - I used these to drain the system recently so they certainly work too! These do not seem to be on the schematic from what I can see:
Shower / stove area:
this area:
they are labelled "header"
But still no heater bypass to explain the cold water being hot...
-
There is no sign of a heater bypass, I just took a good look. I did find two additional pull ring type valves next to the fresh water tank. I am guessing that they are additional drains - the other two are right by the water heater near the shower.
I thought I had all the docs from Winnebago but I don't have the plumbing schematic. I'll go look that - thanks for the tip!
The pluming in my camper must be haunted, between the untraceable leaks and the mysteriously hot water!
-
I have not seen one - that would be a pipe between the inlet and the outlet to the water heater, correct?


how / where to jack for rear shock swap
in Engines - Transmissions - Drive Train - Suspension - Chassis - Steering - Exhaust - Tires - Etc.
Posted
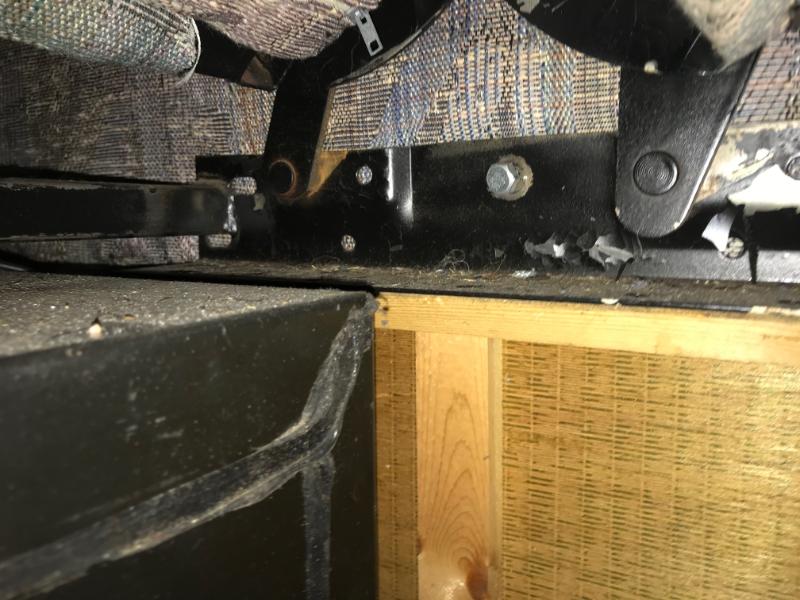
Thanks WME - I was just coming to the conclusion that was the best way. A lot of head scratching was going on there for a few minutes! I have the KYBs. I was very surprised (I'd say shocked but ; -) that the new fronts had so much more compression resistance than the old ones. The old set still worked ok and did not leak at all but I could squeeze them shut myself - I can hardly budge the new ones.
Straps are still on as I was guessing they are there to help the install.
Onwards! Thank you!