Search the Community
Showing results for tags 'reseal'.
Found 1 result
-
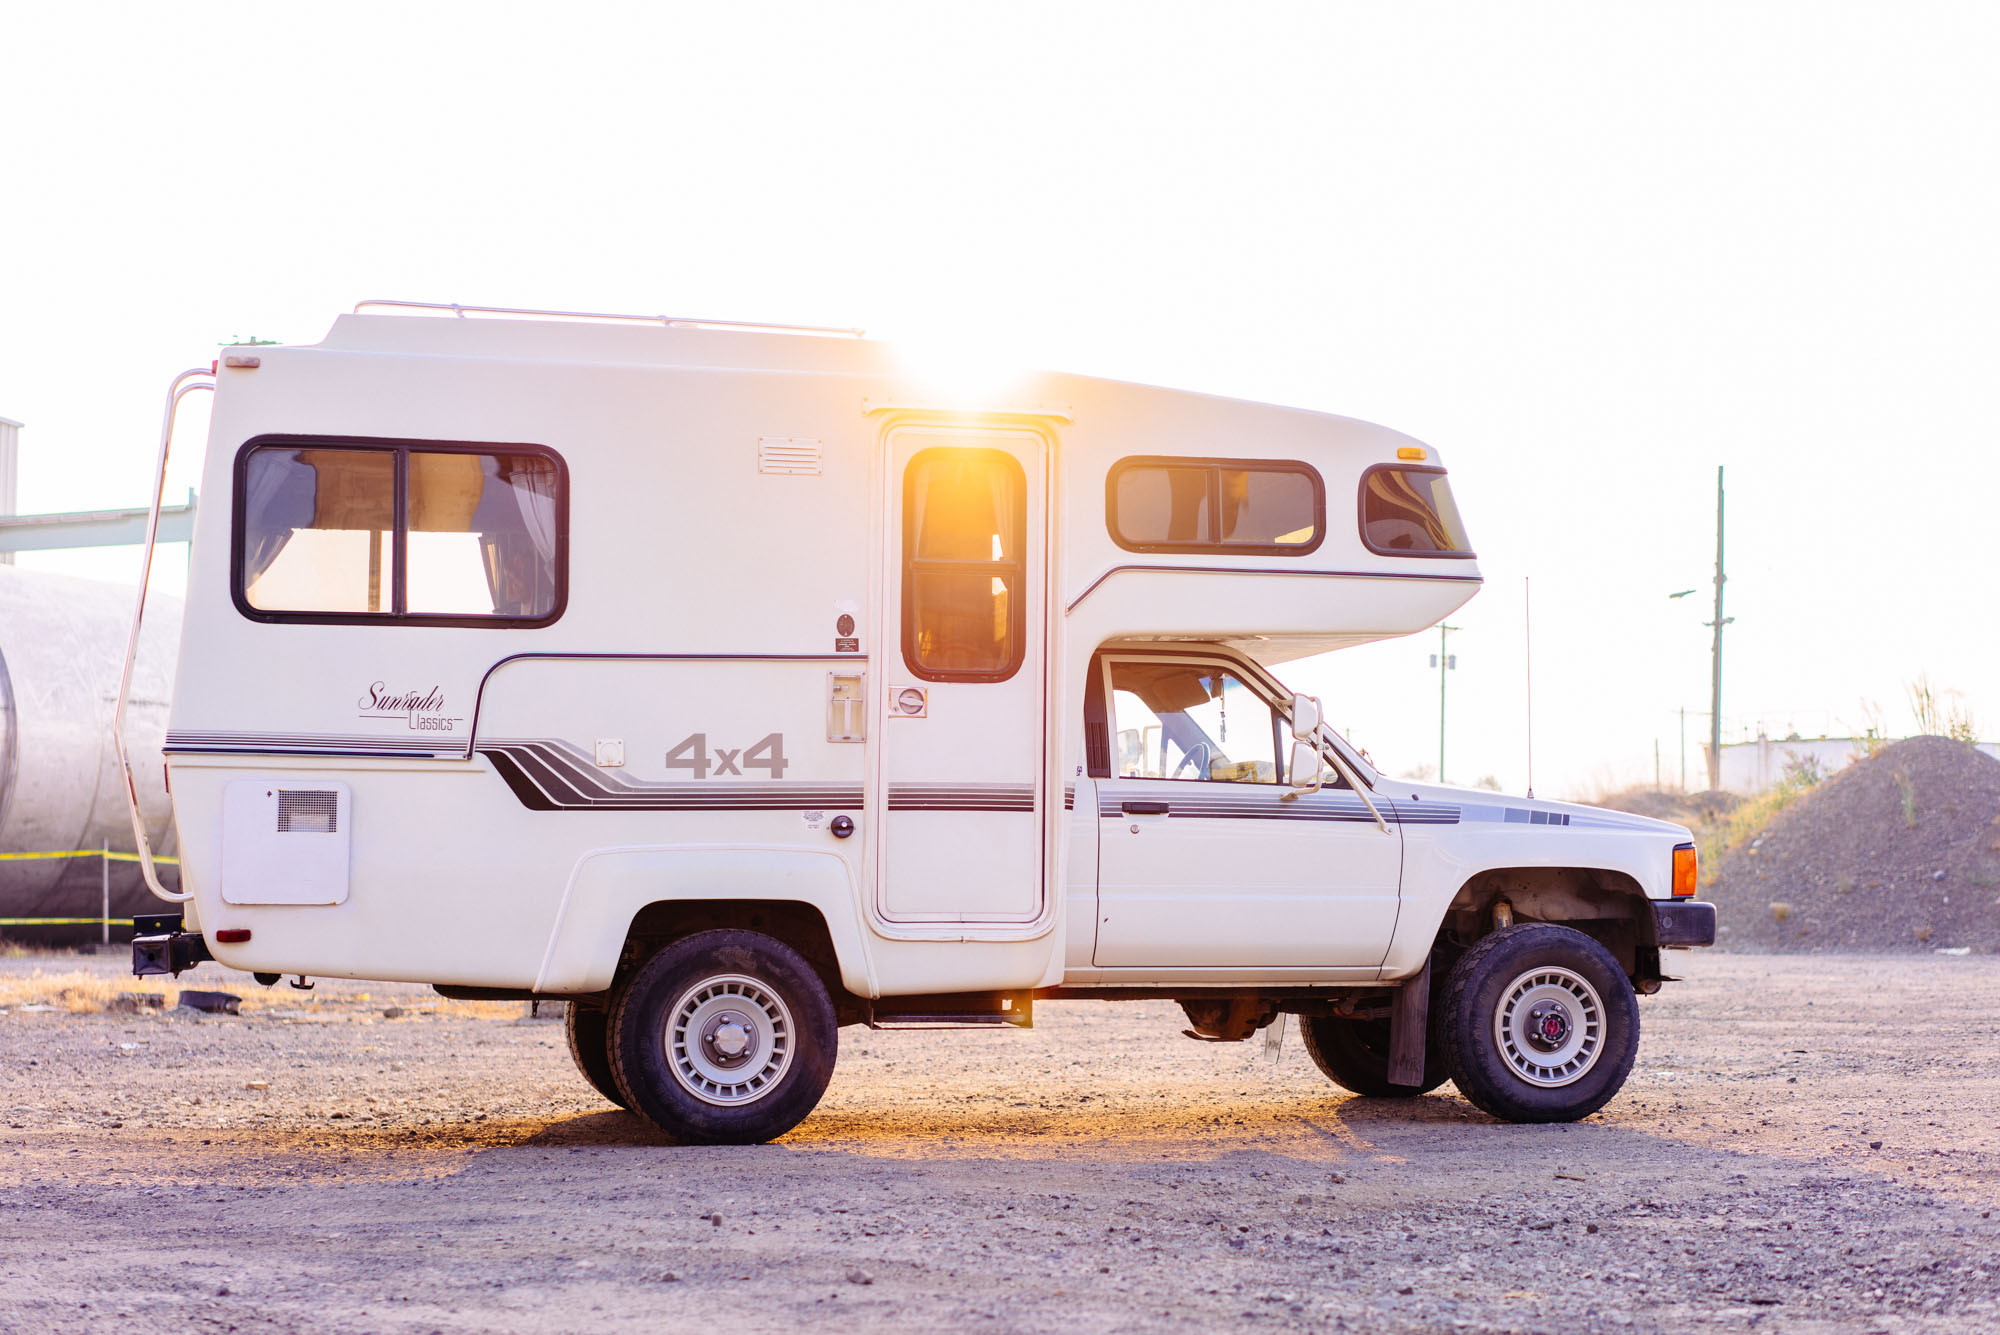
 Hey everyone, thought I'd share some of the work my wife and I have been doing on our 4x4 Sunrader. We bought it in August 2017 in Bozeman, MT. We drove it around the west coast for a while and then made our way to Florida to begin a renovation on it. My wife and I have been living in a VW Vanagon for the last two years and decided to make the move to the Sunrader for the extra room, 4WD, Toyota reliability, and cheaper parts. We started the renovation at the beginning of November and are currently still working on it. We've heavily documented the process with photos, videos, and blog posts so I'll try not to be too redundant and post links here. I'll keep posting as we have more to show! Her name is Amelia and this was her before we started working on her. There's plenty more picture of her and her interior before we started the process over here: http://www.boundfornowhere.com/blog/2017/new-home-on-wheels Our goal was to start with a clean slate on renovation so we tore her down to the fiberglass and salvaged what we could. We found LOTS of dead mice in the walls which made us feel better about peeling back everything so we could get a fresh start. Here is a video of that process: We also cover it with some photos and writing in this blog post. This post also shows our first attempts at fiberglassing as we decided to teach ourselves. http://www.boundfornowhere.com/blog/build-out-week-1-2 I'll leave it at here for now. Don't want to overwhelm you with too much all at once. Be back soon with some more process. -MAK and Owen