Search the Community
Showing results for tags 'repair rot cabover'.
Found 1 result
-
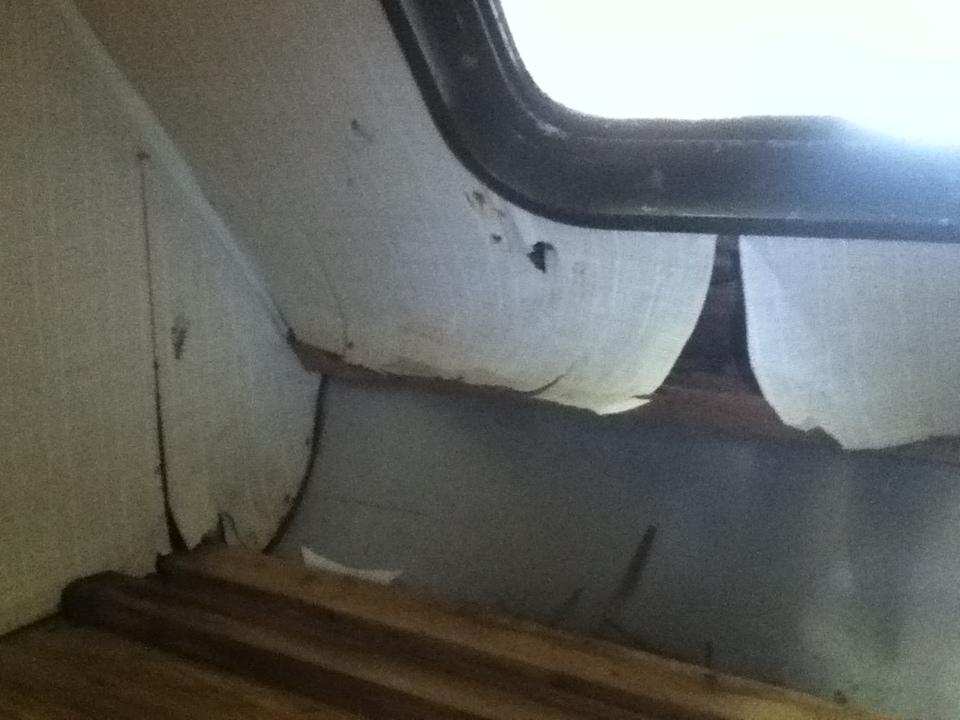
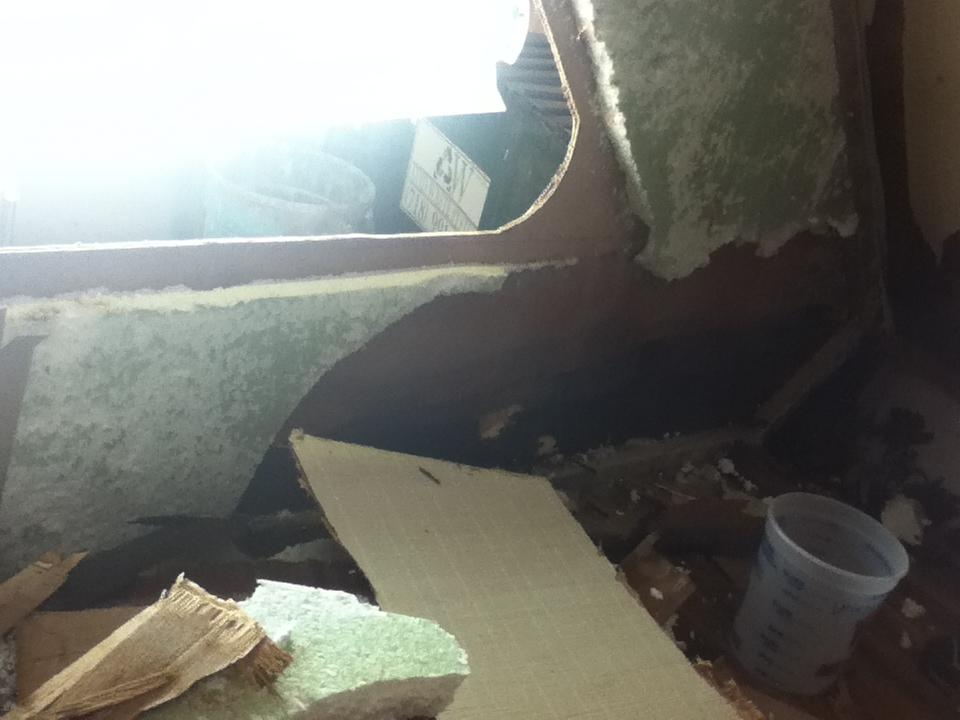
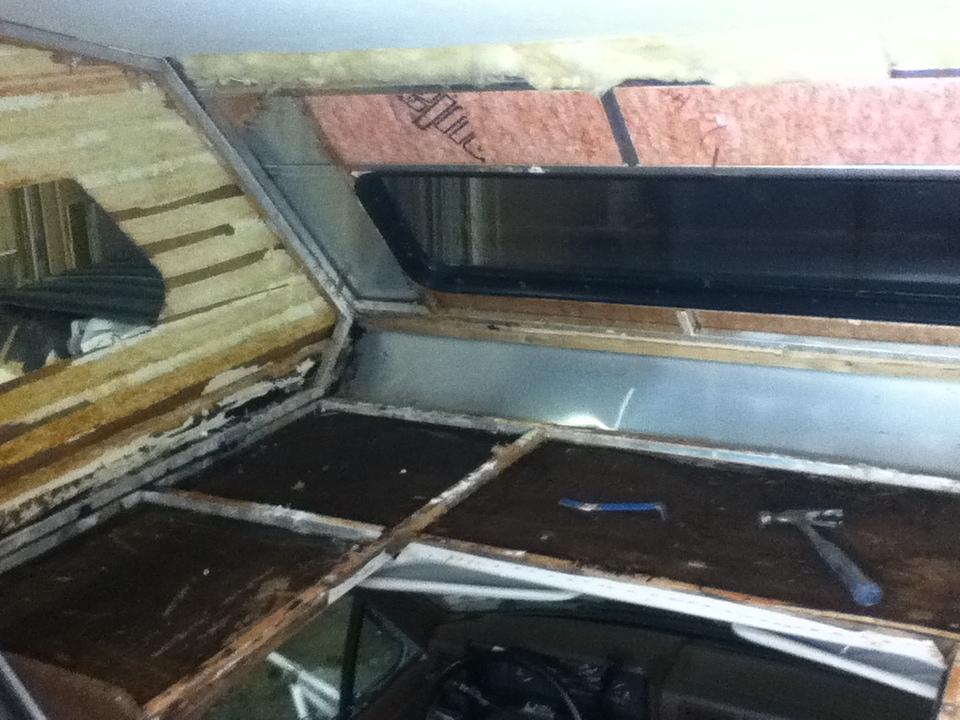
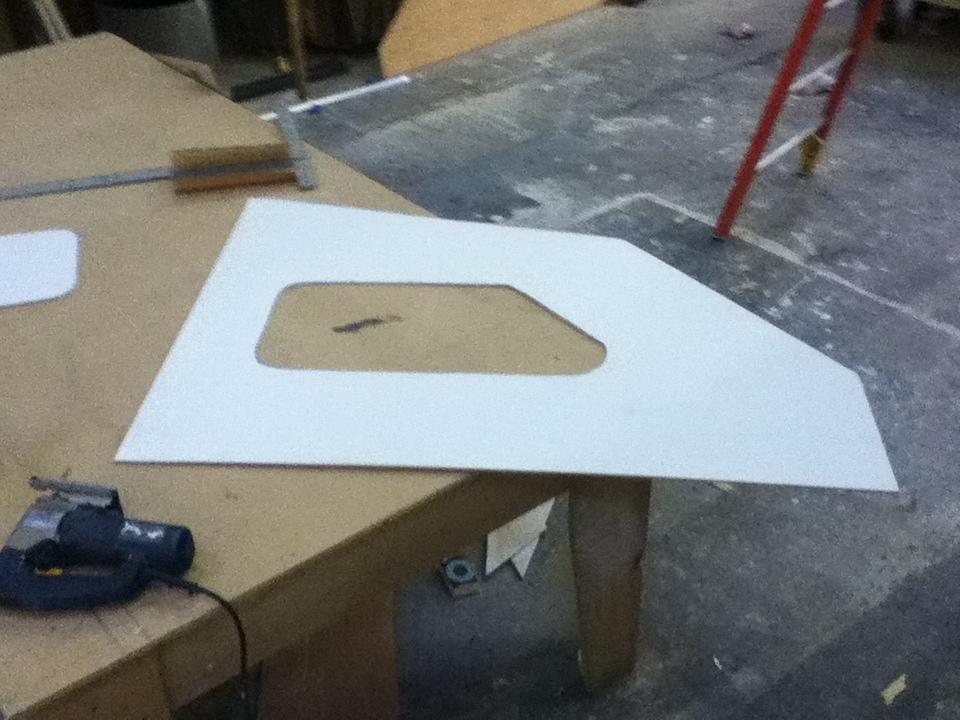
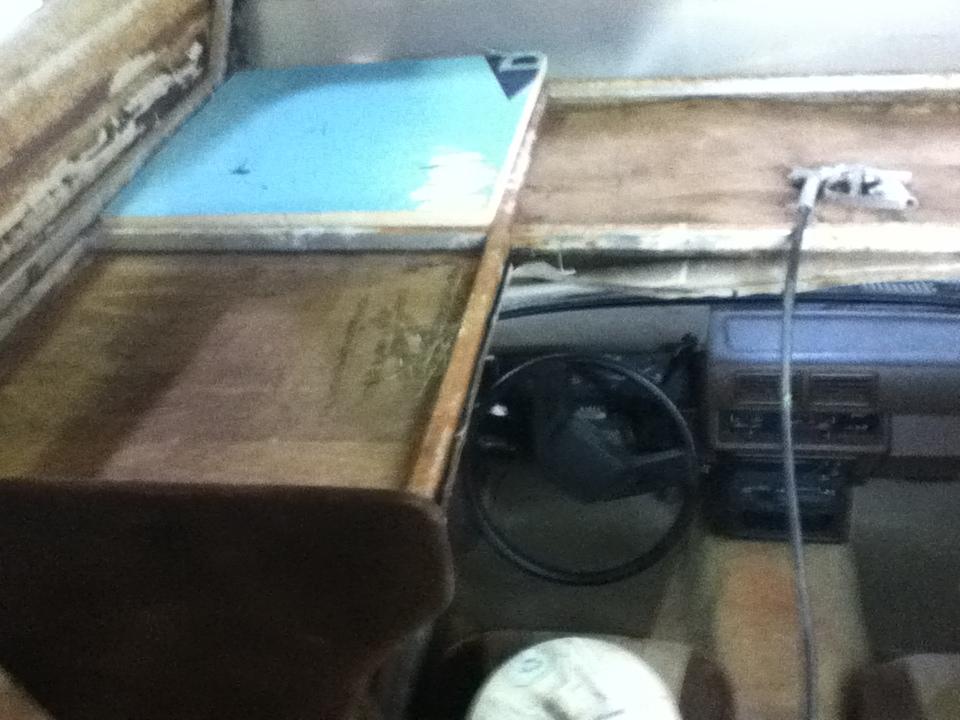
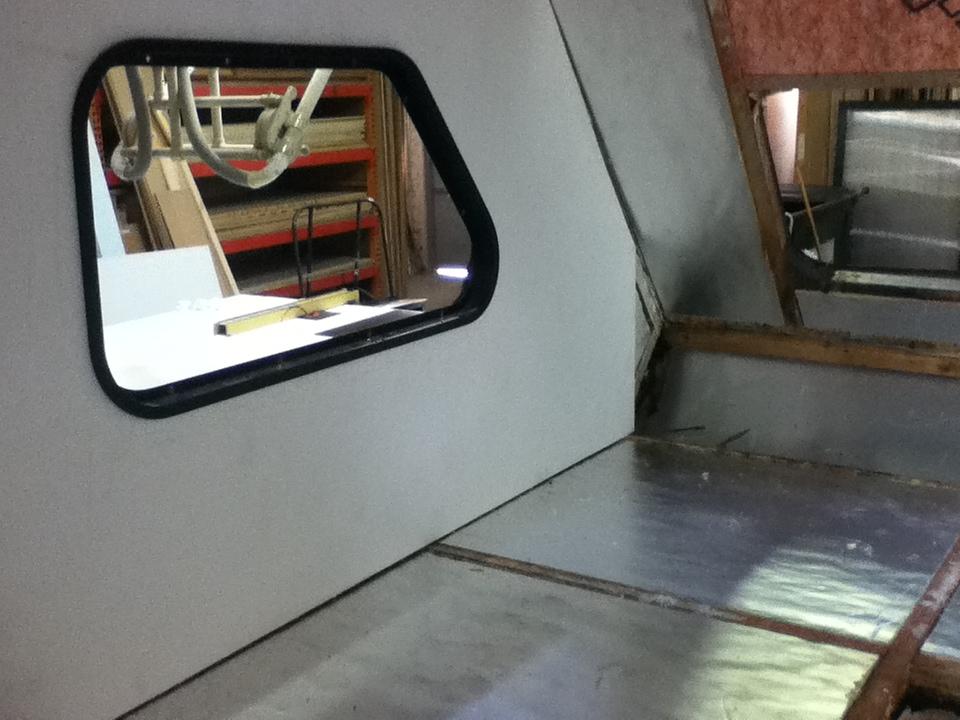
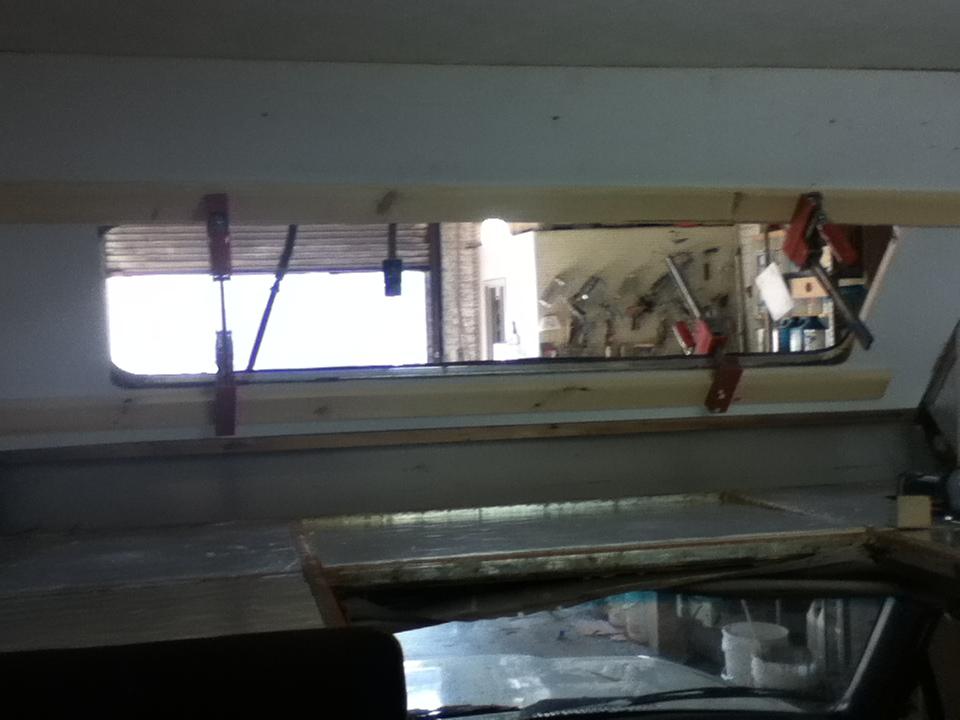
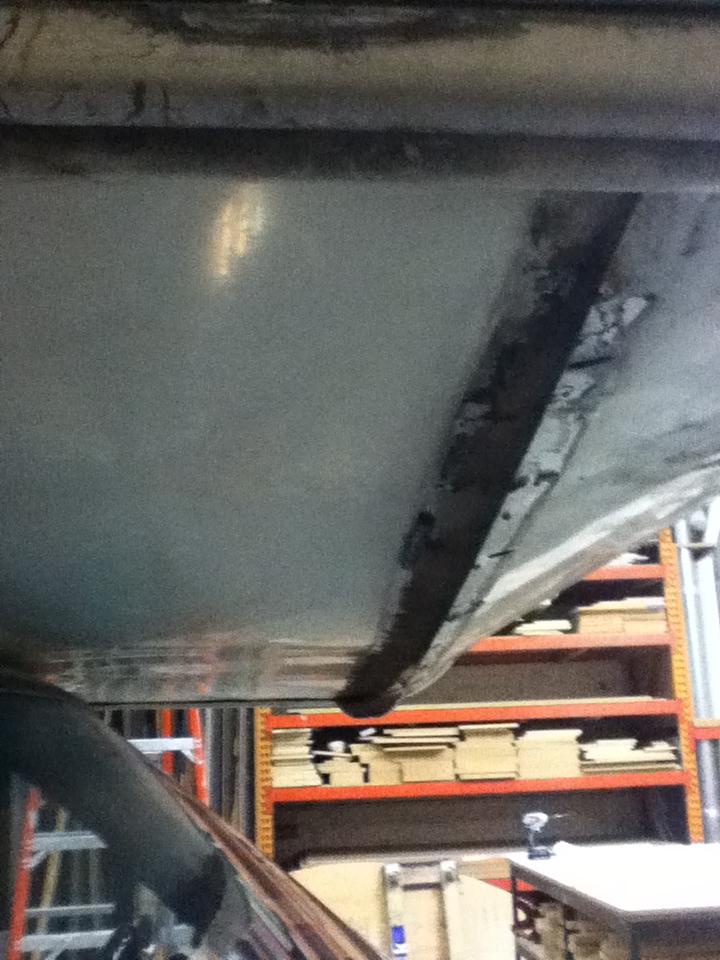
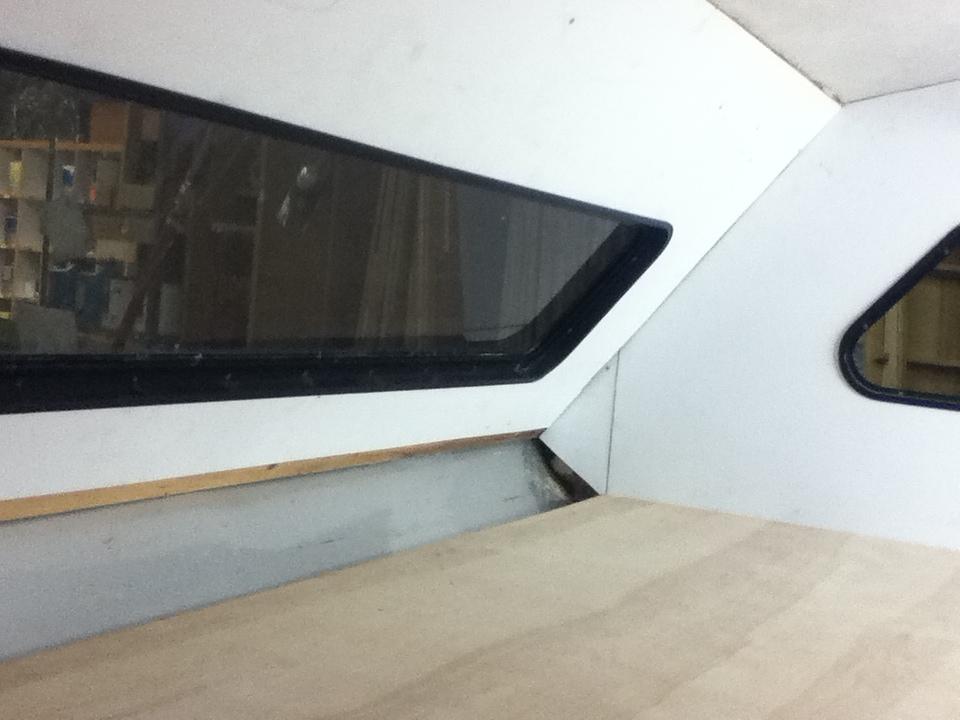
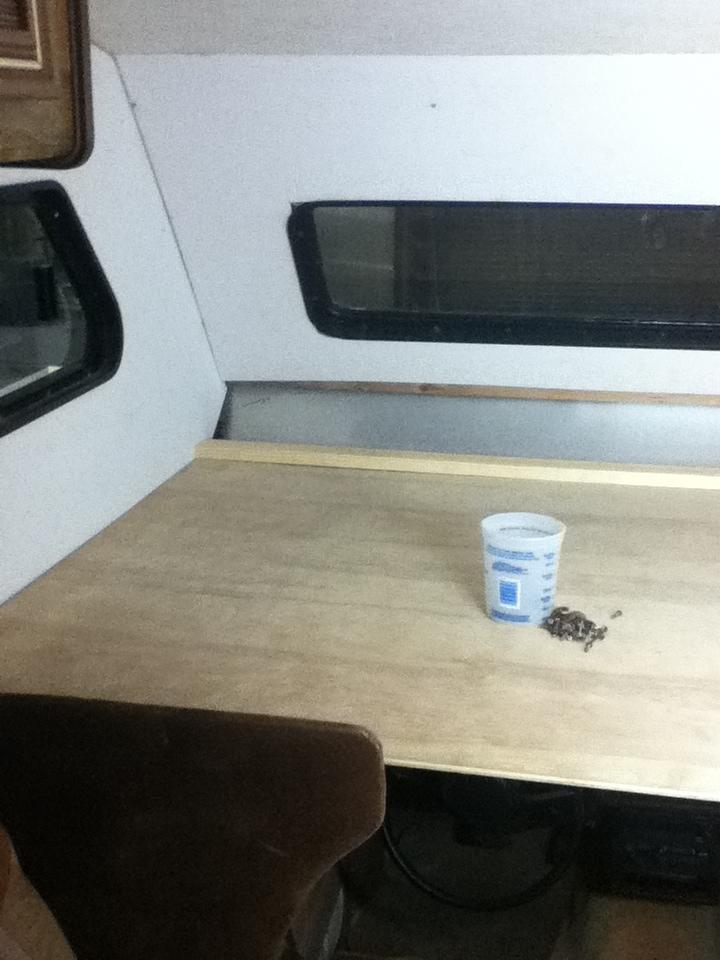
 The mission: Tear out and replace the rotted-to-nothin cabover in my 1987 conquest before 5am Monday when the shop opens for business. As my first major project on the new camper, of course it was much more involved than i initially thought it would be... Here's a picture of the visible water damage inside the cabover. Tip of the iceberg, of course, to what lies beneath... I removed all the paneling, insulation, and luan backer from the walls and bed. Due probably to all the recent snowmelt, there was practically standing water under the foam, and what once was 1/8 ply now was like a handful of wet noodles Here's what I was left with. I think I beat my head against the wall 3-4 times at this point in the day I was luckily able to pull one of the side panels out without damaging it too much, so I used it as a template to cut new ones out of 1/4" preprimed luan, mostly just because we have a TON of it at the shop. I used the mirror image for the other side and with a little tweaking it worked fine. I used spray adhesive to attach the new 1" Insul-R foam (r6.5) in between the aluminum framing, though it was tight enough and I probably didn't need to. And here's the first side panel installed over all the new insulation with the window flange fit in. The toughest part of the whole deal was getting the window to line up enough to bite the edges and seal all the way around, as it seems the fiberglass was cut a little big... There was also some rot on one of the floating window frames, so instead of rebuilding the whole thing, in the interest of time i ripped a piece of pine down and patched it. I used spray adhesive and construction adhesive to hold the front panel in (mostly I used the contact cement cause I didn't have anyone to help me hold the piece,) and clamped it till the liquid nails set. I didn't have the time to leave it overnight, so I sunk some screws into the aluminum and called it good. This was my biggest worry: getting this seam to line up again with the busted old aluminum strip that was on there before. I called a friend to help put some inward pressure while i zipped it back up. This seam was screwed straight up into a nailer that went the width of the camper, which was all rotted out. I replaced it with a stick of batten, which also later served as a ledger to butt the piece of 1/2" birch I used as a nose piece. And here she is, roughed in and resealed, with enough time to eat dinner, shower, and get a decent night's rest. I bought some 3/4" butyl tape and resealed all the windows, then ran a line of Proflex RV around em. Here's another perspective. Since last weekend, I cut an angled piece of foam for the nose and mitered a piece of the birch I used for the decking to go in between where you see the exposed aluminum. This weekend, I cut trim, primed, bondo-d some little spaces, and now I wait on the lovely lady to tell me what color she wants it! I have some old wool twill fabric left over from a job I was going to reupholster with , and I think a nice light olive would look great on the walls... There you have it! about 18 hours and full use of the shop over the weekend, and she survived this weeks rains without a drop inside! More to come as the plot thickens...