Search the Community
Showing results for tags 'Headliner'.
Found 2 results
-
 Does anyone have any suggestions for how to do a do-it-yourself headliner replacement in the front Toyota cab? Thanks
 -
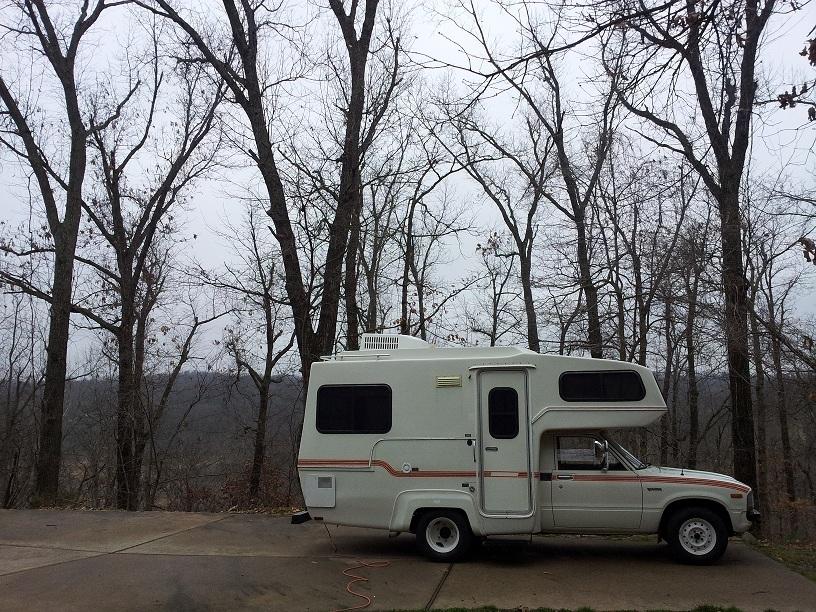
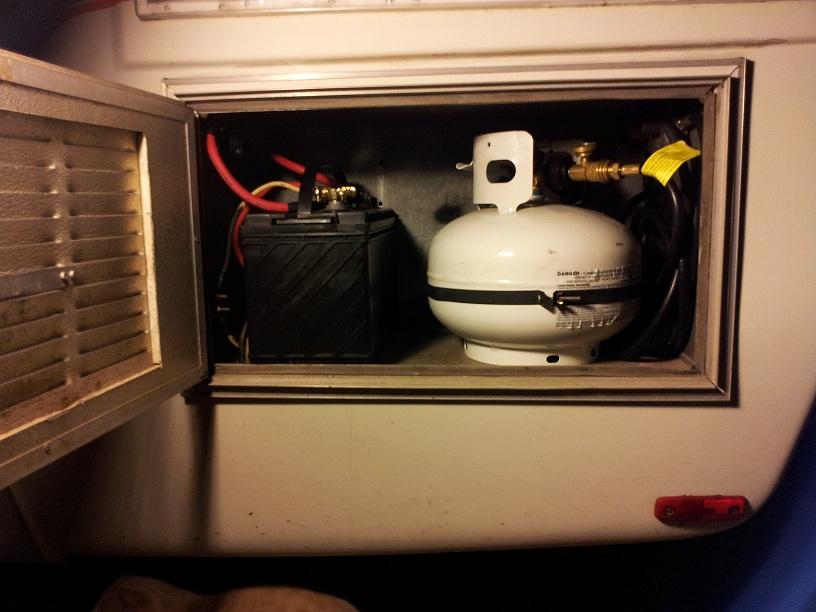
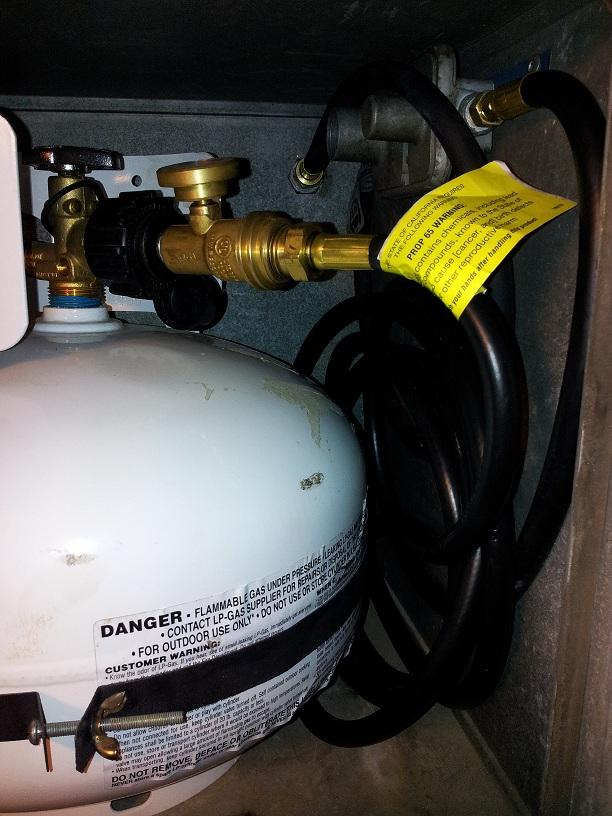
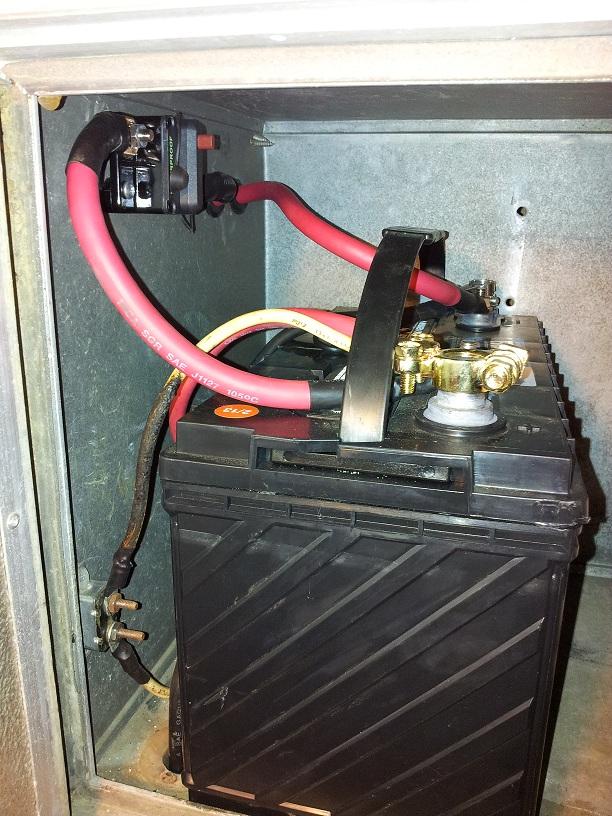
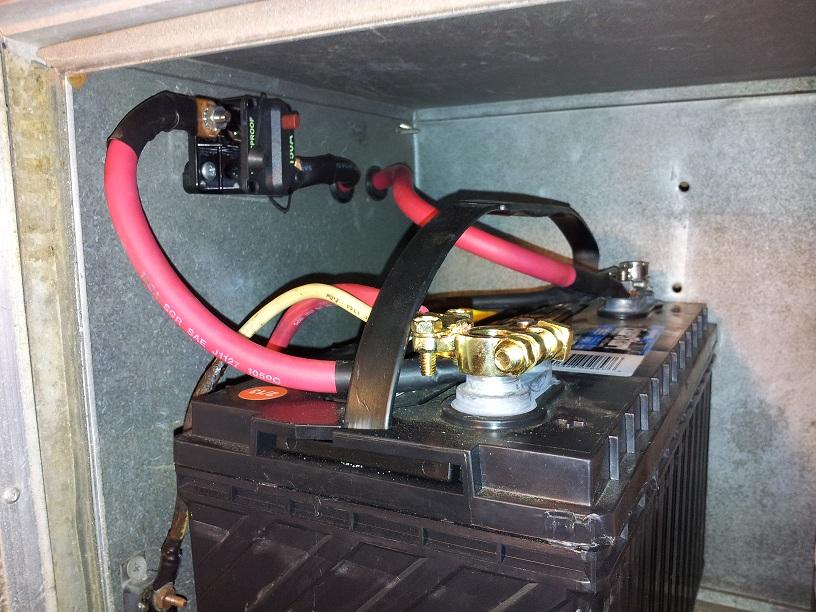
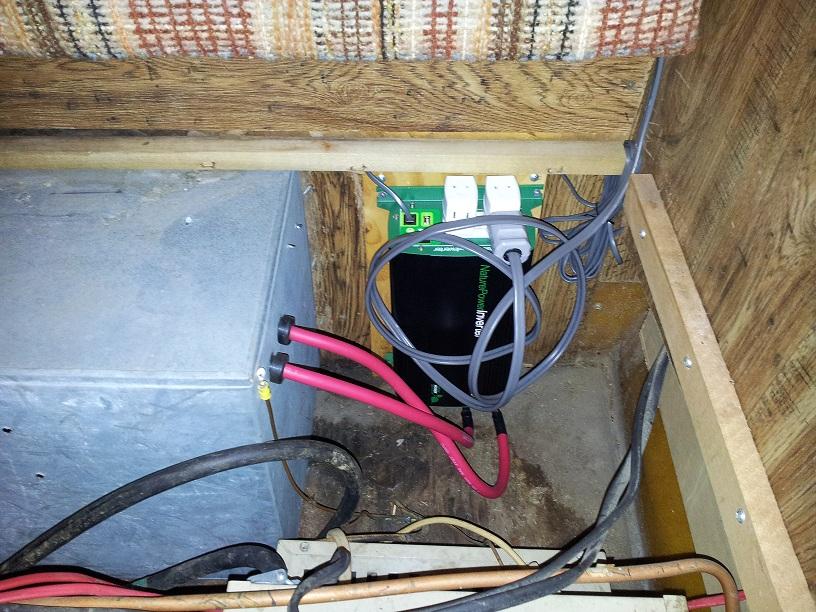
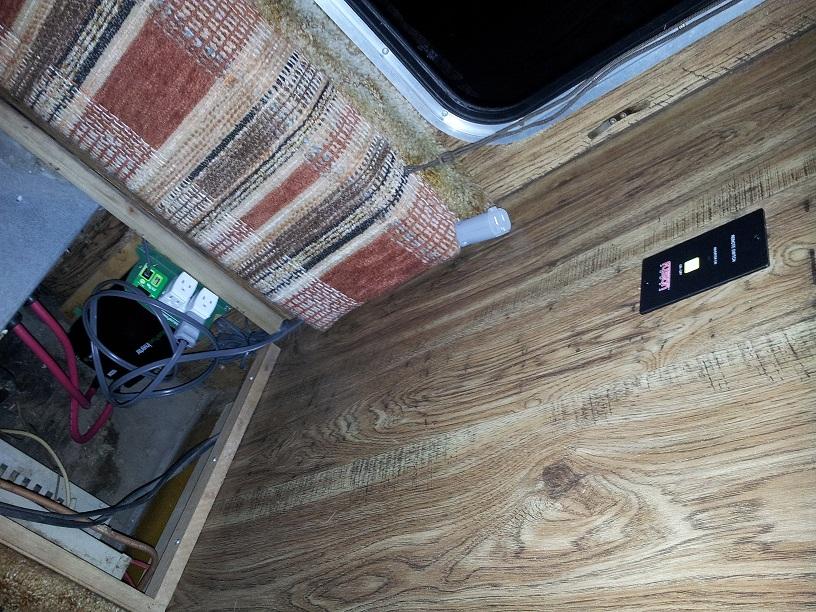
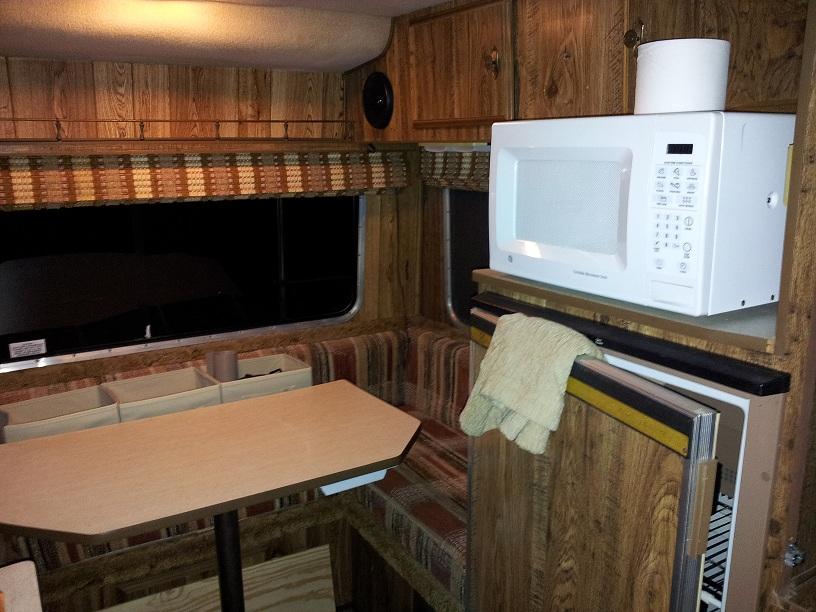
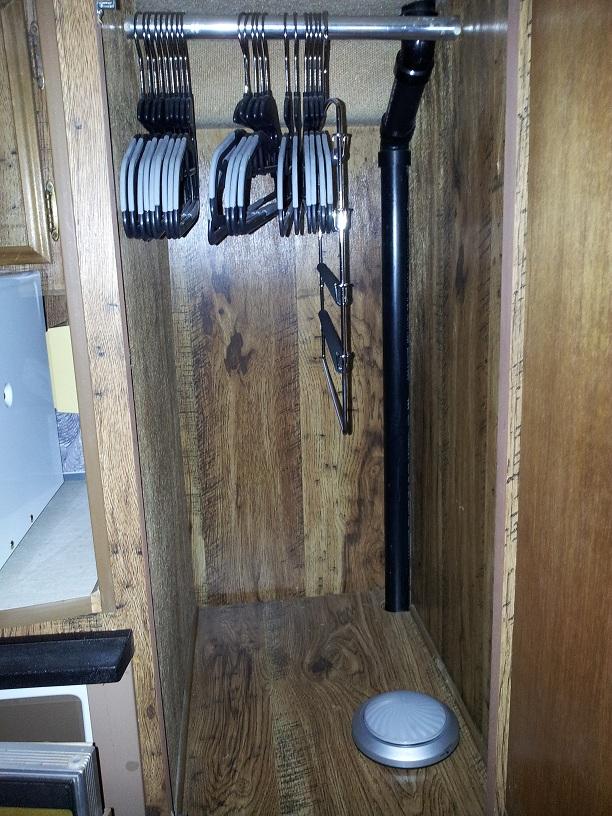
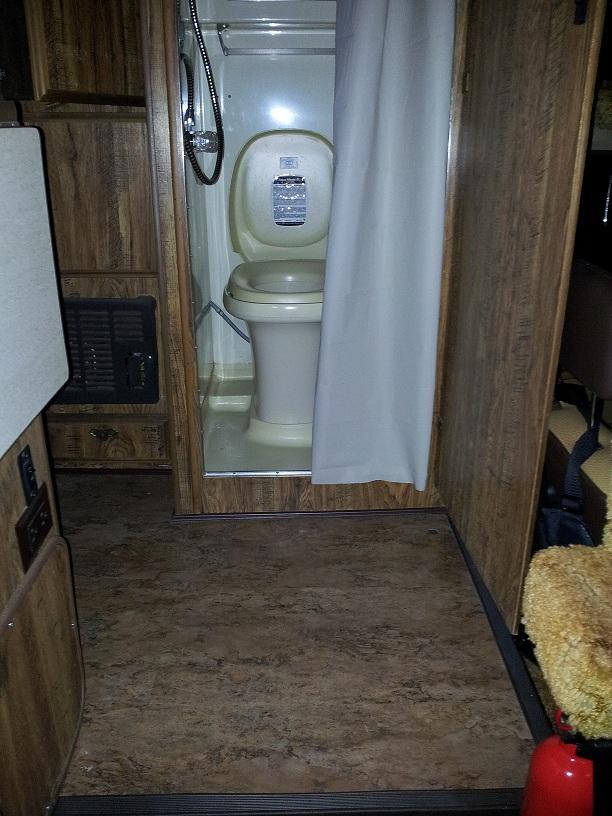
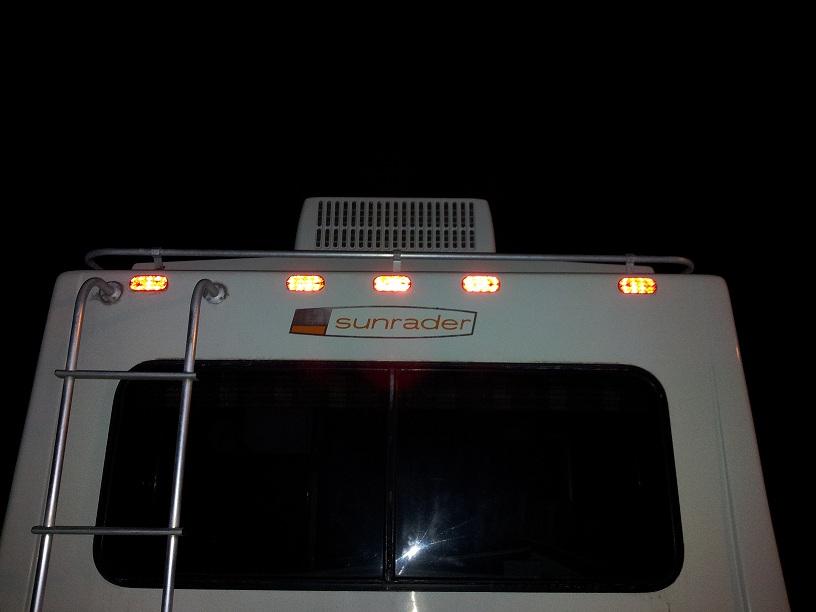
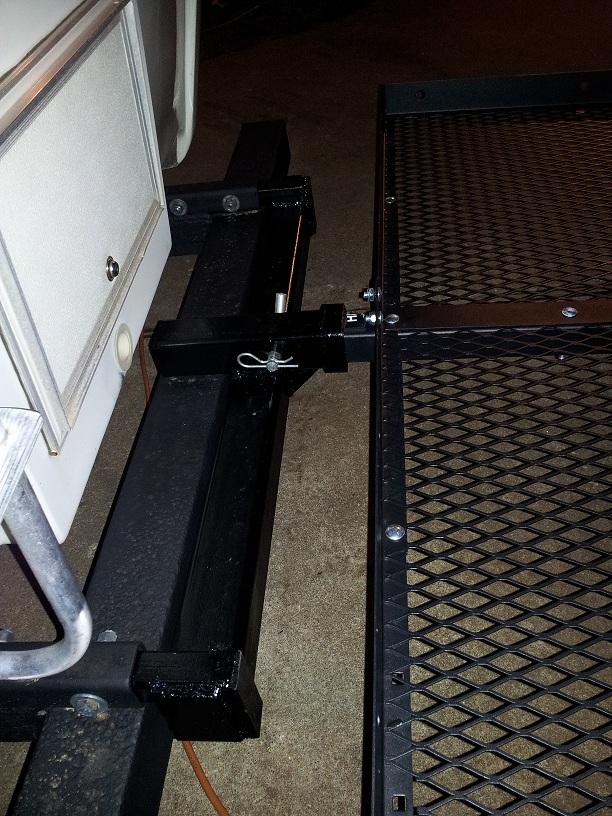
Over the past 3 months (since the axle swap) we've been prepping our little Sunrader for her maiden voyage....wanted to share our updates (mostly genaric) if only to provide ideas for others Sandblasted, repainted all wheels and hot water heater cover(hi-temp Rustoleum inside). All new Hankook RA08 (including the 5-lug spare) and a new gravity-fed water inlet (white circular - Camping World Item# 60332)...oh and front marker light assys. (Oreillyauto.com - Part # : 18-1153-50 & 18-1153-90 | Line: TYC) Our Sunrader had a Engine Bay-mounted size 24 house battery, so I rerouted it to the rear using 4ga battery cable and increased it to a size 29. Our original 20# Propane tank had been incorrectly modified with an OPD valve, so it was removed and replaced with an 11# (True Value item # 839316) vertical tank. I also added a 12ft hose extension so that the hose can be connected to an external 20# vertical BBQ style tank when stopped any extended length. Here you can see the coiled hose, remounted regulator, and in-line propane tank gauge (CampingWorld Item # 55643). I used the existing 8ga wire with auto-reset circuit breaker run to the Converter, and used 1ga run through the box using rubber grommets (Oreilly's...can't recall part#, but fit snug around their 1ga) for my Inverter using a 150amp in-line breaker. After much deliberation, I decided to go with a NaturePower 1000w MSW Inverter (CampingWorld Item # 67195). The reasons I chose this Inverter were: 1) It was cheap (even more so because I had a $25 one off one-item coupon) 2) It had GFCI, LCD, and Remote Switch 3) I could purchase (and return to, if necessary) from a physical store 4) My requirements were minimal - Microwave (5-10min./day max), Work Laptop, Cell phone, occasional power tool - it handles all of these without issue. Until I decide on which way I will wire it's power, I have simply attached a 8ft 10ga extension cord. I also purchased and mounted a generic Inverter switch (Napaonline.com Part Number: BK 7821734) which was surprisingly a bit of a PITA, but functions as it should. The microwave we are using is a GE 1kw (listed draw, output unknown but probably 700watt) that was my wife's from college which I didn't expect to work, but does and draws 750watts during usage according to the inverter's LCD. However, I did have to "modify" the feet posts using a ball-peen hammer so the cabinet door would clear the top of the microwave. In the left of that picture you can see collapsible storage bins my wife found at WalMart ($6/ea.) which fit perfectly behind our factory table (as there is no way in h___ a full-size human could sit back there comfortably). In the closet we took some advise from another in this forum (sorry i was never good at citing sources) and use an LED tap-light with auto shut-off. Also found some rubberized clothes hangers that don't rattle around when on the move. In the "Triple S" as I call it (because you could do all 3 at the same time), I replaced the vent with a new darkened one, the shower/faucet with an oxygenics kit, sanded/repainted/resealed the floor pan (used "Almond" Rustoleum appliance epoxy - a perfect match), and replaced the shower curtain. All works well, though the Oxygenics uses more water than I anticipated based on other's reviews. Installed Allure flooring (HomeDepot - Internet #202885489 Corsica Dark) which conveniently took 1 box +1 plank....But turned out nice and trimmed with painted pvc 1/4round and dark brown rubber transitions. In lieu of clearance lights, I used adhesive backed clearance reflectors (Oreilly's generic oblong). I went this route for several reasons: 1) My clearance light wiring was in disrepair, and I had neither the time or patience to replace/repair it 2) It was much cheaper ($1/ea, compared to $? to replace and rewire) 3) They seal flush, water tight (holes/screws filled with silicone), and generally look "cleaner" 4) I fail to see the point in these on RVs other than to be an incessant PITA to owners - I read extensively of Truckers removing there's to cut down on DOT issues....basically if they ("cleanly") aren't there, no issue - if they are and are non-functioning, ticket. I fell somewhere in between, so if/when I am stopped/ticketed I will remove and fiberglass to a "factory" look.....rant over. I removed the aluminum garbage that was riveted to the bumper (under which serious rust was forming), wire wheeled, rust-treated, and painted flat black. The trailer hitch was installed by the previous owner to pull a small john boat (no, there is no frame damage and the mounting appears structurally sound, although I would never attempt the same...especially with the old 5-lug axle it had), but I rust treated and black-glossed it and installed a cheap $60 cargo carrier to hold folding chairs, a dry-box, and perhaps a small generator - If I go that route. MISC UPDATES: 1) Installed additional Shower outlet in the J-drain to optionally bypass the black-water tank with a garden hose. 2) Re engineered the under-sink shelf so more storage real estate is available. 3) Treated the water-stained tweed headliner with Instagone (worked great! stains had to be 15+ years old, pretty much unnoticeable now) 4) Replaced misc. fan/drive belts with Gates. 5) 4" Memory Foam mattress topper and waterproof mattress pad..............I'm sure there's more... Getting closer and closer to a state of near-doneness (as it seems one can never be completely finished with these old toyhouses). I still plan to: *Fix Exhaust Manifold leak....ugh.... *Install a smarter/quieter water pump *100watt Solar system (still on the fence on this one) *New smarter Converter (it still has the original and glass fused board...this may be hired done at CampingWorld as it looks like a PITA to do the board....we'll see). *Etc., Etc., Etc.... Will post more as they happen, thanks again to everyone who contributes here; it has saved me countless hours of work and research. -Patrick