benfrogg
-
Posts
60 -
Joined
-
Last visited
Content Type
Events
Profiles
Forums
Gallery
Everything posted by benfrogg
-
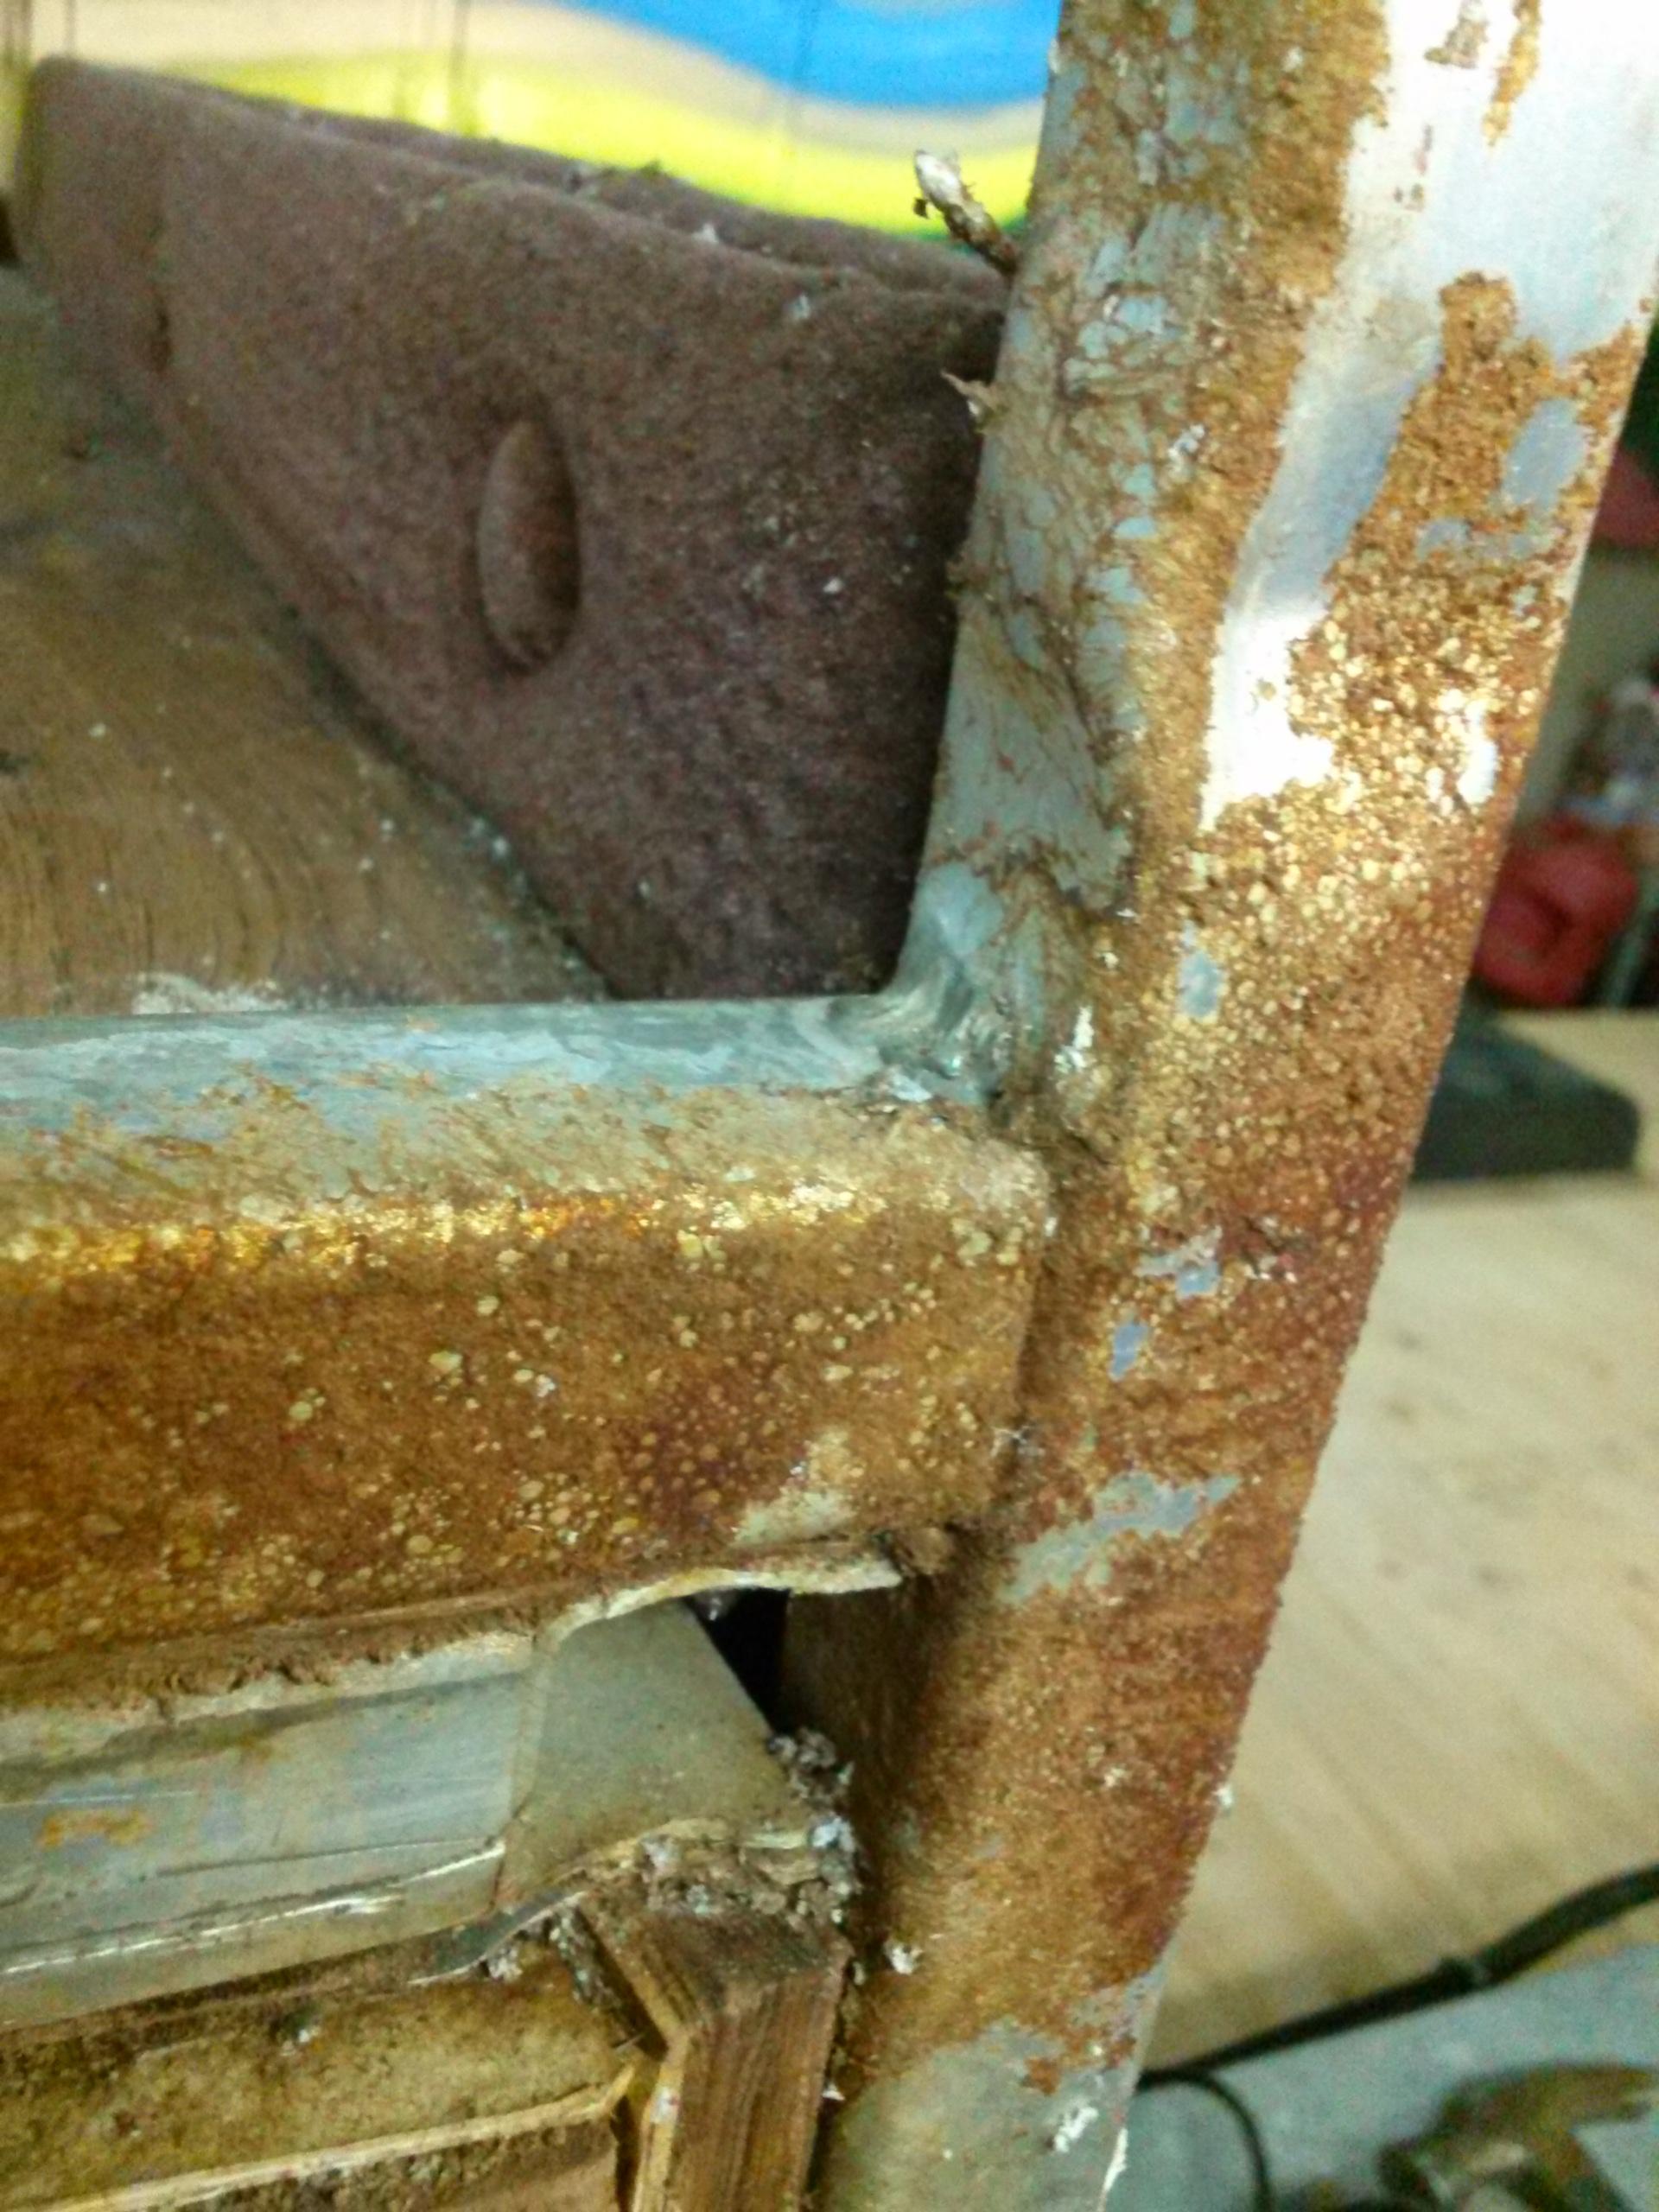
Thanks all! It's coming, slow and steady. As with all things, $ is tight... so it's a slow process. But I'm pleased with the outcome so far. I'm going to look into one of those fans... still thinking drawing the air from underneath is the way to go. The windows are nearly at the top of the roof... so pull cold air in and push hot air out the windows. Maybe even put it on a timer/thermostat. Or at least get something with multiple speeds. Hoping the rest of the metal will be here this week. I'm going to put on a new rear bumper as this one is very rusty. I'm also going to raise it's height and put the steel tube all the way back to the original truck frame. The frame extensions made on this thing are kinda flimsy... If I do all that and gusset the bumper, I can mount a receiver hitch directly to the bumper. I should be able to then haul up to 3k without fear.... I wanted to do this to support my ramp I want to use. I'll cover that in later videos. Should be a slick rig when it's done. And super strong.
-
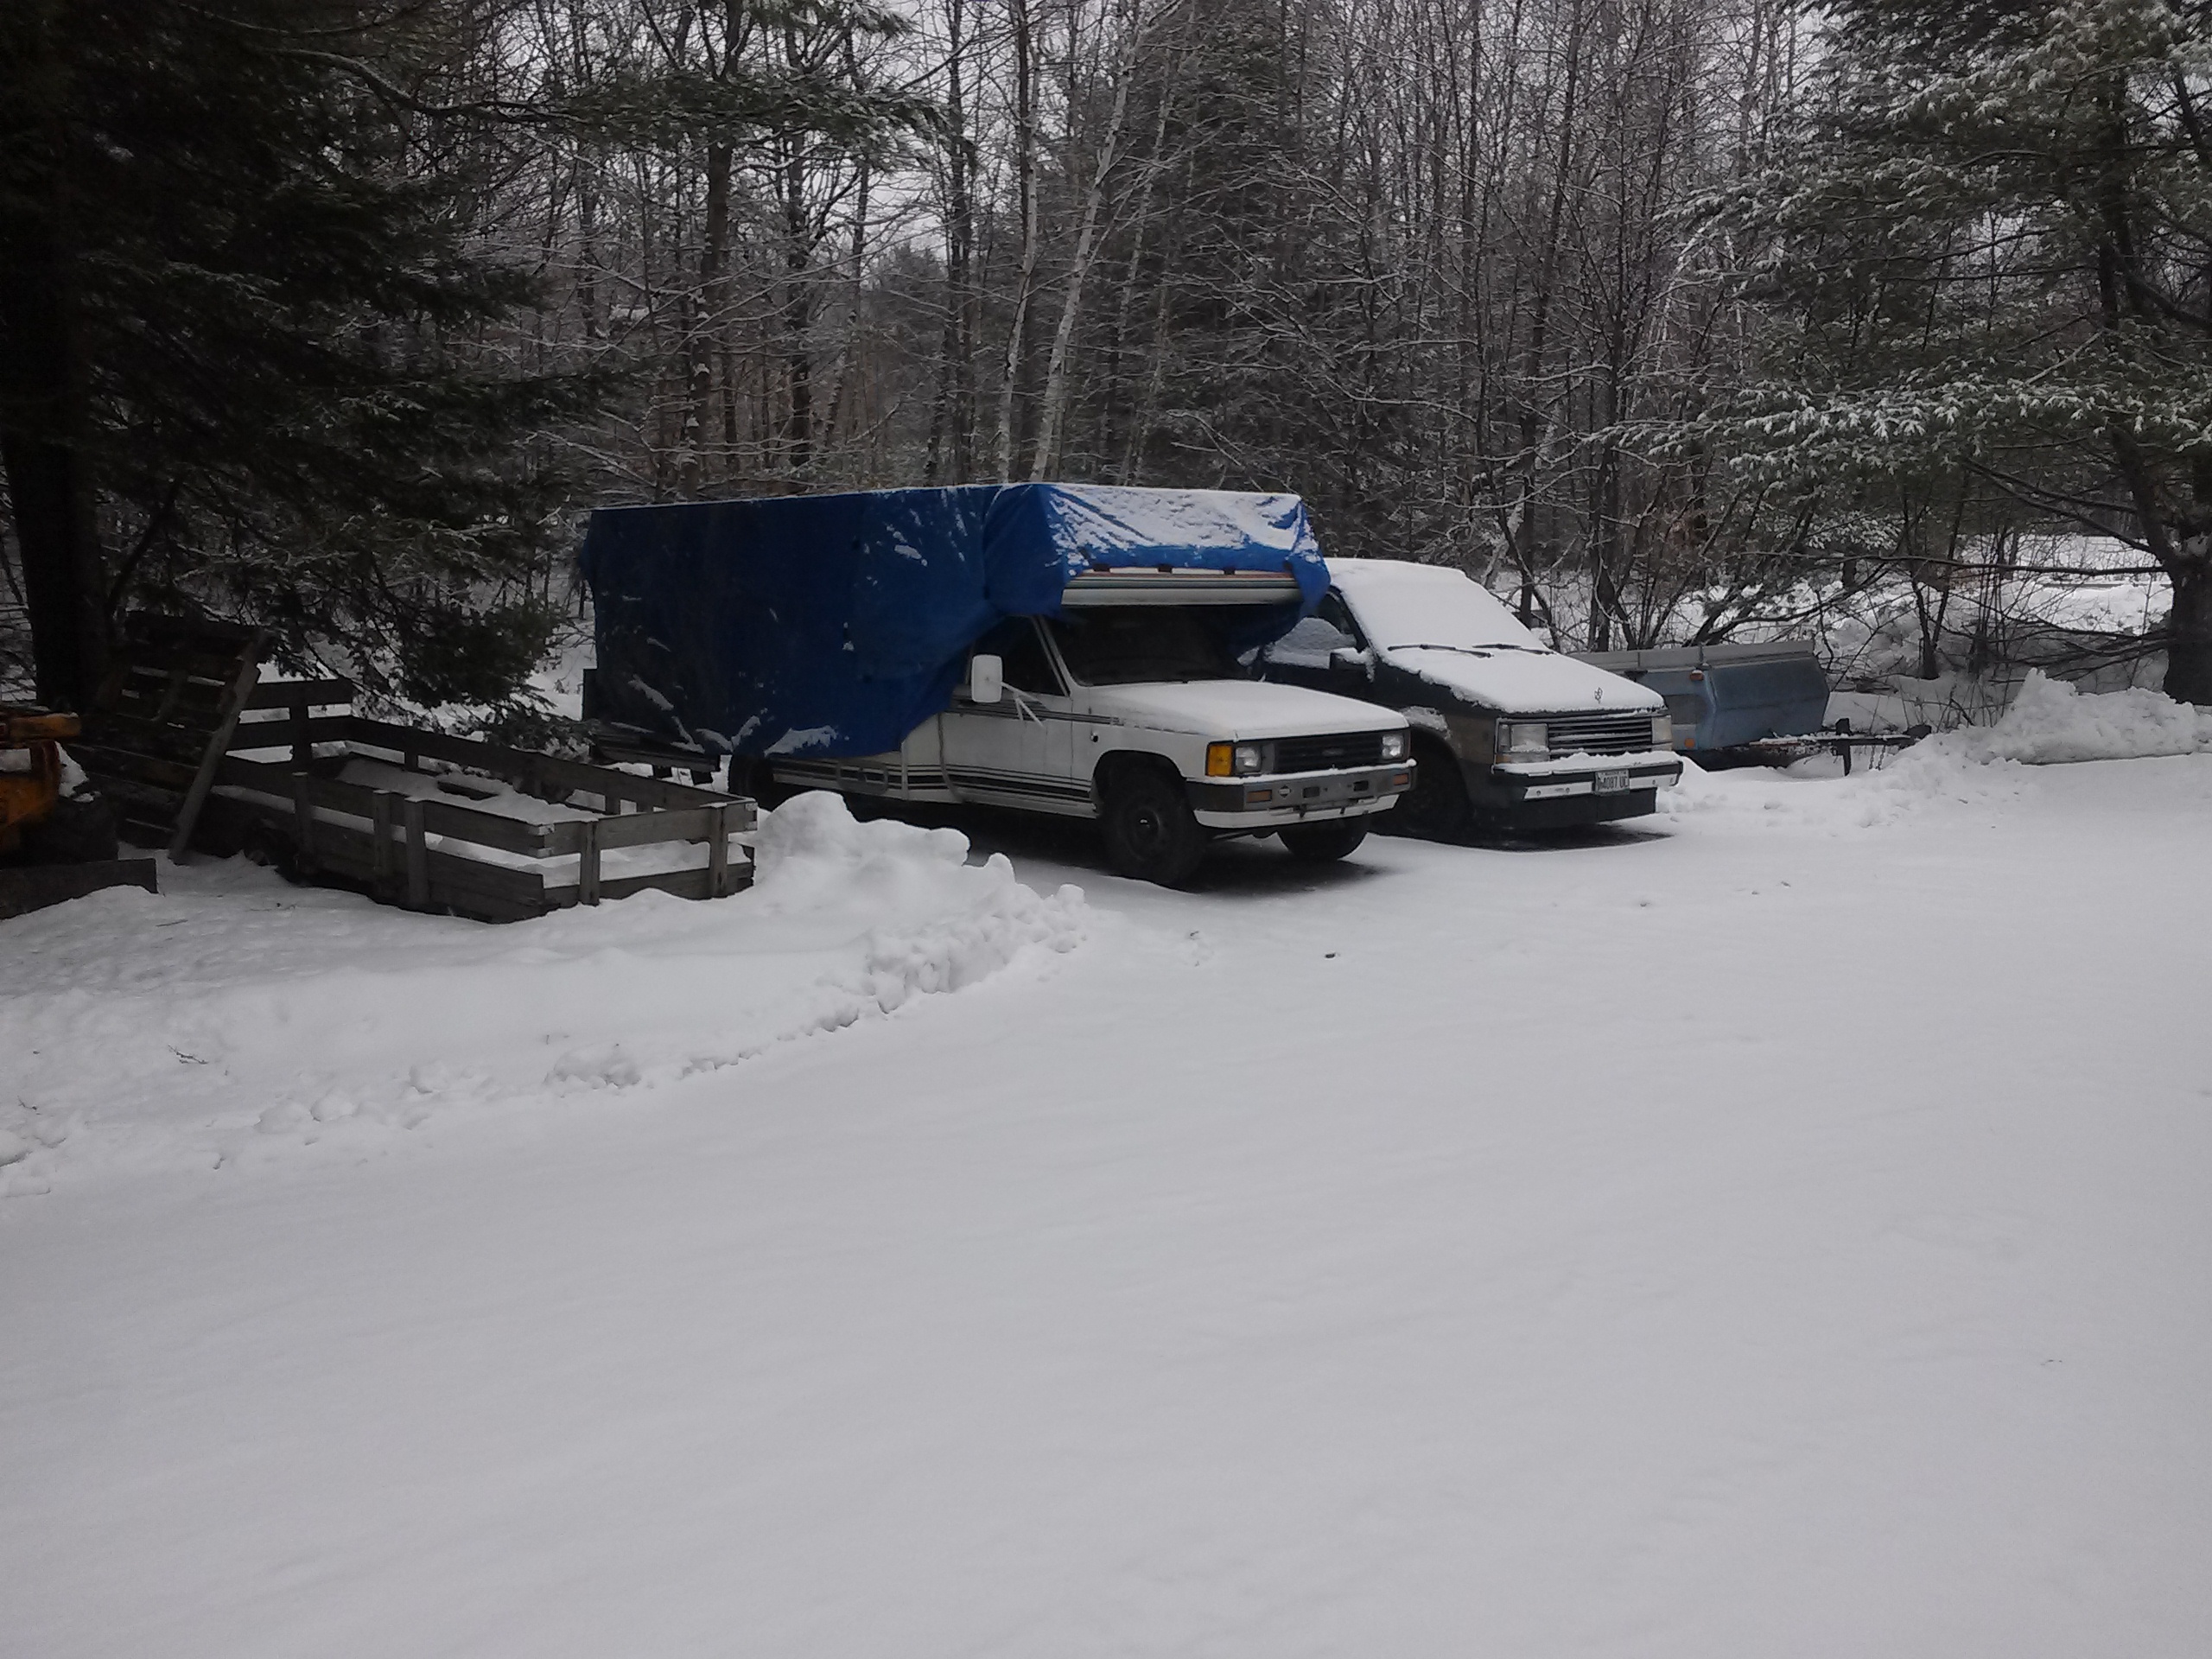
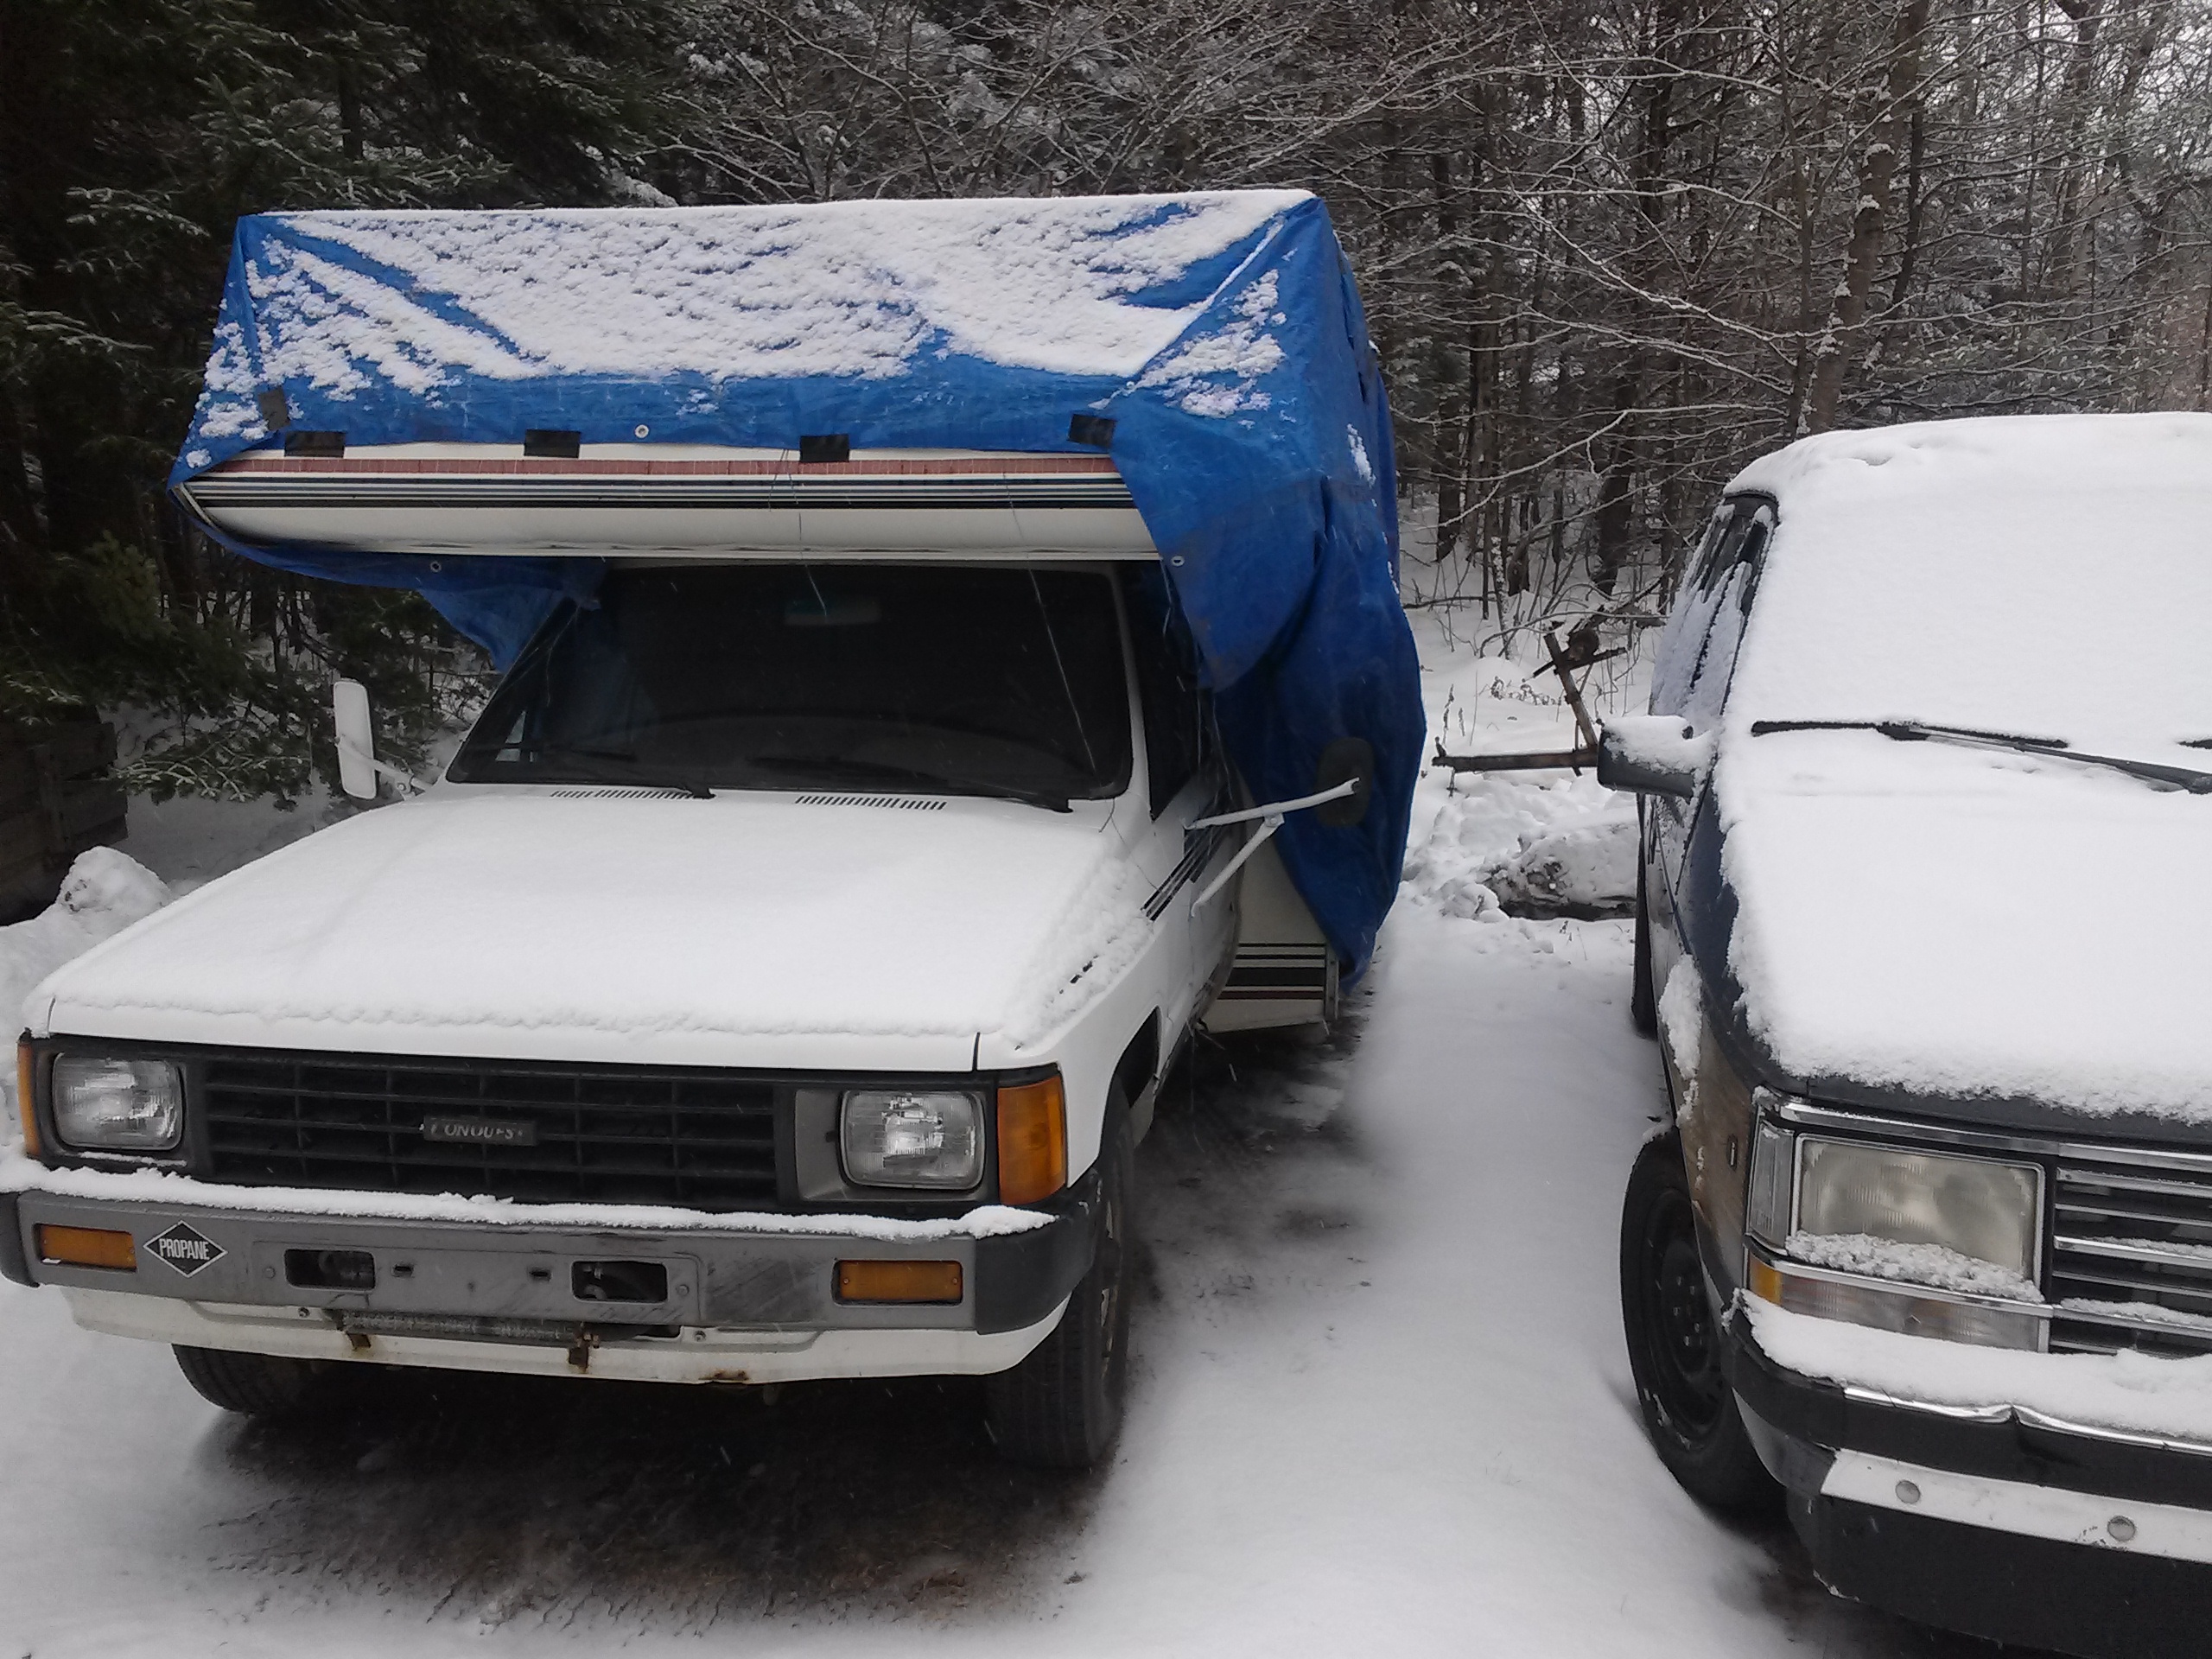
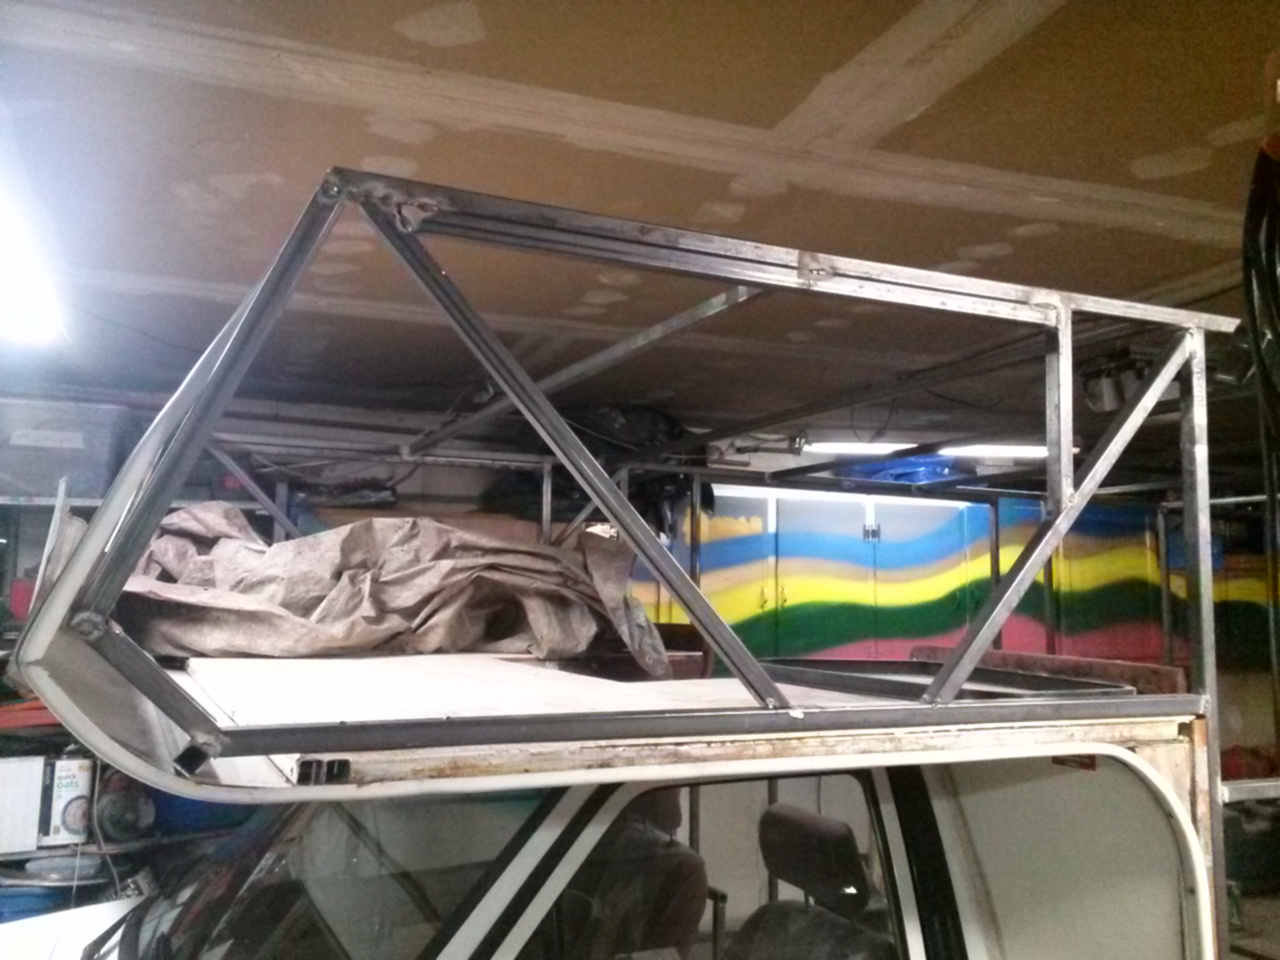
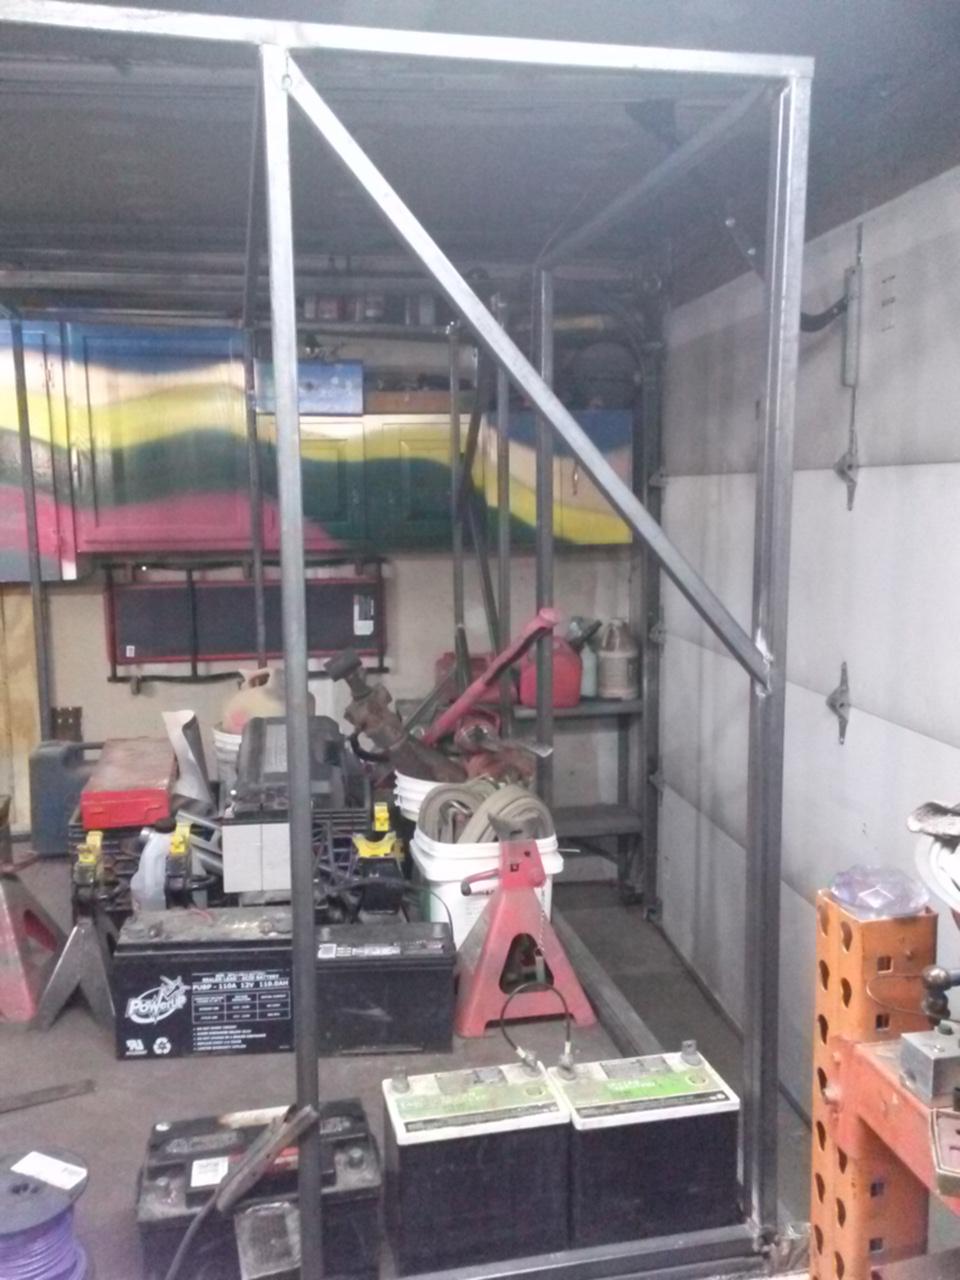
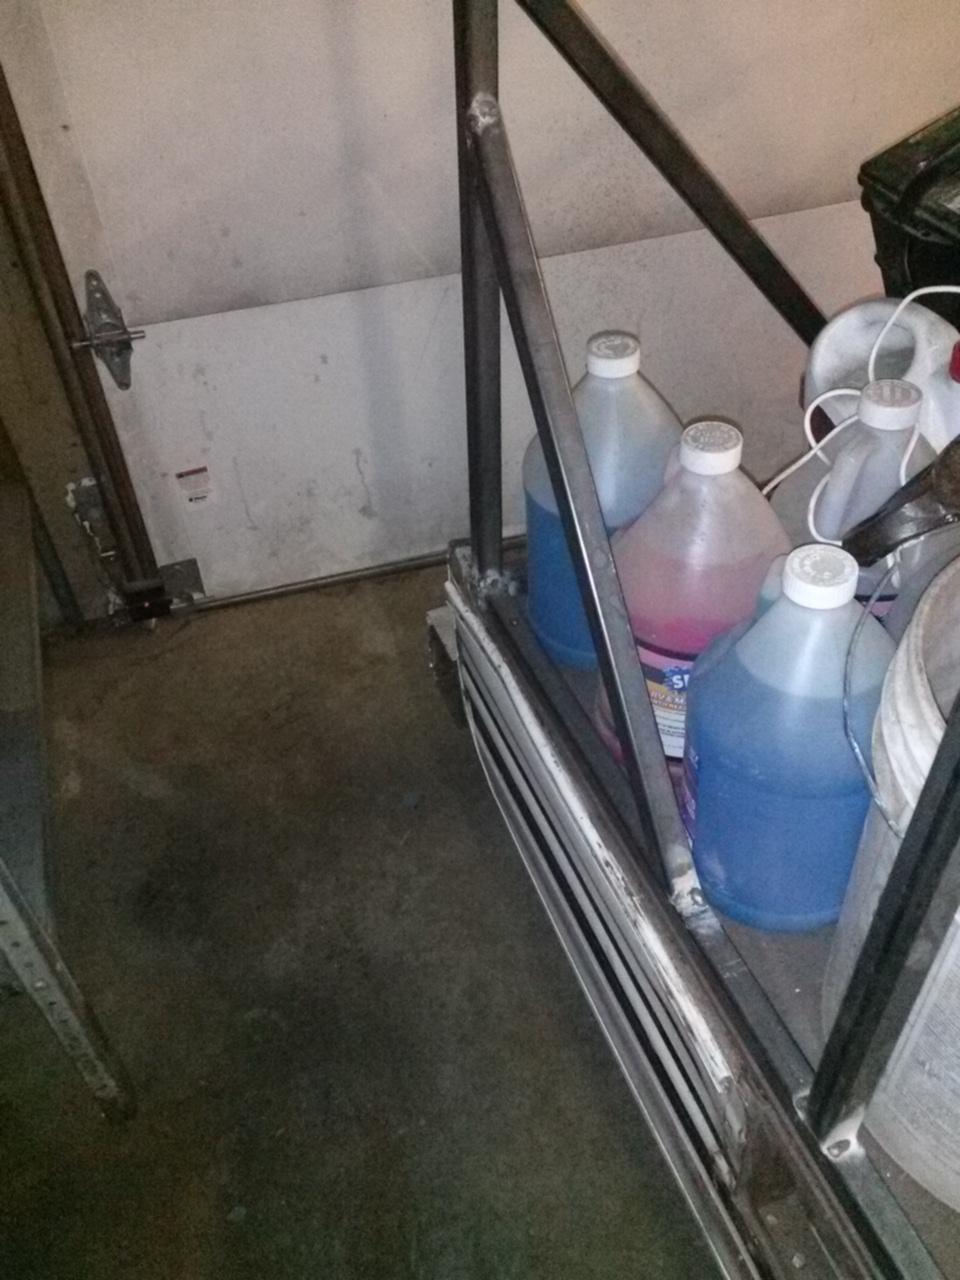
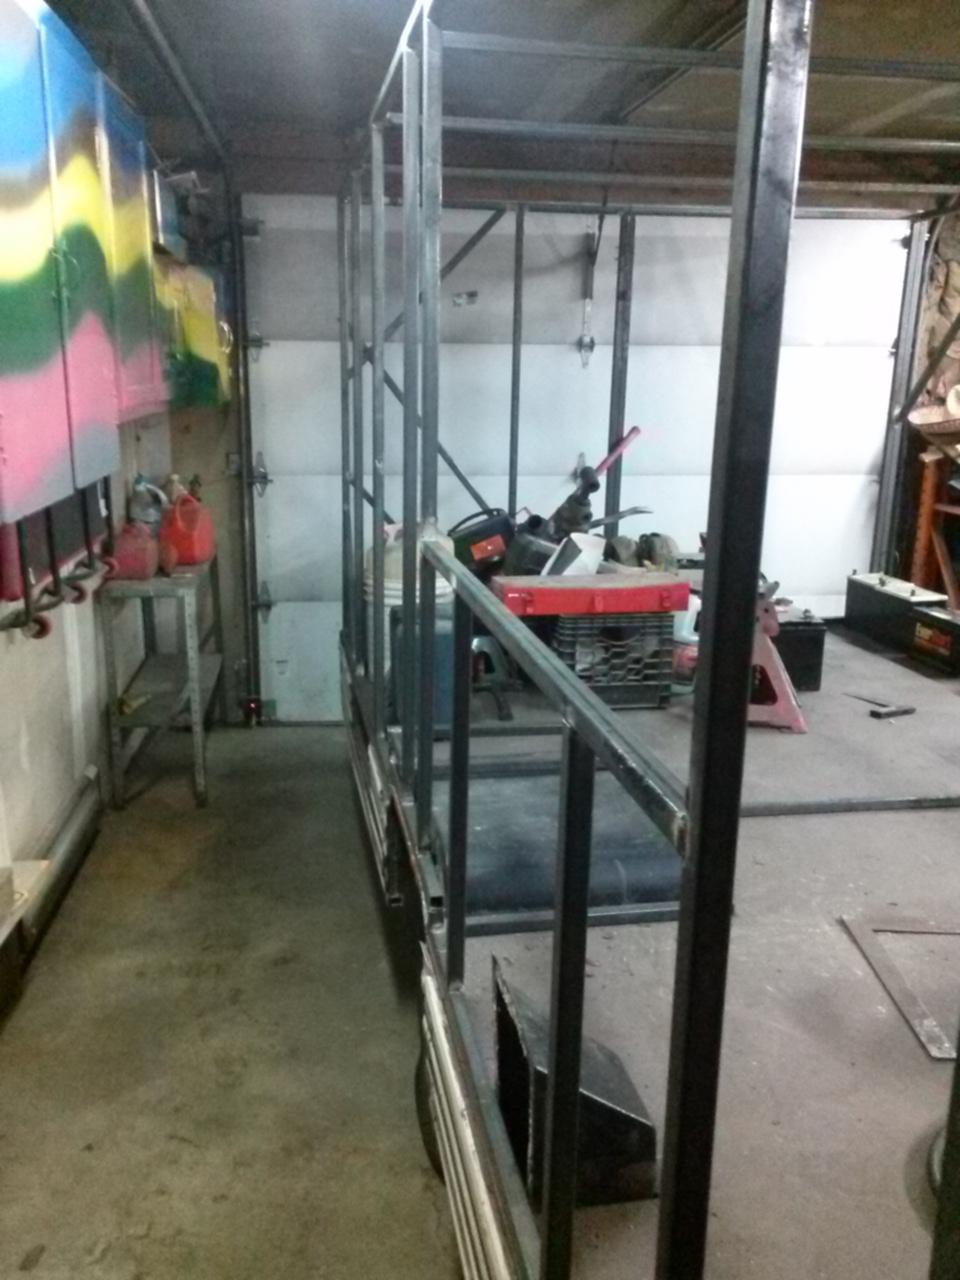
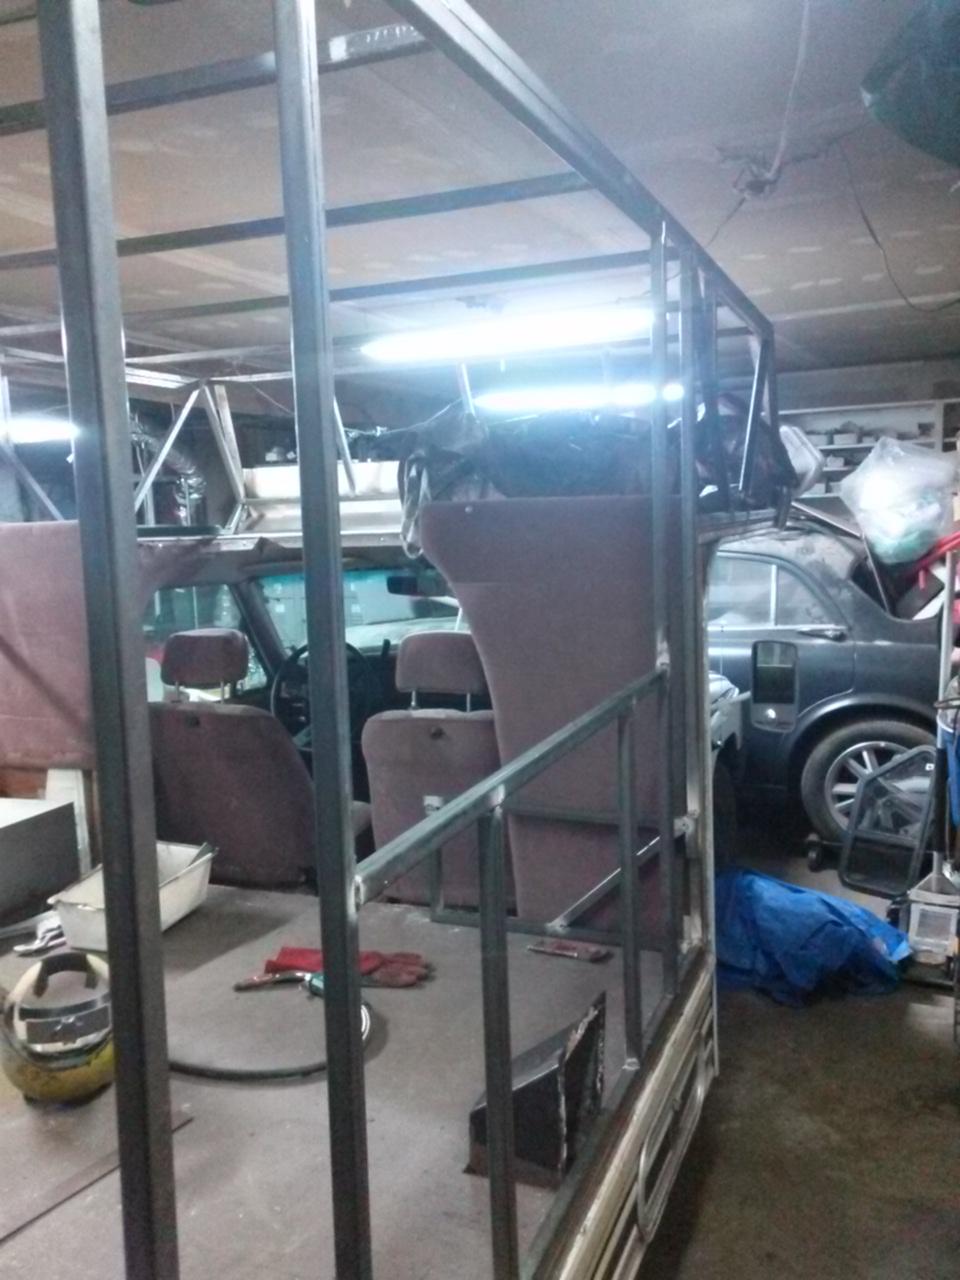
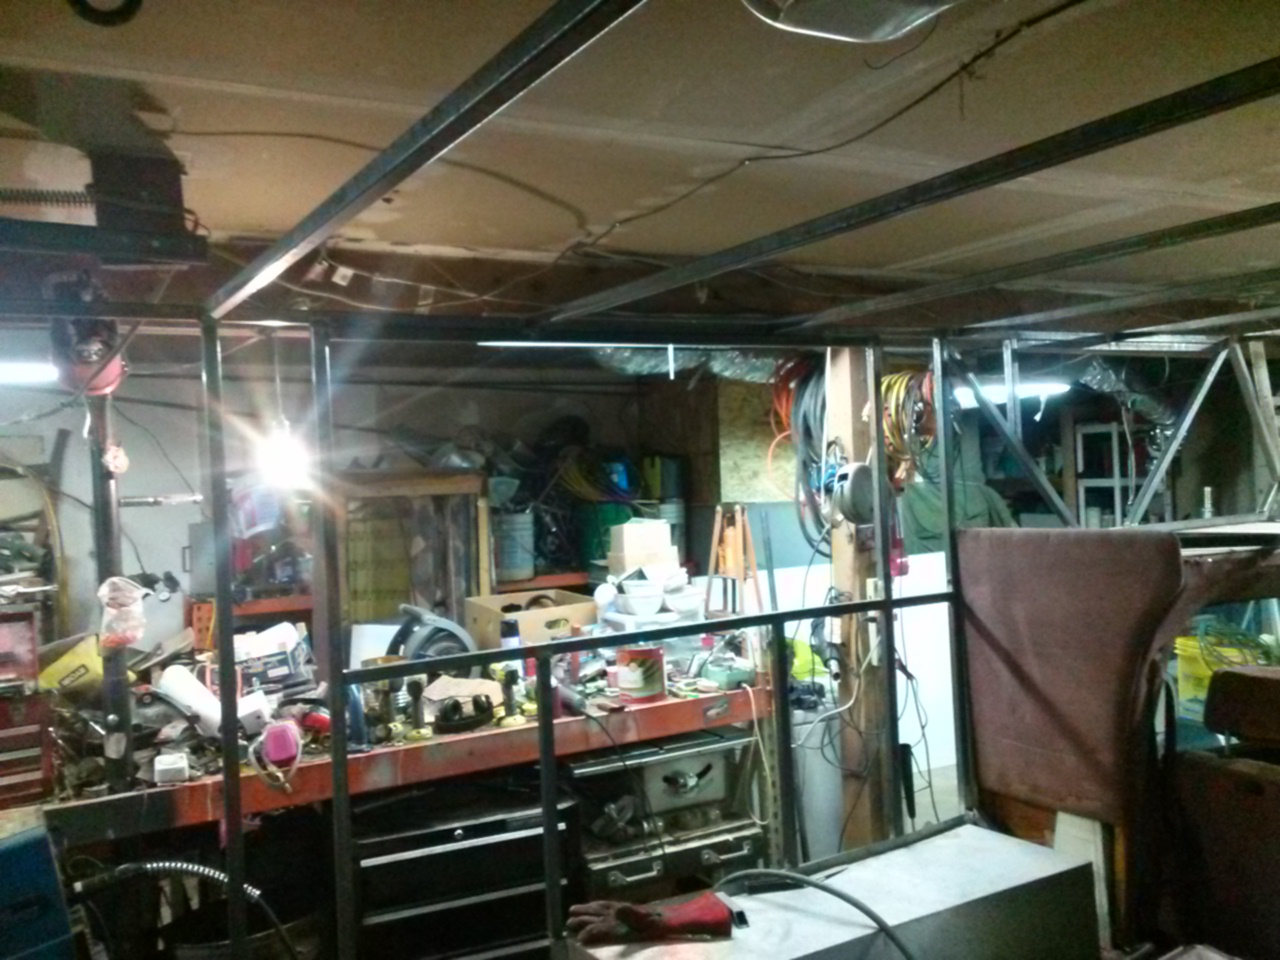
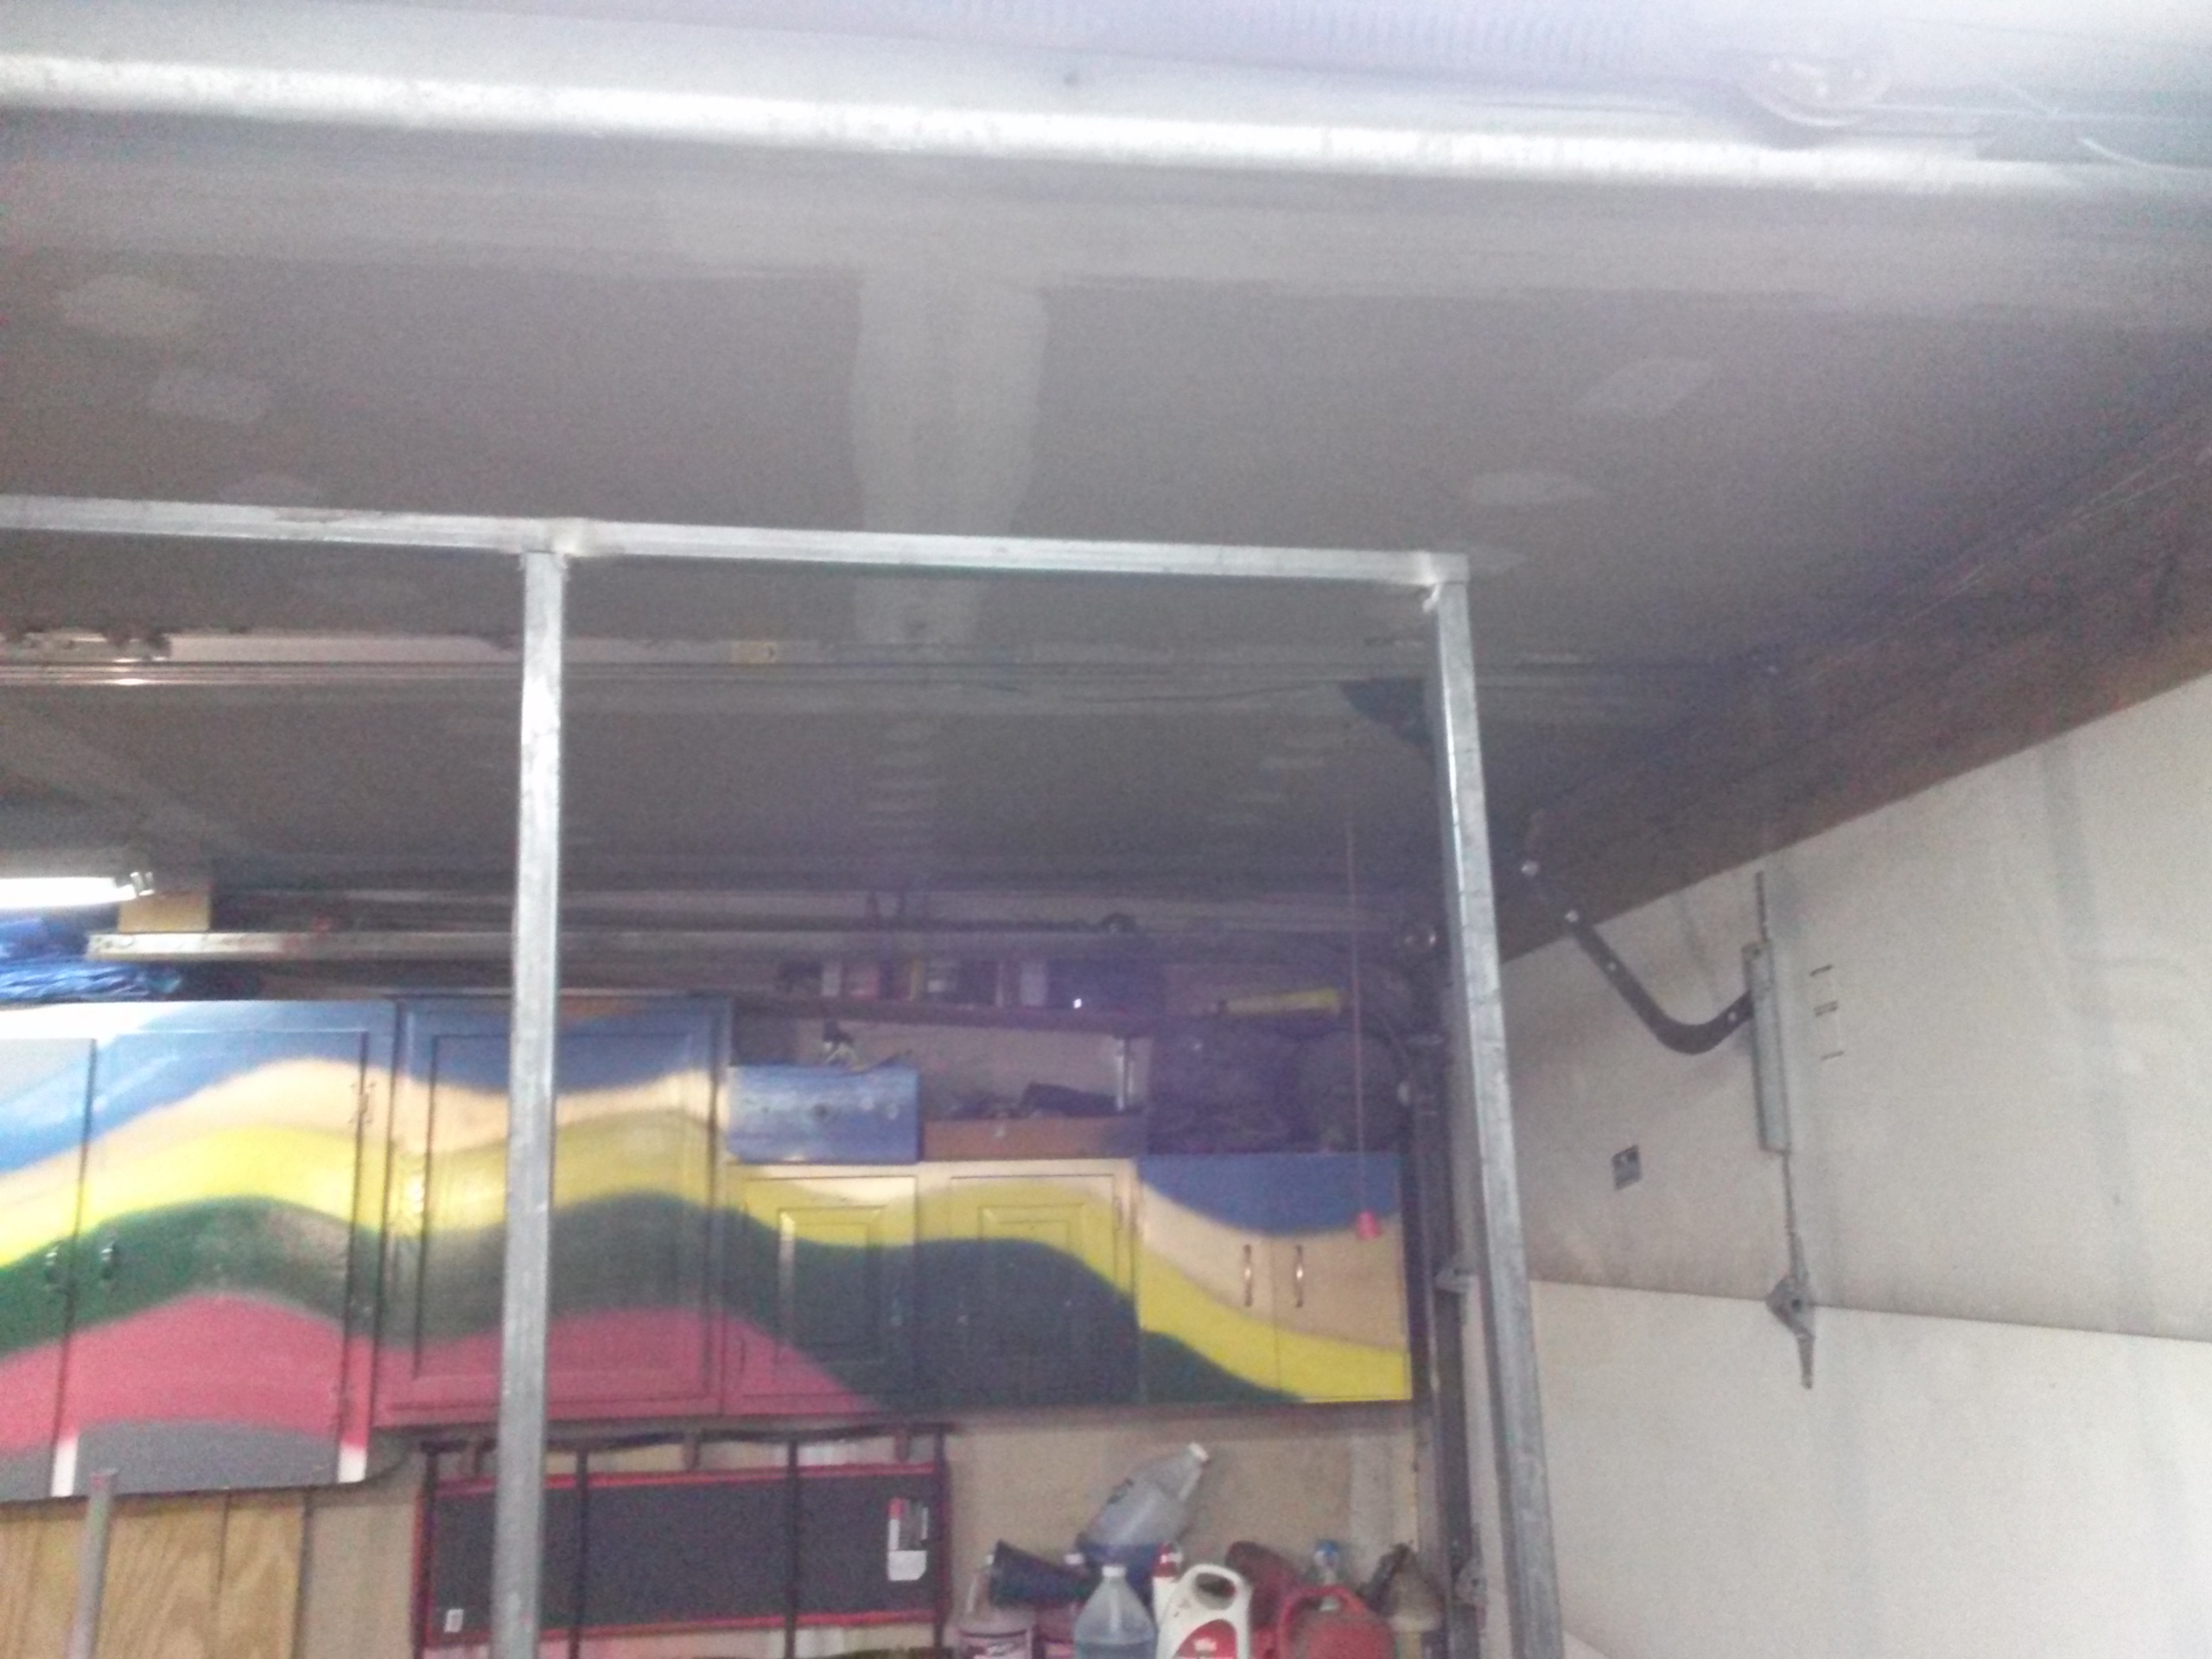
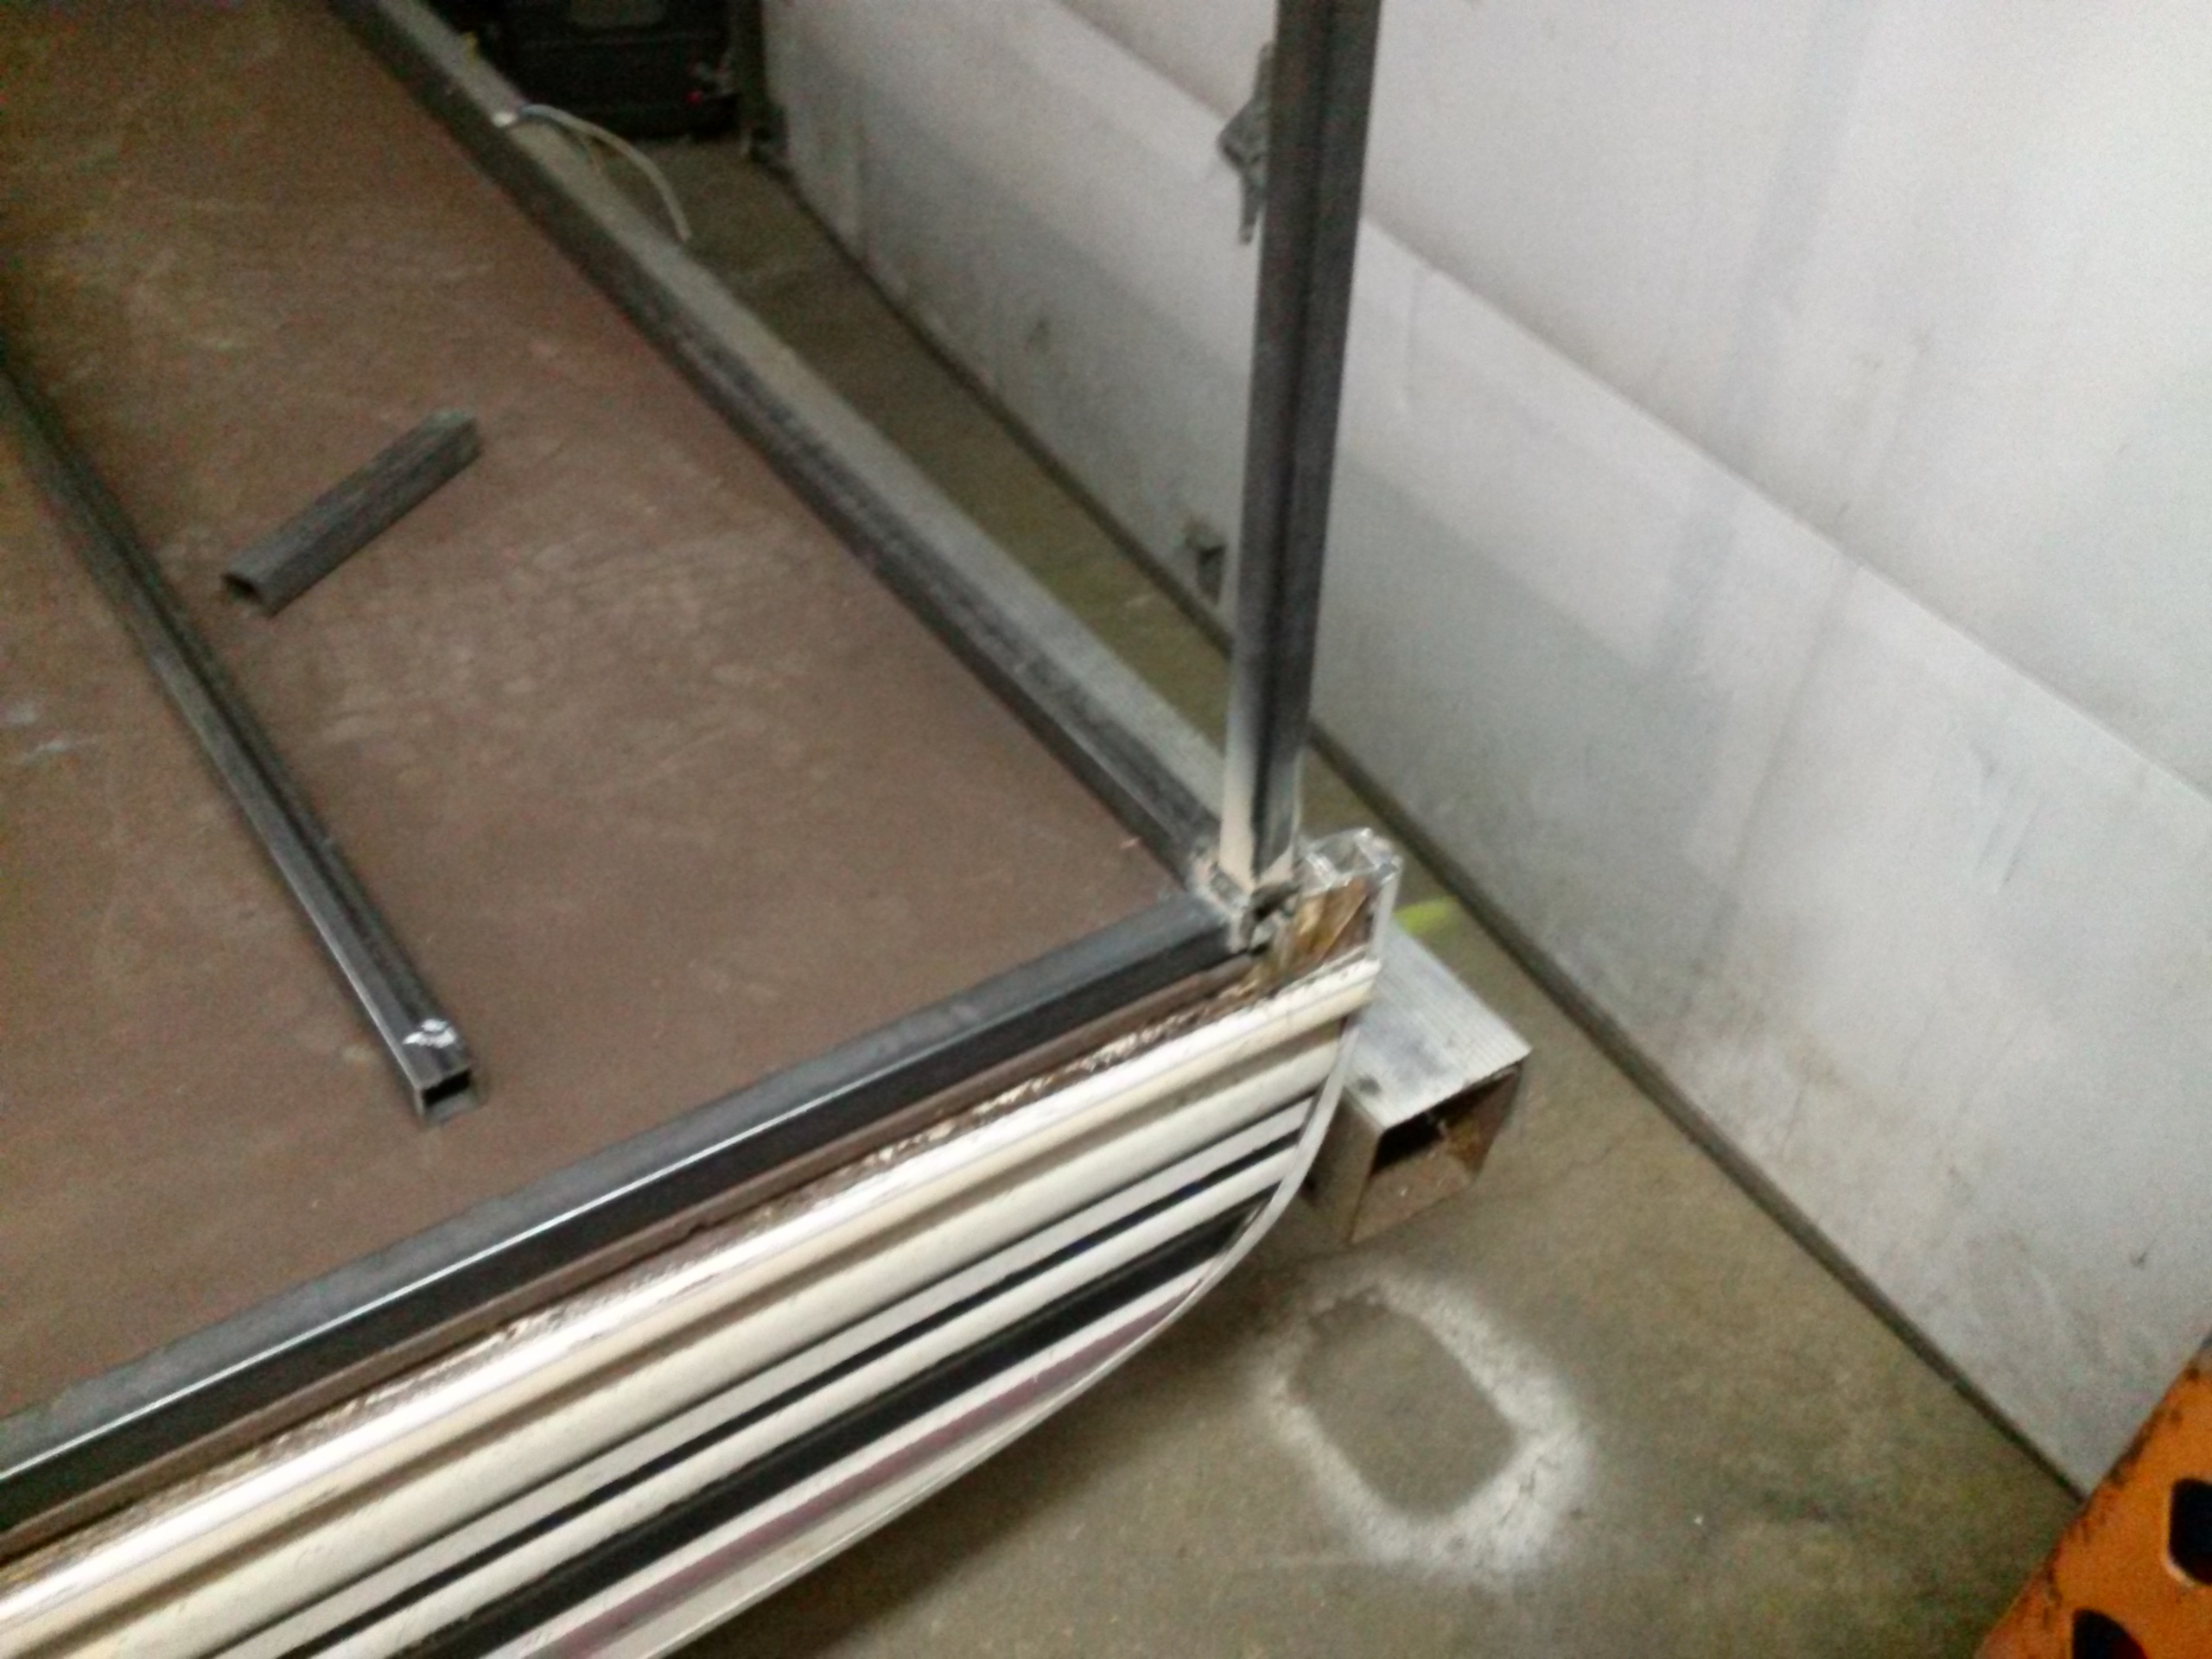
Alright, here's the long awaited frame/roof. It's not entirely finished. I need to do a bit more work bracing the roof and adding gussets, as well as the interior wall studs. Sadly, due to a hard drive failure, I lost a pile of video of the process. So this video is short. The end has the reveal. Part 5 Also, I included a couple of photos. The blue tarp ones are because I needed the garage for other work. The camper isn't much taller than the van we use now. It is at least 6' longer though... The windows should be pretty obvious.

-
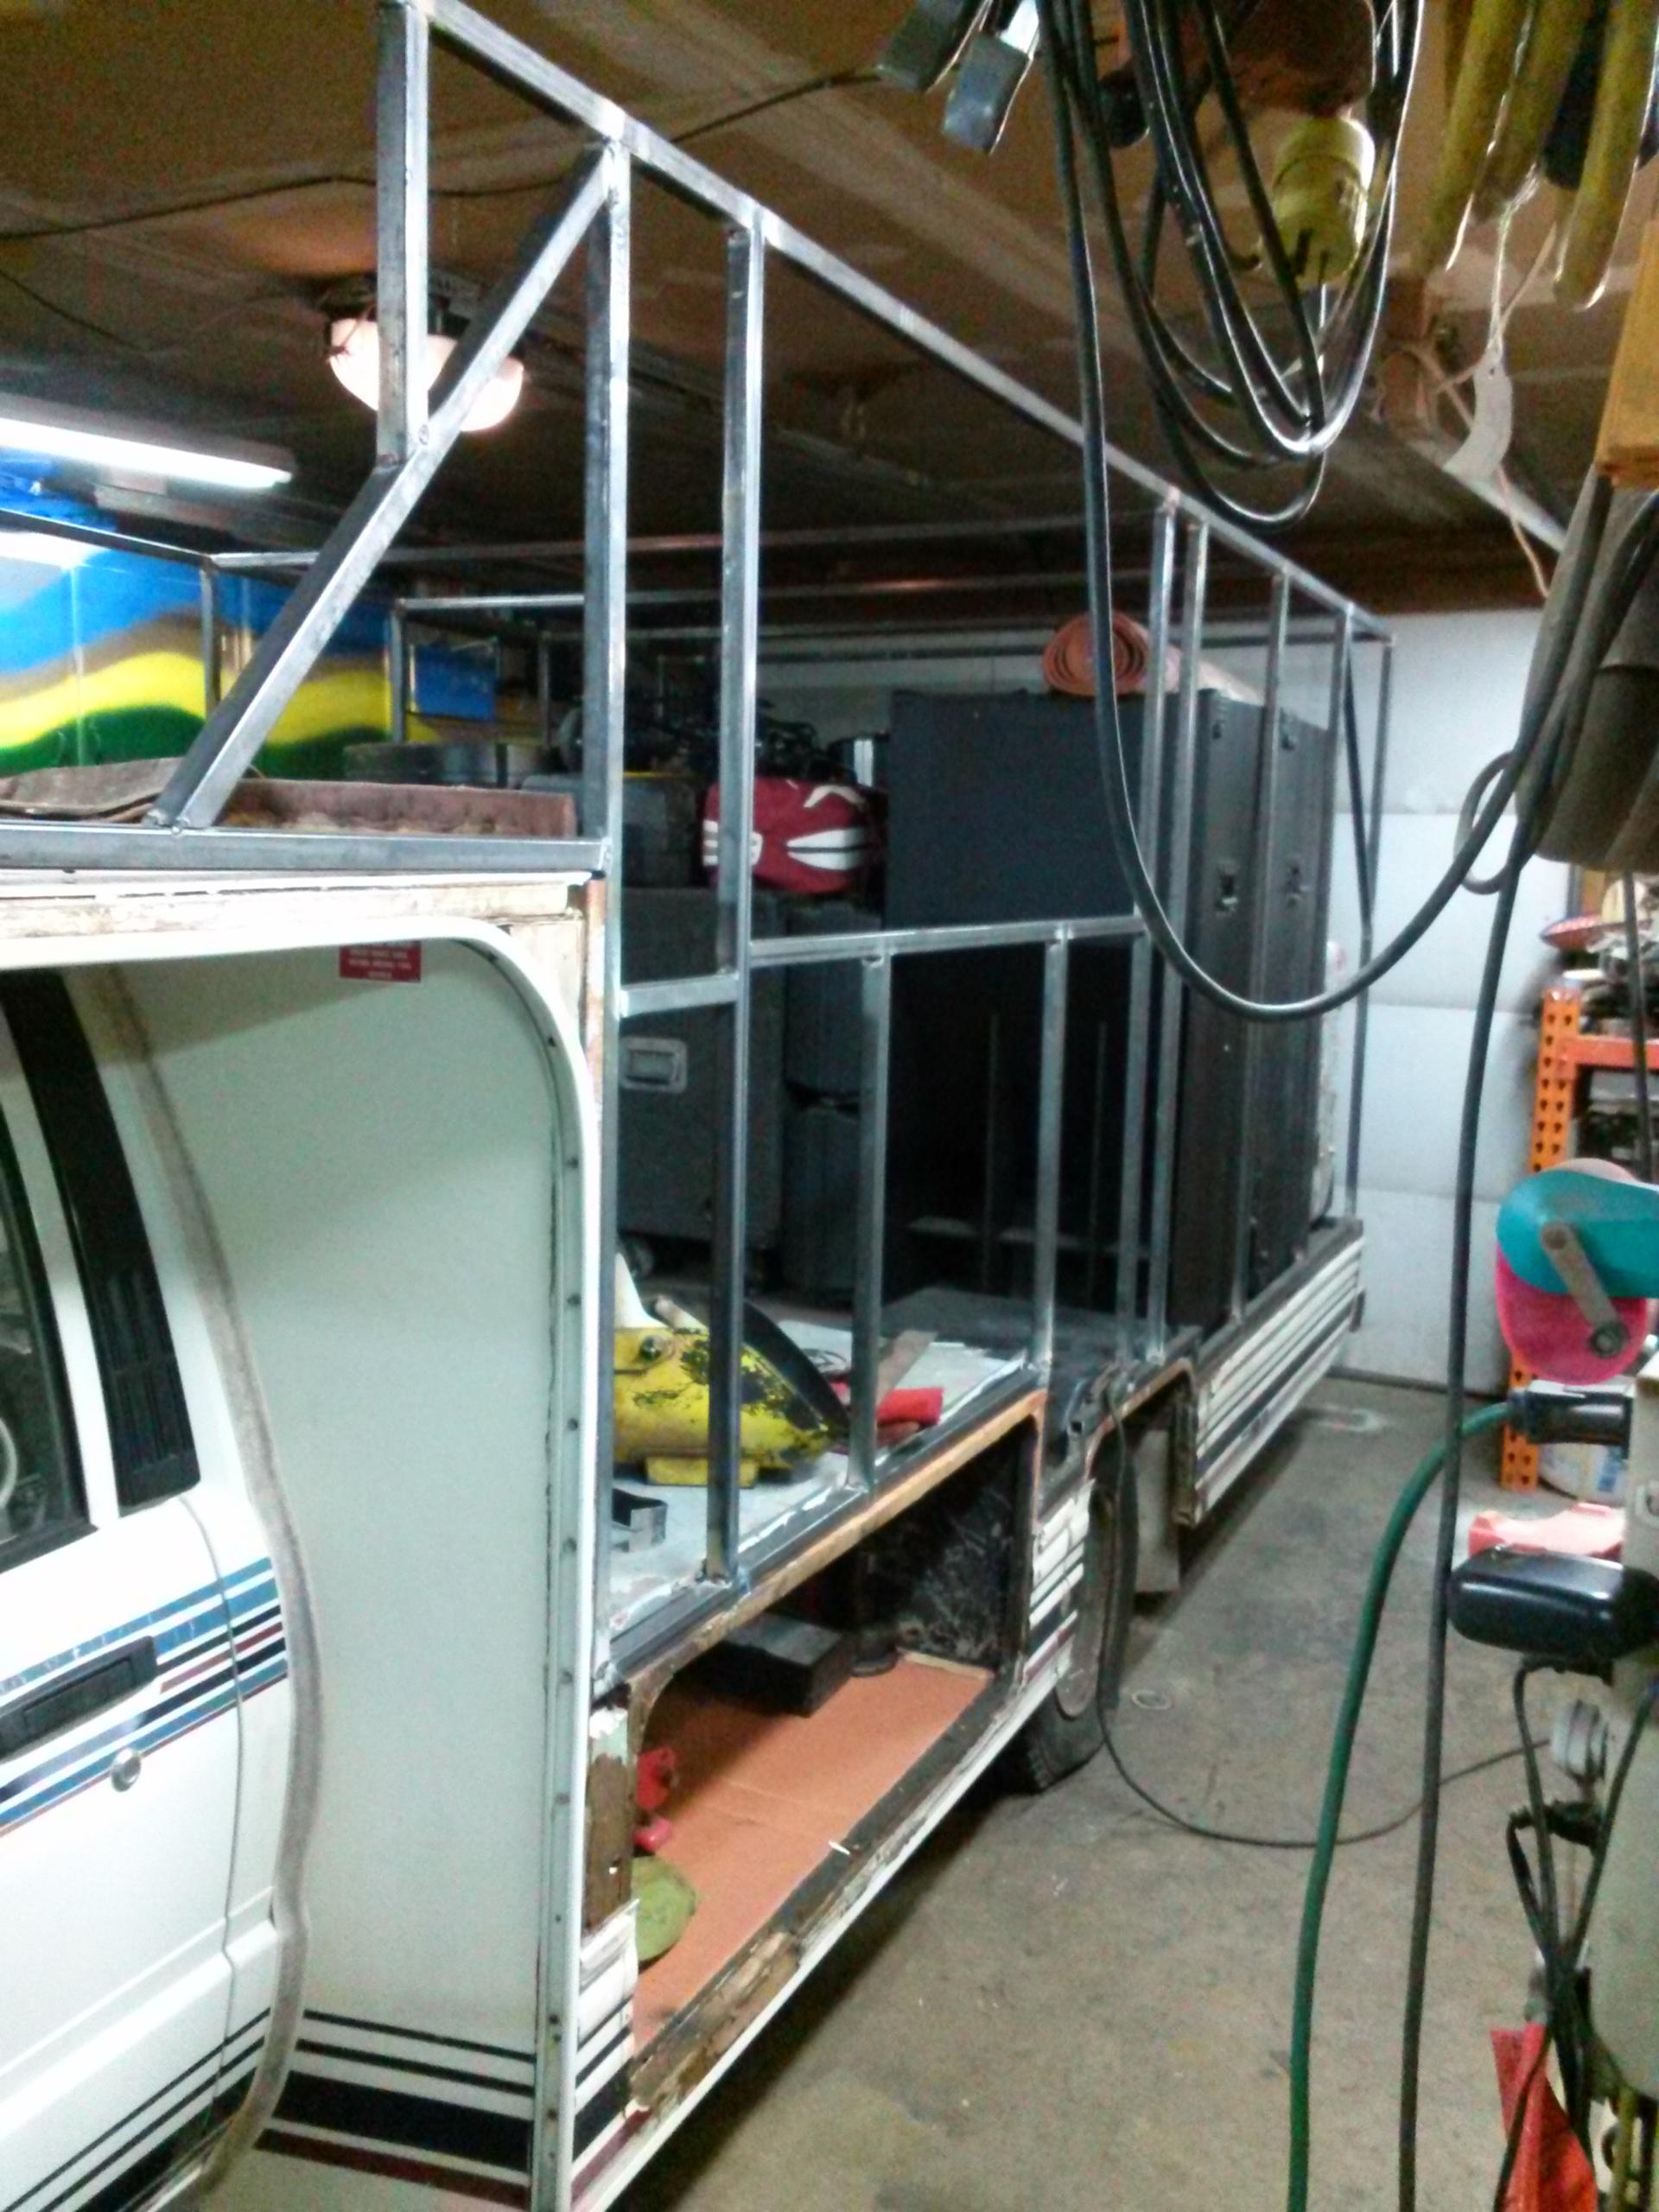
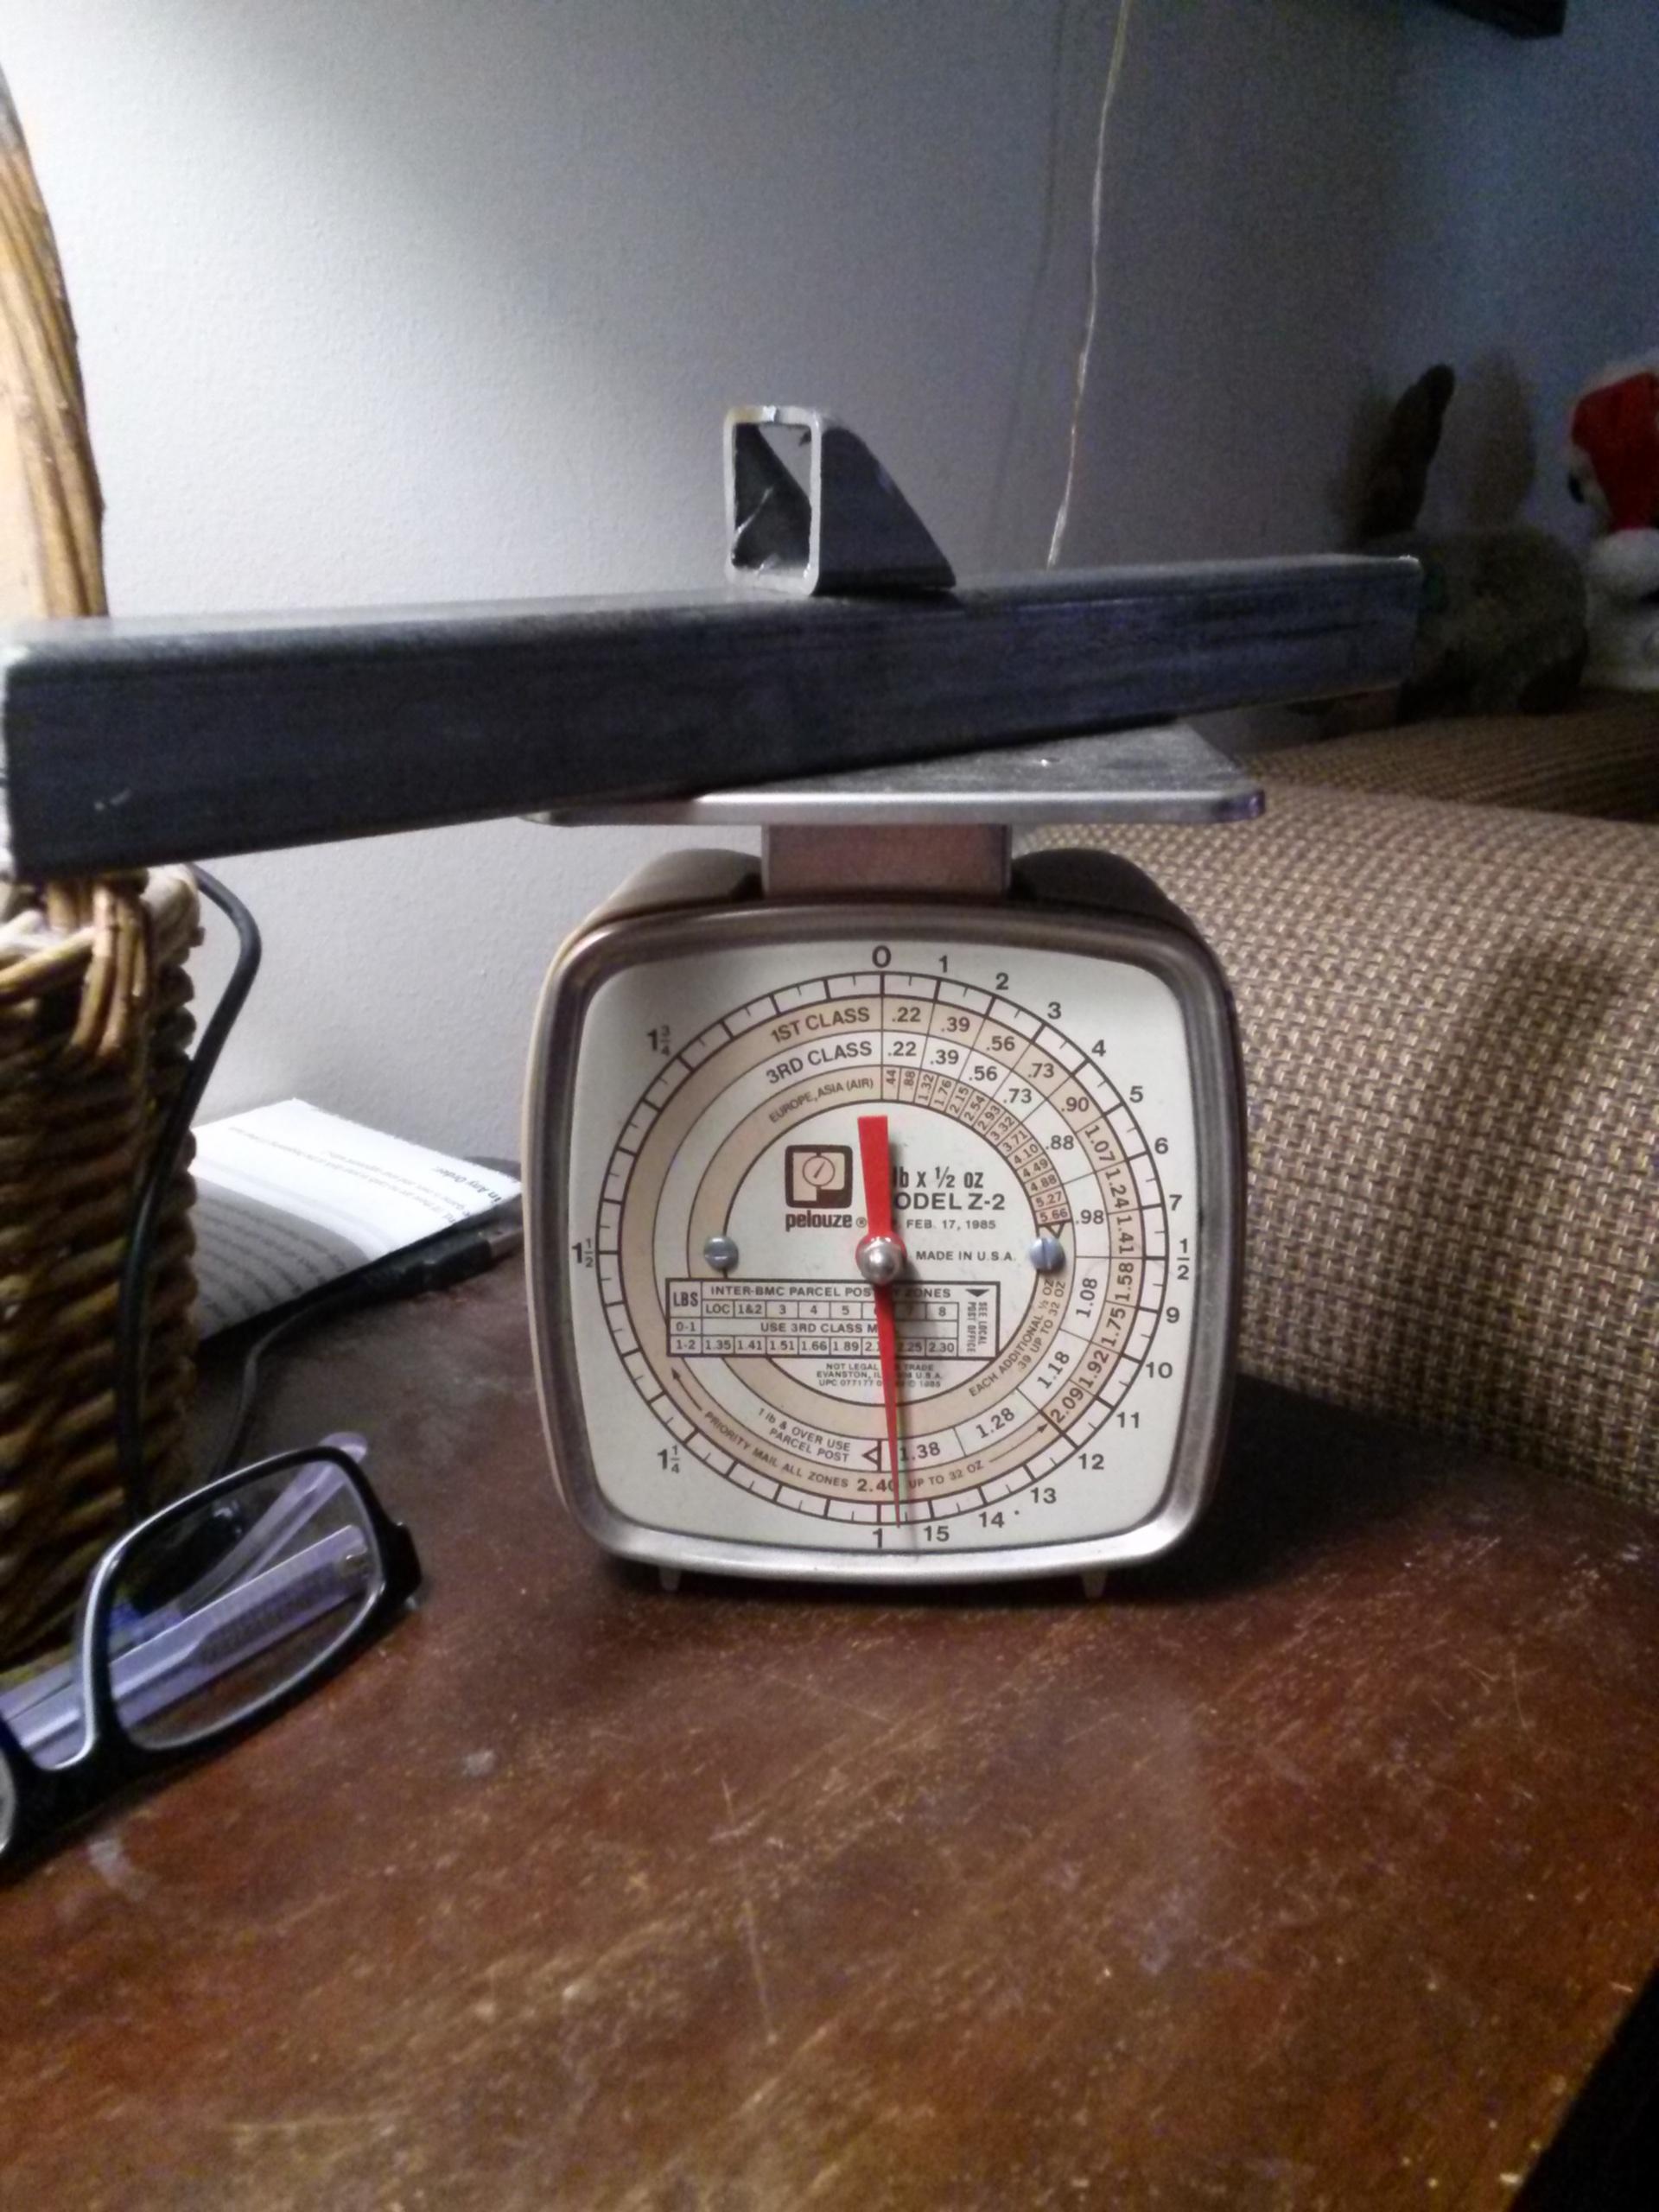
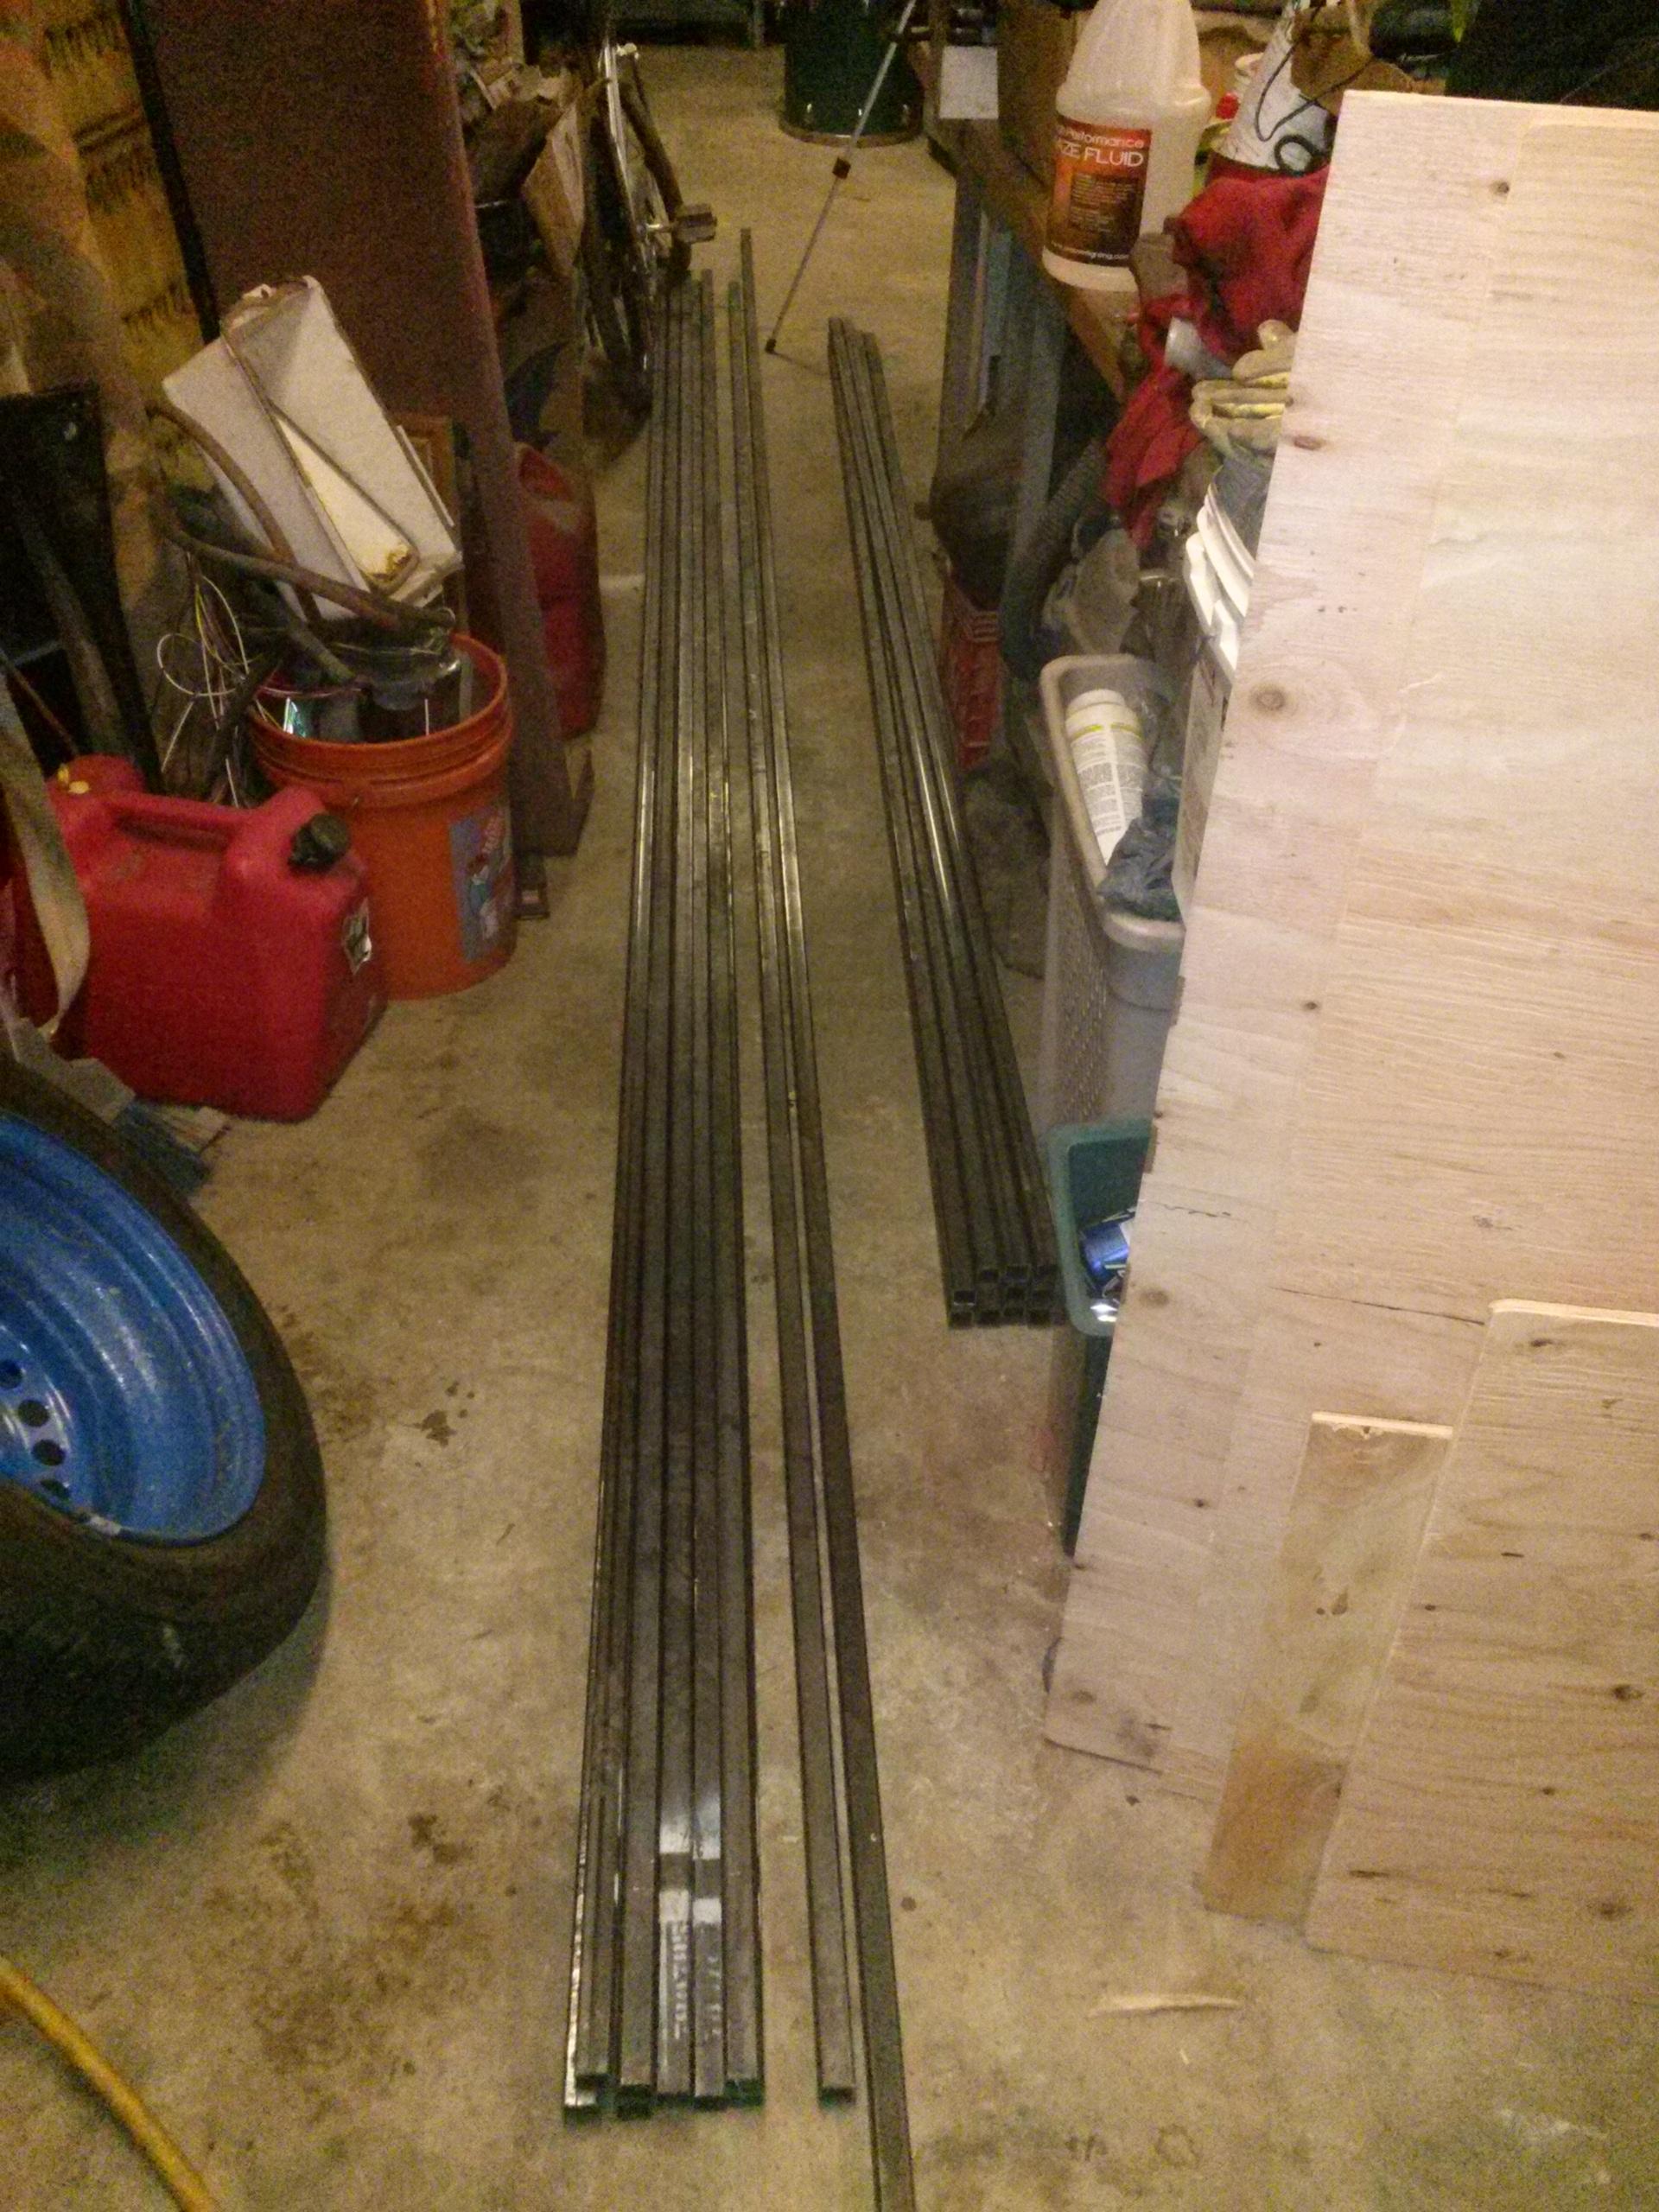
Here's the latest chapter. Again, the video is behind the actual progress. Metal is more than halfway done. Part 4 Rebuild And here's a photo to wet your appetite for part 5, coming soon.... This shows the band equipment in the area it will live. Note that the wall between the two spaces isn't completed yet. Also, I know you're wondering how heavy this is going to be, so I included a picture of 12" worth of the steel I'm using. Just under 1 pound per foot. There's going to be roughly 380 feet of steel when I'm done, so 375 pounds of frame, or so. PS if you saw the first video I uploaded called part 4 that wasn't supposed to go live. I edited it because it had lots of sped up footage with no audio. B
-
Metal has arrived! A few pics to wet your appetite. B
-
Okay, I can't wait anymore. Motorhome rebuild part 3 The videos are about a week behind my actual progress. I don't like editing, so I do it all in chunks. Steel to frame the walls is arriving tomorrow! Stoked to get this thing moving. B
-
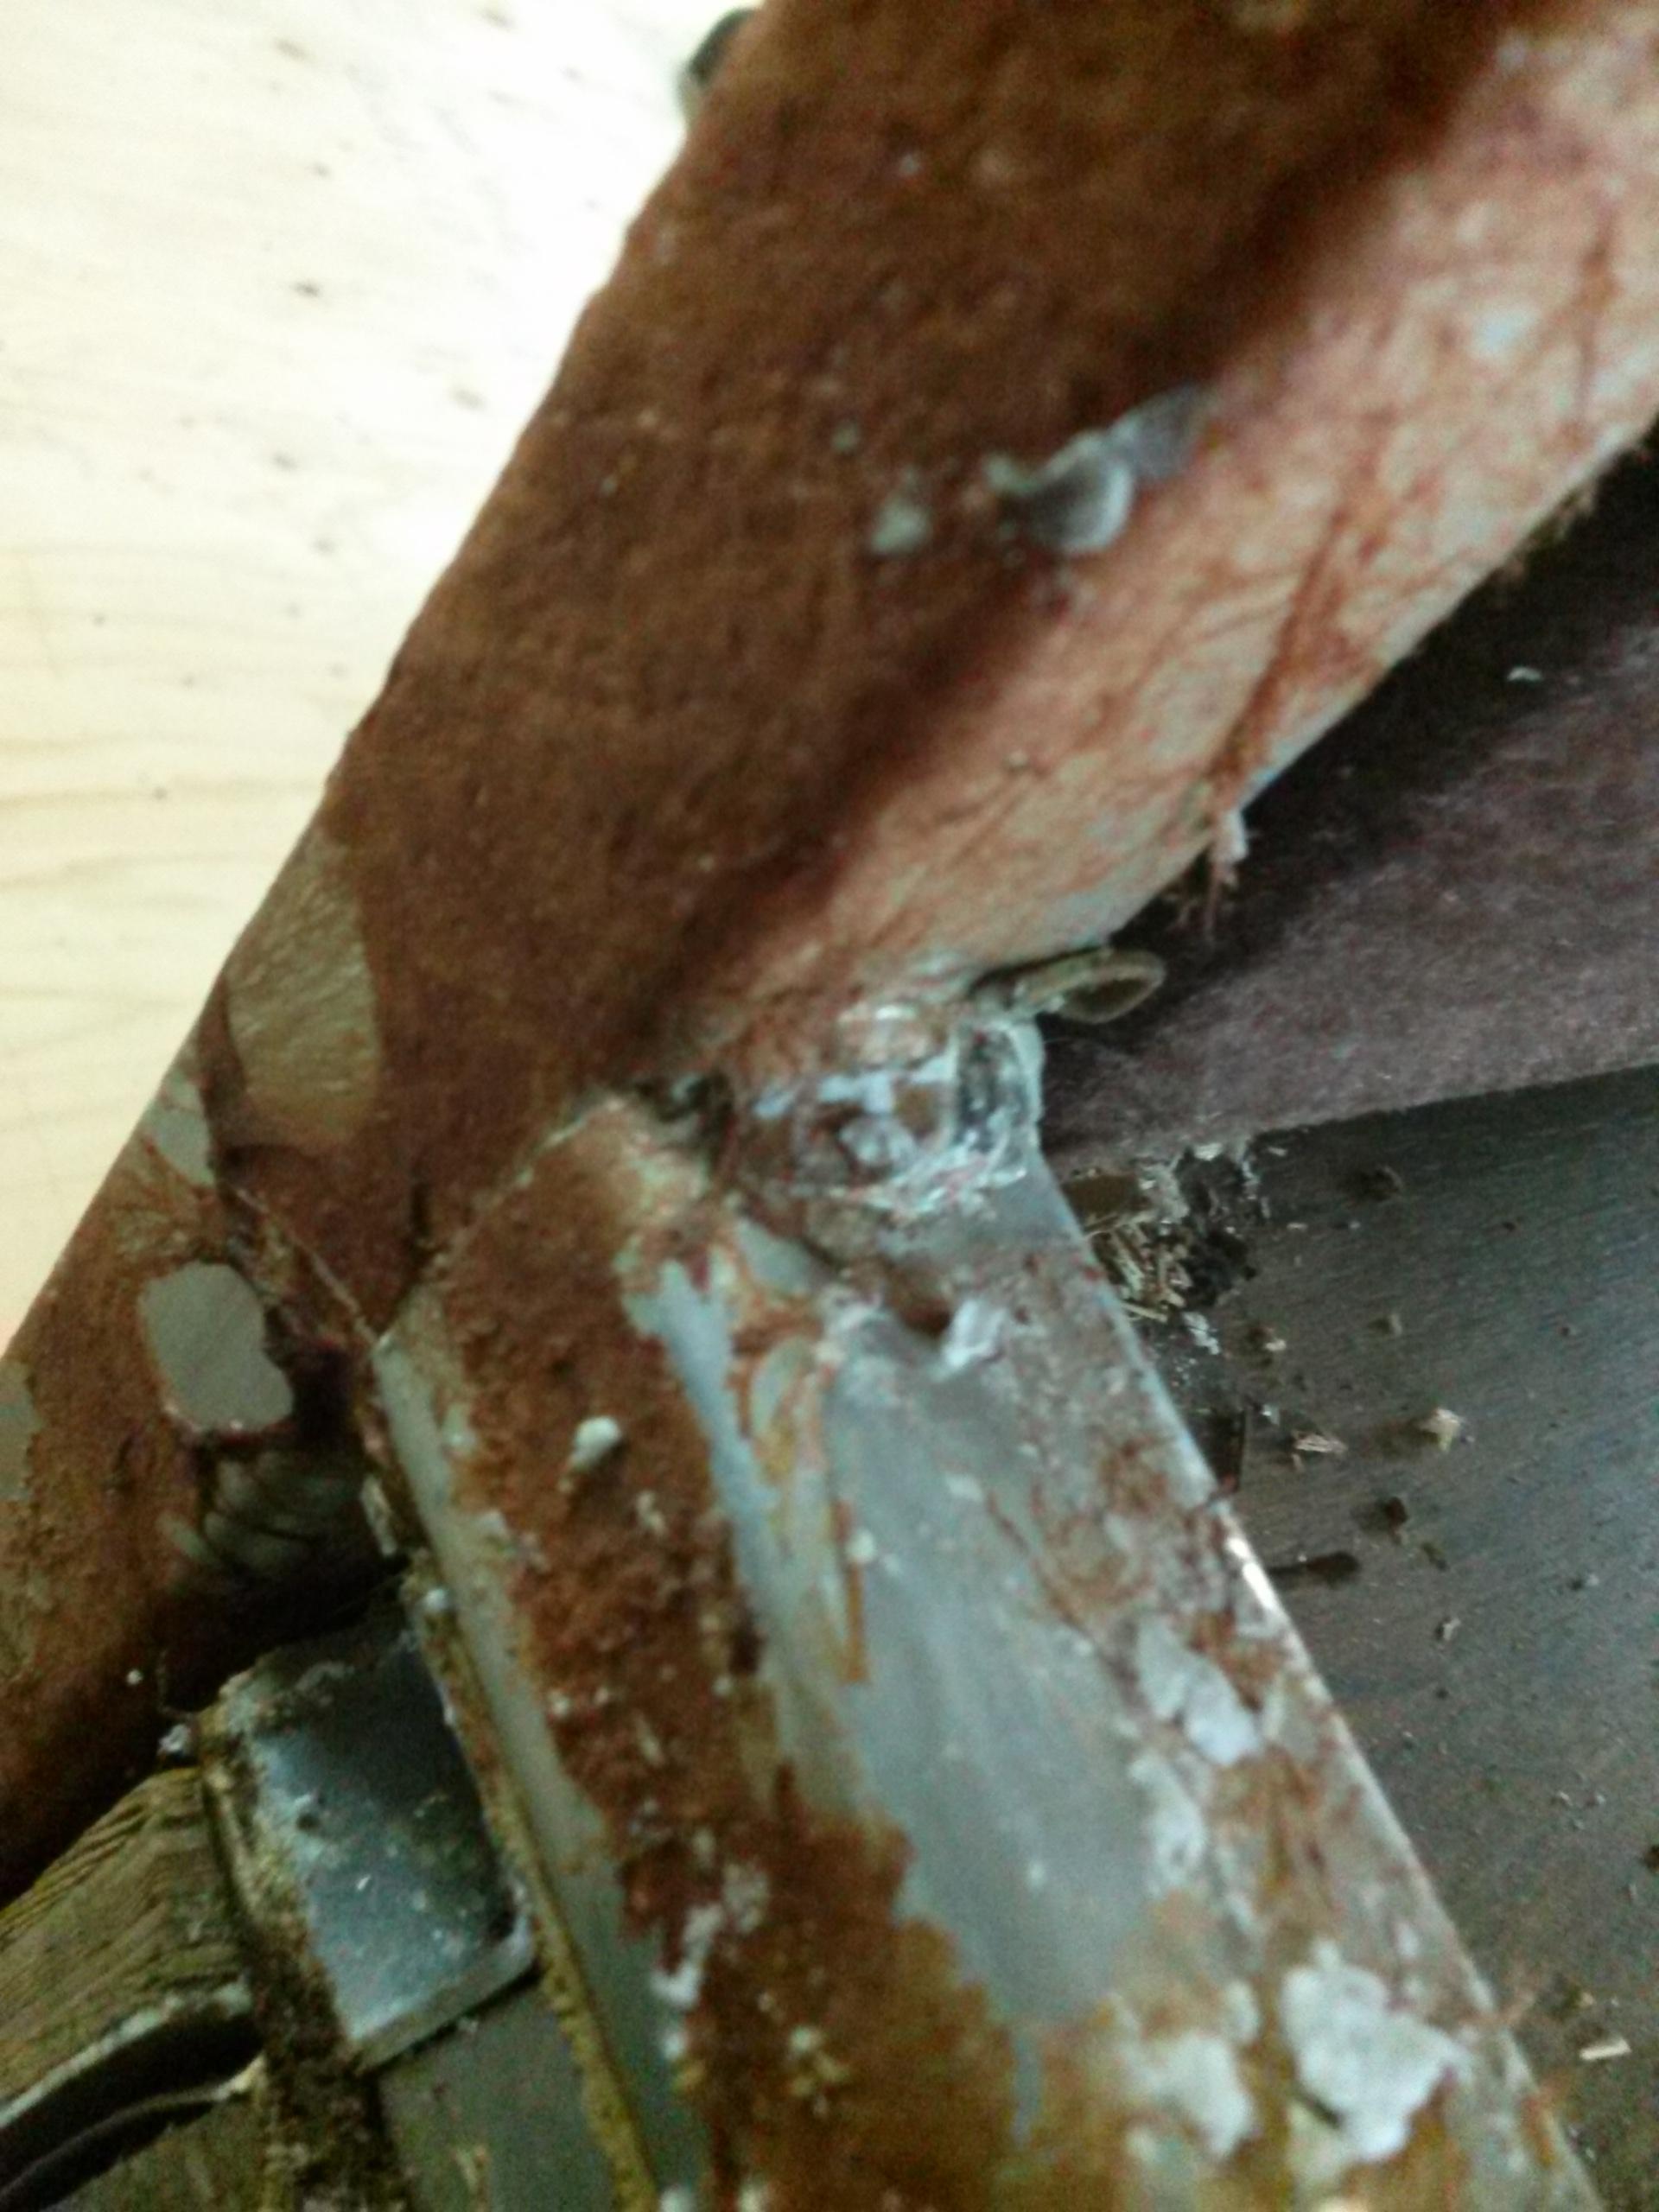
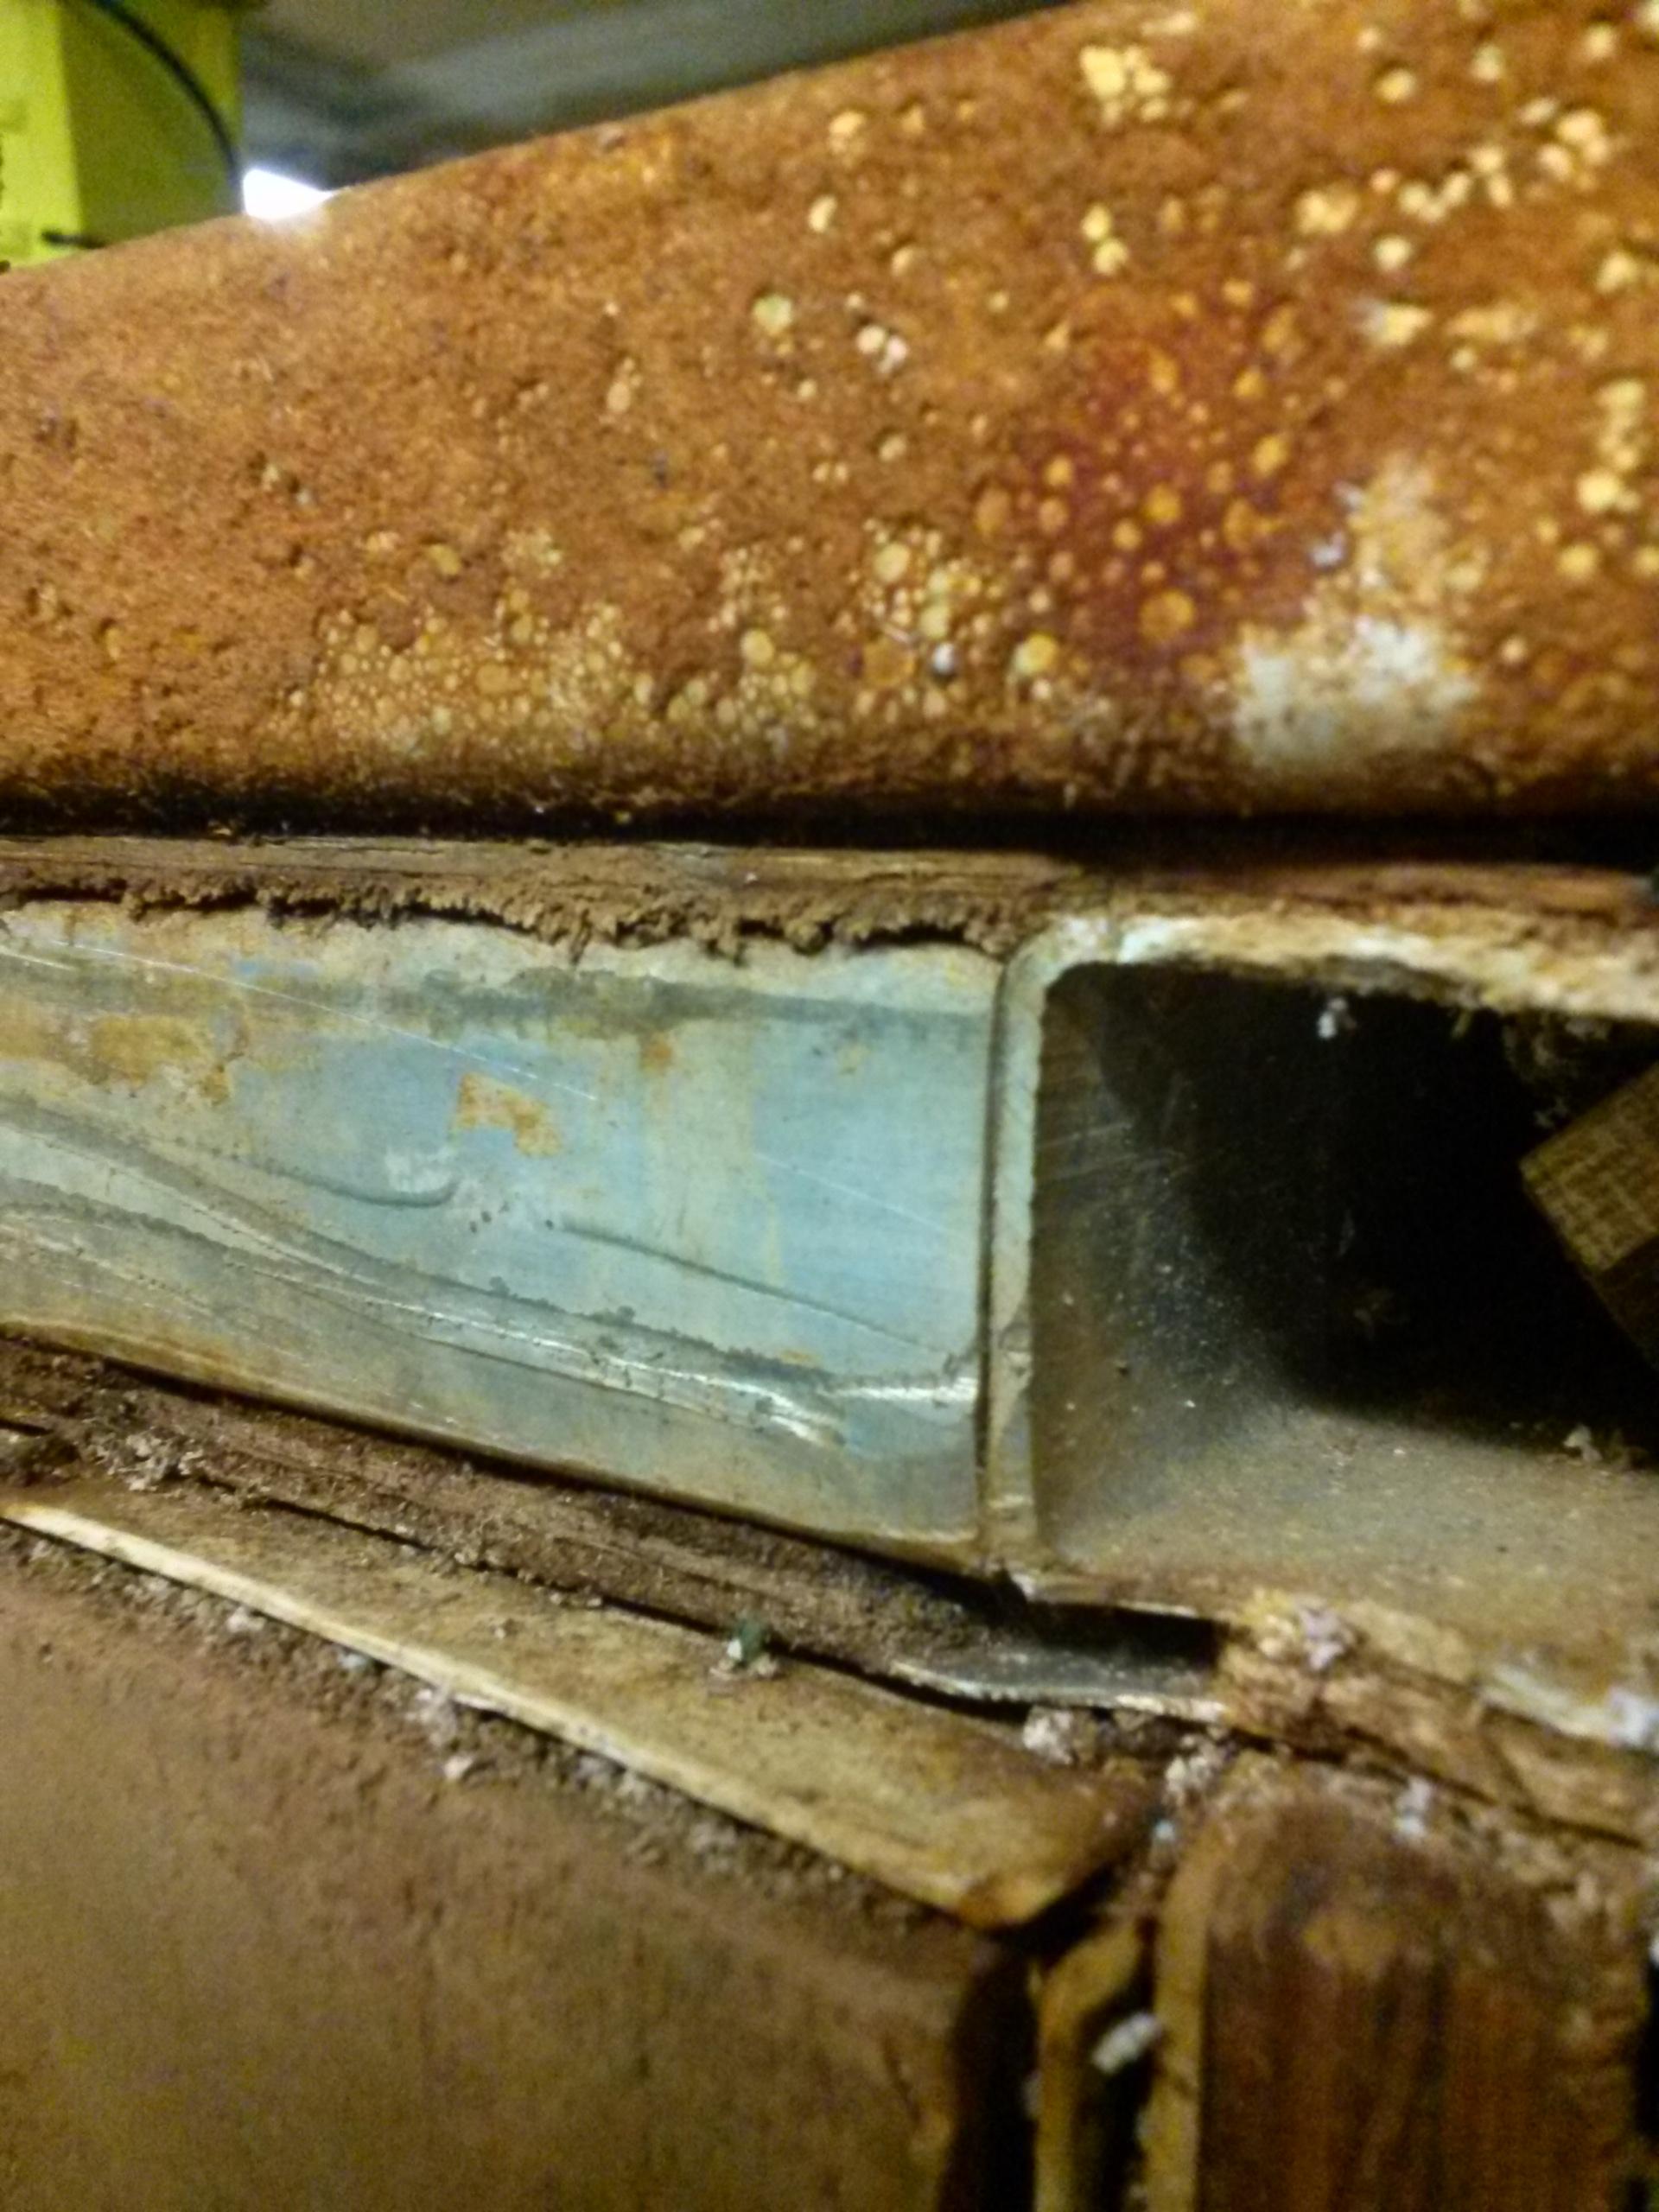
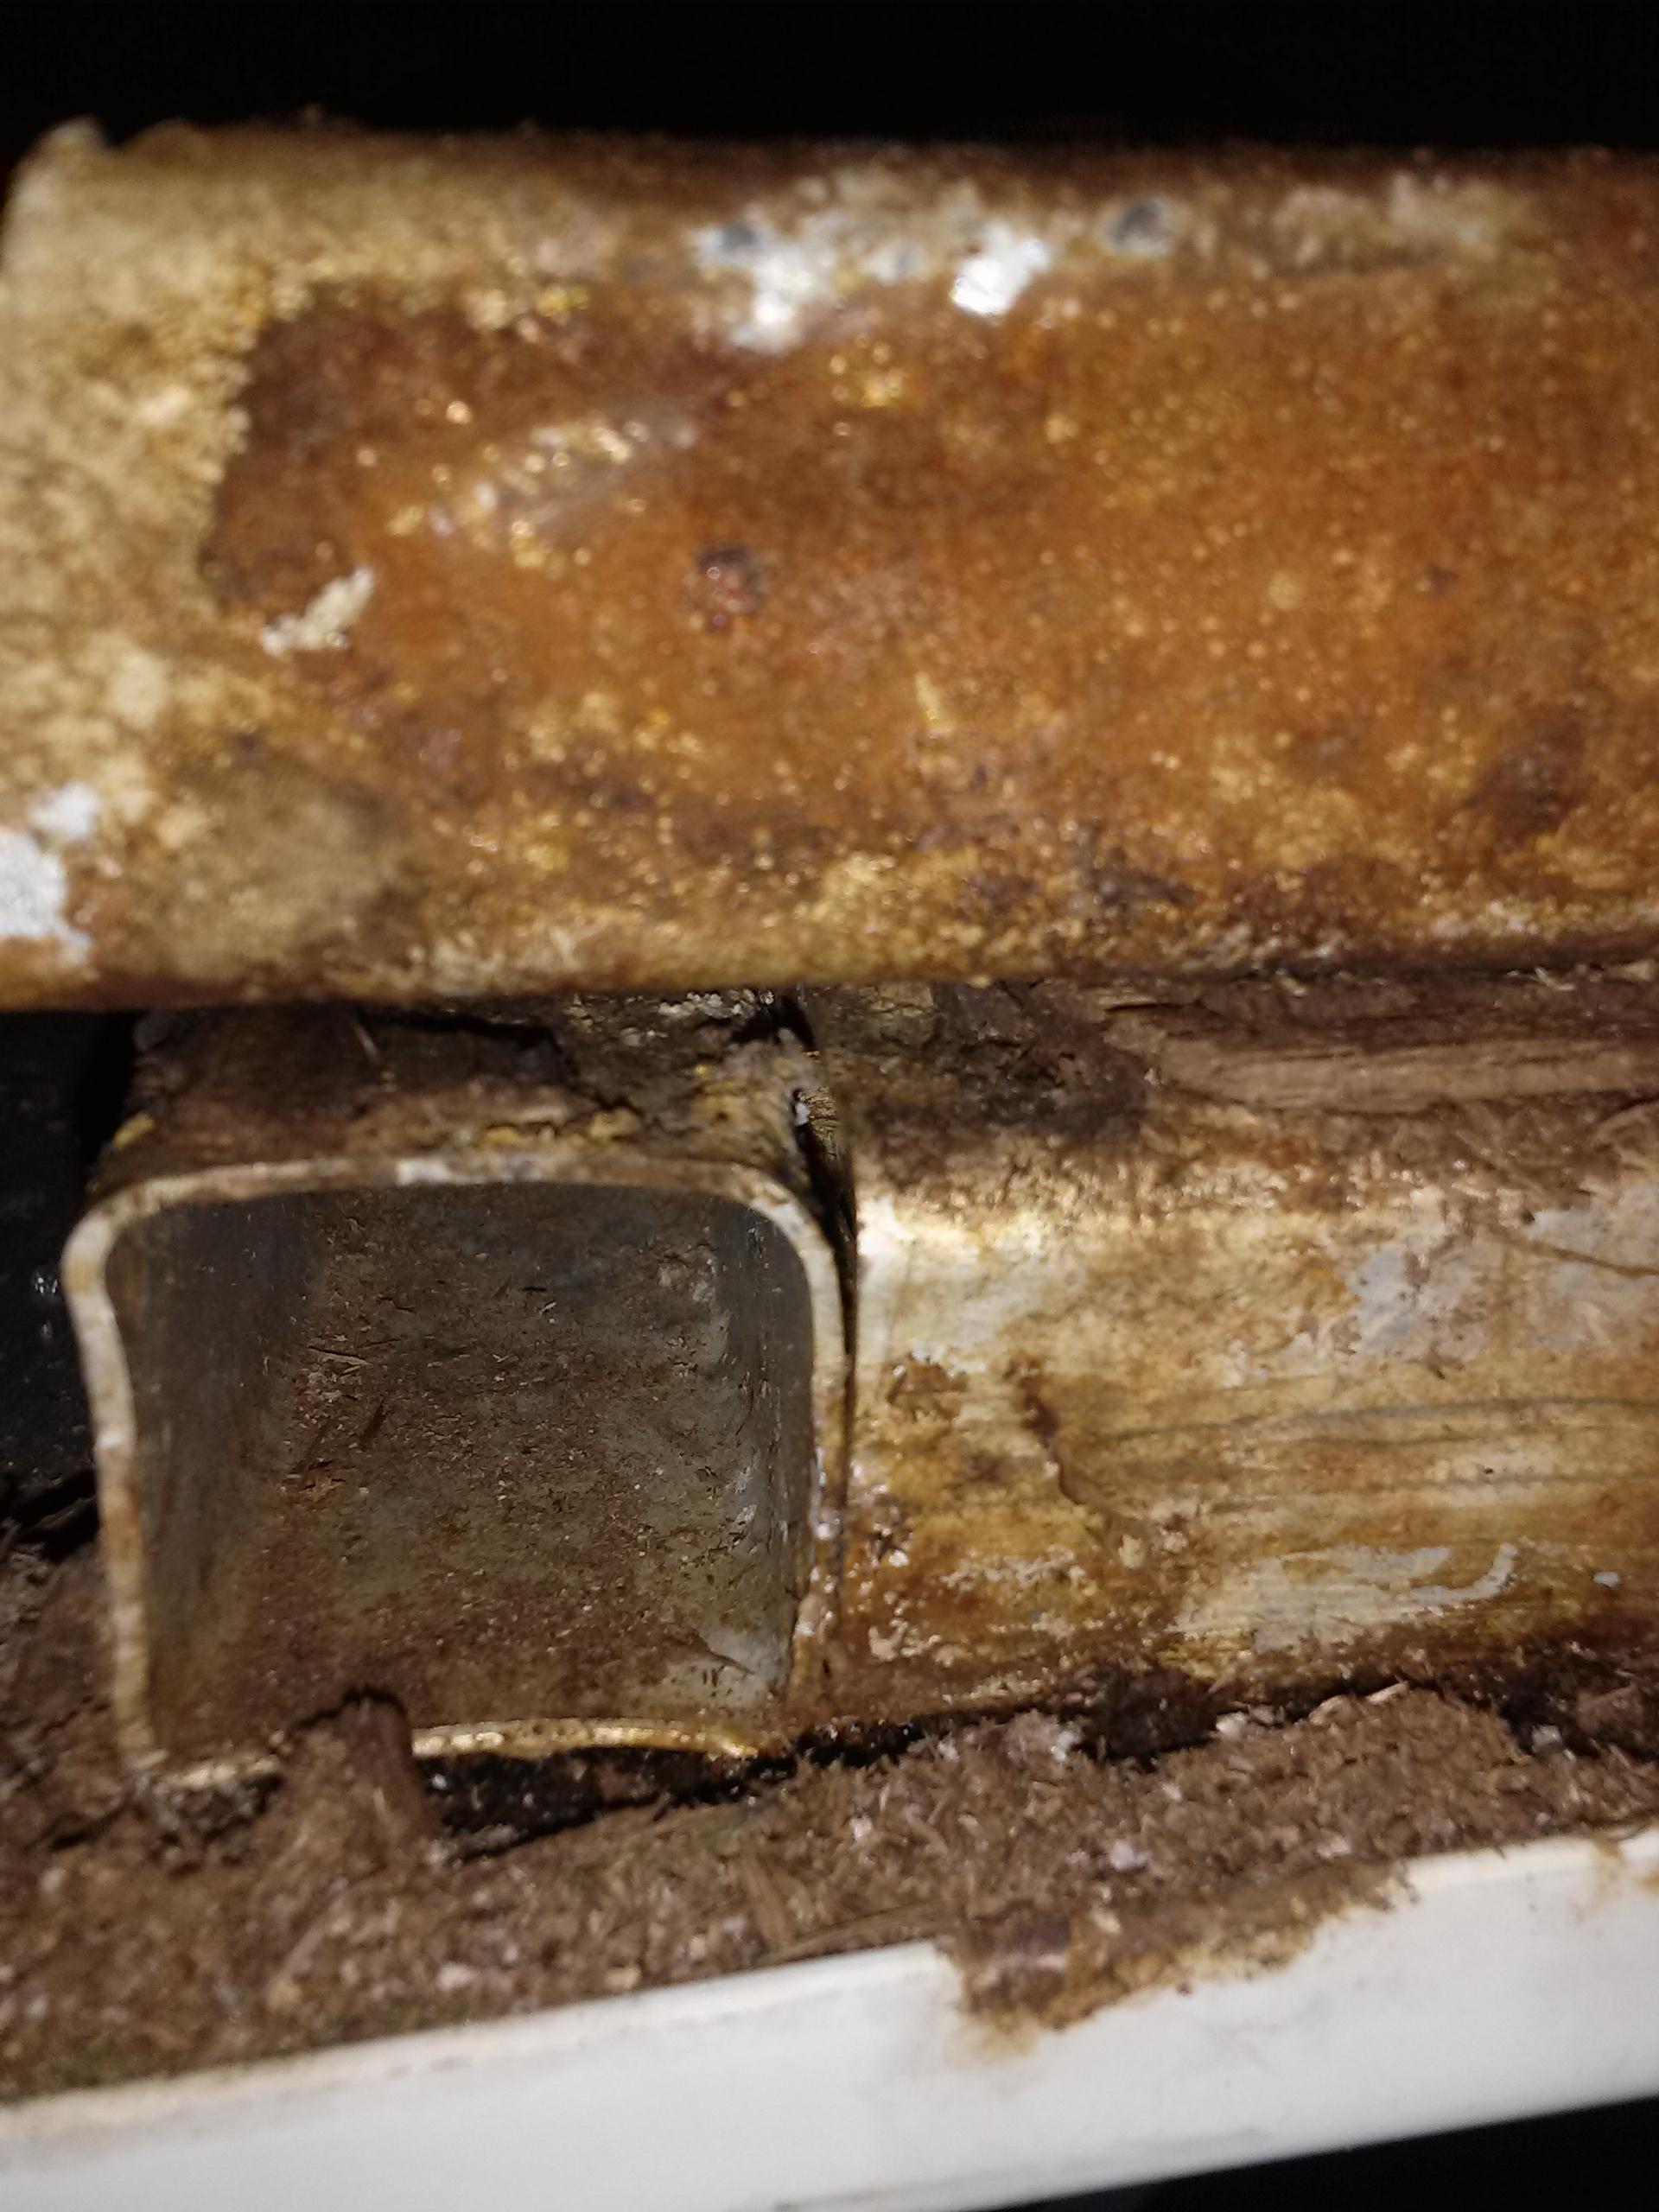
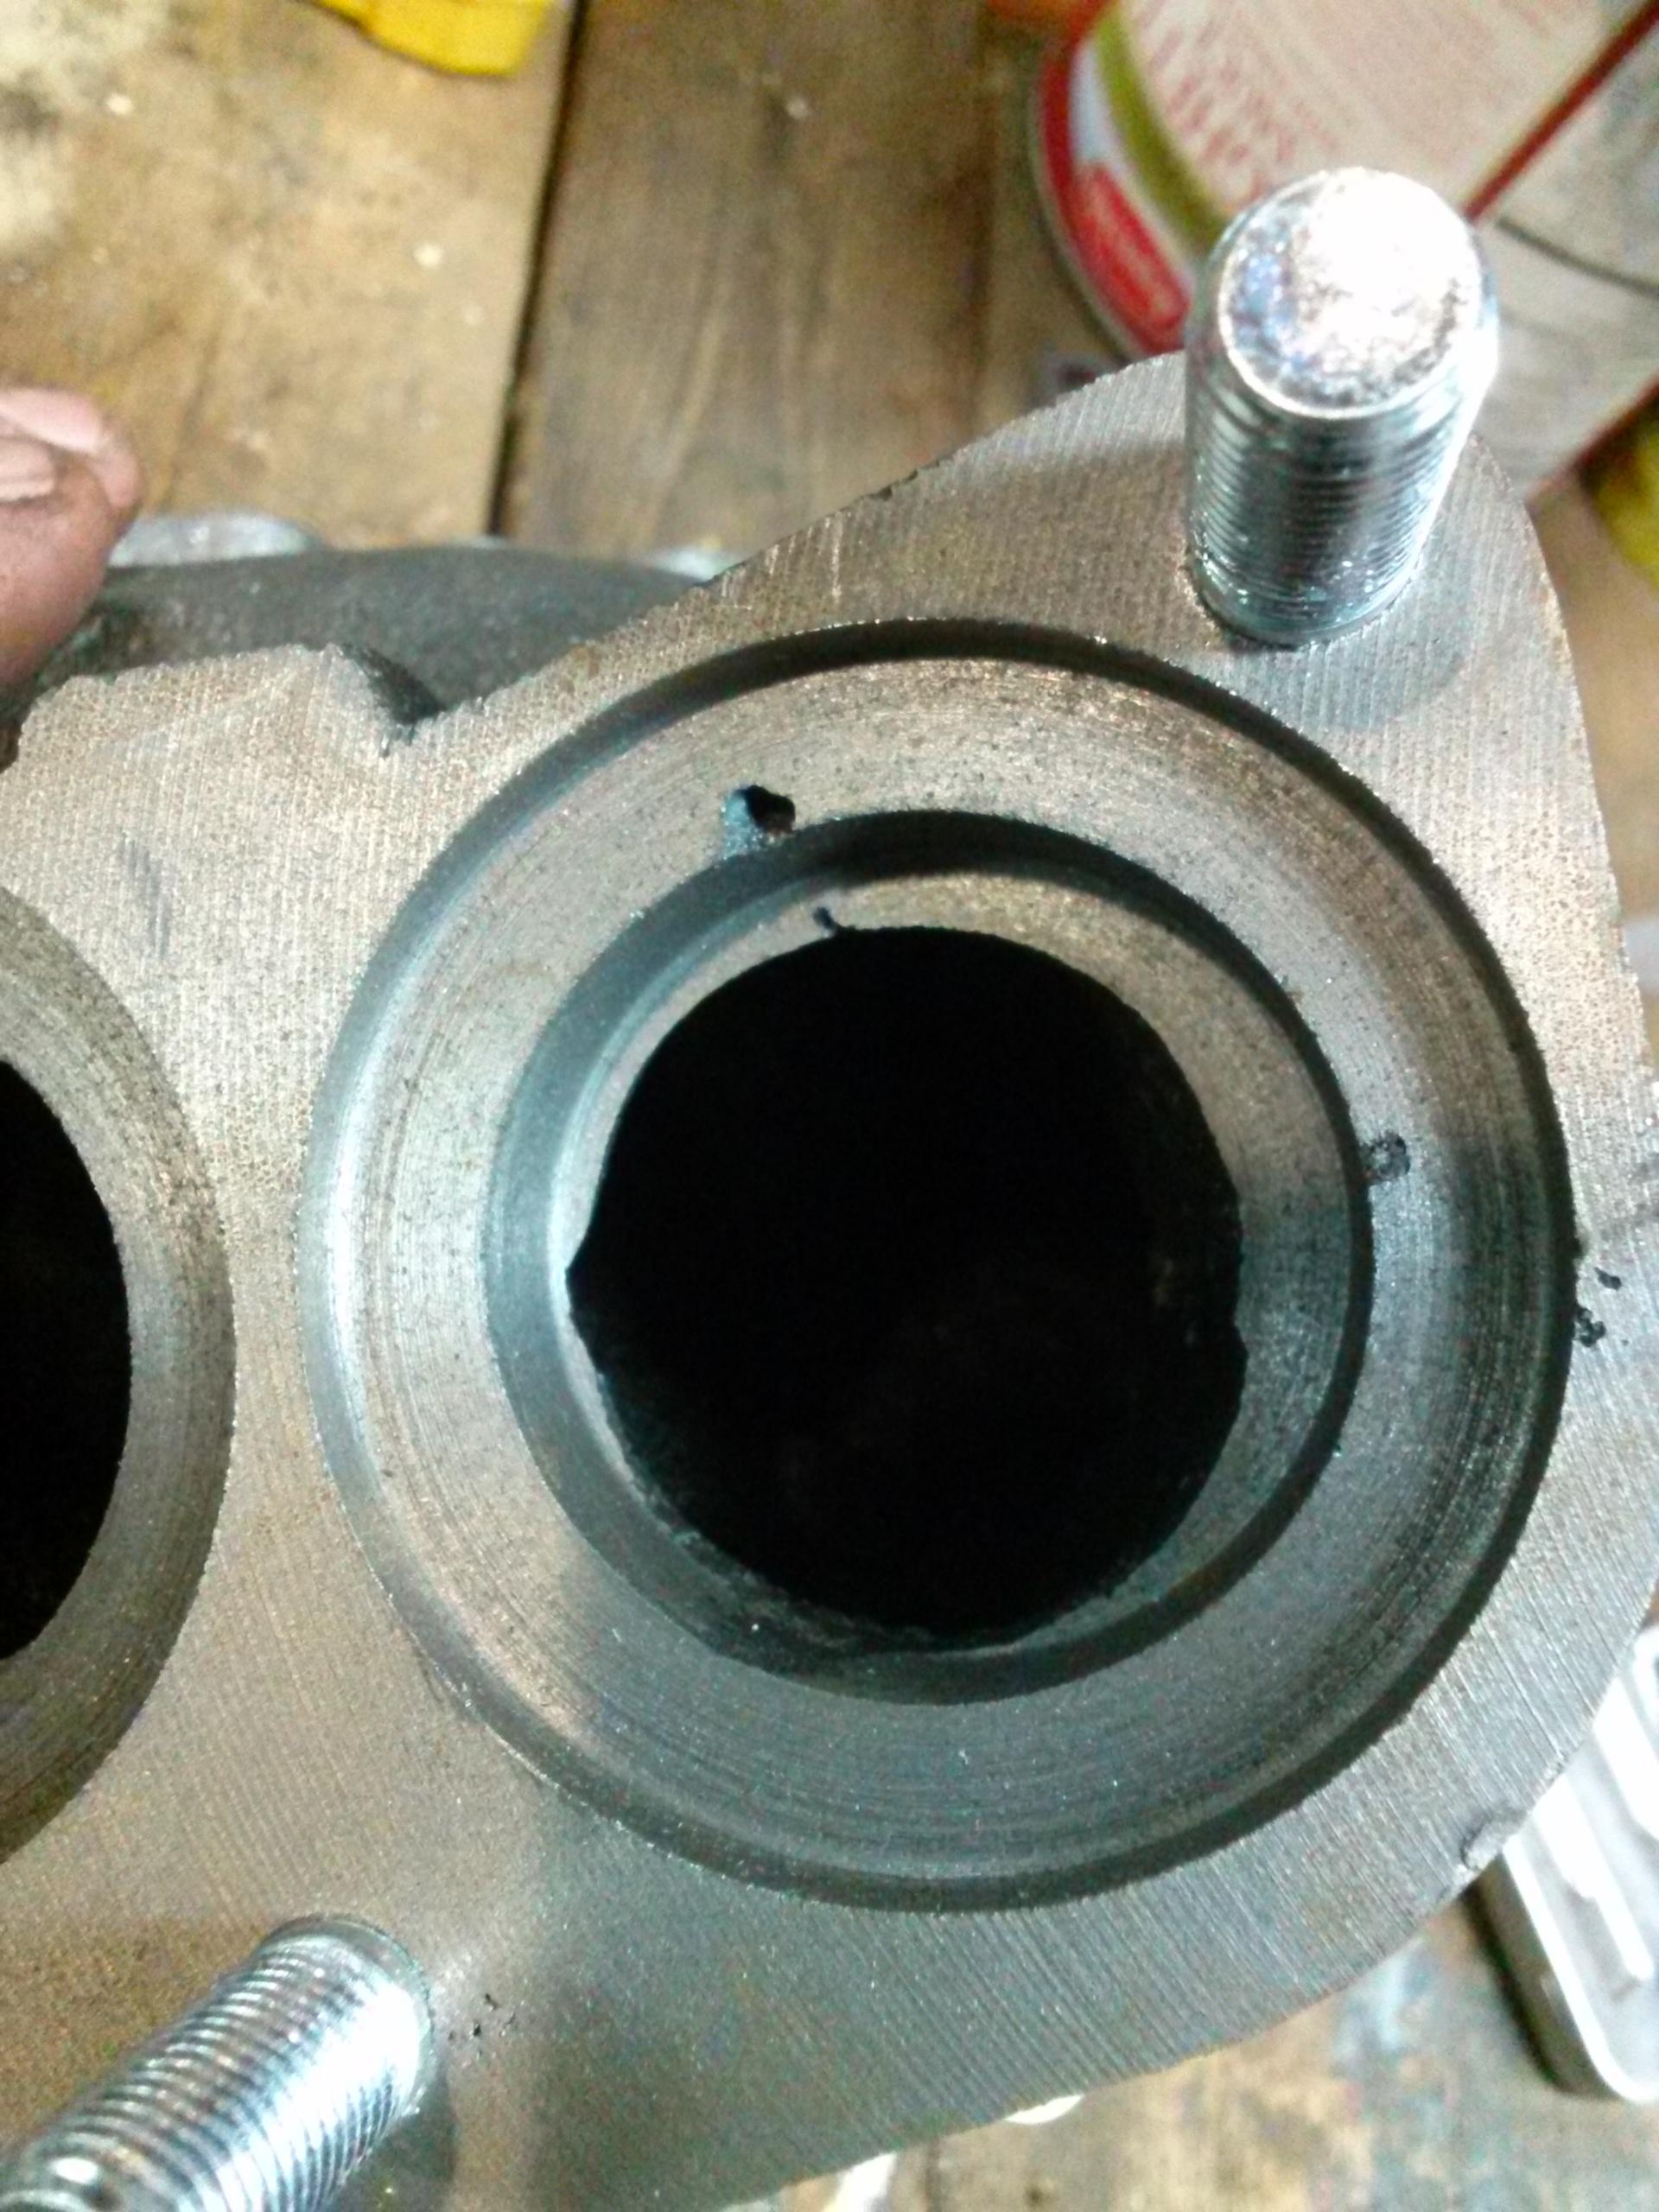
Thanks for the kind words, Linda S. In a sense, I do have my own TV show, it just happens to be on Youtube. In fact, it's a major motivator for me to do some of these creative projects I've wanted to do for some time. As to the Conquests- Yes, this one was put together by cutting some corners. It wasn't just the welds... there was other evidence if cutting corners Many screws were driven in at strange angles. Heads were stripped inside cabinets. Some screws missed their target when the walls were opened up. Other things I'm forgetting too. Just little hints that the folks who put that one together were under some pressure or just didn't care much. Not all Conquests would have been made by the same crew.... but I do believe the welds would be incomplete on most of them. If you pause at 7:20 in the video, you can see the weak weld that was typical of what I found elsewhere. Here are some pics, although this particular joint did have two welds unlike the one I removed already. Also included are two photos of the $75 ebay manifold kit. Brand new... the casting was incomplete but somehow made it through quality control..... Doesn't appear to leak, however, so that's something. B
-
Hey, Video, take 2. Yes, keep the vallium handy... this one is the tear down. Motorhome rebuild part 2. The camper was indeed framed with aluminum. However, the joints were barely welded/brazed. I show that in the video, at one point. The joints were only welded on one side. 3 sides no weld material. All walls had water in them. Some worse than others. Main thing about reusing the walls is structural support. The cabinets most definitely added a lot of structural strength to the frame. Without them, the walls would have been dangerously inadequate to protect the passengers let alone not flex in winds or with snow load. Hence, steel framing. I can weld in diagonals in the walls where needed. Also can double up framing near door if needed. The local place found some 1"x1"x14 gauge, thinner and lighter than the 1/8th inch. Stronger than the alloy because I can brace it without fasteners. The windows all came out successfully. No damage. Not going to put the back window in. Friend needed it for a project.... so it went. I'll install interior lights, but no one will sleep there routinely. Maybe now and again, when I tow my equipment trailer. Under those conditions, I'll install a fan, probably in the floor to draw air in and push out the main windows. PS I've saved tons of this thing. Tail lights, windows, appliances, seats/bed/table, doors, etc. If I don't use it, I'll find someone who will. So much so that I'm running out of storage room for all the stuff. Part 3 will be out shortly. B
-
Here's the video. If you don't like seeing a camper cut up, I recommend you avoid it.... Motorhome Rebuild Part 1 B
-
Good call on the mpgs. 20 is lofty, for sure, but I do have a fair bit of experience in boosting fuel economy with other cars. Percentage wise, it's a lot. I improved my last ride from 45 to 65. Speed isn't a concern... most of the roads I'll be on have a posted limit of 50mph. I don't like the highway and prefer to take the backroad route and give myself more time to get there likewise. This keeps my foot out of it as much too. I may go 24" centers on the walls, but the roof definitely 16". We get a fair amount of snow and I'm not always able to get it shoveled off before the next storm arrives. I'm less concerned about weight than I am about roof height. The 1" provides as similar strength to 2x3's with more headroom. I'd rather be a little heavy and not worry as much about my passengers in a wreck. A bit late on the "put down the sawzall" suggestion, but that's my fault. You'll see in a second when the video is posted. The main thing with shortening it is fitting into my garage. If I can't work on it inside, it's a non-starter for me. I know it looks good in the photos, but see the vid. There's water in the walls, especially in the back. The floor is gone in front of the bathroom. Sheet metal is all that's holding it up. The fiberglass outer sheathing is okay... but needs painting. The fiber is showing through. More importantly, the original siding has the windows in a different spot than I want. It also has lots of holes in it for vents and such. I'm going for streamlined, so that's no good. If I could have found a box truck with similar motor/price, I would have. But this allows me to reuse some of the components like windows, seats, lower storage, etc. Believe me, I'm always interested in getting the most out of everything as possible. My life is basically a story of collecting others junk and making it into useful things again. But I've also taken apart rotten campers before trying to save them. Always more time/$ than just starting fresh with the old parts. B
-
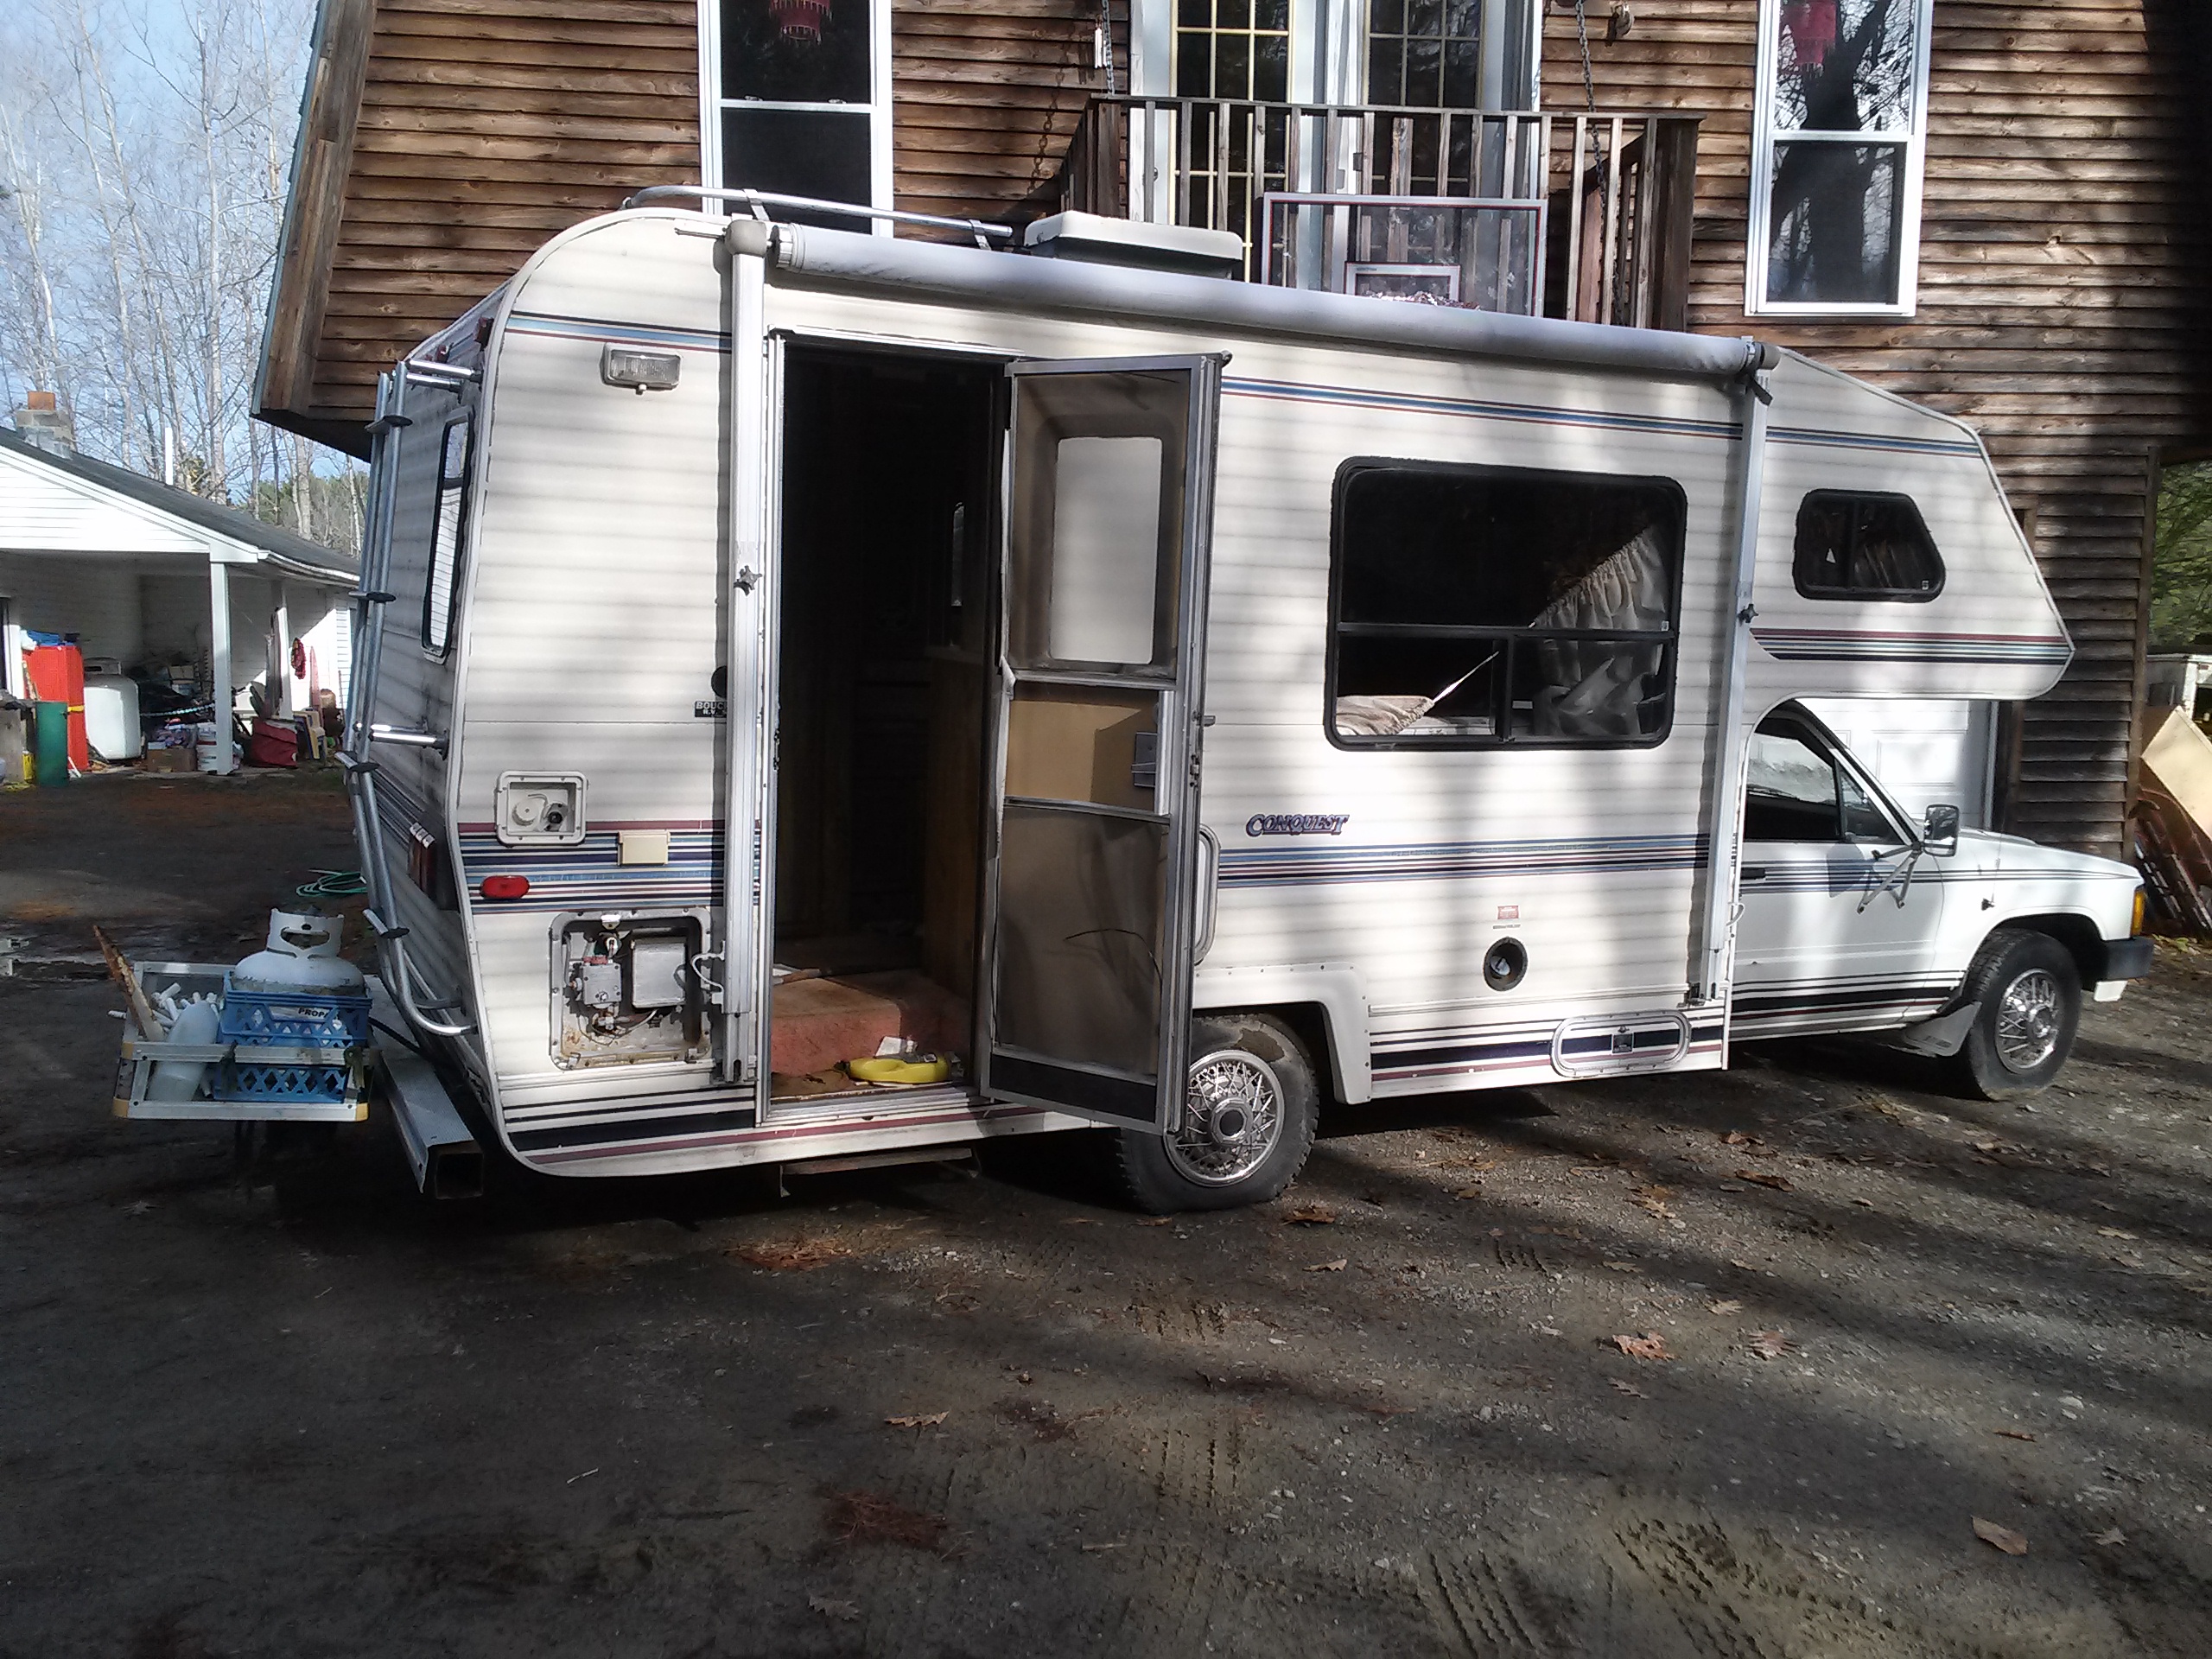
Hey all, I'm new to the forum. I've been lurking for a while, planning my move to buy a Toyota motorhome and get going on a project. So here it is! Details about the camper: I bought an 86' Conquest from a local junkyard. I looked around a lot before I decided on this one. It has the appropriate axle (thanks to your axle writeup). It has just under 50k miles. It looks good from the outside, but the water damage is extensive. The bunk area on the drivers side is pretty bad. The roof as a whole has been leaking for some time. All the caulking up top is rotten. The floor near the bathroom is rotten. The interior generally is not great. There was someone living in it for the last several months of it's life. It then sat in a junkyard two years. The engine hasn't run since 07, so far as I can tell. I have gotten the engine running, but I'll save the details about that for later. The underside is not very rusty... unlike most vehicles here in Maine. I paid $1000 delivered. Goals for the project: The camper will become an equipment/people hauler for my band/gear. There will be no bathroom/kitchen. It's basically a dry sleeping place up front and storage in the rear for equipment. (800#'s or so) Economical to drive- I intend to completely rebuild the walls, roof, and some of the floor. When I do, it will be considerably shorter. The roof will be even with the top of the existing side windows. Between removal of all the exterior fixtures (awning, vents, etc) and addition of a foldable modest boat tail (like the big rigs have now) and a mpguino, I hope to achieve 20mpg. I'm a fuel economy nut and already have a 65mpg Civic that I built, so this shouldn't be too hard. I'll also pull the AC (if it doesn't work!), change the mechanical cooling fan for an electric one. Then consider pulling the power steering and connect high/low pressure lines together to make it easier to steer. Weight- I'm thinking that it will end up about the same weight as the original camper was but have a much lower drag coefficient. I'll remove all things not related to the goals above. I will keep the furnace in a different location and make the tank be a 20# bottle that can be removed in summer months. The equipment is hefty, yes, but I'm also shortening the roof which reduces weight. The new walls will most likely be framed with 1" square steel tubing 1/8" thickness. I've considered lots of others... such as 2x3' or ripping 2x4's in half. But steel is the strongest in the event of a crash. It will also make it more stable going down the road. It's easy to cut/weld. It's cheap right now (rougly $1.10/square foot). It's relatively light given how much strength it has. I'm thinking 16" centers. Interior will be 1/4" luan. 1" foam inside the walls. This should ad some rigidity to the exterior, which will also be luan. Then covered with either painted FRP or the thicker 24" wide aluminum flashing (not from the box stores, from the web). I've built a trailer this way already. It's been working great so far! Materials- I'll retail the side windows. No rear window. Not sure about the front window, but maybe. I want to use as much of the camper parts as possible. The seats/cushions need cleaning, but can be re-used. The bench seat/table seats are going to be retained too. There will be no second battery. No bells and whistles. A light in the rear storage area. A wall built between the storage area and the "living quarters" will add strength to the box and prevent equipment moving forward. The undercarriage storage compartments will remain. The bit of exterior that goes below the floor will be retained and connected to the new walls. The cab connection part will be retained. Part of the upper bunk/existing aluminum roofing will be retained. Cost- As little as possible! Mostly this project will take time. The insulation is probably the most expensive bit. Interior room- It's going to be short. Something like 57" tall inside after the ceiling is in. This is unpeasantly short for camping.. but just fine for sleeping/sitting too and from gigs. This is also short for the equipment, but the existing trailer is 52" tall inside right now, so it's a big improvement. Two of the speaker cabs are 48" tall. Why so short you ask? Two primary reasons. MPG and fitting into my garage. If it doesn't fit in my garage, I can't do the project, so.... The existing garage opening is 84". I can make it 2" bigger by redoing the framing, but that's the end of it. The total height of the camper has to be 84" or less. I may have to remove air from the rear tires to remove it from the garage when the shell is completed but no heavy equipment is in the back weighing it down. Time frame- I'm hoping for a completion date by summer. I think it's reasonable, given the amount of time I have to devote to it. Progress I have been filming it. I am a youtuber already with vids on similar topics. I'll post the first video installment today, after I finish editing it. It's going to be a multi part series, of course. Questions/comments should go here... youtube is too hard to keep track of comments. Thanks for checking it out, I'll post that video as soon as it's edited. B

.jpg.85ee1e0dcf6aeeb5ba4ce47174e78627.jpg)