


donttreadonme
-
Posts
70 -
Joined
-
Last visited
Content Type
Events
Profiles
Forums
Gallery
Posts posted by donttreadonme
-
-
On 9/11/2018 at 12:15 PM, charliebrown said:
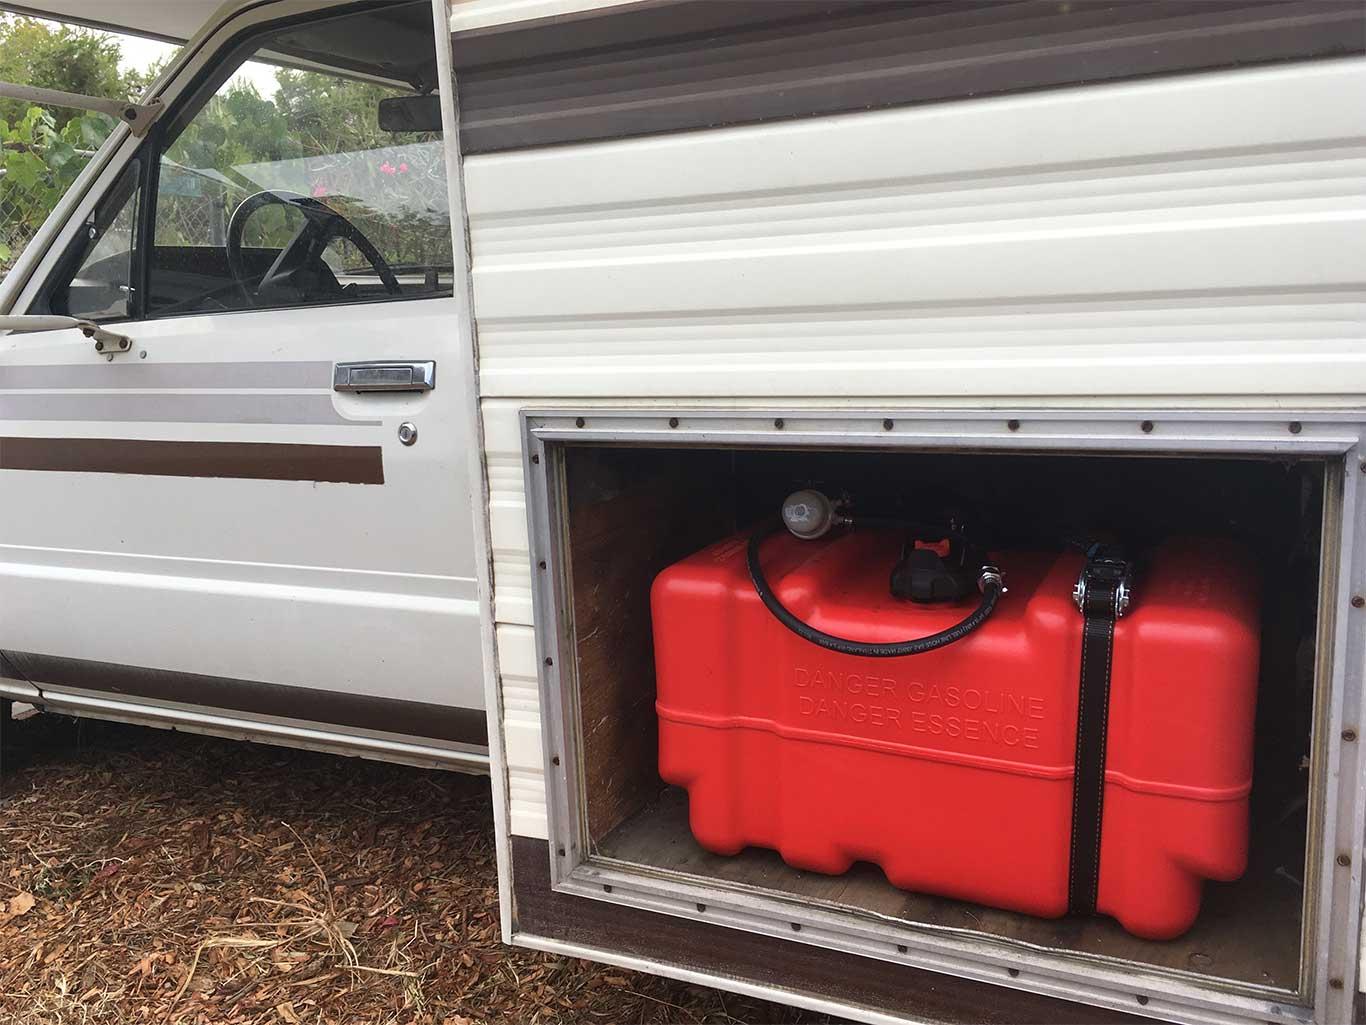
I took out my generator and air conditioner unit(I reside in San Diego) and bought a 12 gal marine tank an it fits perfect where the generator was... I originally did this to bypasss the rusty fuel tank but even with a check value this solution floods the engine. I was trying to postpone the resealing of the original tank with this so any suggestion to stop the flooding? When i do reseal the tank i'll use this as an extra tank. If i can figure out the flooding issue I'll install a "Y" in the fuel line. Or ill run it to the stock tank. When running it to the stock tank would there be any issues to hook it where the generator pulled fuel from???

This is a really good way to have a backup fuel tank. I, too, removed my less than stellar Generac generator and have an open space right now. Might look into doing this.
-
Thank you!
-
On 9/7/2019 at 11:19 AM, SpiritLump said:
We just bought a 91 Spirit, and previous owner installed a tank from a 97 Blazer that, when you flip a toggle near the console, siphons gas into the main. Only used it once, but worked great. We may not always fill it, given weight considerations, but good for remote travel I'm hoping. Just joined, looking forward to learning from the experts.
Can you post pictures of this? Thanks.
-
On 3/5/2019 at 8:13 AM, AtlantaCamper said:
If you have cruise control, the installation of LED lights will very likely stop the cruse control "off" function from working when you step on the brake pedal. There is a mod to fix that, let me know if you need that info.
A previous post mentioned that you should address the "hyper flash" result that comes with installing LED lights. The OEM flasher thinks that a bulb is burnt out because is monitors the very low resistance of the circuit through the bulb filament. LED's are higher resistance so the flasher unit thinks a bulb failed and flashes very fast to tell you to change the bulb. You have two options to get around this, you can install a LED compatible flasher or you can modify your existing flasher. I was not successful in finding a compatible LED type flasher that fit and just went with the OEM flasher mod. If you are handy with a soldering iron, here are those instructions in case you want to do that mod:
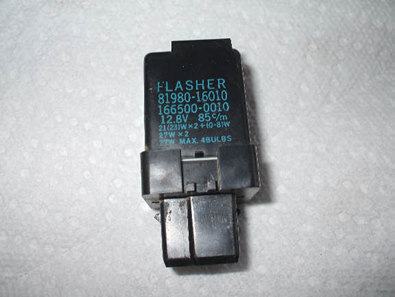
This is the OEM flasher module from the driver's side kick panel. Remove it and take the plastic cover off to expose the circuit board. You are going to replace a resistor. This will trick the flasher into blinking at a normal rate even though it still thinks a bulb is out. The resistor value controls the rate of flashing in this 'bulb failed' mode. The flasher still thinks a bulb is out and thinks it's doing it's job by warning you to change the bulb, we have just changed that warning rate to be a normal flashing rate.

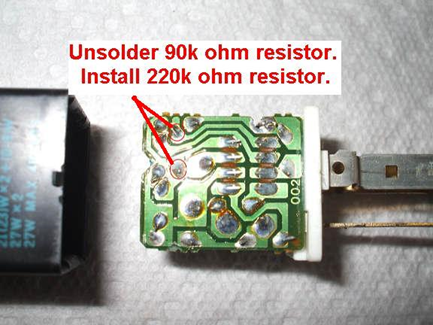
The 90k ohm resistor location shown in the photo below is used to establish the flash timing for the burnt out bulb portion of the flasher. You’re going to replace that 90kohm resistor with a 220k ohm resistor, this will make the flashing time longer, and almost identical to the regular flash rate. The 90k ohm is very small and tucked up between the relay and two large capacitors. Unsolder the resistor leads (shown from the back side of the board in the photo), and solder the new resistor in place.
Get the smallest watt 220 k ohm you can find. Ohms isn't real critical, probably between 200k and 240k will work. You can mount it vertical, but may need to put a sleeve on the lead to keep it from shorting out against the relay cage. If you can't find a 220k ohm resistor, you can solder two or more resistors in series and add their values to come up with the 220k ohms. Before putting the relay back together, plug it in and make sure it works at the slower speed.
I did this mod with the intent of "fixing it the right way" later on but I've never gone back to do that and it's still working fine. There is a short delay after the first flash every time you turn a turn signal as the flasher senses the fake bulb failure and then after that it kicks into the modified "bulb is burnt out" flasher rate that is controlled by the new resistor.
Do you have information on how the led light installation affects cruise control. Is is somehow hooked into the activation of the brake lights? How do you fix this. We have a 93 warrior and are planning the brake led upgrade. Already completed the clearance lights. (BTW-love not having to hassle with burnt out incandescent bulbs and water in the fixtures).
-
Great blog!!! Really enjoyed it.
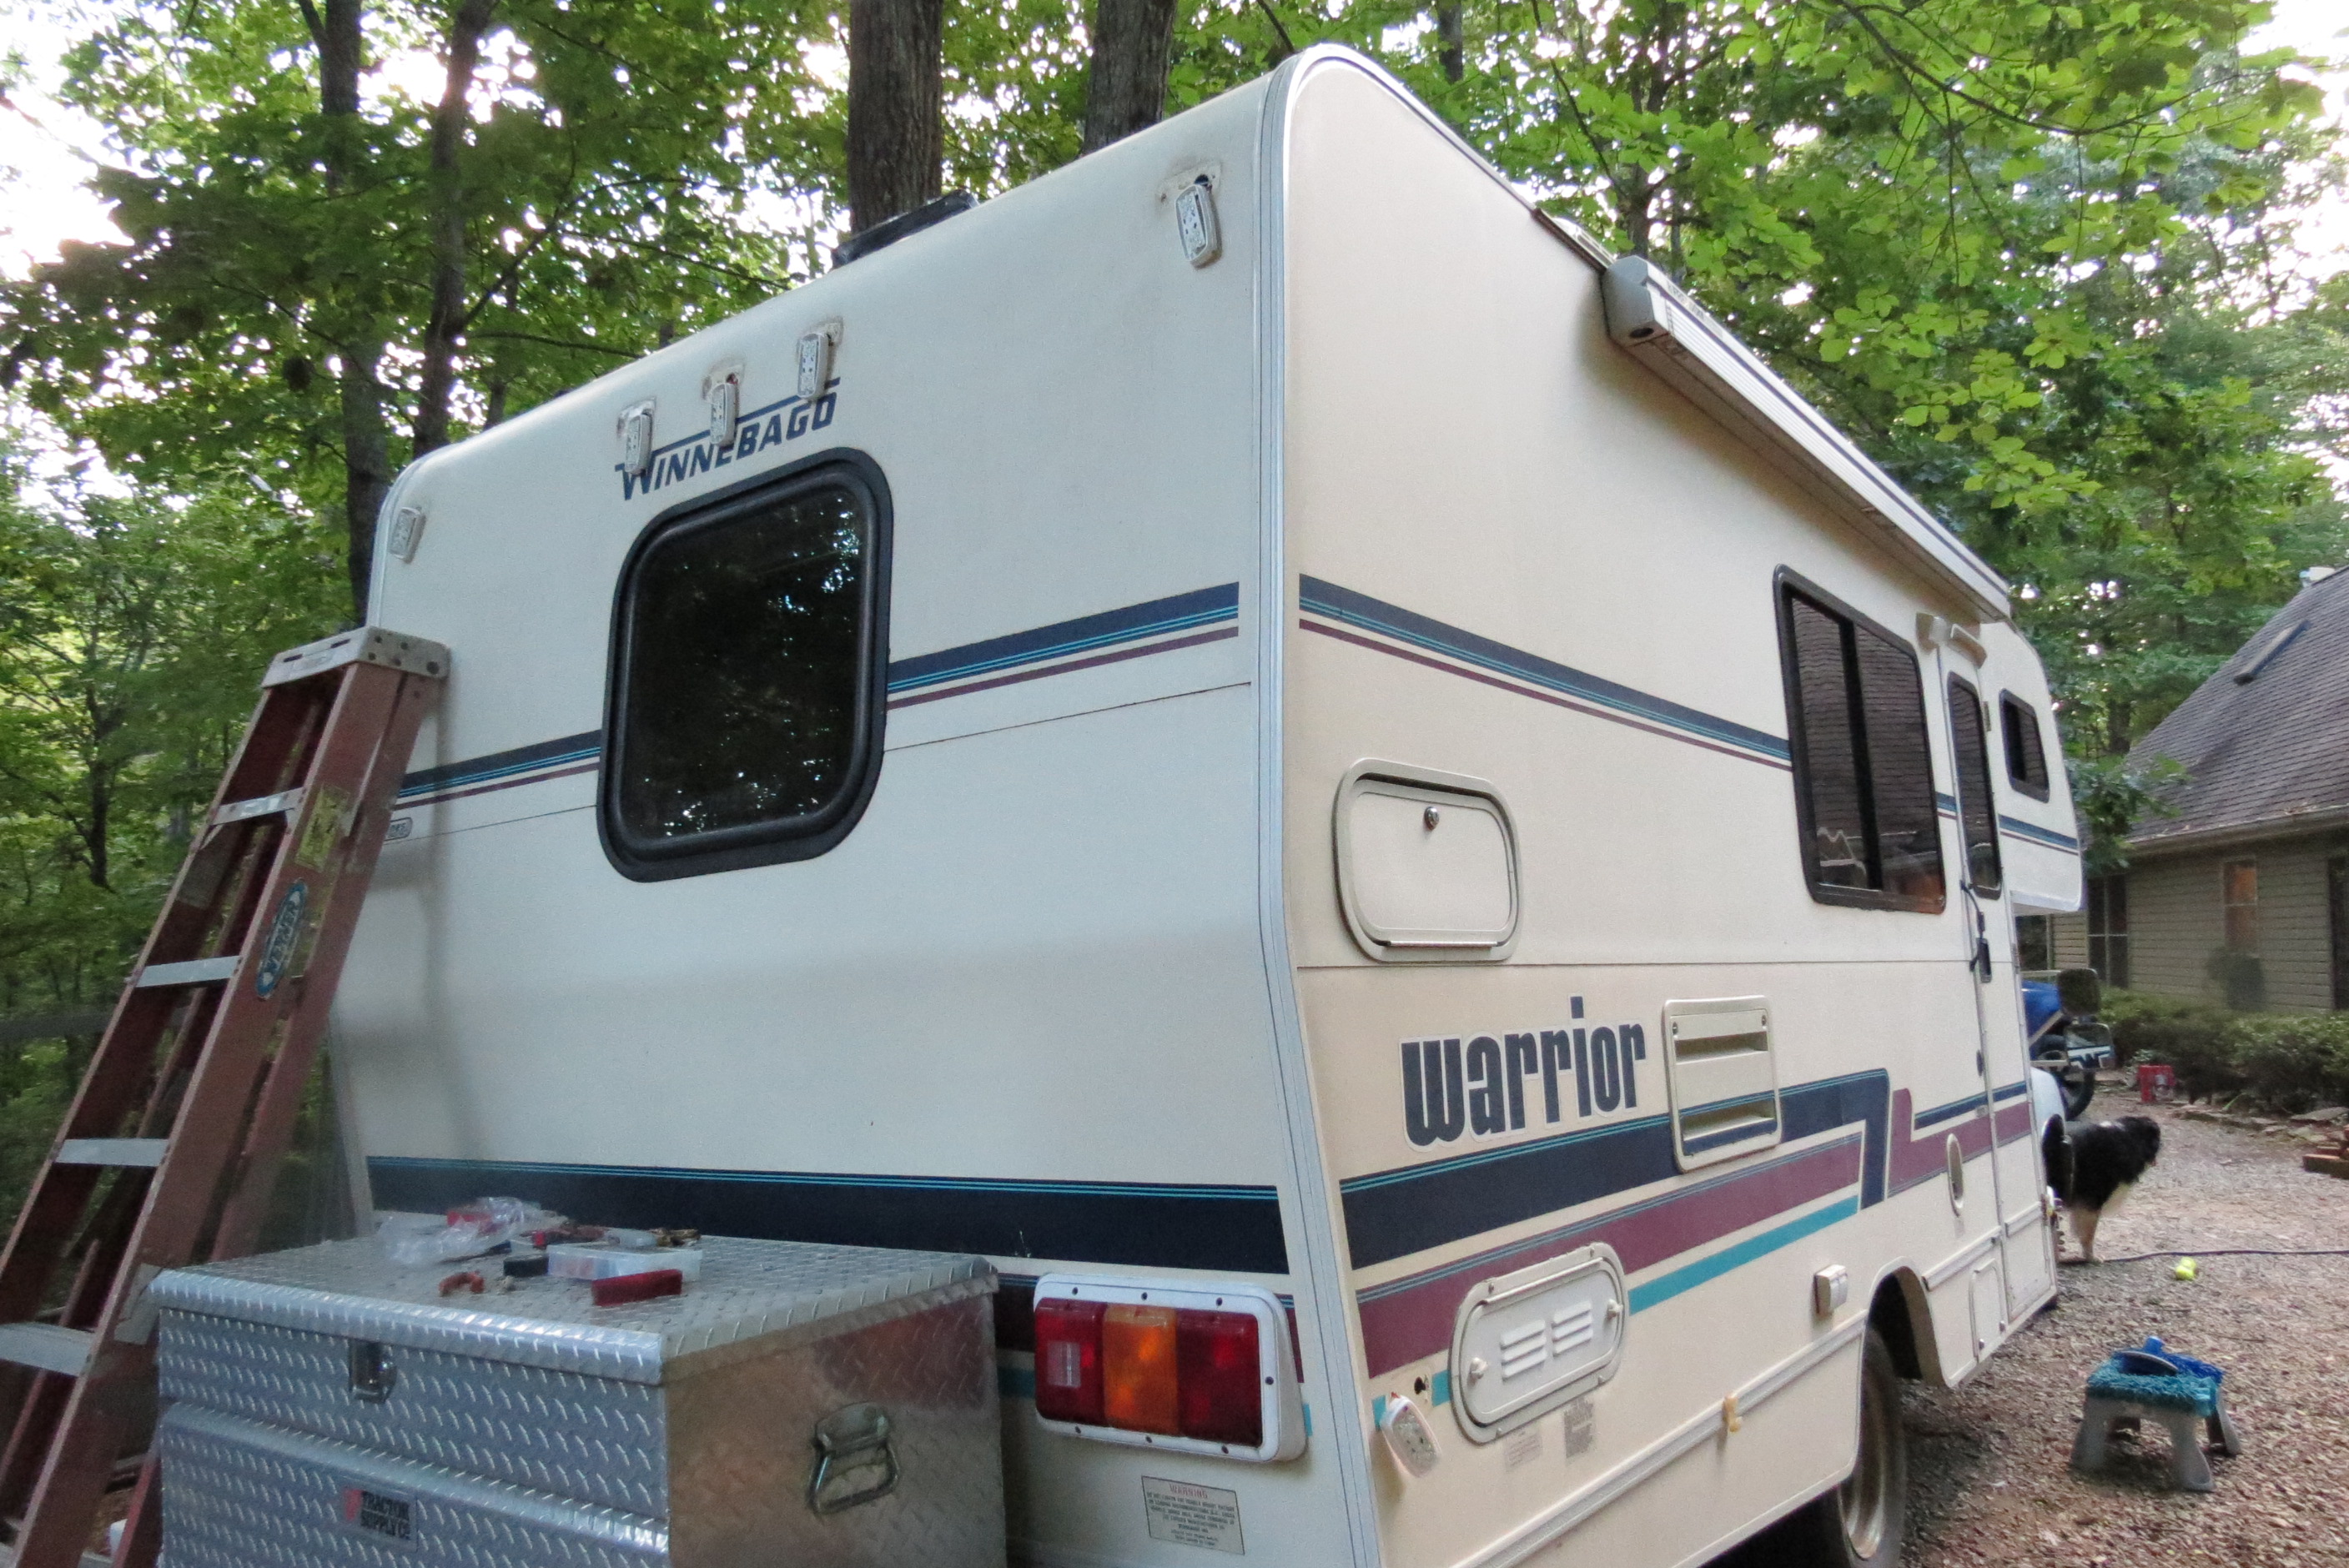
On my 93 Warrior, the previous owner extended the frame with (believe it or not) wood. The wood (I don't know the species) is cut to fit up inside of the frame rails and is bolted in. There is a wooden platform built on that (made with some type of 1 x 4s) and painted the whole thing. He bolted an aluminum box to platform. I have not put much weight in the box but it is good place for grill, and other light weight, bulky items. I probably need to address this situation before I go cross country. Only been used for 16,000 total miles so I guess that it hasn't had enough impacts from road bumps to crack anything.
-
The scaffolding sounds good!
-
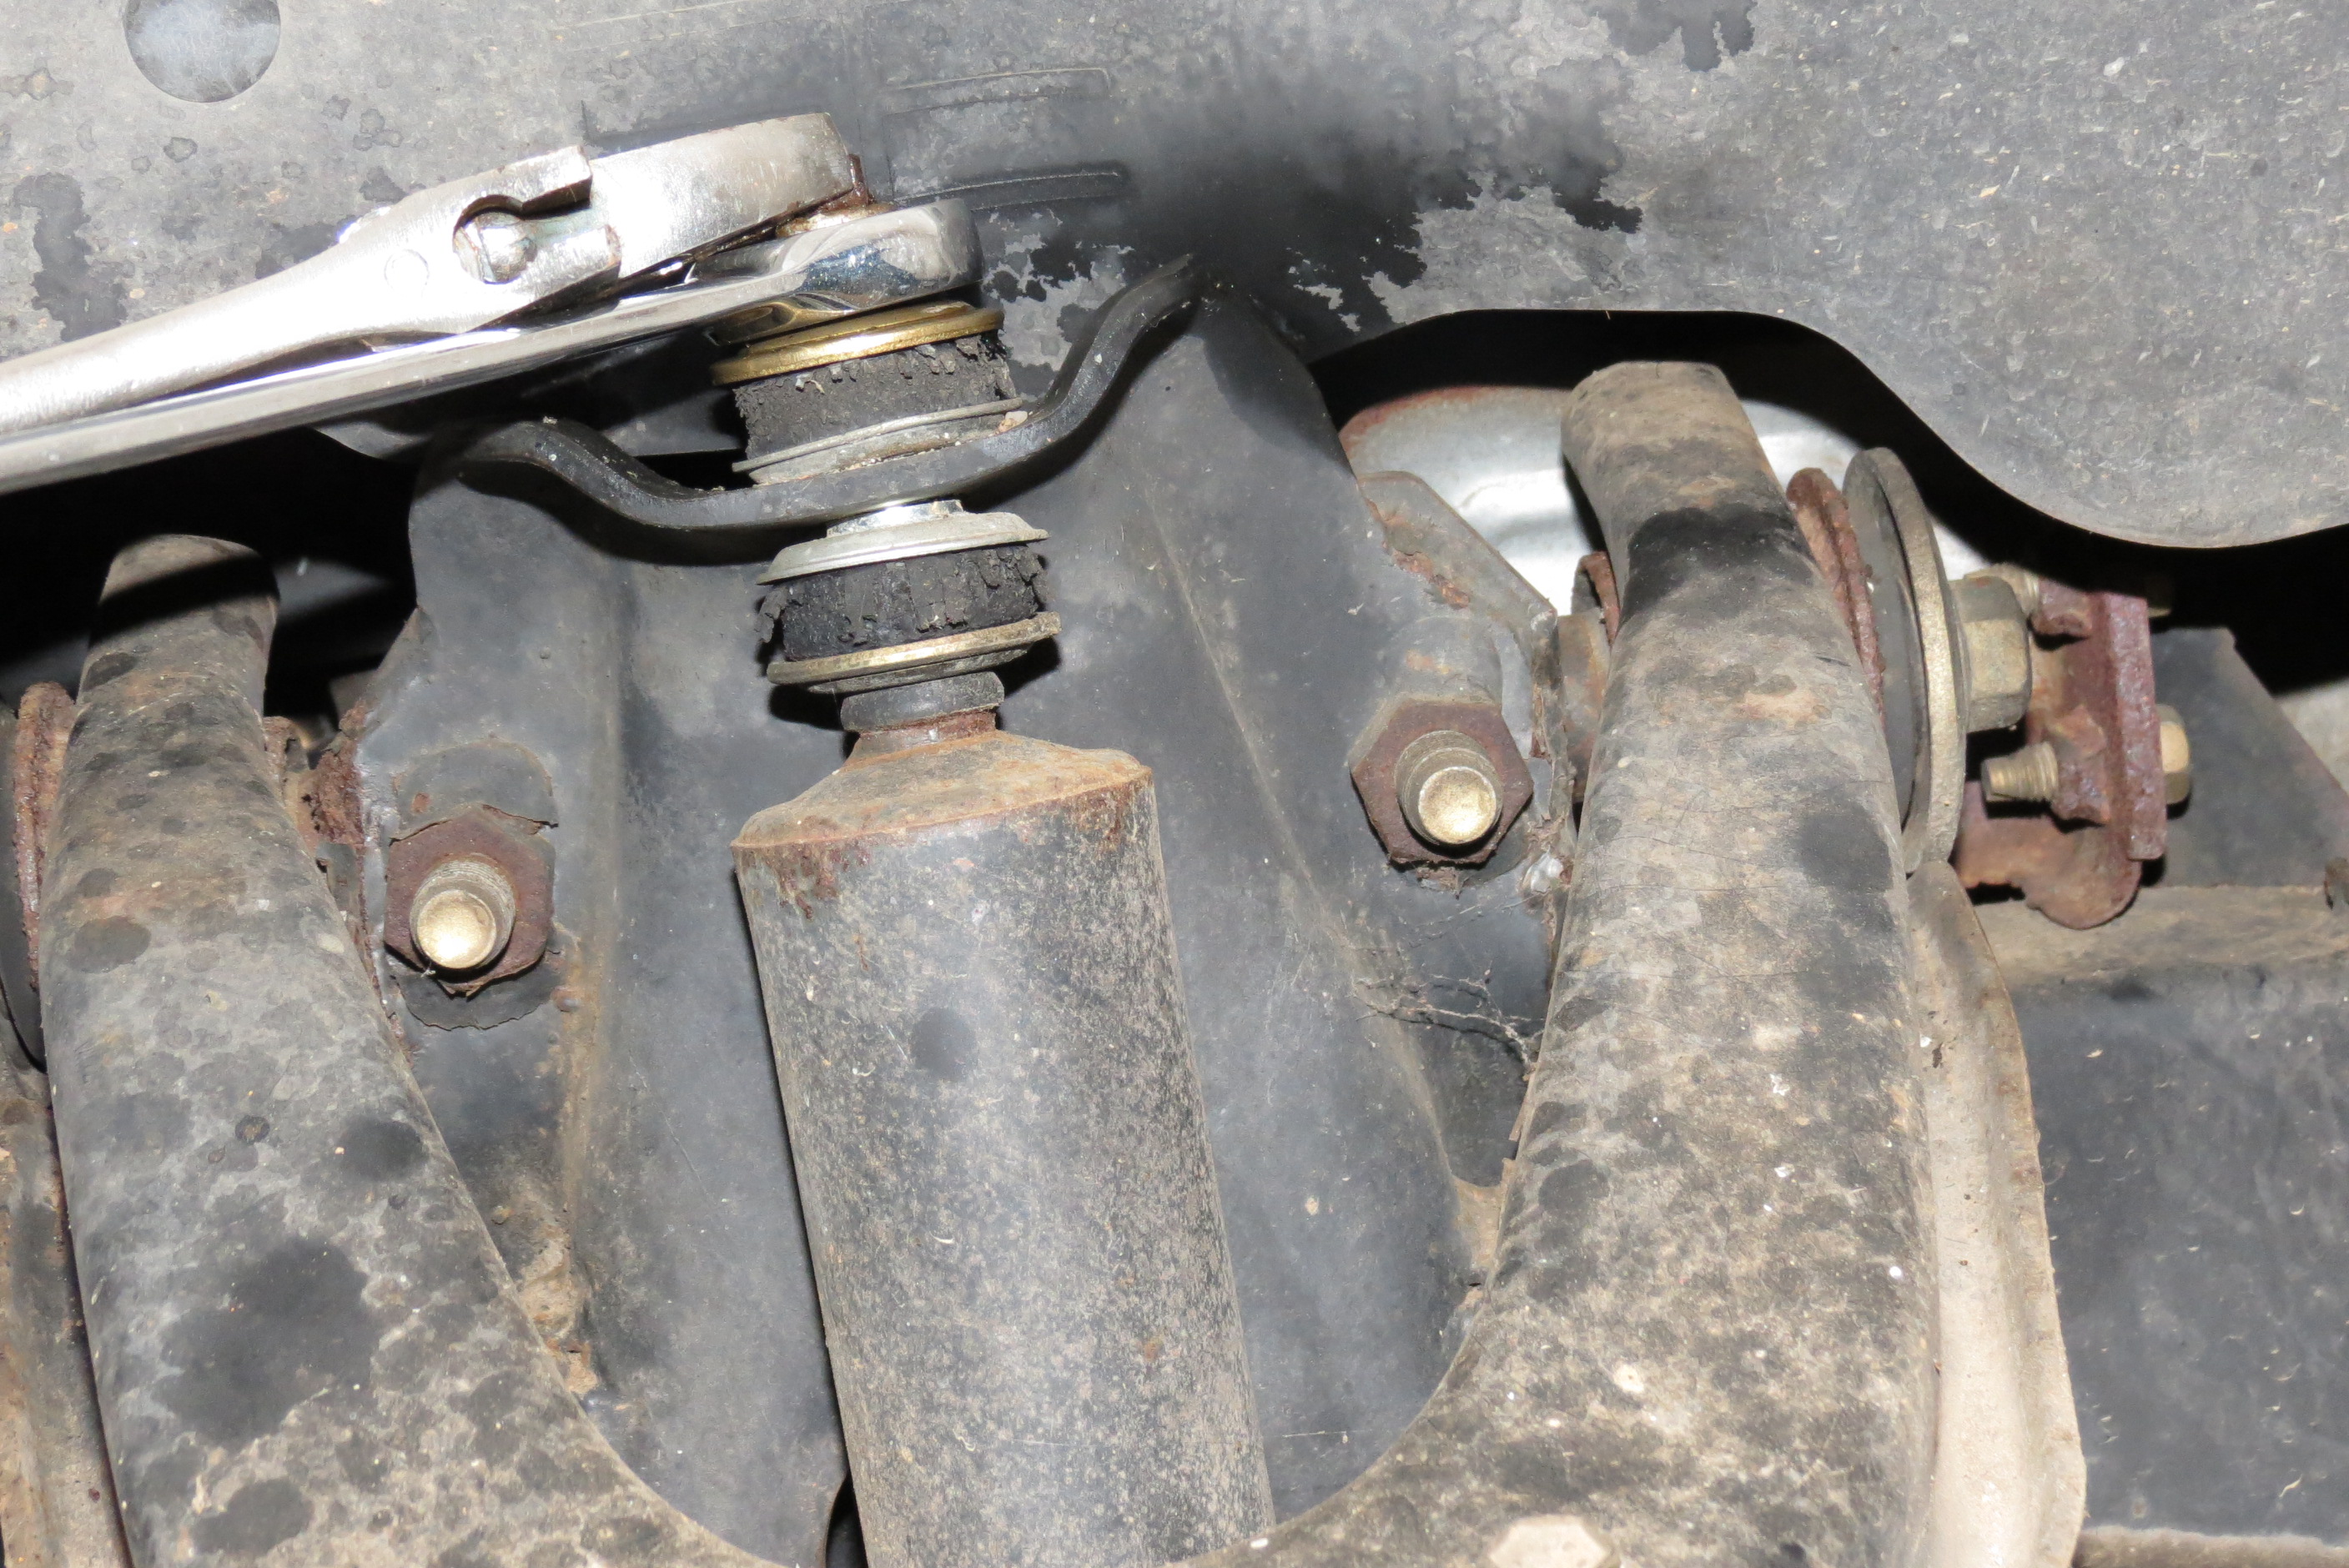
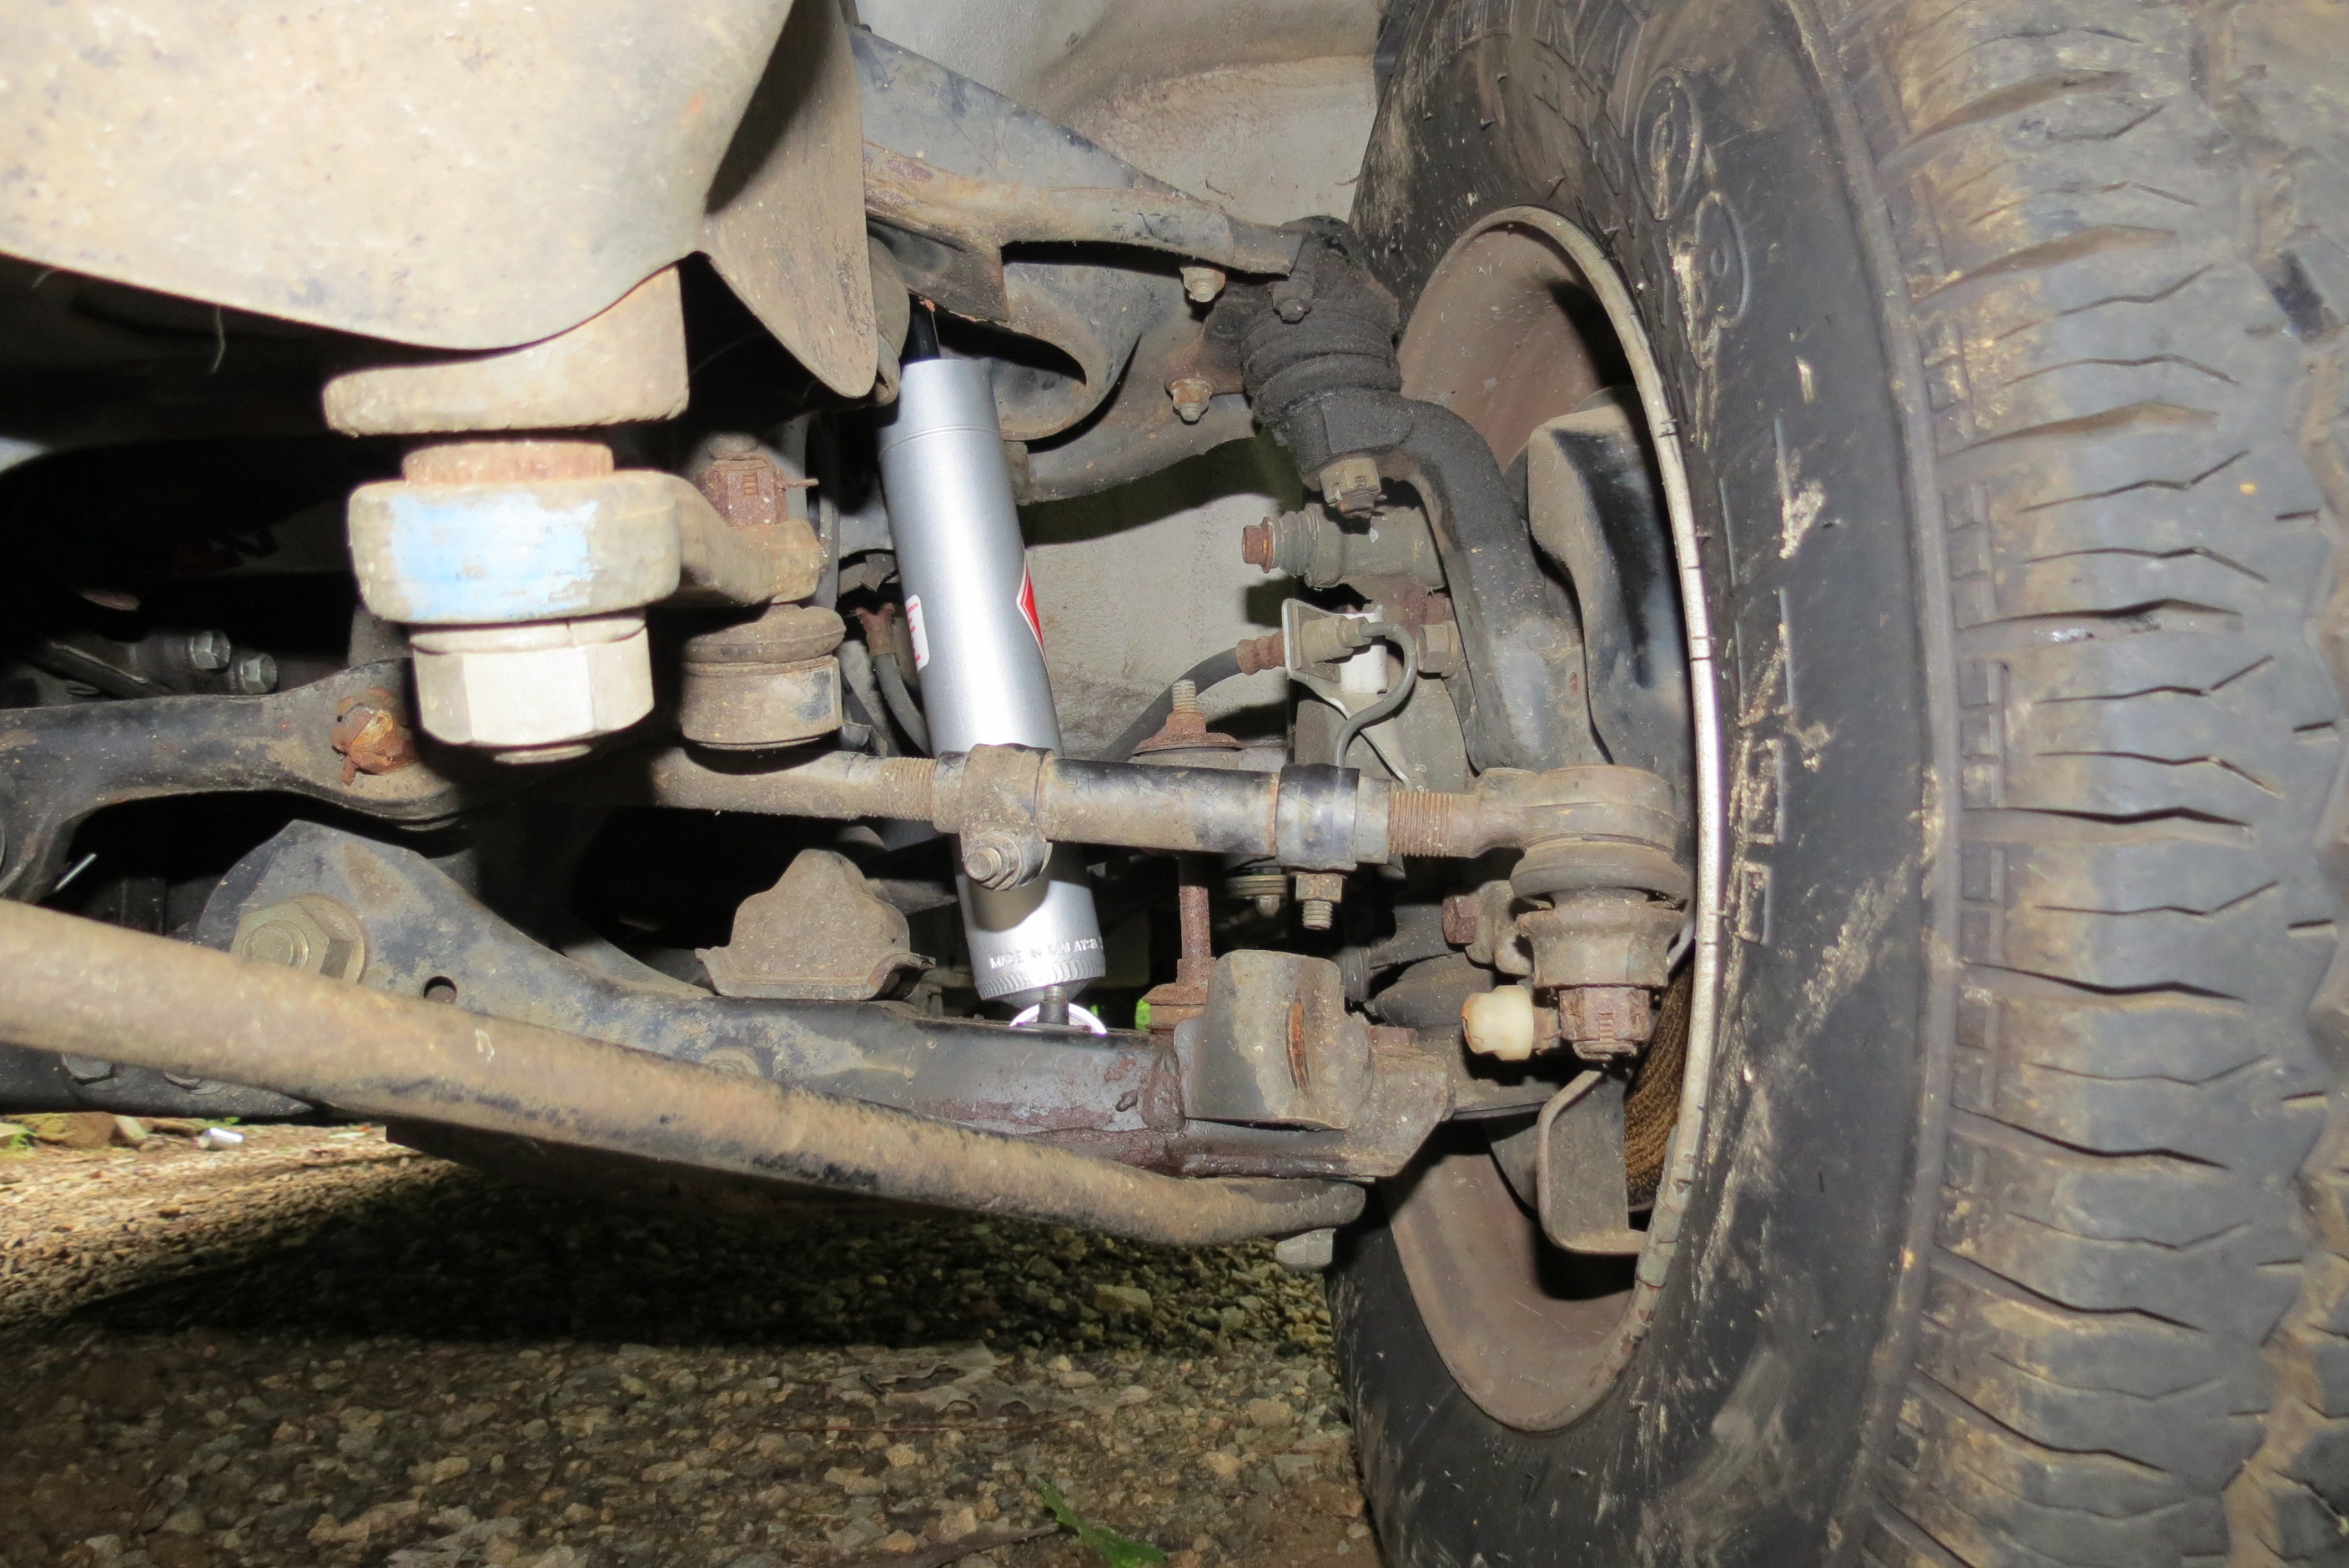
Front shocks in place now!! One of the most tedious "easy" jobs that I have ever done. Those bottom bolts just did not want to go in right. Also, the KYBs had a slightly different bolt slot on the bottom of the shocks. I was not comfortable just using the old hardware. I added one size larger washer to each one. I hope that it holds ok.
Oh yeah, had to grind the top of the old shock of on the passenger side. The flat ended stud broke in my hands. Nothing is ever is as easy as it is imagined to be.?
It doesn't ride like a Cadillac...But it does ride like a big, underpowered box on wheel with brand spanking new shocks! I am happy.
-
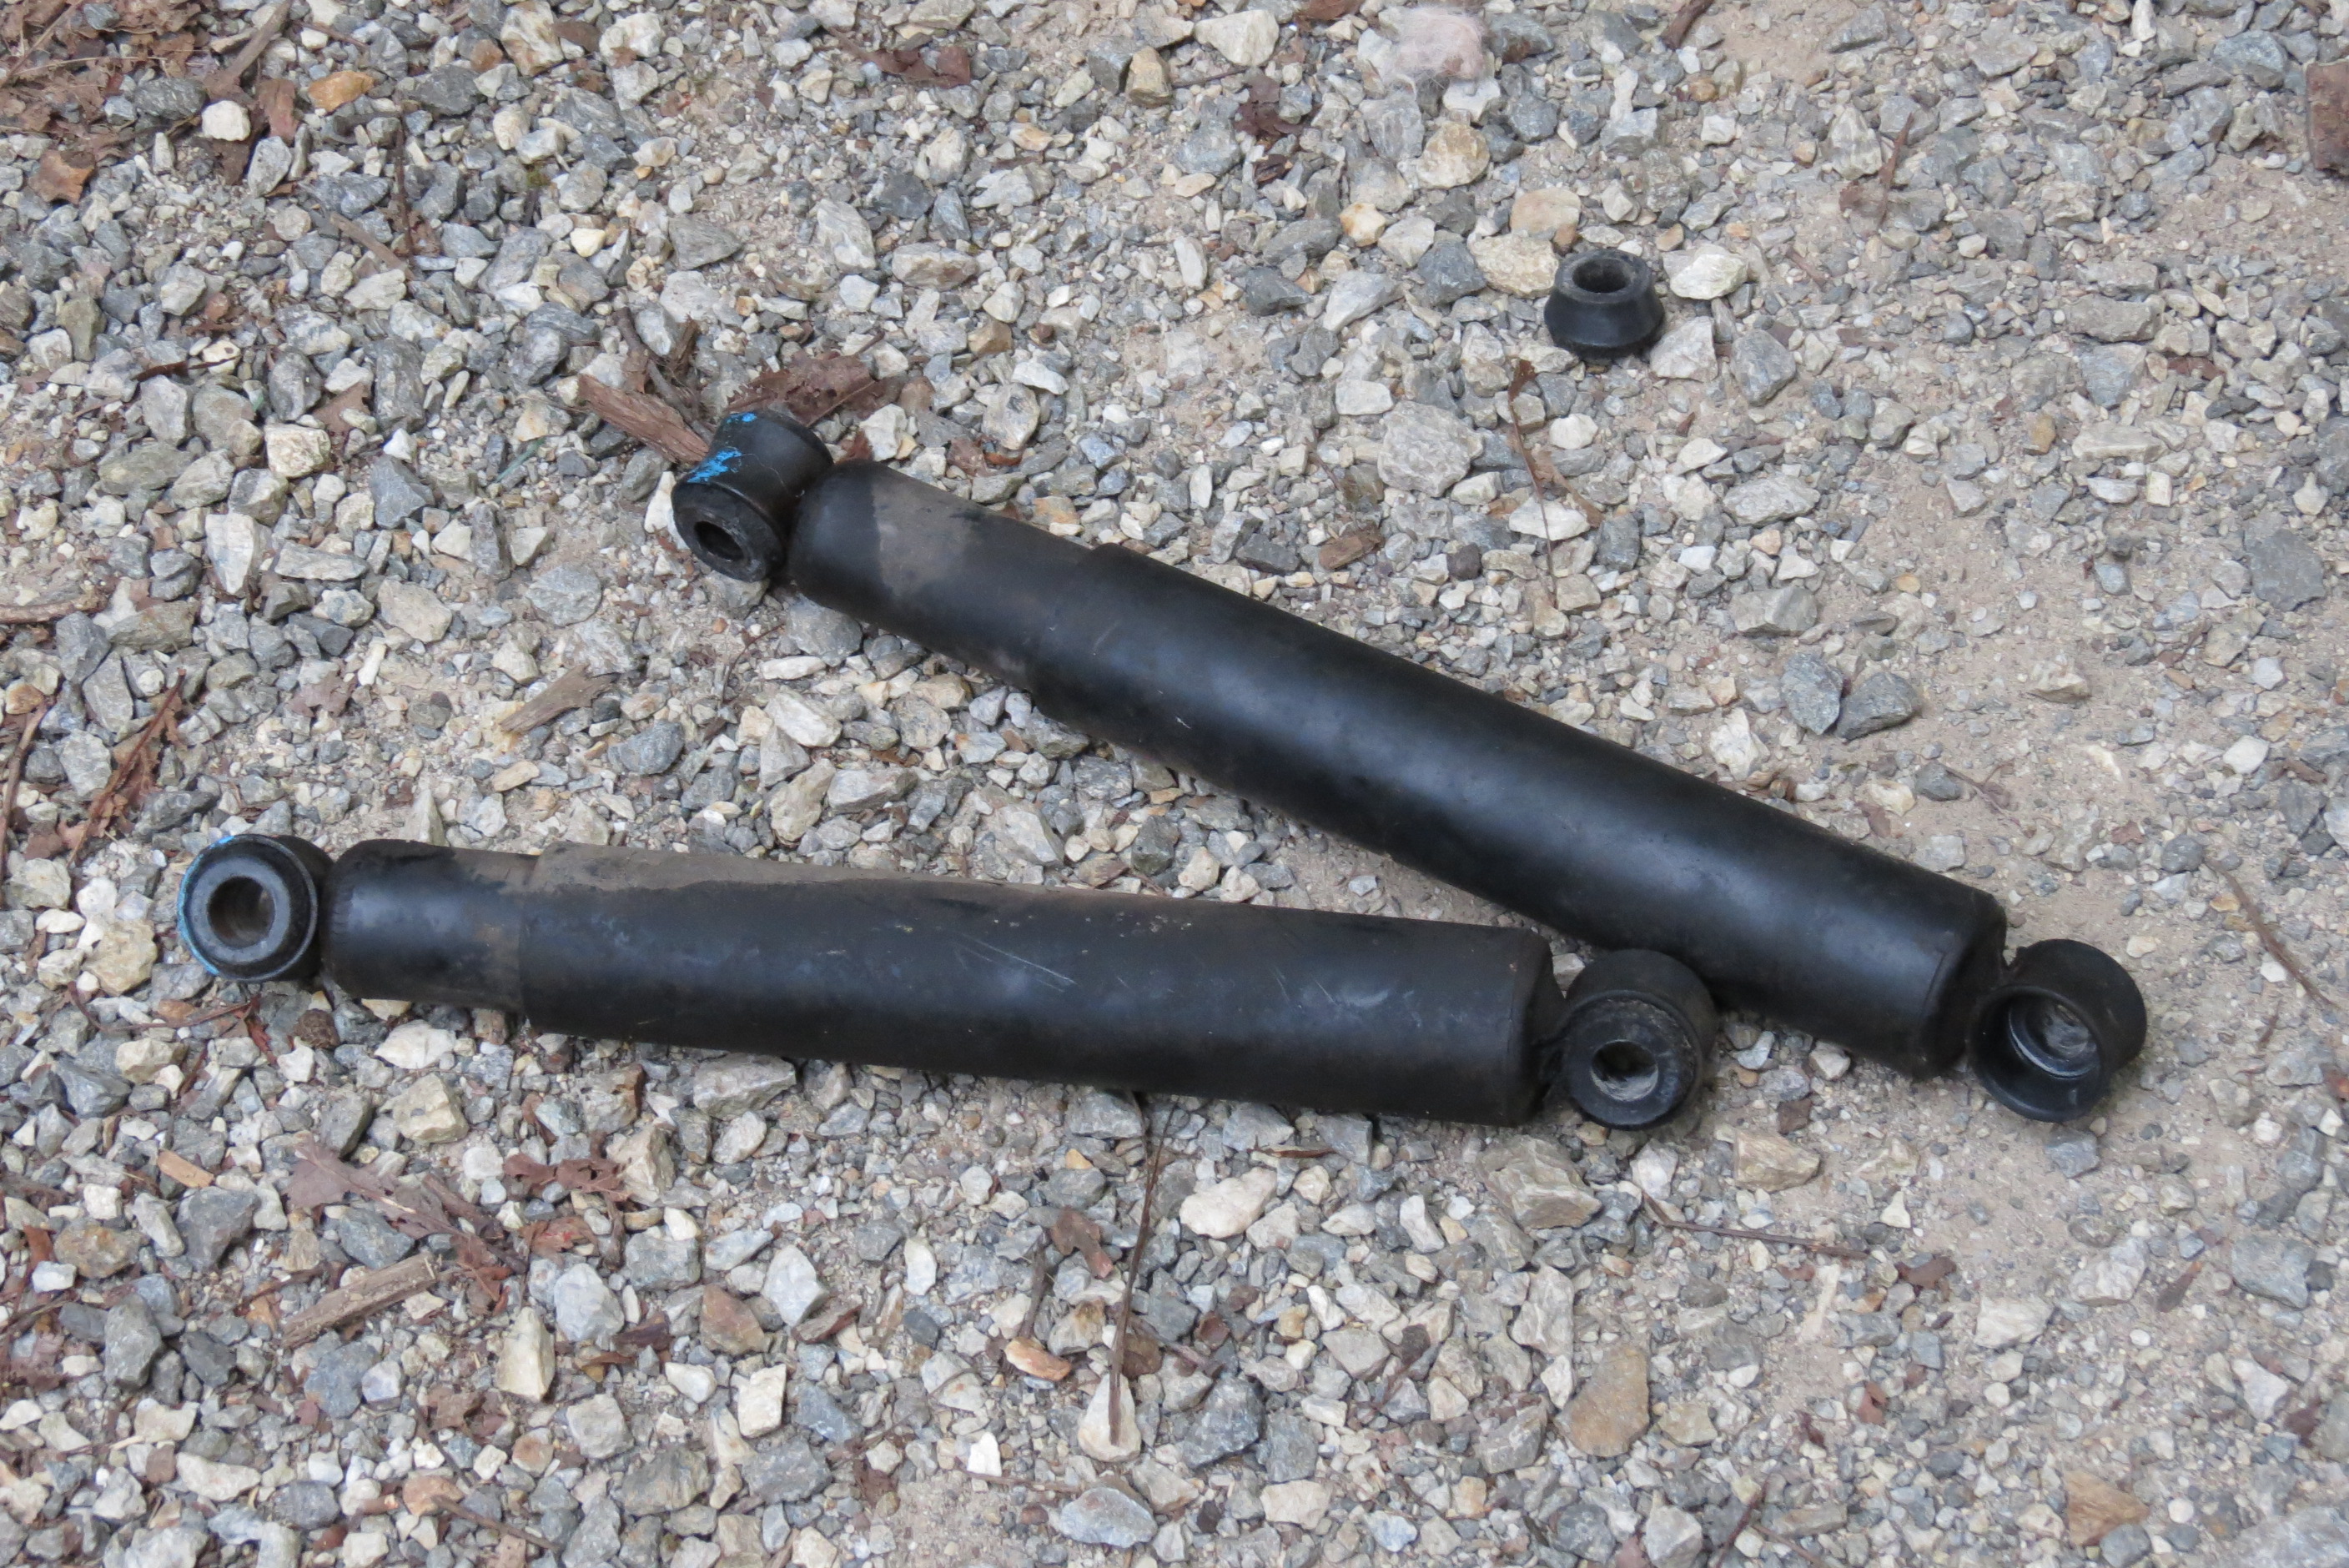
Notice that the old shocks will not even try to extend. Completely shot.
-
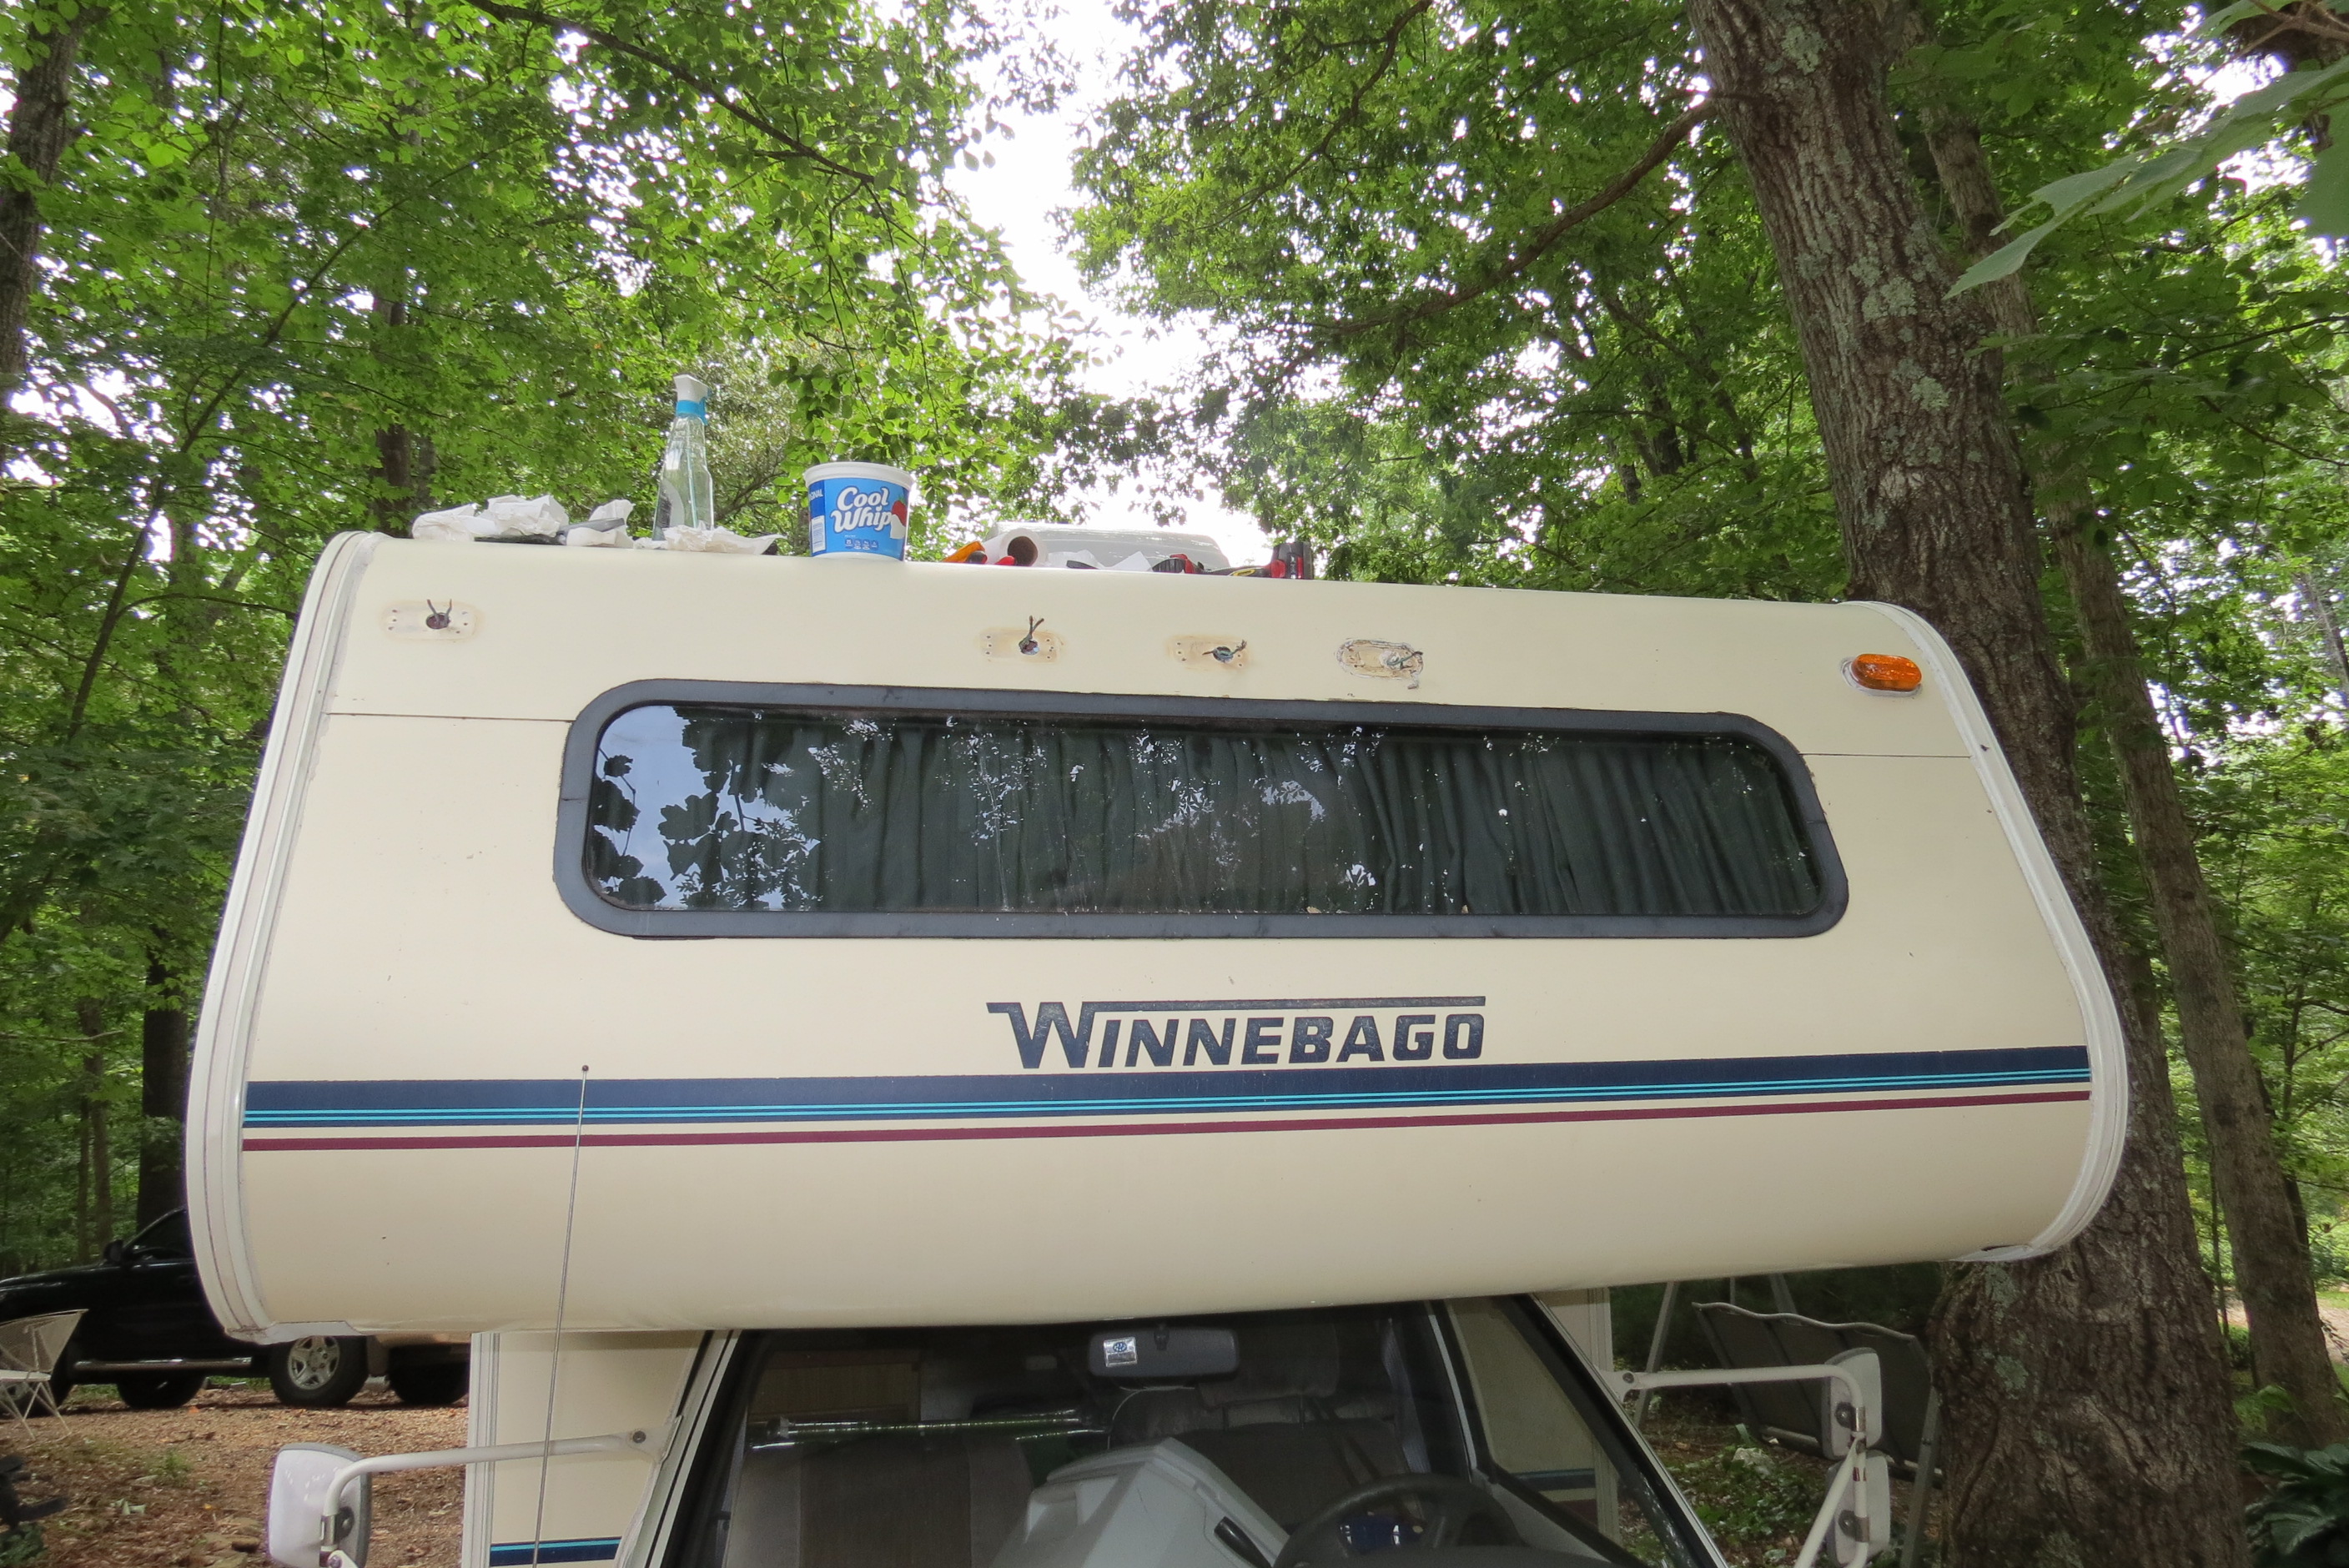
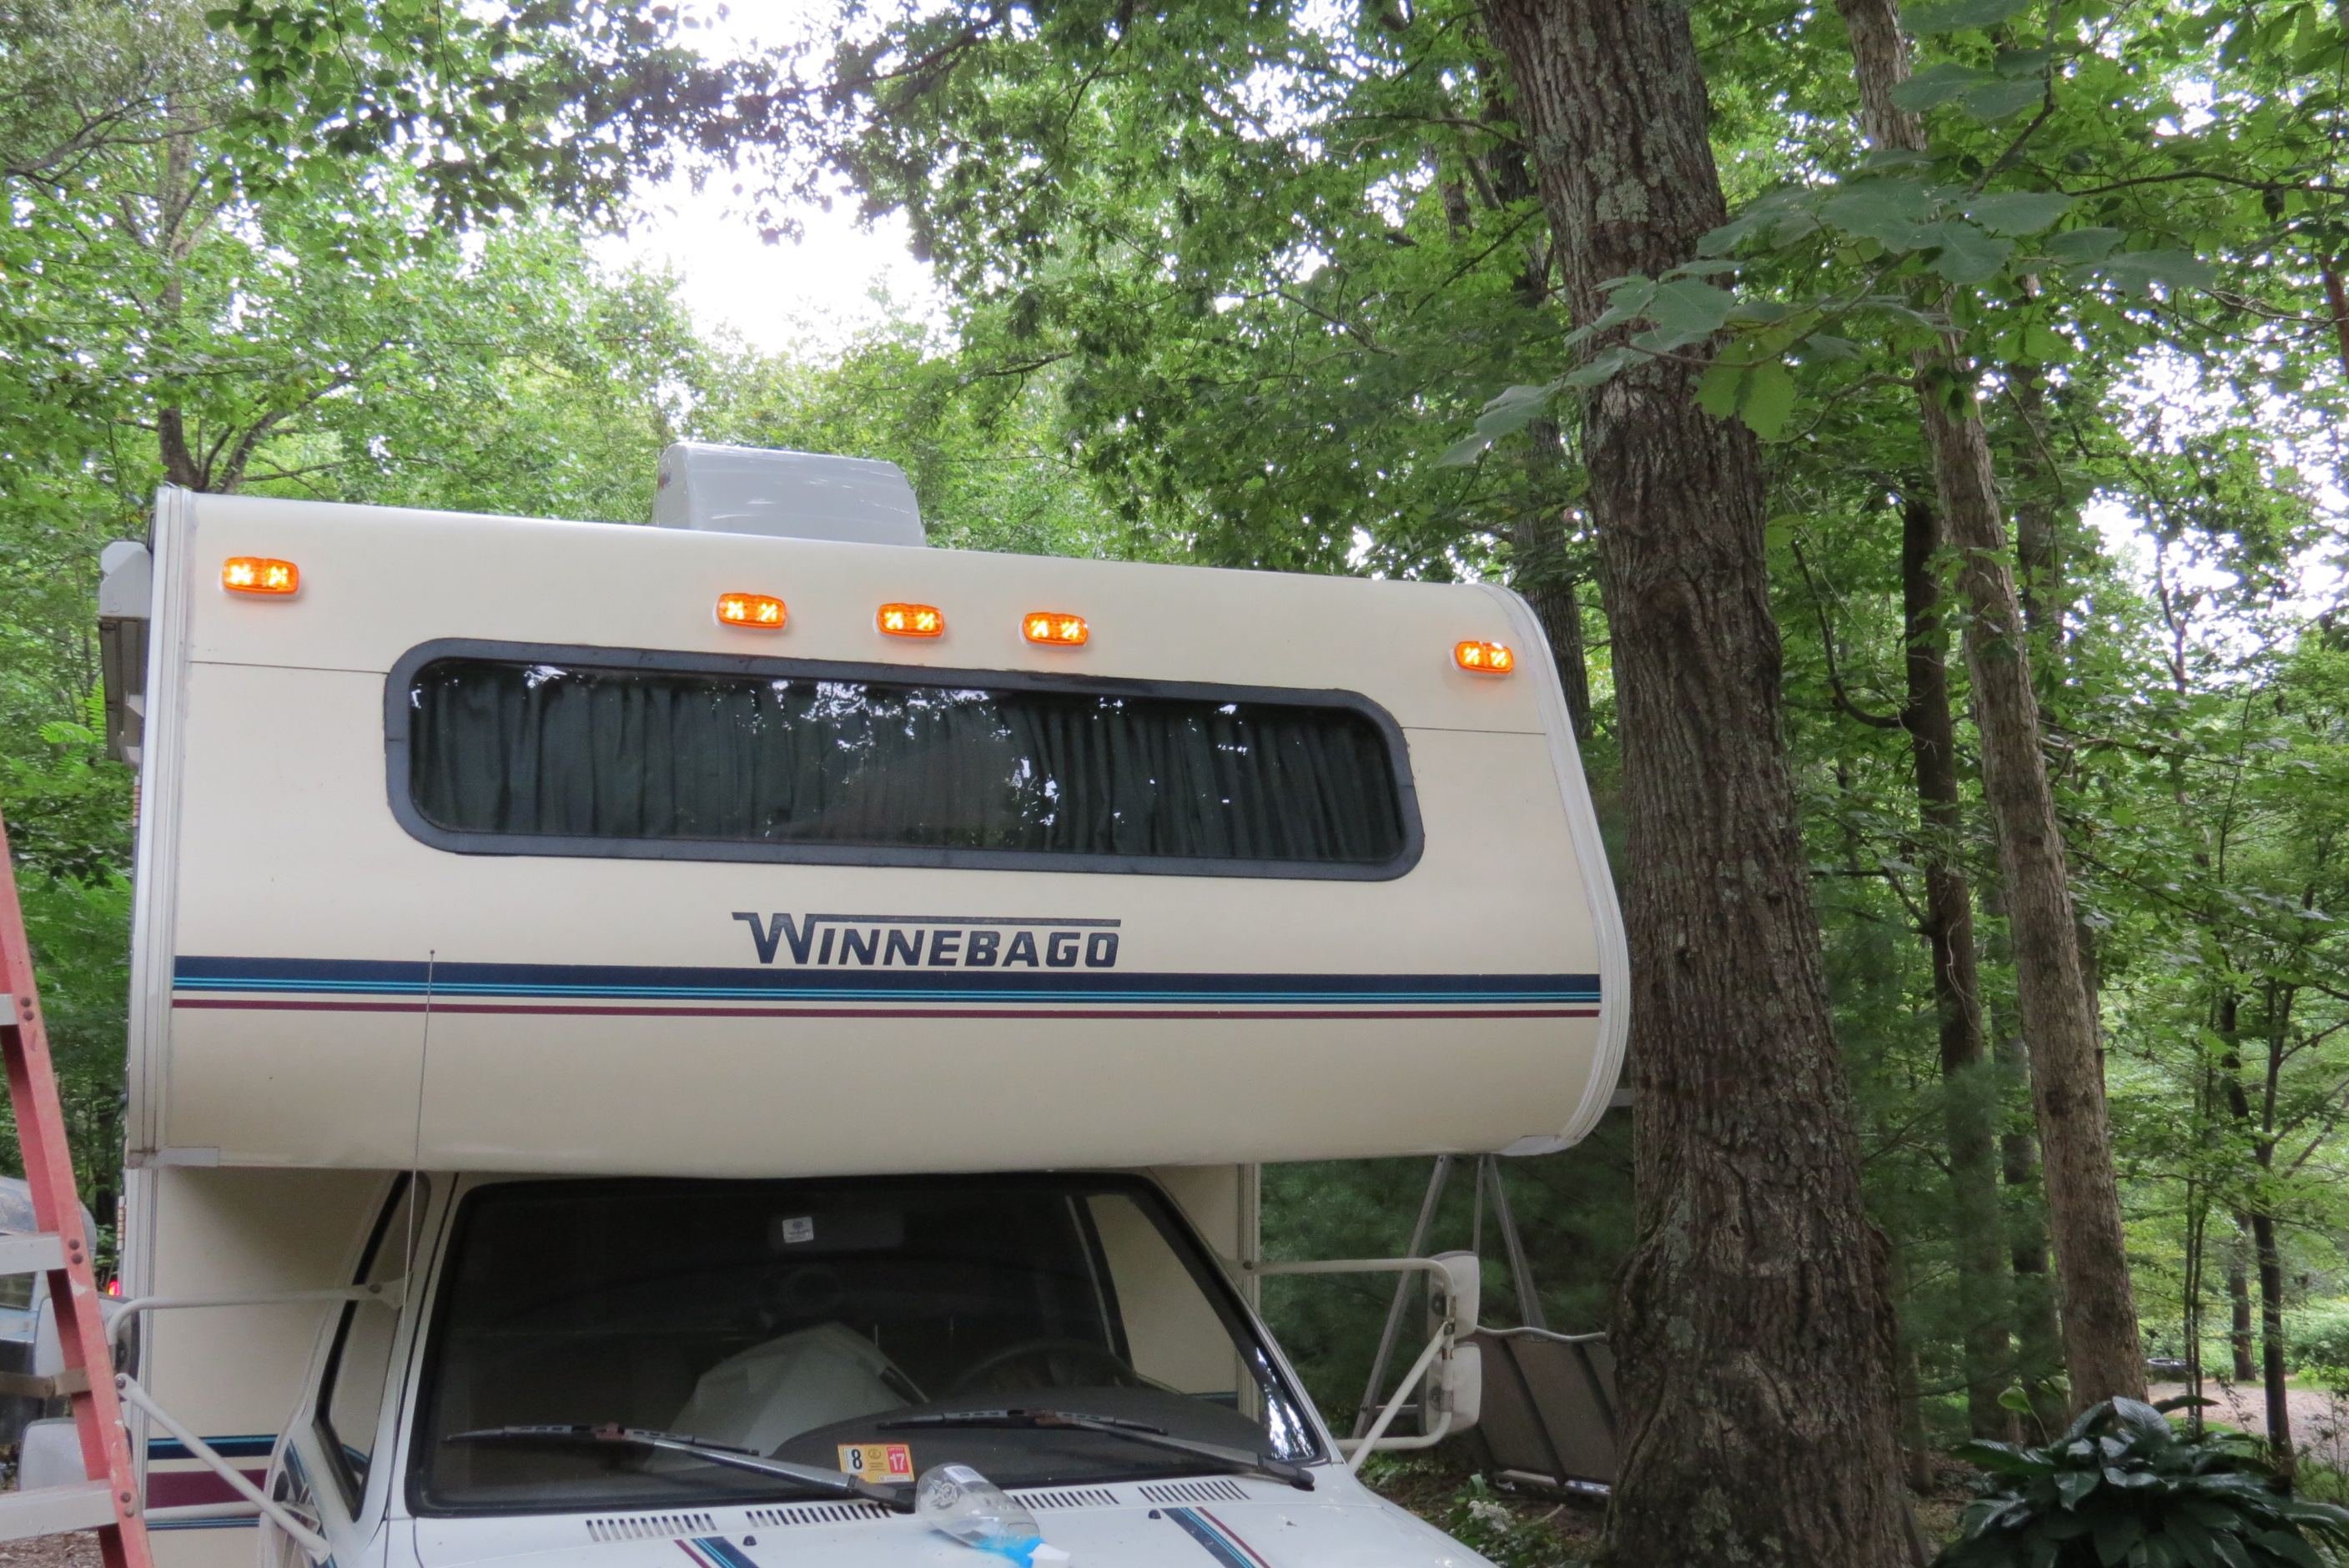
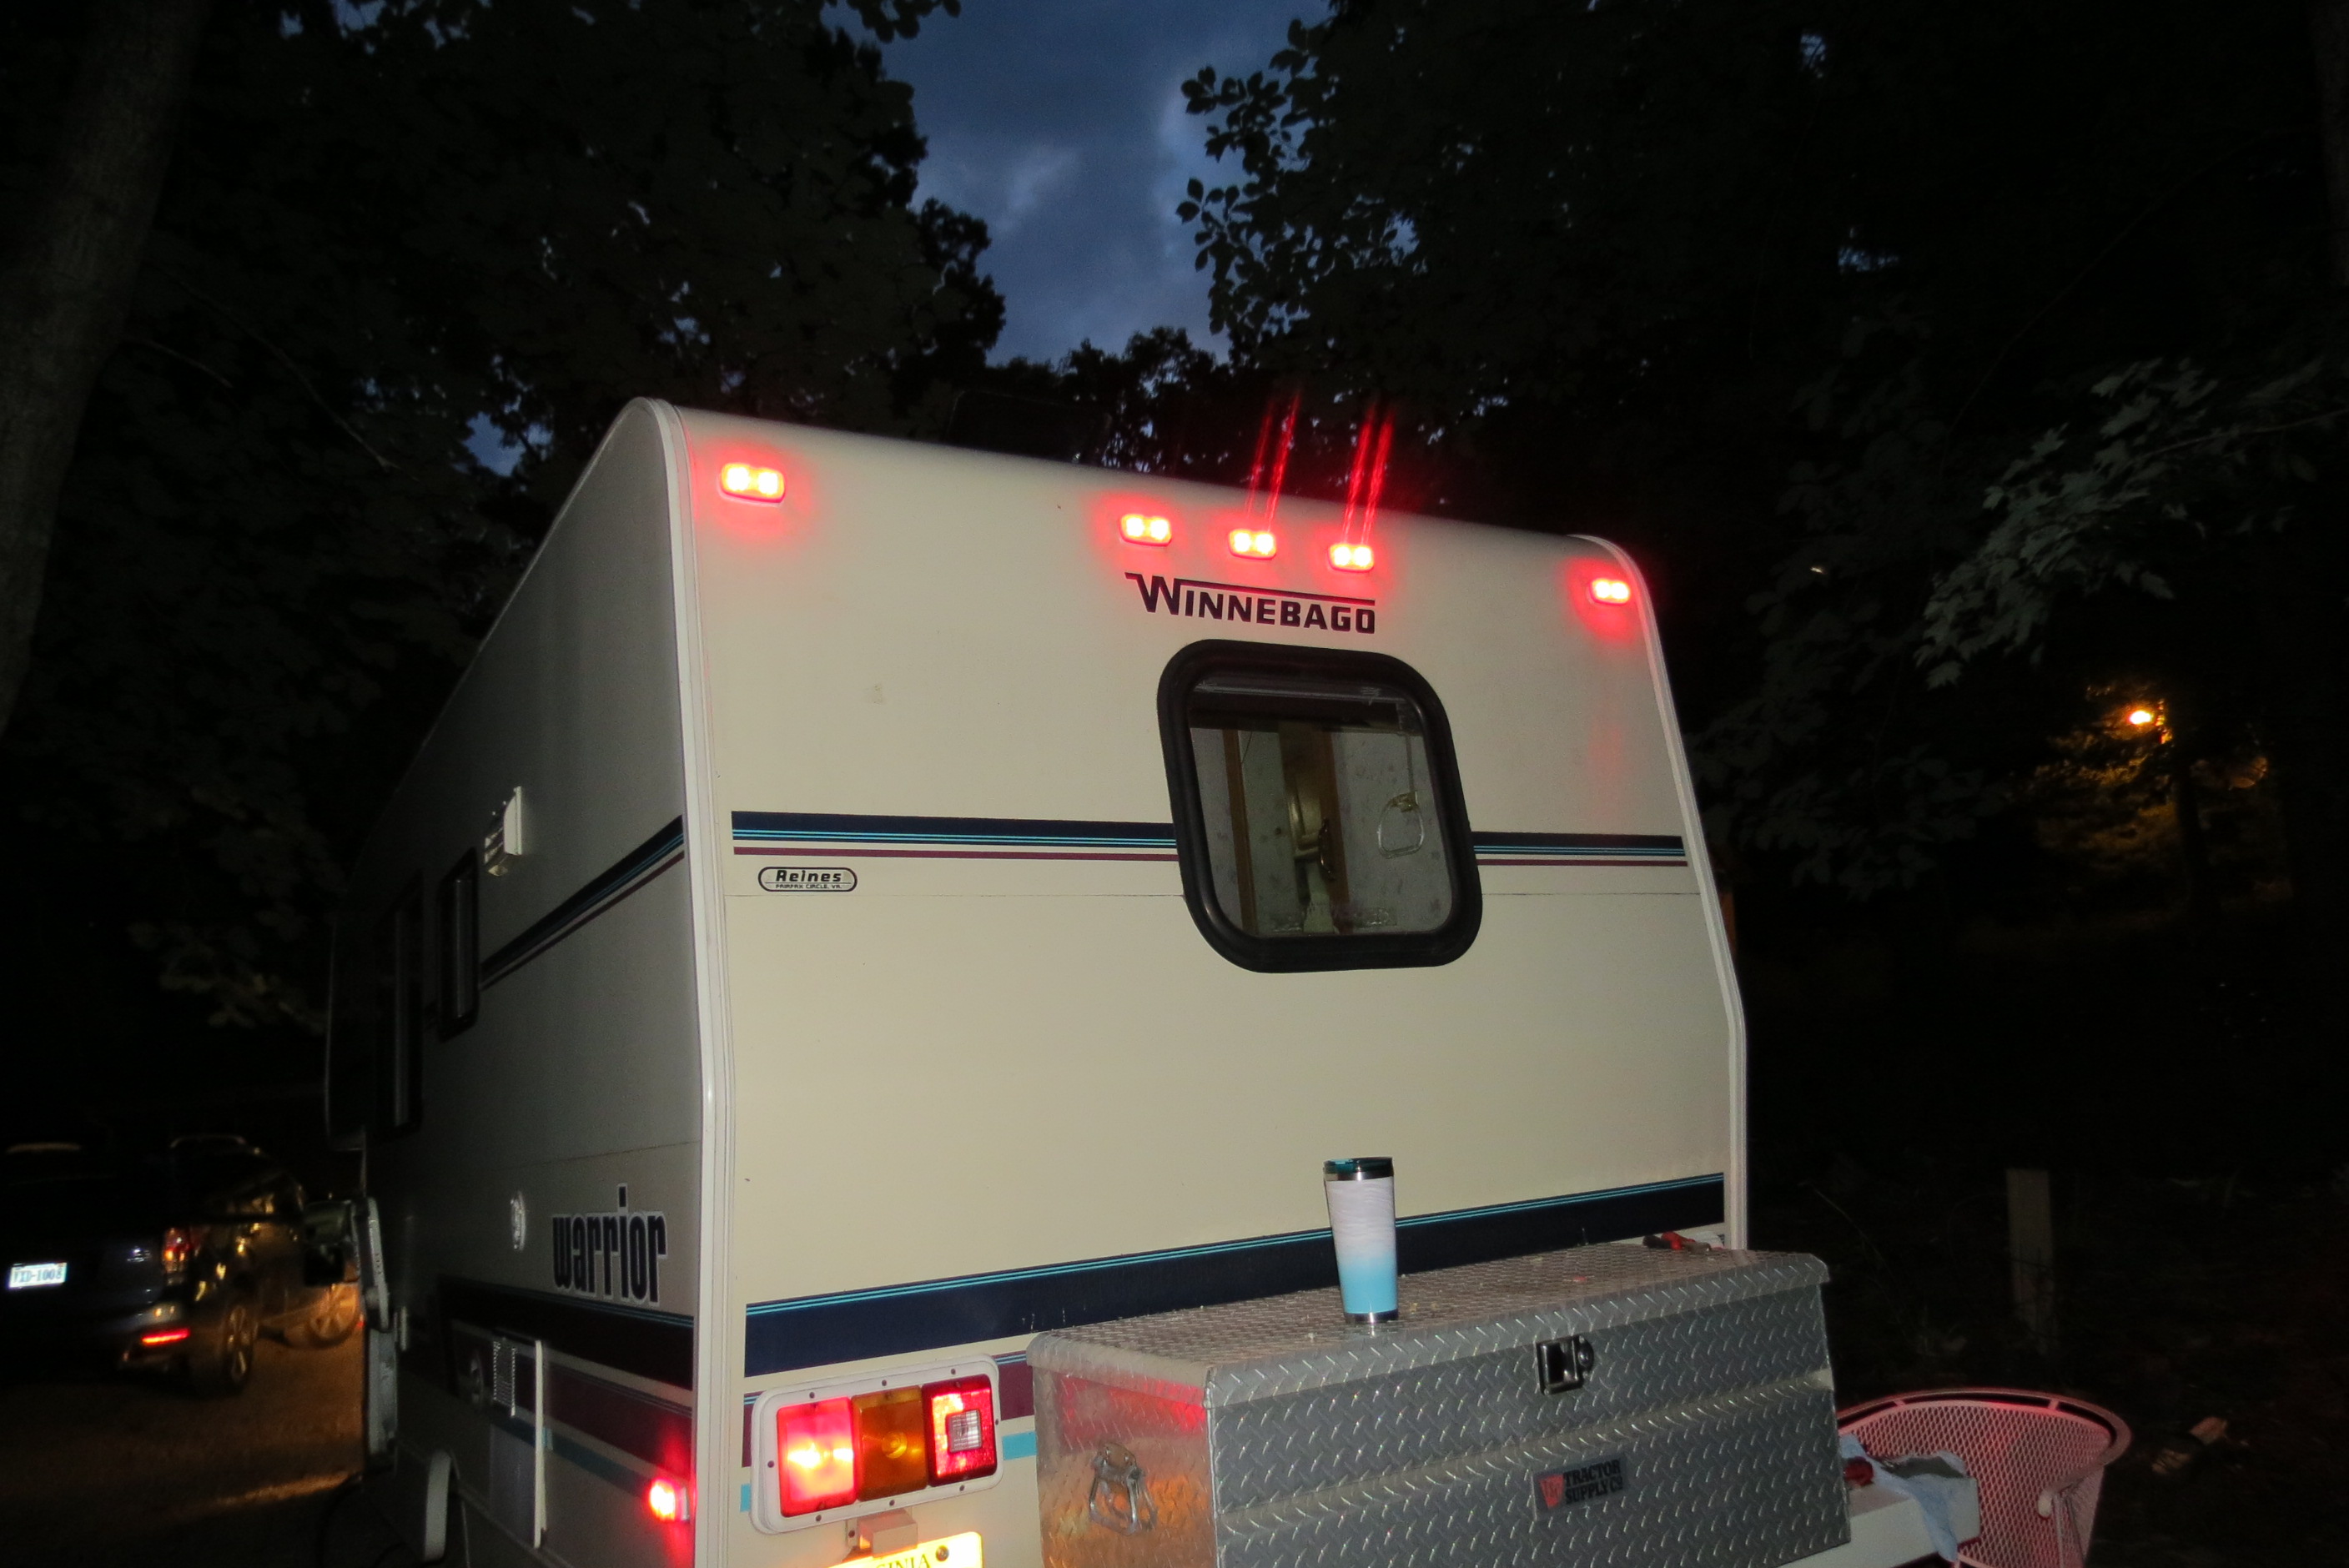
Clearance lights complete. IF I do anything else on the cab over I will make up a scaffold. I had to perform aerobatics to keep from denting the hood.
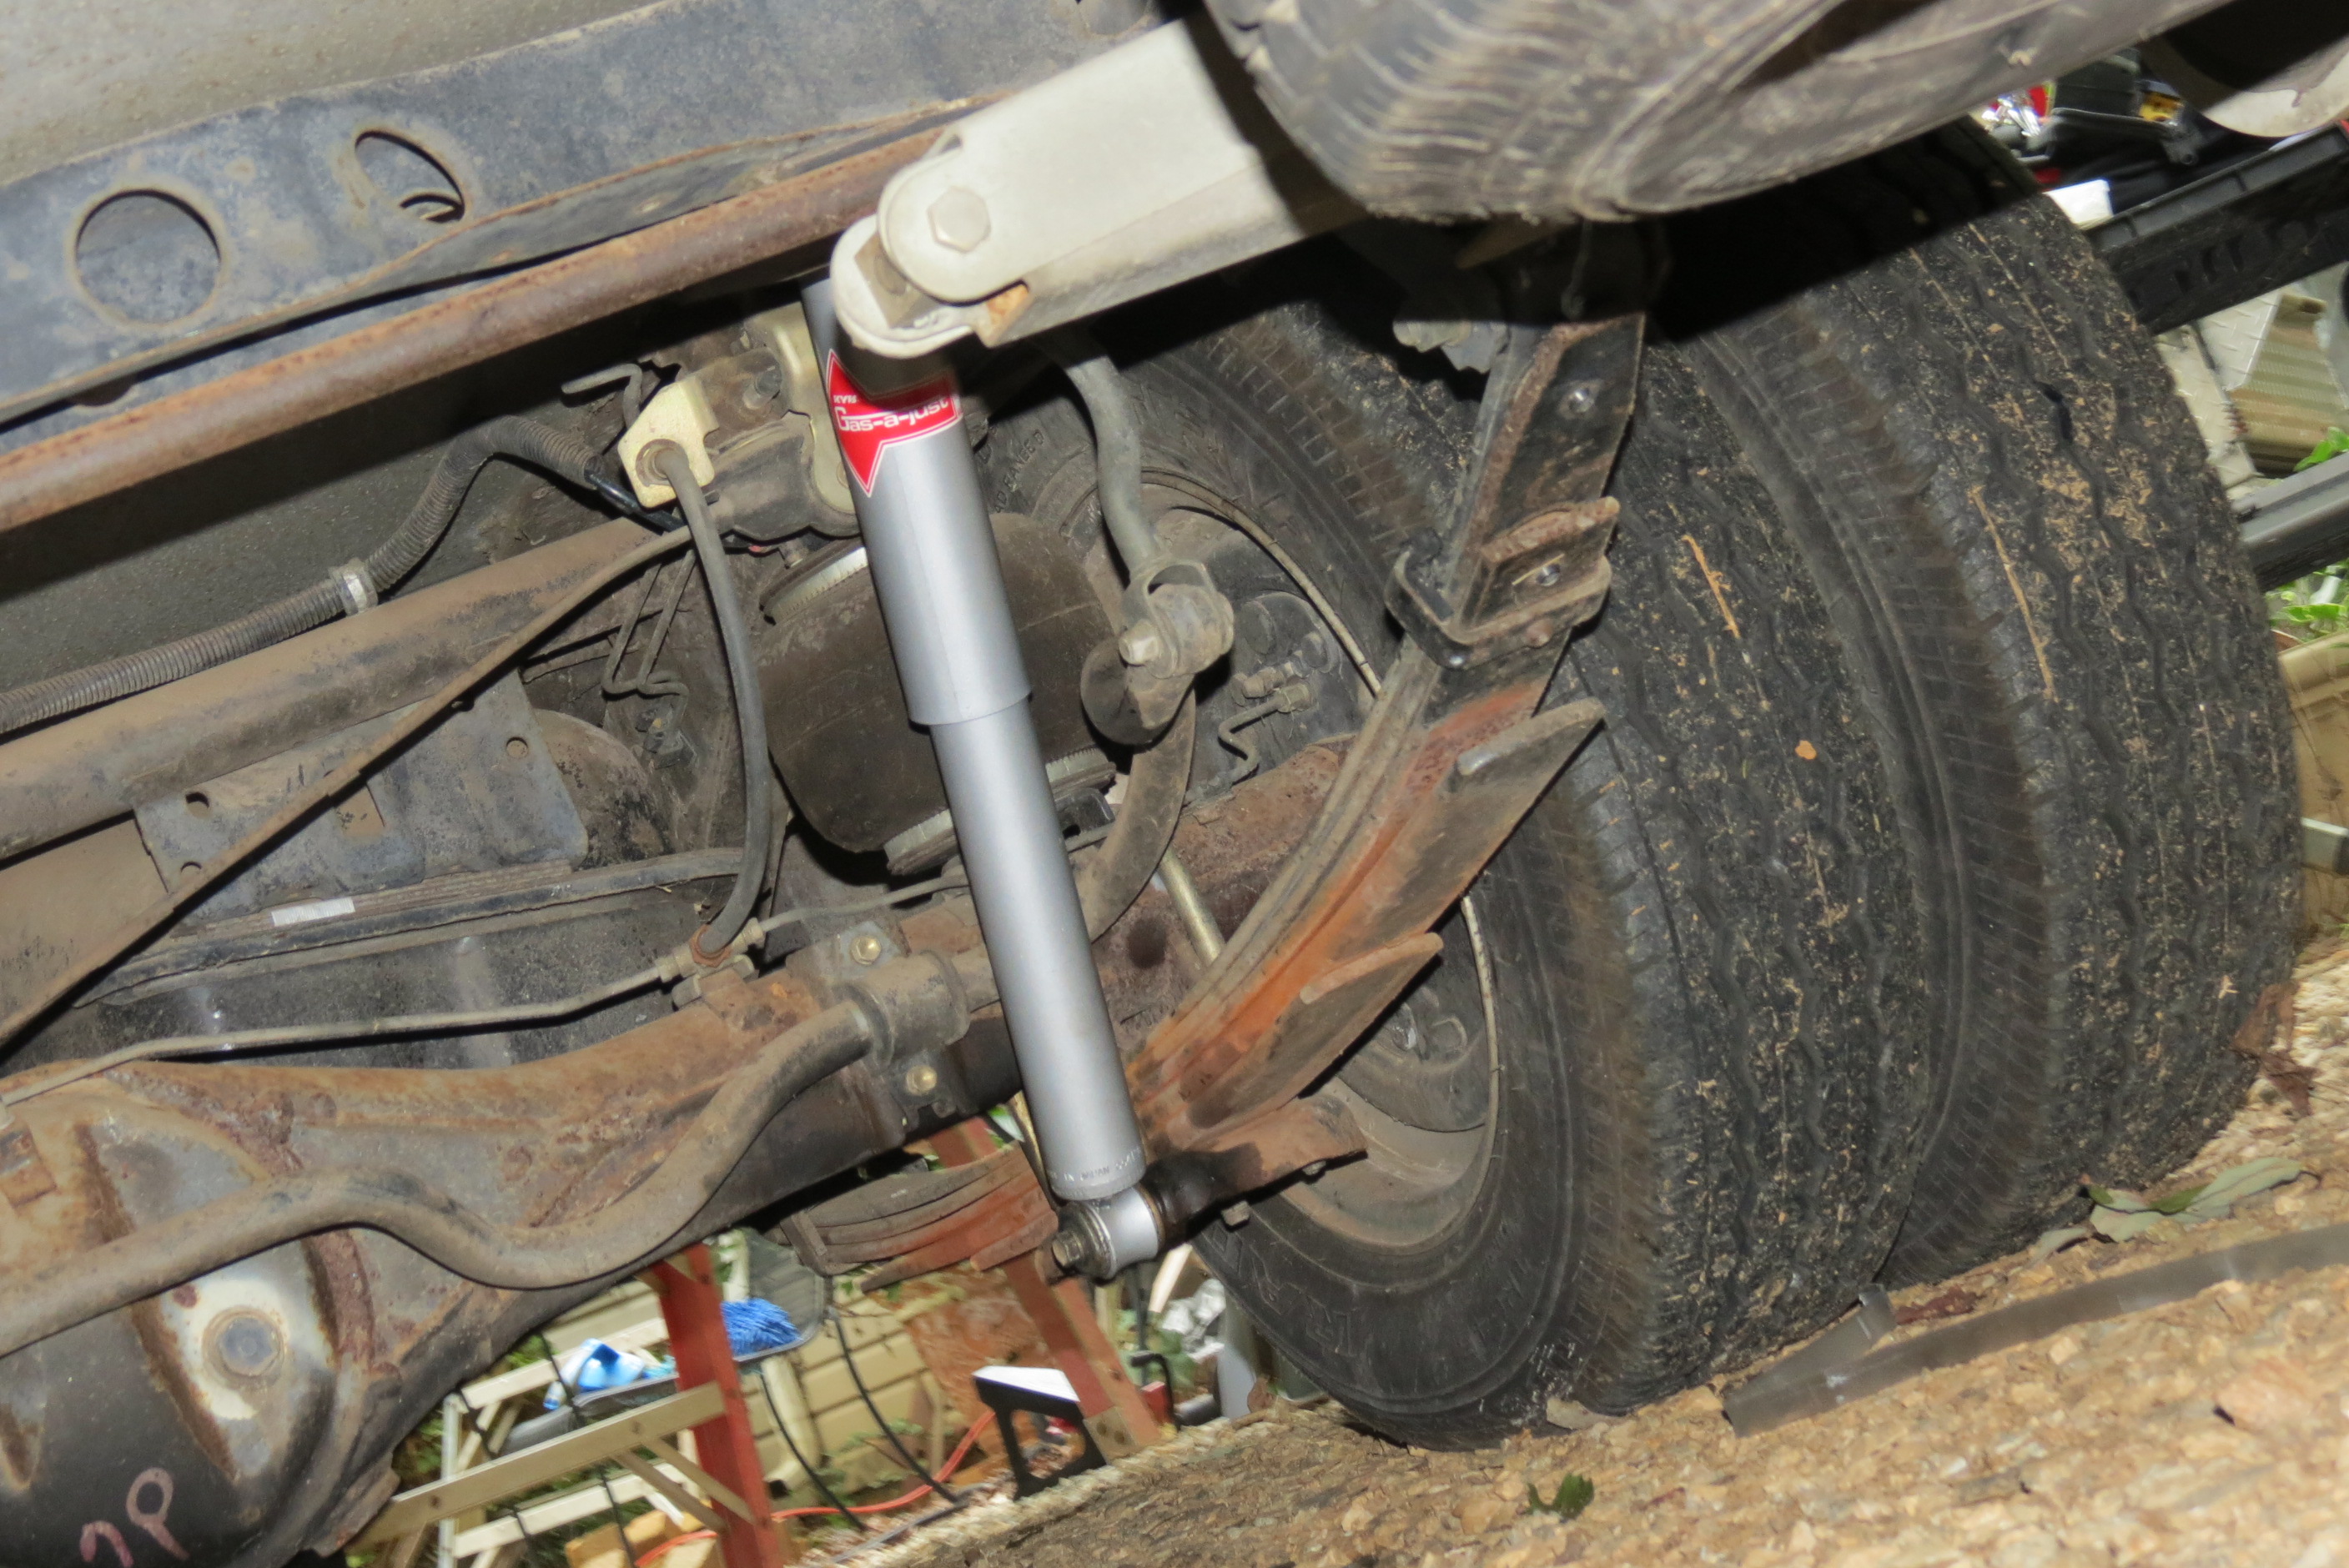
Also, the UPS guy brought my rear shocks -KYBs and I installed them today.
Before picture of clearance and After.
After of rear shock and a pic of the spent KYBs that were on it.
Onwards to front shock (if they ever get here) and new tires and inspection. Plus a mountain of small items.
-
The box has not given me a moments trouble as far as dragging. Myrtle Beach, SC Ocean Lakes.
My rear end sits high if the air bags are inflated correctly. I am more worried about the shocks on the front. I feel too much from the road. I installed a new steering dampener but I would like a little more shock dampening. The shocks are original equipment. They look good but I bet they gave up the ghost a long time ago.
-
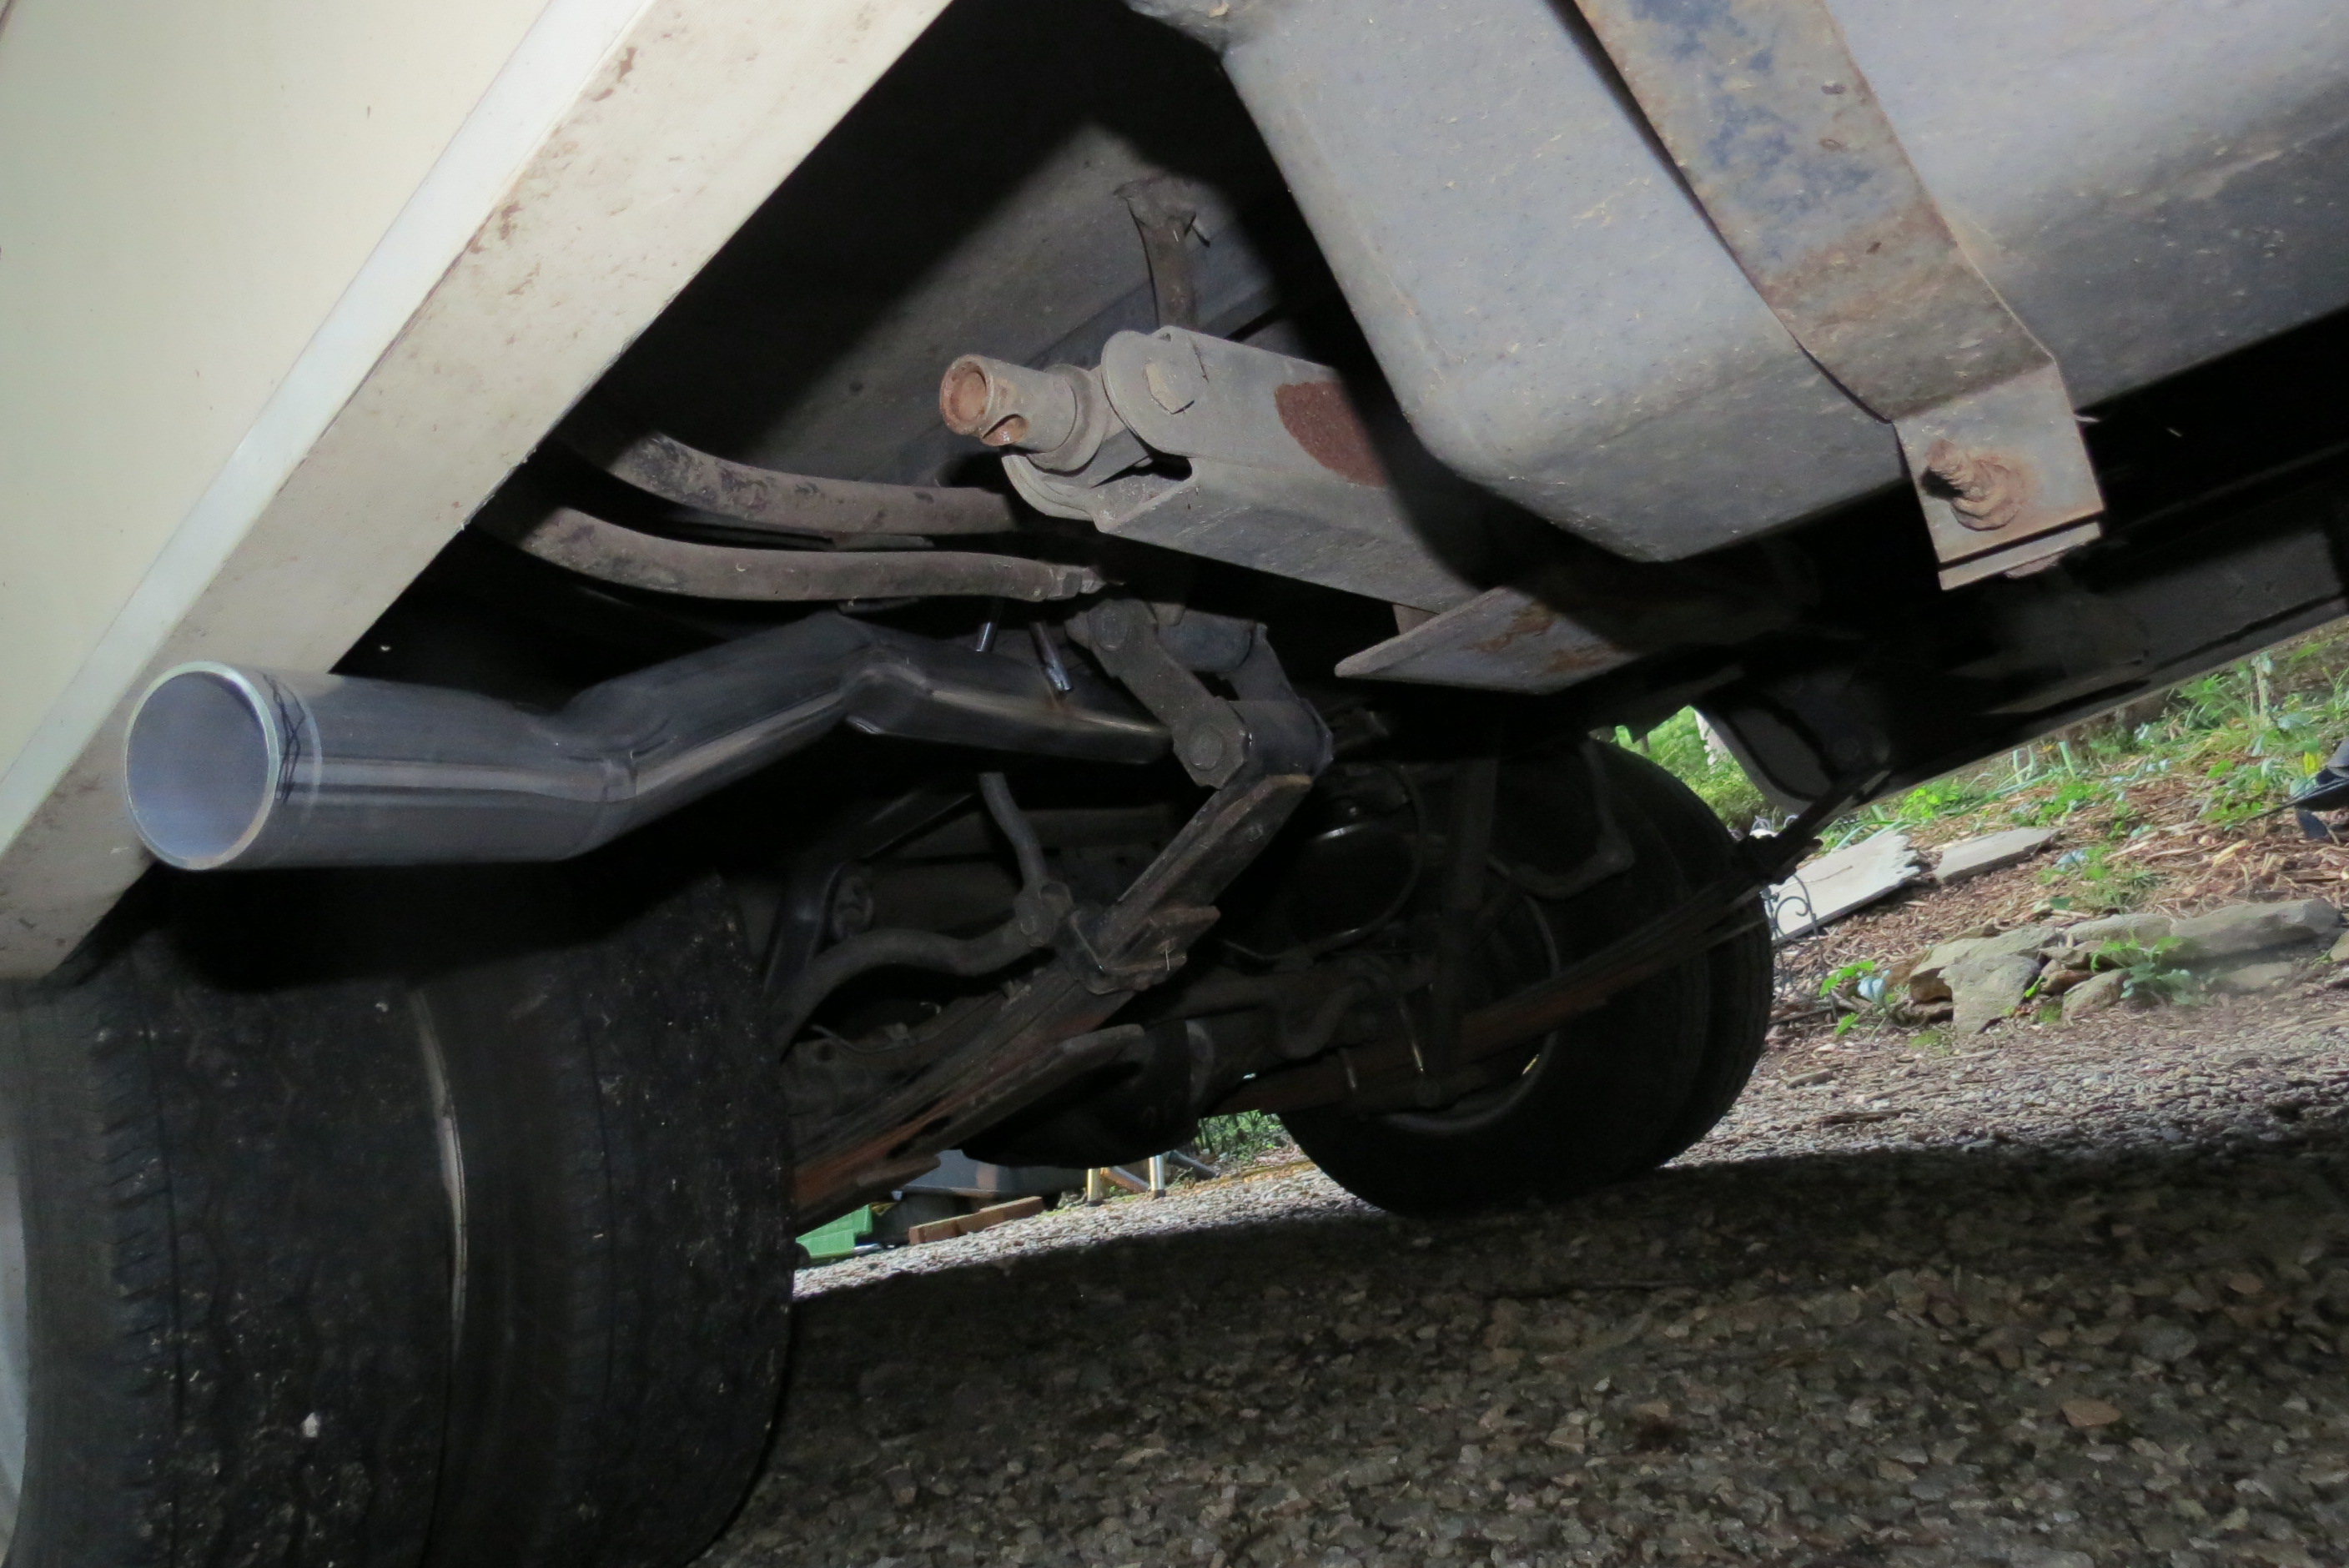
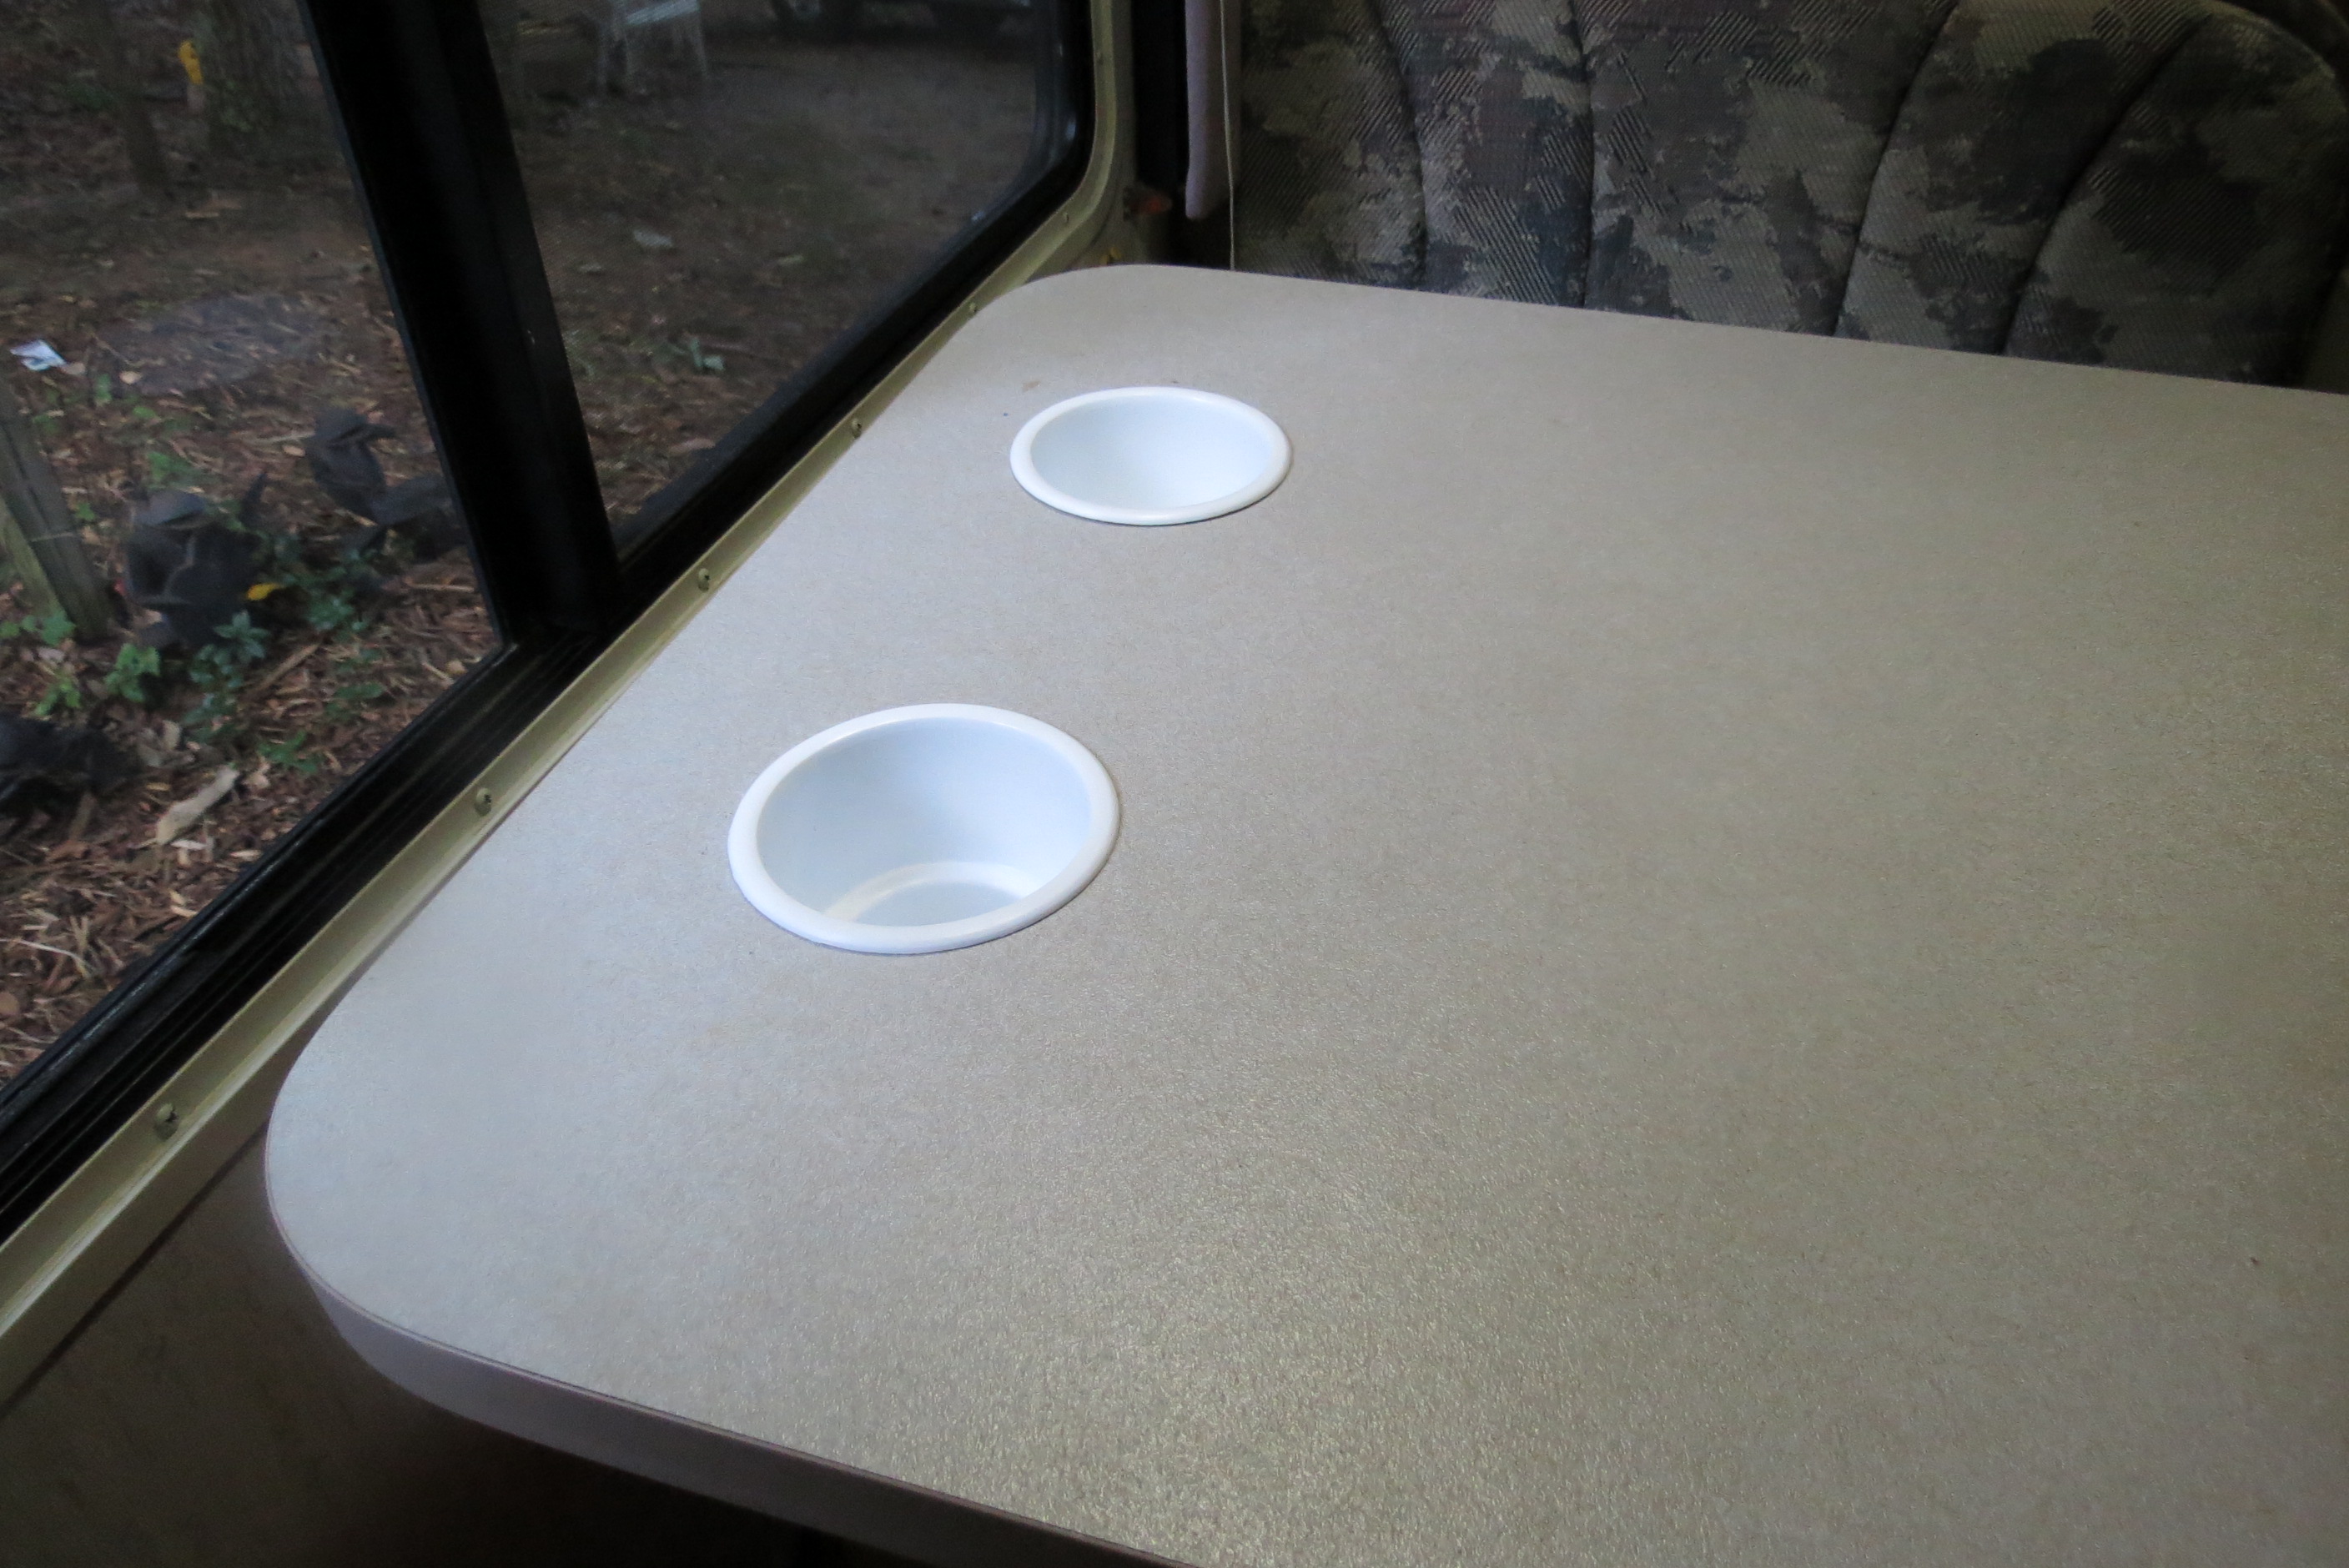
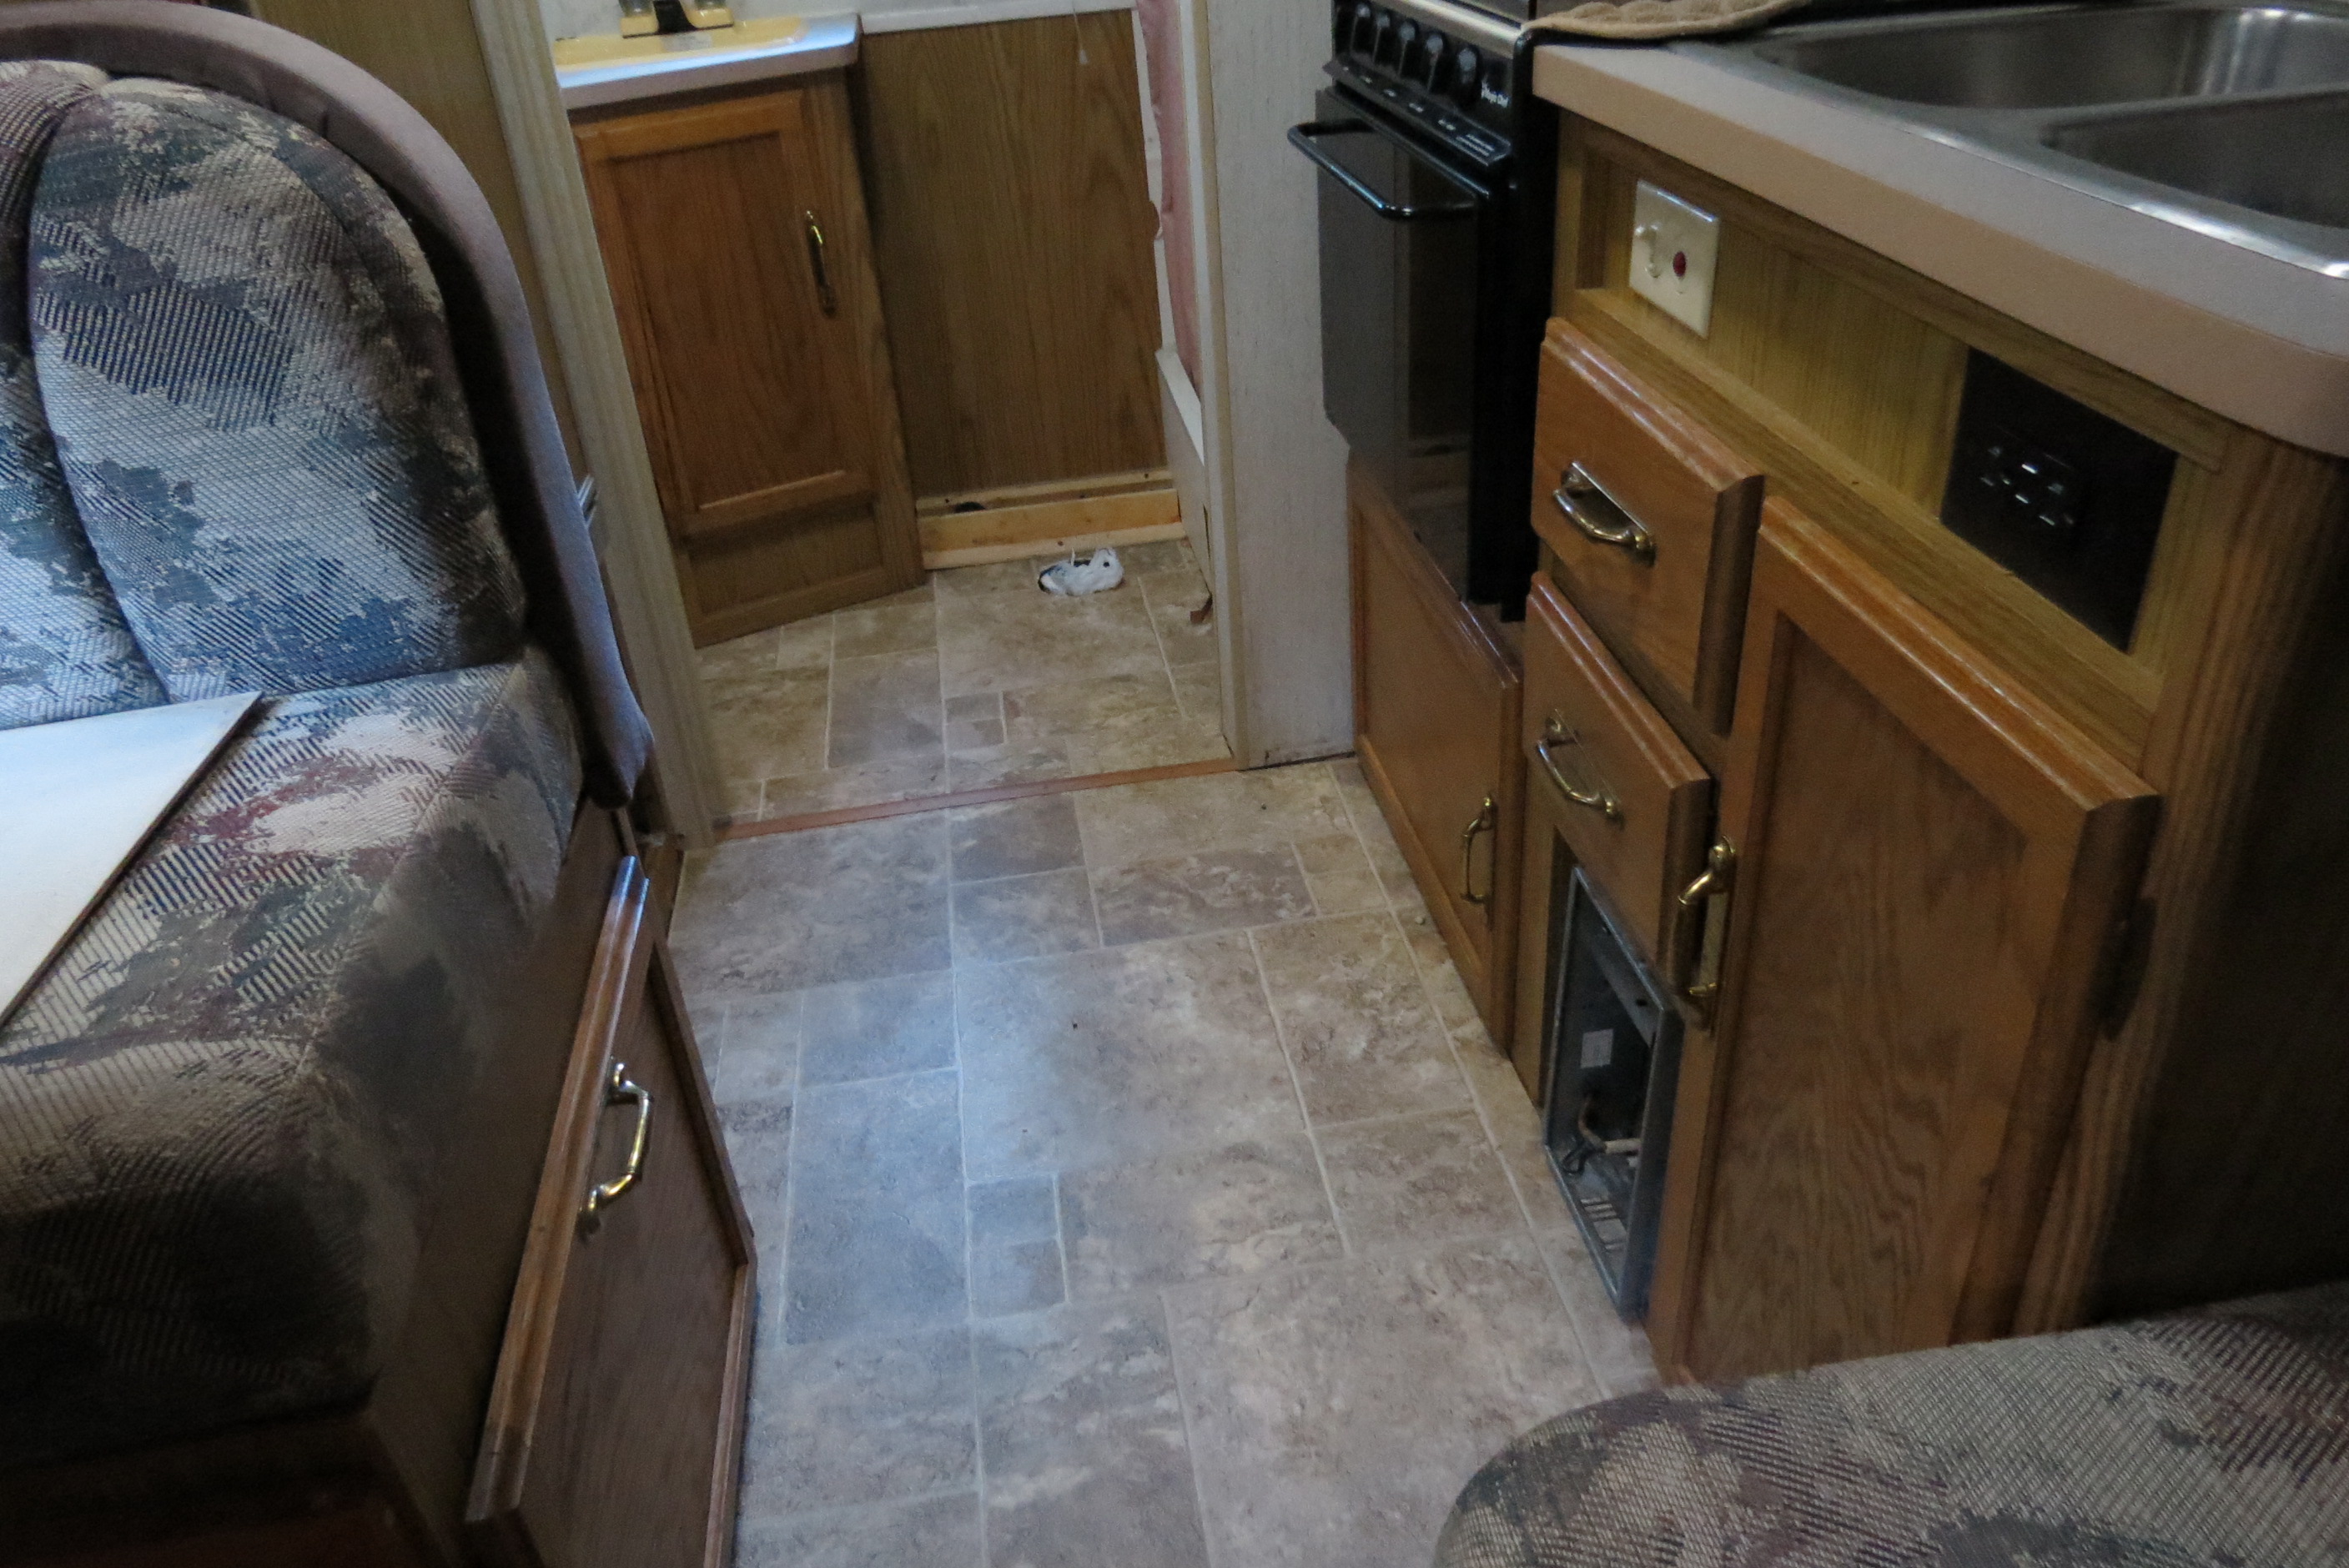
In the last week we have been busy readying the Winnie for our trip in September.
New tailpipe, New cupholders for the galley table (the new ones were 3/16" bigger than the old ones-jigsaw time), New fiberglass backed vinyl for the galley and for the bathroom (Who thought that carpet was a good idea for the bathroom in the first place?), AND New rear clearance lights (leds). I did not have enough daylight to install the front lights tonight.
Next on the agenda: Front clearance lights, New KYB shocks, Installation of 4 new Hankook RA18 tires and reinstallation of toilet with new gasket to the black tank. I know that there is something else that I am supposed to do but it slips my mind.
A few pics. You know the old saying...It didn't happen without pictures...
-
I think that is what we will do. I will continue to investigate a potty that makes sense to me. Don't have time to mess around a lot with this as we are going to Ocean Lakes for 10 days in 6 weeks. I have "long way to go and a short time to get there".
-
My valve is a ball valve. It just does not make sense to me. How can you ever keep it clean? There will always be a residue in the body of the toilet. The "residue" should be in the black tank.
-
I have a potty question for all you potty experts.
?
Little background...I pulled the Thetford Model AM IV HI toilet out of our rig today to replace the original (yuck) carpeting in the bathroom. I was really surprised when I flipped the throne over and realized that their was a big cavity inside the toilet. I had always thought that there was a tube from the toilet valve that led directly into the black tank. How can this design fly? There are nooks and crannies and places for all kinds of nasty things to hang around in! Yuck.
My question is this....Is there any RV toilet that is configured to NOT have a cavity between the toilet flush valve and black tank but to, instead, have a tube that connects the valve and black tank? -
8 hours ago, linda s said:
The rebate is a prepaid card worth that much not cash and it comes directly from KYB not shock warehouse. You need to send them the rebate form by mail
A member of one of my groups negotiated a discount from shock warehouse many years ago. Don't know if it will still work but you could try. at checkout put in discount code "toycamper5" for 5% off. If you try it and it works please let me know
Linda S
I tried the code and it would not recognize it. I also talked with the guy at ShockWarehouse and he said the since the shocks have a rebate then he couldn't give a code. In another life I would have engaged him in a bad manner but I am trying to "speak a little sweeter and forgive a little more" so he did not feel my wrath.
There is more than one way to skin a cat...Stay tuned.
-
KYB has a $40 rebate for Gas-Adjust shocks. Makes it a sweet deal. I plan to order a set of KYB Gas-Adjust tomorrow for the Warrior.
Best price is shockwarehouse.com (thanks linda s)
They have a thing on their site that says they might extend an additional discount if you belong to a truck or RV forum. I contacted them to see if they would and how much? Will let the group know if they, in fact, do extend an additional discount.
$142.68 minus $40 rebate makes it $102.68 without any additional discount.
(Might even find a discount code on Retailemenot.com...Will have to see..)
http://www.shockwarehouse.com/news/pdf/KYB-Feeling-is-Believing-Fall-2017.pdf
-
The story continues...Waiting on the next installment.
-
This looks like a great start. I have a 1992 Winnie Warrior and plan to do this project in the coming year. I had also seen the other tutorials on fixing the sag problem and I was also concerned about using aluminum structural supports as were done in the other tutorials. I know that aluminum is lightweight but it deflects terribly.
It is great that you are isolating the two dissimilar metals. If you do not (I know from experience) the less noble metal will rust at an accelerated rate due to galvanic reaction. I would use stainless steel fasteners for attachment. The last thing you need is for the fasteners to fail. The key is to paint any and all parts of the black steel so that oxidation cannot get a foothold.
This is the start to a great tutorial. I look forward to the rest of the project! Thanks!
-
6 hours ago, linda s said:
If you want Bilsteins here are your shocks. You will see they are for the dual rear wheel models
This place has the best price I know of. I just got new Bilsteins from them
Linda S
Linda S,
Those are fantastic prices on shocks! I checked a couple of my "go to" places and I could not beat that price! Probably do the front first then the rear.
-
Thanks to all who commented. I assume that the shocks should be a heavier duty shock than what a person would use on a regular Toyota pick up?
-
I plan to change out the original shocks on my 1992 Winnebago Warrior. Any recommendations?
-
This is how my bumper storage is done. That really is wood holding the whole platform up.
-
4 hours ago, Bikemike said:
I just screwed them into the wooden roof rack w/ big washers. The x- cargo has little metal tabs on the bottom that are for threading webbing straps through. I bent a 90 degree angle in them so I could screw them in from the side. The black box came with some mounts (big u-bolts with wing nuts) for putting them on a roof rack but they didn't really fit my set up. I'll try to take some pictures.
I have a warrior with no roof rack.
-
Are there any pictures of any of these car top carriers from the top of the rig? How are they attached?


Upgrade seats
in Improvement and Do-It-Yourself Projects you have done to Share!
Posted
Has anyone else installed different seats in their rig? My seats in my Warrior are in pristine condition but they are not very comfortable for a long drive. Would like to find what other seats (such as the civic seats) would fit.
Thanks