Search the Community
Showing results for tags 'new floor'.
Found 3 results
-
hello, hello, all! It is just to get the ball rolling on my blogging this stuff. Here I am in New York having arrived with an almost Frozen clutch thanks to the traffic before George Washington Bridge for an hour in first gear to stop first gear to stop first gear to stop it was quite scary. I popped it into third from second though on the bridge and that seemed to reset everything, and I'm driving up with the first load of found objects to make the outer covering of a hobby horse. I have described this in my profile. Is also clearing out my apartment which is thrilling. The clutch thing though is a big deal and I will have to replace the clutch and I don't trust myself to do all of that work, so while someone else is replacing the clutch I will replace the fuel lines and the fuel pump and clean out the fuel tank find the connection to the left brake light, and then steam clean the whole undercarriage. That is the plan, anyway This is all new for me because I am a person who always had mechanic work done for me as a kid. Now being poor enough to not afford that, but desirous of the vehicle makes me adapt, and hopefully improve my brain as a way to Stave off dementia! I'm also planning on doing the breaks because there is a weird light going on when the emergency brake is completely off. I check the brake fluid it's full I definitely need to get new vents, and the internal support for the fiberglass repair the plan is to make a quick carport for it upstate and then keep it out of the snow this winter as long as it is safely driveable which is the other reason I've been posting right now I would love advice about how to replace flooring if it's worth getting a new chassis since it's an 82, this is going to become a sculpture that would be nice if it had some morphing capability and since the inside has been torn up and is empty of supports it would be easy to build a novel set of supports. Step one is to get the clutch and all of that stuff replaced Pre Xmas update Thanks to the unexpected expense of a new alternator, that I should have known about because it started giving out before the clutch did, which I still have, by the way because it was an overheating issue, not a replacement issue. Anyway thanks to the alternator, I put aside any plans to go up and fix the skeleton which is going to be 3 by 4 beams and a suggested 2 by 4 with a 1 in Arc it. First I must repair the cracks in the top of the fiberglass and I'm still not entirely certain about how to do that there are a lot of different opinions here and the good news is that in the process of repairing the alternator I'd also killed the battery having ignored it for so long and now both are new and it would be hard to imagine what else could go wrong dear Jesus please let that not be a mistake to say... But the good news is that my brother Michael is coming out to visit for two weeks and he likes fixing stuff so I feel like if I get the fiberglass repaired he can fix all my mistakes and we will put the skeleton in together losing the alternator while almost on a Parkway, and then losing the battery while on the highway the next day after picking up the car, was something else so I'm so stressful that I can't tell but I feel like it is writing much better than it has before all the pieces of some beautiful Pine that I pictured here into what will first be the floor and then a set of benches that will open up to a platform bed right underneath the windows finishing these three things will make it possible to hop down to Florida for the winter! None of that until the roof is repaired however! Please advise in copious amounts!

-
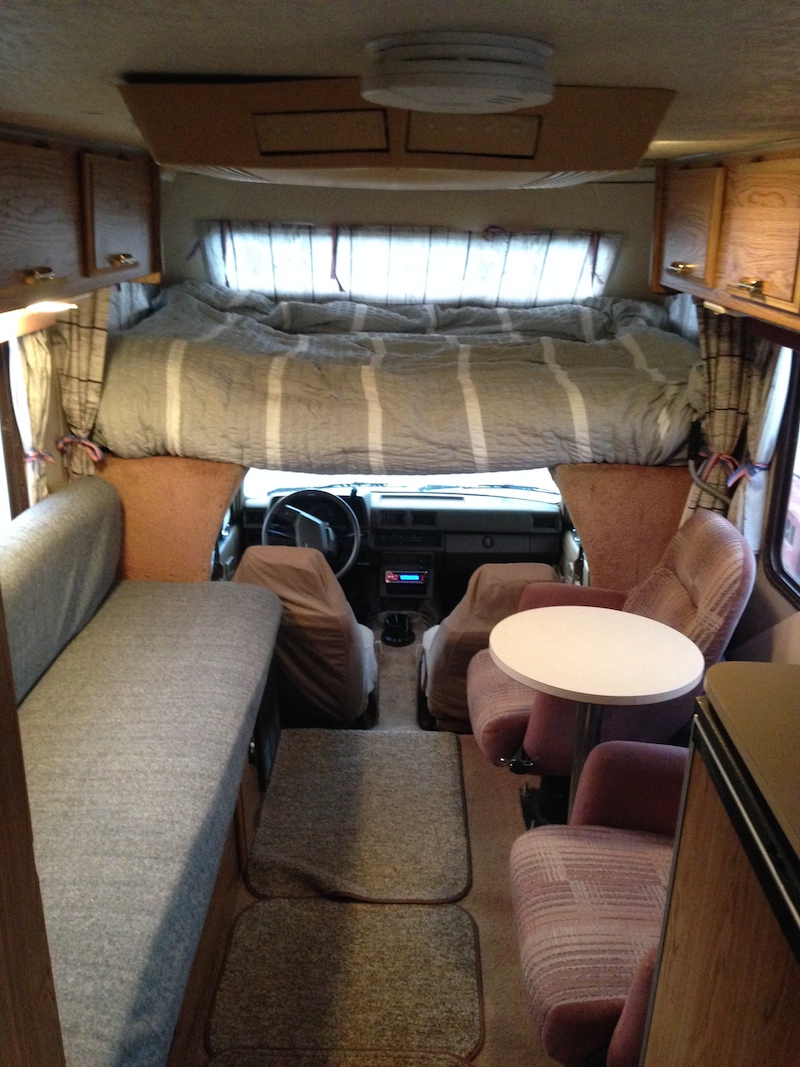
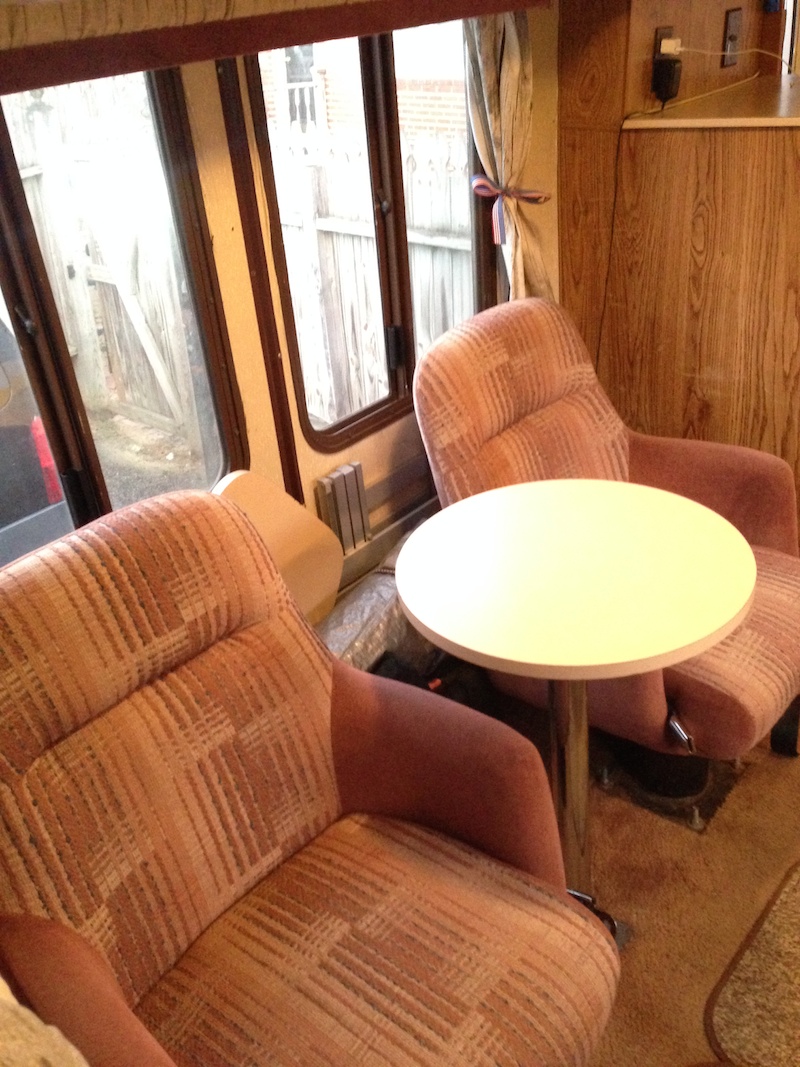
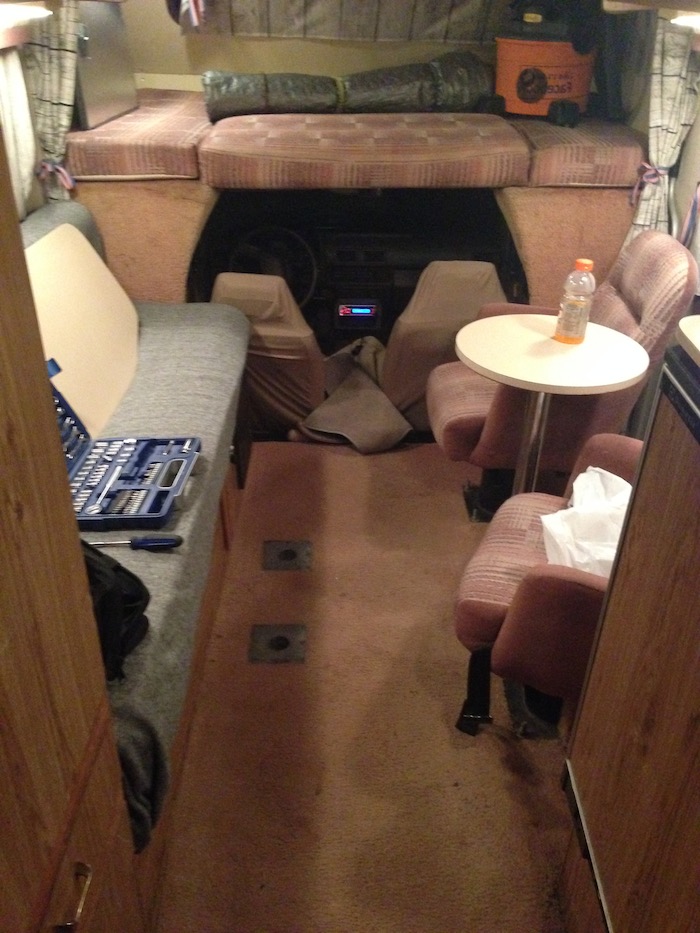
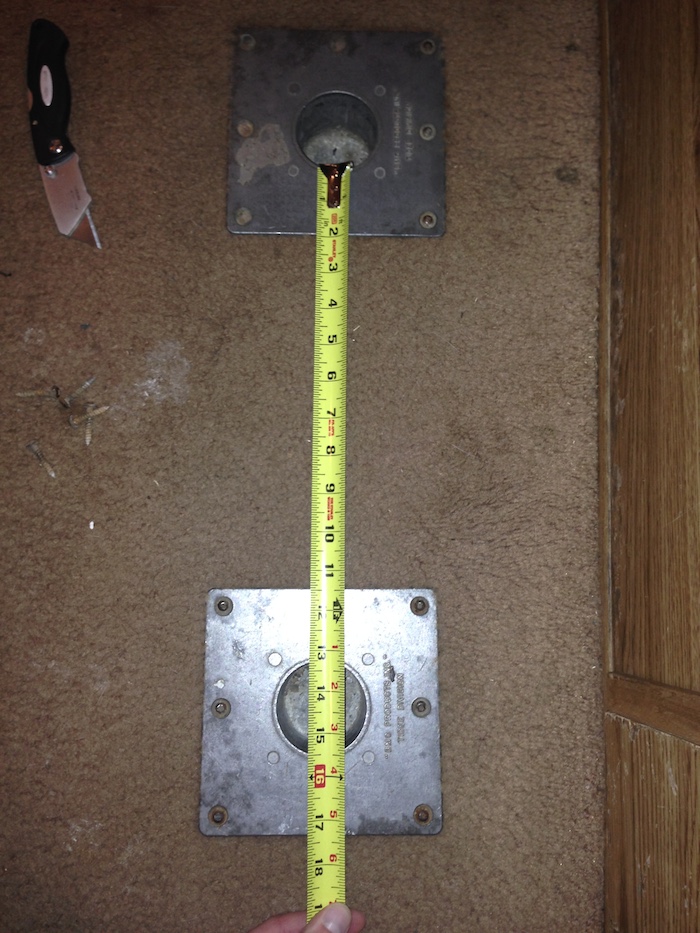
 I bought my 1987 Toyota Travelmaster about two weeks ago. One of the first things that i noticed when i was looking at the camper was the floor flexed quite a bit when walking through the the walkway. The floor was covered with the original carpeting so I was not sure what to expect underneath. There were three metal mounts in the floor where the legs of tables fit into and when the tables were in place they would wobble quite a bit on account of the flexy, spongy feeling floor. I started the floor project a few days back by just taking a razor to the carpet and started cutting. All the carpeting came up quite easily and was only stapled around the edges. It did put off a plume of nasty old dirt and dust. I would recommend a mask and a good pair of gloves to anyone looking to start a similar project. I just kept the shop vac going and would vacuum the sections as I tore back the carpeting. The wood underneath was pretty much as I had expected. It was very rotted out, water damaged and visibly very weak when walking over it. It looked to be at its worst right in front of the bench on the main traffic area. There was no real indication at this point where the water damage was originating from, but I suspect it may be from just years of wet shoes or mistreatment. After all the carpeting was out I unscrewed the Table mounts to get a better look as to what was under the floor. I pulled up the first table floor mound and was expecting to see some sort of sub floor underneath, but to my surprise all i saw straight through to my driveway. The bottom of the table mount was flush with the floor under the camper. The floor is just made up of a thin layer of coated sheet metal, then foam and then very thin plywood. Im not sure if this will make the project harder or easier. I pulled up another one of the table mounts and it revealed a cross bar support stud. I figured that there would be quite a bit of those going through the floor, but i will not know until i pull up all the plywood. The Next step is to take out all the chairs remove the rest of the carpeting and start to take apart the bench to see how back the damage to the floor goes. The plan is to pick a spot under the bench where the damage stops and tear up all the plywood and insulation to that point. Im going to patch over the holes in the floor where the table mounts are because i don't need the tables there. More to come soon.
-
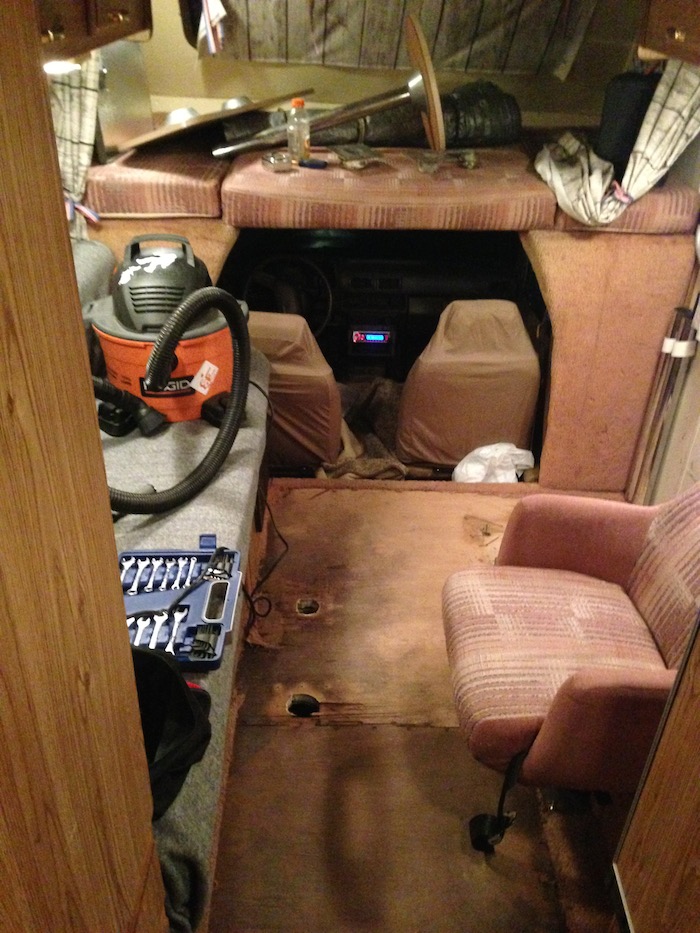
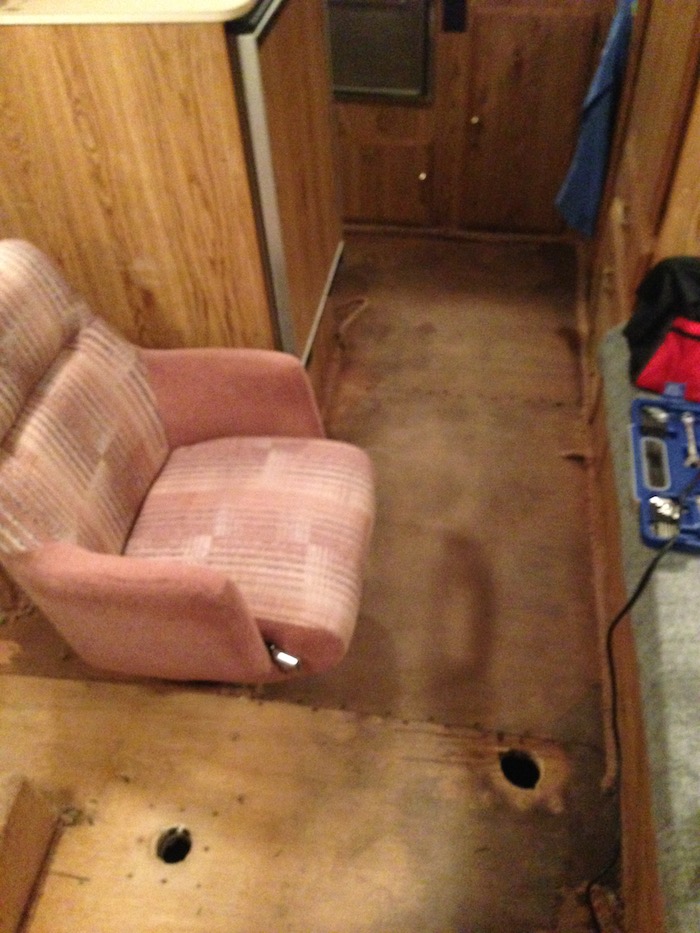
 So when I bought my 1987 Escaper, the previous owner decided he did not like the two captain chairs in the coach and for some reason hacked them out, leaving a not so attractive base. This is how it looked when I bought it. Notice the missing chair mount located in the bottom left of the photo. Where better to start than ripping the entire floor out? One of the previous owners had done floor work before. They laid a sheet of 1/2" plywood over the existing floor and then put their vinyl floor on top of that. I removed the 1/2" plywood and was glad to see the entire floor underneath that was still in good shape, no rot or anything. Wanting to achieve as much head room as possible (I'm about 6'2"), I kept the original floor in for strength, and put down a new sheet of 3/8" plywood. Not only did I fill in the spots of the missing chairs, but I gained some headroom for myself. It's nice not hitting my head on the ac unit now! We put down the sheet of plywood, screwed it down mighty well, sanded down the screw heads and the floor to make it as smooth as possible, and caulked all the screw holes. This was also a good opportunity to remove all remainders of the ugly original carpet that were stuck in a few hidden places. Next we decided to rebuild the entrance step with some fresh wood and gave it a more open design since the older one had limited foot space with the way it was designed (sorry, forgot to take a pic of the original setup). Original aluminum pan. Sealed all of the holes and edges with what was left of my dynamat tape. played with some sparks. Laid down all new wood and screwed into place. And time to start laying down flooring. I picked a darker wood vinyl floor. I was going to use the snap together wood floor seen here. I then decided not to use this floor as it took up too much of my precious head space! So I went with a standard sticky vinyl floor. I picked a dark wood color again because I just enjoy the warmth and cabin feeling. I also covered the fender and gas tank fill tube cover. I then took my old piece of wood that covers the water tank and battery and everything and stripped it down. It was covered in an ugly fabric from some old ladies basement or something. Here it is naked.