Search the Community
Showing results for tags 'airlift'.
Found 3 results
-
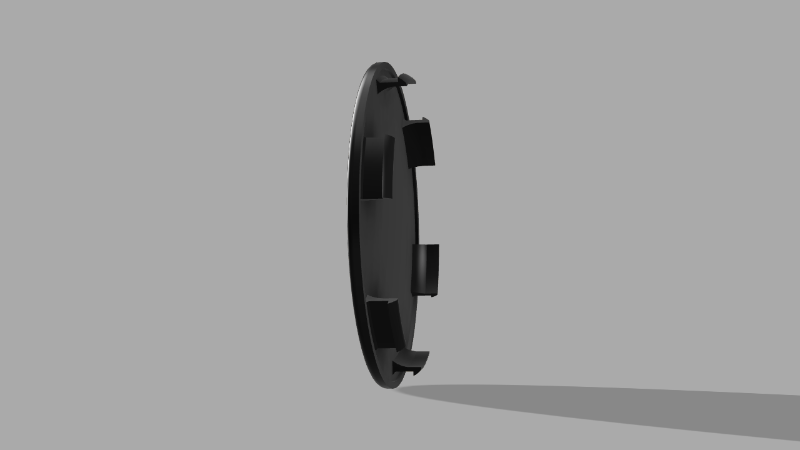
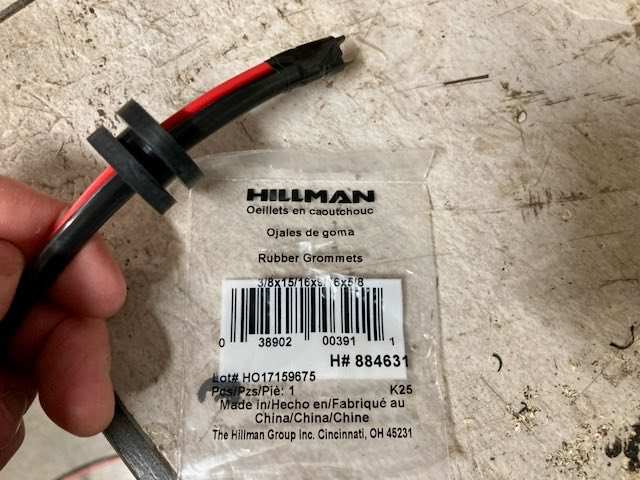
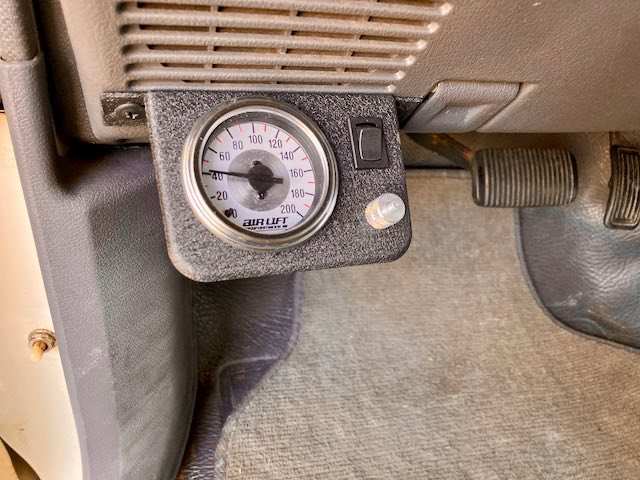
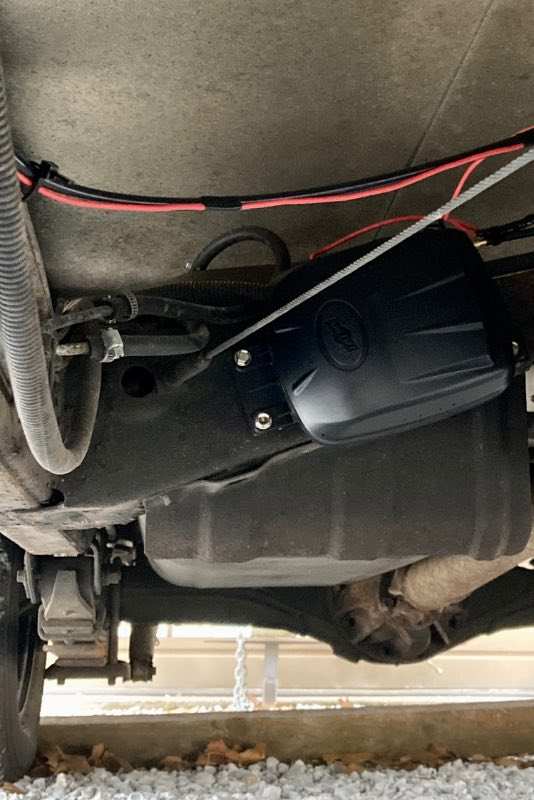
 Thought I'd share two minor improvements to the 91 Warrior that I completed recently: Center Caps My rig never came with any center caps on the front wheels (did they all originally, from the factory?), so I thought I'd make use of a recent hobby purchase, a 3D printer, to come up with a solution. Using Fusion360, I spent a crazy amount of time modeling and then printing about 10 different versions of these caps in ABS, trying to find the best way to engineer the retaining clips so that they could a) bend a little b) hold everything securely and c) not break instantly upon installation (harder than it sounds!). I also put the Winnebago logo on the front, obviously, which turned out pretty legit IMO... we'll see how they hold up, fingers crossed. It was a fun project and a great learning experience, especially in terms of gaining beginner CAD skills. AirLift 25804 Compressor Kit It's helpful to be able to adjust your air bags based on how much gear you've carrying and current road conditions. I typically like to run higher pressure (60+) when I'm doing long-distance, interstate travel on excellent highways—just keeps things tighter and less will-nilly, especially when the semis are flying past you, sucking you into that low pressure bubble (we all been there!). At the same time, if you're not carrying a full load or are just moseying around a state park, 40psi seems to be the way to go on my rig. I always bring a 12v compressor and tire gauge of course, but that process can be a hassle and definitely isn't something you can do on the fly! This kit comes with just about everything that you need to add onboard air to your rear air suspension. There are a few different options in terms of installation (some recommended, some probably not), but I chose to put the control panel near the driver's left knee and then ran the 1/4-in air line with 12v+ behind the vinyl flooring and through a sturdy grommet in the transmission tunnel, down to the compressor unit, which I mounted on the rear crossmember. Underneath, I was careful to keep the air lines FAR away from any exhaust components, and I wrapped the lines in a good bit of heat shield insulation where they passed over the transmission. I may also add some kind of "splash plate" over the compressor unit eventually, but I don't think it's going to get a lot of moisture where it is—if any water does intrude, I added some tiny holes in the downward corner of the case for easy drainage. So far, it's working great and will hold the same pressure for many days, no leaks! Also, due to the remote location of the compressor (and some sturdy rubber I sandwiched between it and the frame), it makes very little noise when running. I just really enjoy being able to adjust the bags while driving, to see the impact on ride and handling. (It IS just a single-circuit setup, however, so I can't adjust left vs right, but honestly I rarely ever did that before and don't mind the loss.)
-
 Hi everyone, I posted about a month ago about my suspension causing damage to the vehicle. I fixed the part of the carb that had fallen off, but now the actual weber carb that is on there has wiggled loose and has created a massive vacuum leak while I was on a 1200-mile trip. I didn't have too much of a way to fix this, but now I am stationary and am going to rebuild the carb and replace the gasket. I will be using Loctite on the screws this time as well. I definitely need to do something about this ride because, even if i don't have any more issues with the carb from this, I am not enjoying the ride. Every little bump feels like a big pothole and it can make driving stressful. My question is: should I just go ahead and replace the leaf springs, add helper springs, and get new shocks, or could I just get away with helper springs and new shocks? Any combination of airbags, new shocks, new leaf springs, and helper springs I guess would be possible, but I just purchased this camper recently, so the funds are a little tight. Also, I have gathered that bilstein seems to be the way to go with shocks. Has anyone has good experience with other brands? Any specific product recommendations are welcomed Thanks!
 -
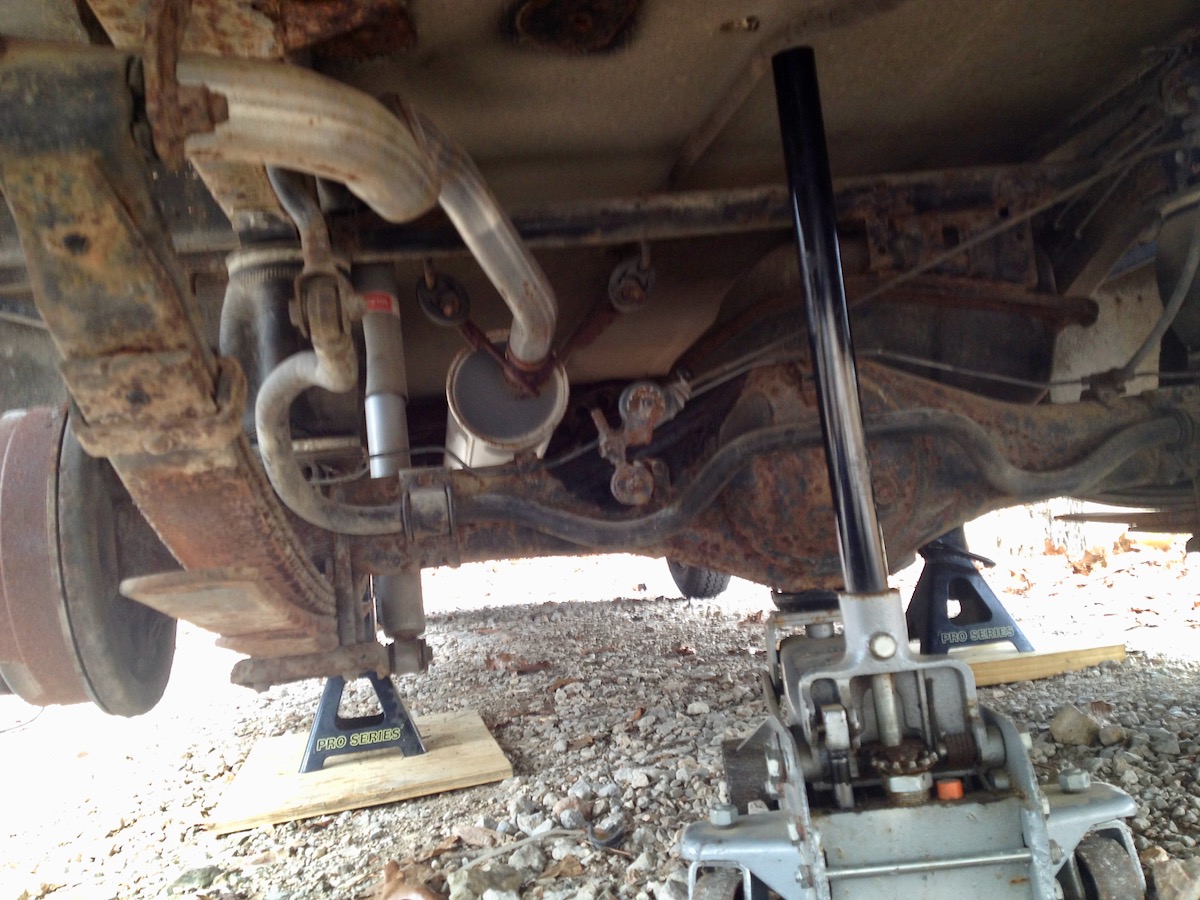
Took our first trip of the year last week and noticed that the driver's side air bag would no longer hold pressure. Oklahoma roads were, uh, pretty iffy in the rural areas (sometimes, miles of nothing but gravel), and the banging/crashing did not make for a pleasant adventure. Tried the Slime® option a few times, with very limited success. Well, at least we got home okay, with no other difficulties... So, I got up under the back-end with a spray bottle of soap/water and quickly found a pinhole leak near the top of the bag. I contacted AirLift and explained the problem with my LoadLifter5000 system (P/N 57113), offered to provide photos and all that. Without any question, they took down my address and shipped me a new bag. "Limited Lifetime Warranty" means something after all! I now have the vehicle frame up on 3-ton jack stands and have PB Blaster-ed all the bolts/nuts in the vicinity of the bag, including the dreaded u-bolts. I am monkeying with a jack under the differential in order to raise the axle to the point where "tension is relieved from the leaf springs," as my repair manual puts it. Problem is, I can't tell when that happens. Can somebody provide a little insight here, please? I can move the axle up and down just fine, but at no point is it obvious that the leafs are no longer under tension. Don't really want to start pulling stuff apart until I get this straight. What am I missing? Here's a reference photo, so you can see where I'm at... literally. Thanks for any help!