ChrisInVT
-
Posts
77 -
Joined
-
Last visited
1 Follower

About ChrisInVT

ChrisInVT's Achievements
")
Newbie (1/14)
-
 ChrisInVT changed their profile photo
 -
Removed the PS cabinet today, pics will come soon.
-
'90 Odyssey Parts Or Repair, Haven't Decided
ChrisInVT replied to ChrisInVT's topic in General Discussion
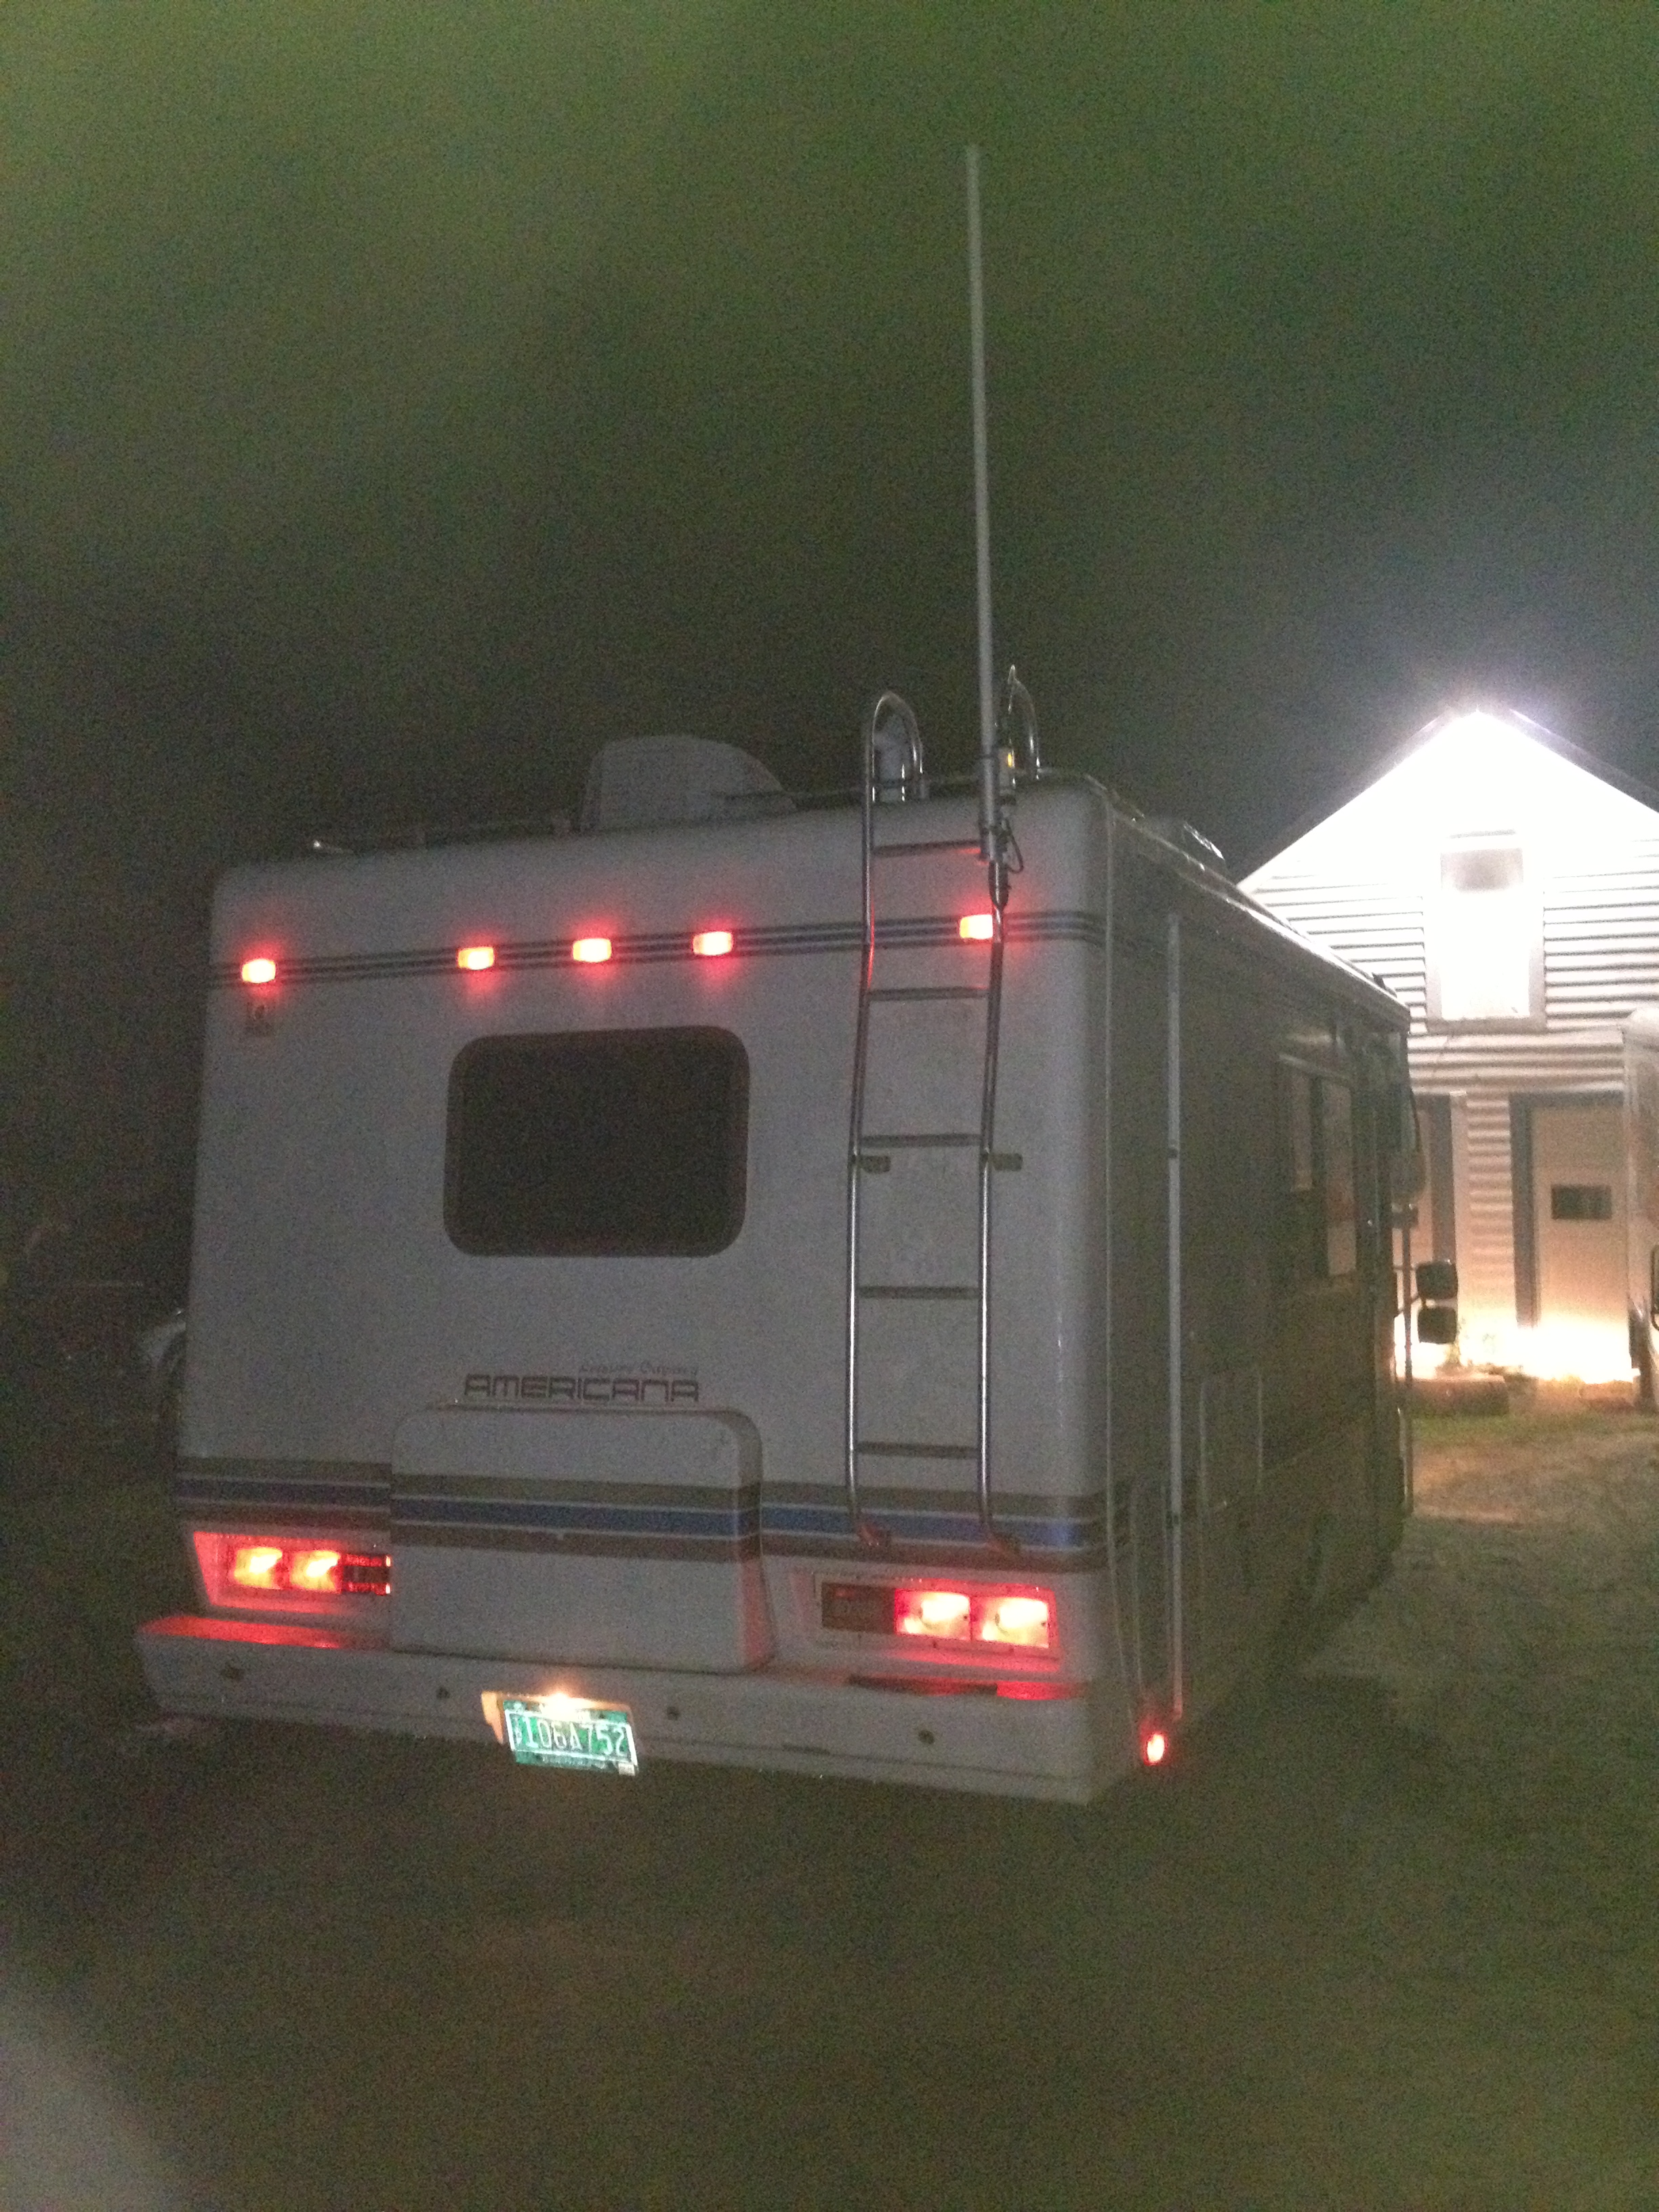
So to update this, last year towards the end of July the RV was driven from my house to my grandmothers house about 45 miles. It was a white-knuckle ride as one of the POs removed the rear airbags and it seems that it needs all new shocks. I've been driving my box truck for many years, which is slight smaller but when loaded down drives quite differently. I expected the RV to drive like the box truck fully loaded, but that was far from the case. New firmer shocks and rear airbags are going to be a MUST-HAVE, because it was like being on a big bouncy cloud. Here's a couple pictures from the night I moved it, what happened to the roof after I moved it, and how it sits currently as I'm gutting the inside. From this point on, I'll be posting any and all updates in the new thread I've started here:
-
saved for later update
-
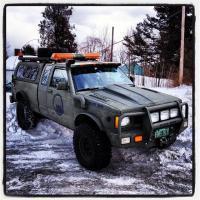
I've decided to create a thread for the ongoing story of the Odyssey Americana that I've rescued from an untimely death. LINK TO ORIGINAL THREAD: CLIFF NOTES: Purchased RV from a friend-of-a-friend because it was going to be junked after sitting for three years. All appliances were removed, along with the bathroom floor. Holes in the side of the RV along with missing roof vents left the interior exposed to the elements with massive water damage from the 3 years it sat (and God only knows how long before-hand). Sections of the floor & walls were rotted. The entire coach frame was bent due to sitting for months with a snow load on the roof. The walls, floor & ceiling were sagging. AC didn't work and the truck wouldn't run for more than a few seconds. Towed it home, tinkered on it for a little while, then it sat behind my garage for 5 years. When it came time to move, my girlfriend at the time & I spent a couple weeks thoroughly cleaning out the interior in preparation for making it usable. The neighbor's cat & mice were living in it for a little while, so it was in MUCH worse shape then when I purchased it. After cleaning it out and fixing it up a bit, we used it for a little while only on AC and 12v power since we had no propane appliances or water due to the missing hot water tank. Now I've finally gotten time time to restore it. Yes, it's finally happening, after all these years I'm tearing into it to do a complete restomod. Structurally - I'm planning on replacing the walls, roof, floor & repairing/replacing/reinforcing the frame extensions. Cosmetically, I'm planning on leaving the floor plan the same, but adding, replacing & repairing everything on the inside. I'm finally biting the bullet and conquering this project now, even though I have more important ones to do. I had this project slated to start next year, as I was planning on moving out-of-state and getting rid of the majority of stuff that I own, but am hoping to get this completed in order to save money with my move, as I can stay in this instead of renting a 2,500/mo apartment. I'm hoping that I don't get overwhelmed and give up, or something doesn't come along and cause me to abandon the project. I have no help with this, so I'm going to be taking it very slowly so I don't stress myself out too much! I'd love to finish it up and be able to just hop in and go wherever I want for a weekend or more! I'm thinking of making the RV "theme" match my off-road truck when I do the interior & exterior, and have it resemble a military-style command center. If I go this route, I'll be plasti-dipping the exterior of the RV olive drab; and having a black, olive, and dark grey interior with an industrial/military look to it. That's the thought so far, but it might change as I progress through the restomod. I'll post pictures as I progress through the stripping and restoration. I'm also going to gather up what pictures I have from the work I started last year and keep everything posted in this one thread.
-
A bit late on the subject, but this was recently discussed on the facebook group... https://www.facebook.com/groups/ToyotaMotorhomeClub/permalink/1288608464502254/
-
'90 Odyssey Parts Or Repair, Haven't Decided
ChrisInVT replied to ChrisInVT's topic in General Discussion
Thanks for the info! Do you have pictures of the progress? I'm afraid when I get into it I'm going to need new walls, floor & the roof. It was in much better condition before I drove it ~30 miles after sitting for ~10 years. That's when it developed leaks and got water damage EVERYWHERE. I still need to address issues with the frame extensions being bent, which is why the entire coach is sagging at all the walls. I'm wondering if this is a common problem, because my box truck does the same (although it has different frame extensions and they're even aluminum). -
I'm interested in how your coach battery is mounted. I have the airbox intake in that location.
-
'90 Odyssey Parts Or Repair, Haven't Decided
ChrisInVT replied to ChrisInVT's topic in General Discussion
My girlfriend suggested filling it in, not sure if I have the time for that kind of project though. I'm going to head to a hardware store and see what they can get done for me. -
'90 Odyssey Parts Or Repair, Haven't Decided
ChrisInVT replied to ChrisInVT's topic in General Discussion
Well, while trying to remove the window seal to try and get it to stop leaking, the plexi window shattered. I'm not sure if I can replace it with a standard piece of plexi since it's tinted and curved. Anyone have any suggestions? The rubber seal is shot too and needs to be replaced. Right now I have a garbage bag duct taped to the front with some duct tape support ridges to hopefully keep it from blowing out. In the good news though, I found a Camping World by my girlfriend's house in Conway, NH and picked up a bunch of stuff. I installed a Maxxair II over the bathroom vent and replaced the vent cover on the front. I got a bunch of calking and some other misc stiff I needed. I found out that the black water tank vent wasn't sealed to the roof, so all the water in that area went underneath the rubber liner and completely rotted out the wood on roof. Not sure if that's going to be easier to repair by tearing the interior apart (the bathroom closet and bathroom walls would have to be taken apart) or if I cut apart the roof and repair it from there.
-
'90 Odyssey Parts Or Repair, Haven't Decided
ChrisInVT replied to ChrisInVT's topic in General Discussion
I wish I would've seen that other one (I just looked). Could've combined the two into one good one! I'd also love to find out what the OEM stuff was in there. My girlfriend found a pile of paperwork hidden when she was cleaning. It has the original order, along with a bill for an airbag installation (although I've had this on a lift before, and there were no airbags or brackets for airbags). They may be a nice looking RV, but the craftsmanship leaves SO MUCH to be desired. -
'90 Odyssey Parts Or Repair, Haven't Decided
ChrisInVT replied to ChrisInVT's topic in General Discussion
Yup, the plan is to finally fix it, it's kept me quite busy over the last several days! -
'90 Odyssey Parts Or Repair, Haven't Decided
ChrisInVT replied to ChrisInVT's topic in General Discussion
So 5 years later.... I'm in the process of moving and needed to figure out what I'm doing with this thing, so I've been starting to clean it up and fix what I can. Sadly, the front window started leaking while it was sitting so I put three tarps over it. Over the past few years the tarps started leaking and now I have water damage throughout All the decorative wood paneling inside needs to be replaced, and the fluffy pink carpeting is going to go (I want to replace with some standard carpeting). The roof is still sagging because i haven't fixed the welds or bracing on the frame extensions, but I'm hoping to get it road-worthy enough to bring to a friend's house that's a professional welder. I'm hoping to lift the living space up some with his truck lift (while the wheels are still on the ground) and put bracing in on the frame so everything is level again. My girlfriend & I have removed all the cushions and thoroughly cleaned them. I got a hot water heater and stove from a camper being scrapped, but I'm not sure if I'm going to use them now, because the stove is filled with a mouse next (and lots of mouse excrement) and the hot water heater is propane-only, not propane/electric like the original unit. (it's also much smaller - and you have to manually start it up before use). Still haven't gotten a fridge or repaired the bathroom, but hopefully I'll be getting there shortly. The roof cracked from the many years of sitting outside in the extreme cold over the winters of New England, and since the tarps started leaking I'm concerned about the condition of the roof. I used roofing tape on all the cracks last fall but a lot of the repairs failed. I tried using some vinyl pool repair - but that didn't work either so I just put some duct tape over the spots I patched with the pool repair kit. I've found some rubber roof repair tape on Amazon that I'm going to try out. I'll try and get some pictures and post any progress I have on here. So far the only pics I've taken were of the water damage on the front sleeper after I pulled up the carpet.
-
So I got this finished over the weekend. What a huge pain in the behind for a busted brake line, sheesh. So I repacked the bearings because the grease was black, and almost water thin so it really needed it. Replaced the inner grease seals only because I had to remove them with a prybar. The new grease seals have an updated design which I thought was interesting. The drums were OK, but the shoes had about 1/8" of material remaining and had heat stress cracks. I'll put that on my "to-replace" list, along with the front pads if/when I start driving the truck again. The air hammer worked the best for removing the cone washers, as a quick tap popped them out. All my brake fluid was BLACK, and the bleeder valves were rusted from the inside out. I actually had to remove them, redrill the holes and attack them with a wire brush. Mind you the bleeder valves on the rear wheel cylinders snapped off, which is why I ended up having to replace the cylinders completely. I was very lucky to be able to free the bleeder valve on the proportional valve and the front calipers! I need to change the fluid to the rear end, now that I'm thinking about it I completely forgot to do that even though I planned on it. I can just imagine how bad that is after looking at the rear bearings. U-Haul "service" did not do this poor truck well.
-
I cleared my schedule for this weekend to tear into this thing. I might end up repacking the bearings anyway and at least making sure the seals seem OK. If not, then I'll save that project for some other day.
-
I was unable to get the cones removed, they wouldn't budge at all! I was going to tap on the side of the axle shaft with my air hammer, but after messing around with it I just pulled the truck outside and decided I'd work on it over the weekend when I had more time. I may tap the holes for some bolts that I do have, because even using the special bolt the threads and hole are ruined. I'll probably pull it back into the shop tomorrow or Sunday to attempt to get this done. I think I'm going to put some anti-seize on those damn cone washers while I'm at it.