Dolphinite no longer here
-
Posts
615 -
Joined
-
Last visited
6 Followers


About Dolphinite no longer here

Recent Profile Visitors


Dolphinite no longer here's Achievements
")
Newbie (1/14)
-
I would jump on that beachfront land so fast it would make your head spin! John
-
Here's hoping for you! I have a good friend in Glen Ellen but I'm unable to contact her. Do you know how that town made out? John
-
Replacing the walls and ceiling?
Dolphinite no longer here replied to 256bit's topic in Coach ApplianceTech Issues
This is a tough one to answer without a photo or two. Living in your Toyhome and rebuilding it at the same time can be done but without any skills it would be best to contact someone who has some experience in this. I would suggest going to a local boatyard that has experience in building and rebuilding wooden boats. A shipwright is used to doing this kind of work in confined spaces without tearing everything apart. Even if you don't hire that person to do the work, just paying someone for an hour of their time to give you some suggestions on how to proceed and what materials to use could be well worth the expense. Quite often decent repairs can be made with some well placed epoxy and a little ingenuity. John -
To Cover or Not to Cover that is the question
Dolphinite no longer here replied to Iflyfish's topic in General Discussion
Absolutely cover your Sunrader if possible. A garage is best, or a carport but even a good quality fitted cover. Even a plastic tarp will help keep the moisture off your rig. I built an overly large carport for my '85 Dolphin to accommodate some other vehicles and it has probably extended the life of my Dolphin by several years. Also, if you get a lot of snow there in Oregon, think about snow load weight on the roof... John -
Where did all the screws come from that you removed? From the outside trim, window frames, various parts inside? Number 8 screws are the ones used in most of the trim pieces on the outside. What are S2 screws? "Square drive" refers to the type of bit used to drive the screws and the ones in my 85 Dolphin are pan head, phillips drive #8 screws. "Pan head" screws have a flat underside so that they sit flat on whatever surface they're driven into and not countersunk into the surface. Why did you have to return the #8 screws? They should be the correct ones to use if they're 1" long and pan head. John
-
So, what does the furnace do when you try to light it? Anything? John
-
What is this switch?
Dolphinite no longer here replied to SloJourner's topic in Coach ApplianceTech Issues
I think that's the switch that makes your left front tire go flat. I never could figure out why Escaper RV installed those ... John -
Sunrader Truck Camper side seam leak issue
Dolphinite no longer here replied to lexxxel's topic in General Discussion
Looks like the screws were added later. I'm pretty sure they aren't original. If you do fill the "gully" with caulk, don't use 5200 or any polysulfide. That would make the trim piece mostly permanent. Same goes for silicone. There are several caulk compounds available that should do the job very nicely. John -
Solar eclipse rally
Dolphinite no longer here replied to sonny sunrader's topic in Rallies & Toy Ins
We went down to Eastern Idaho for the eclipse. The two of us and a few other people showed up at this nice rural crossroad directly in the center of the totality zone. I was mesmerized. It changed my life. I felt like I went to a party with my country... John -
I agree with Linda and Markwilliam. When I first got my Toyhome many years ago, I hooked a hose to that same fresh water inlet and promptly blew the shower hose off its fitting on the sink. The pressure also caused many leaks throughout the whole plumbing system. Cap that little puppy off and forget it! John
-
Got a photo of what's under the siding?
Dolphinite no longer here replied to FredNewell's topic in General Discussion
Fred, that's nice work! John -
Roadside Assistance services - recommendations?
Dolphinite no longer here replied to KGordon's topic in General Discussion
What is a "maide spin? John -
Coach door caught in wind, broken
Dolphinite no longer here replied to collector's topic in Whoops, Mishaps and Murphy's Law
The bottom of my door rotted out a while back and I rebuilt it with a little more framing than what they originally used. I just used regular Home Depot white wood and a little epoxy glue and some screws. I still haven't painted the outside of the door to match the rest of the motorhome, but its on the list... John -
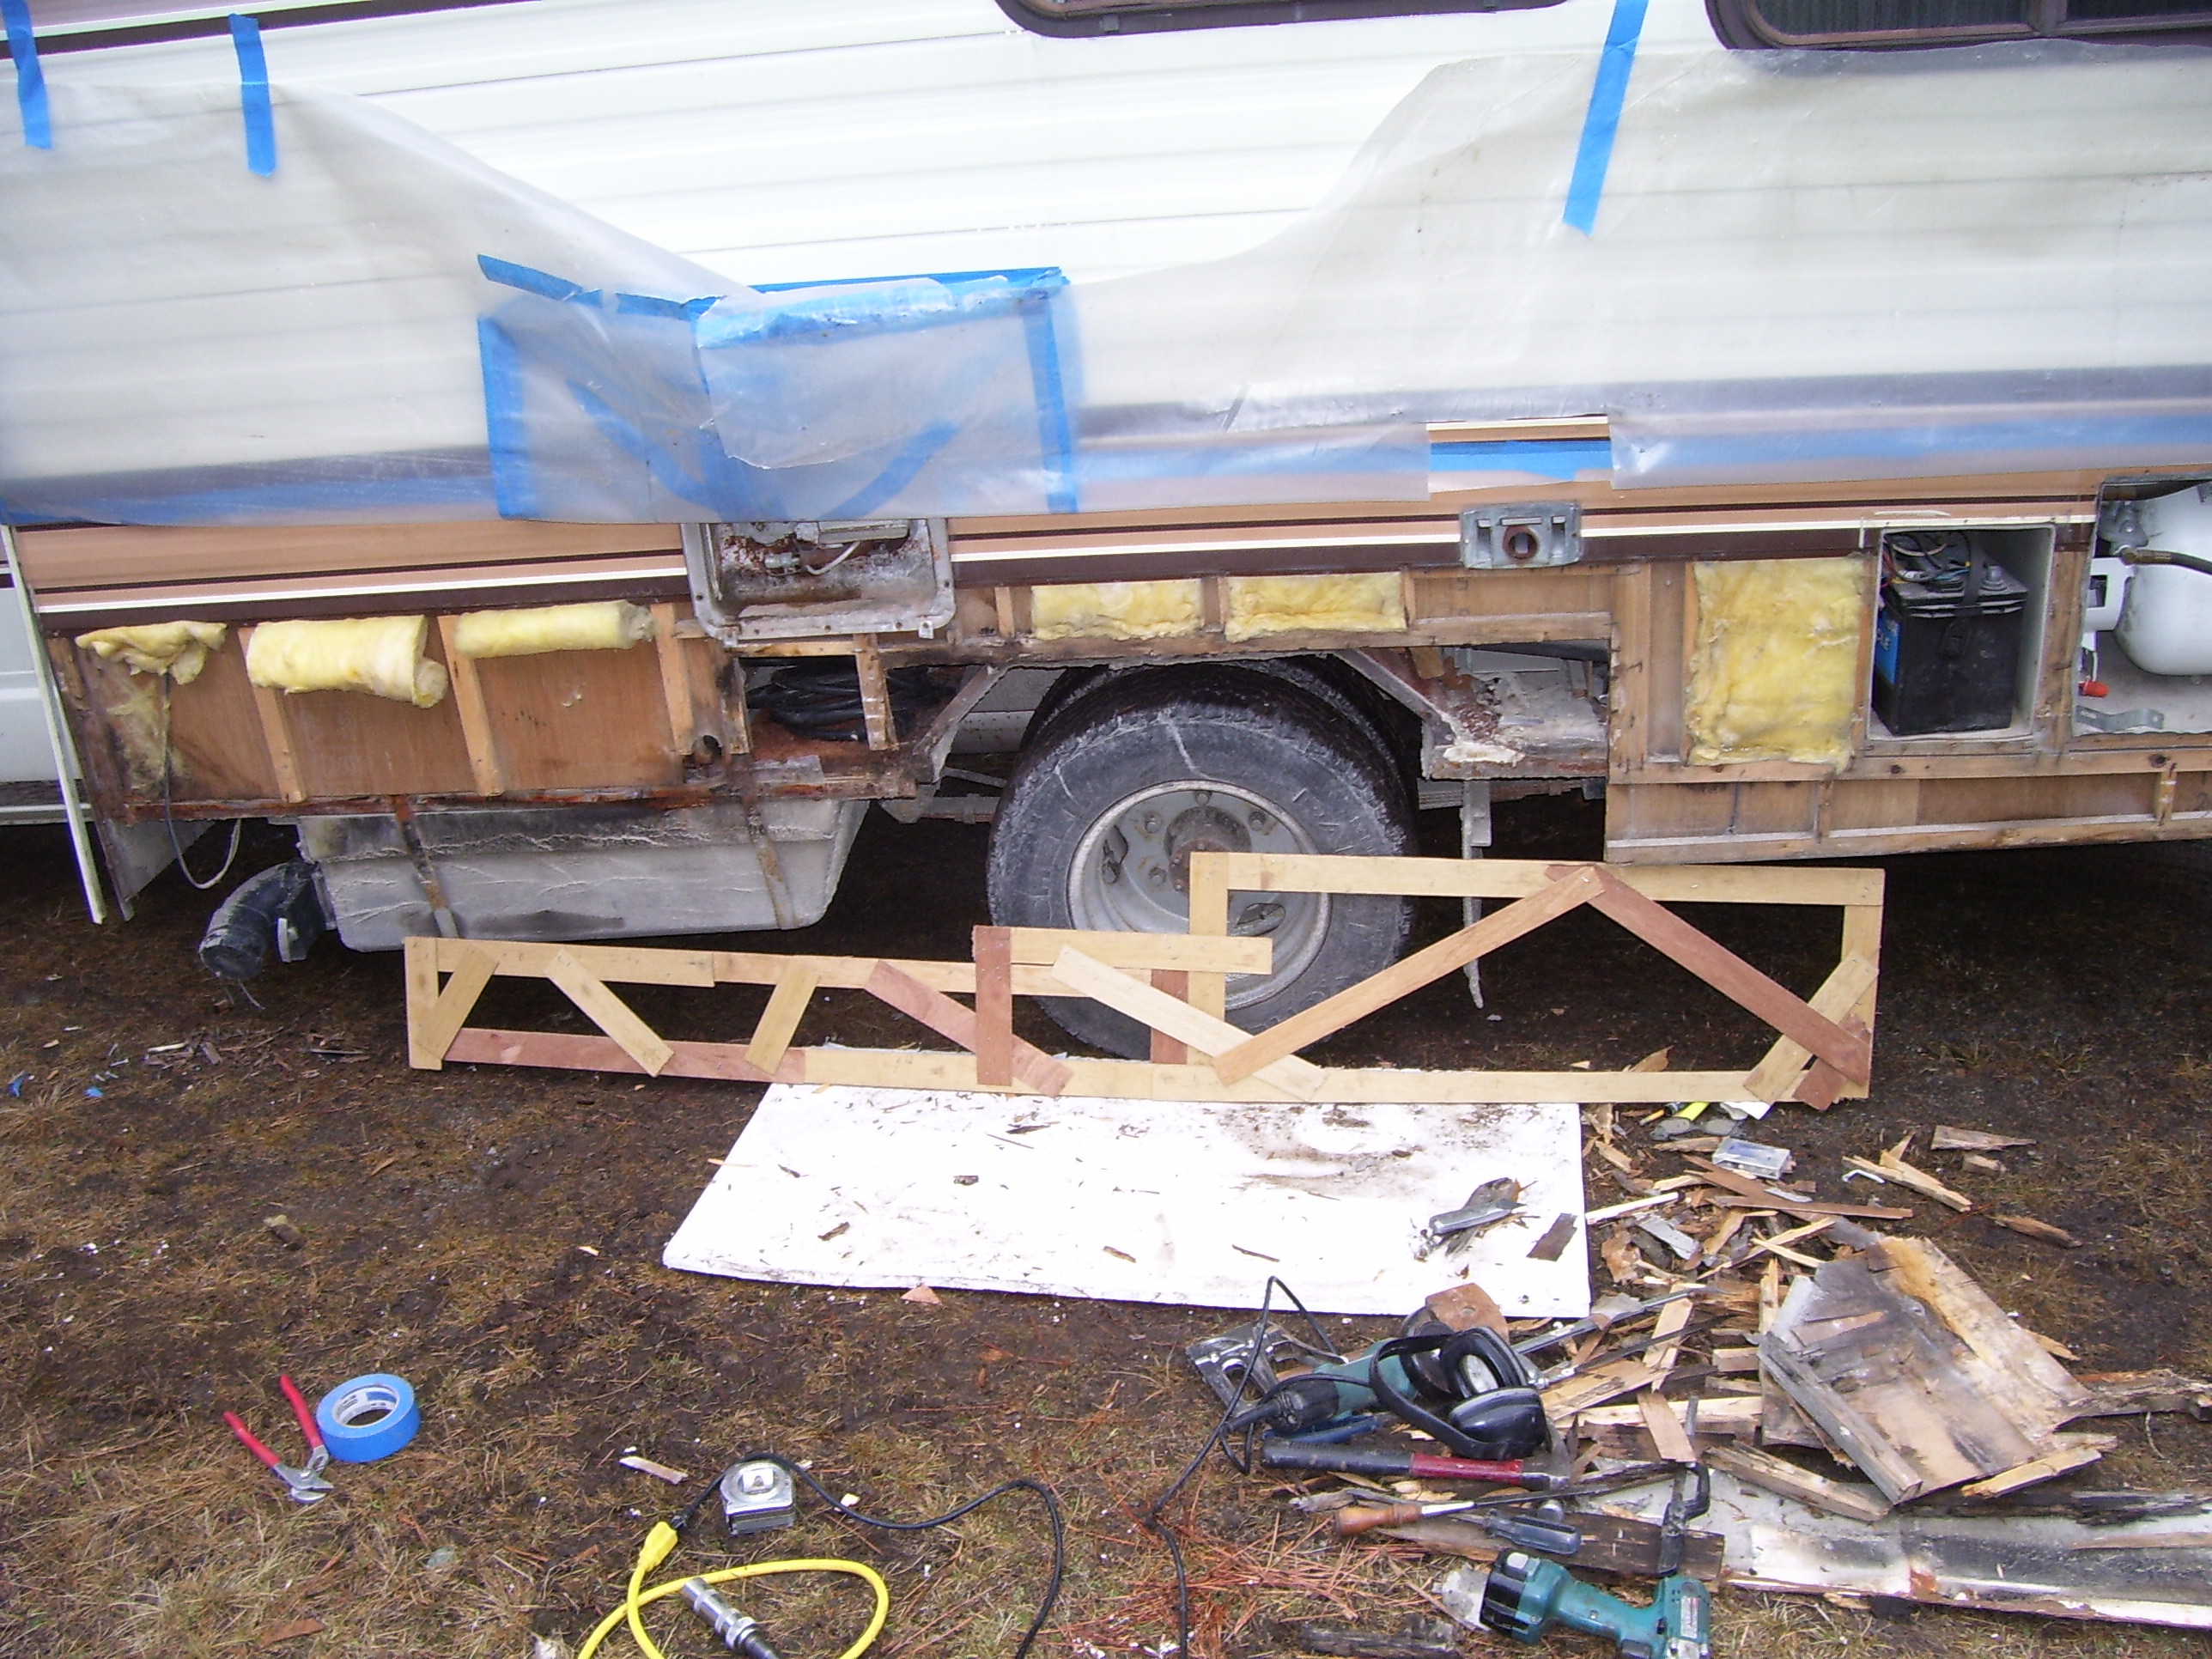
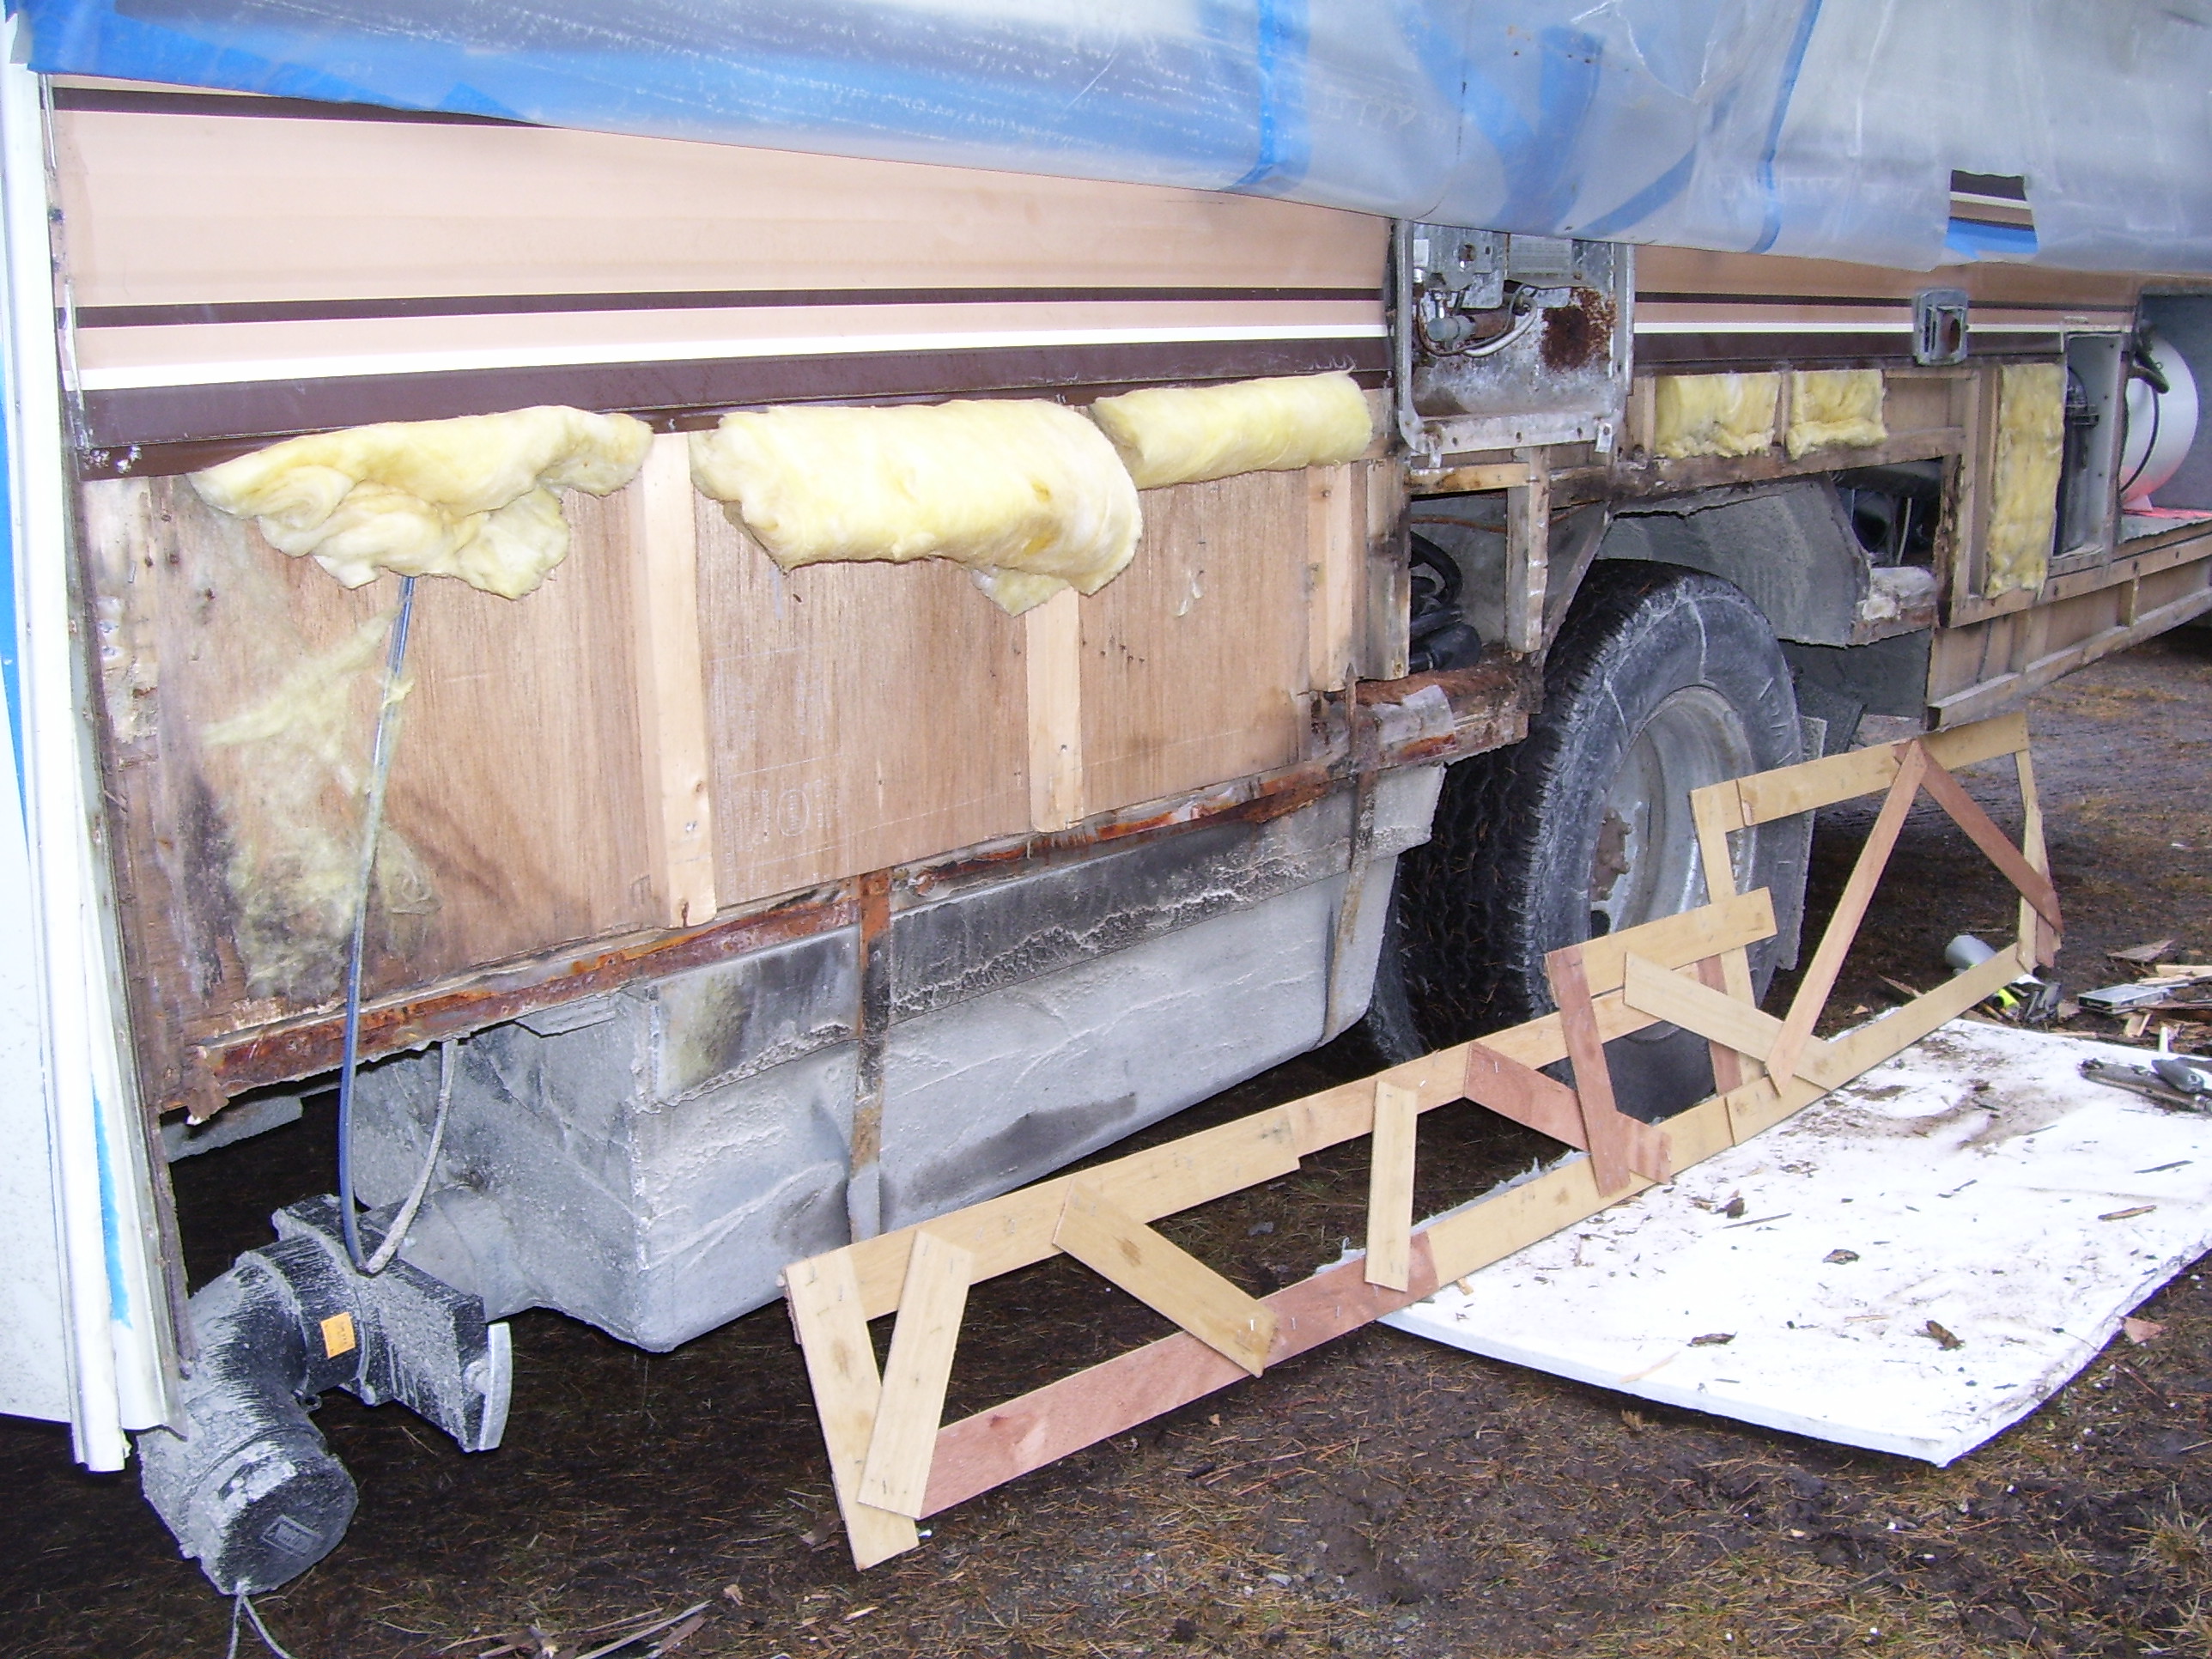
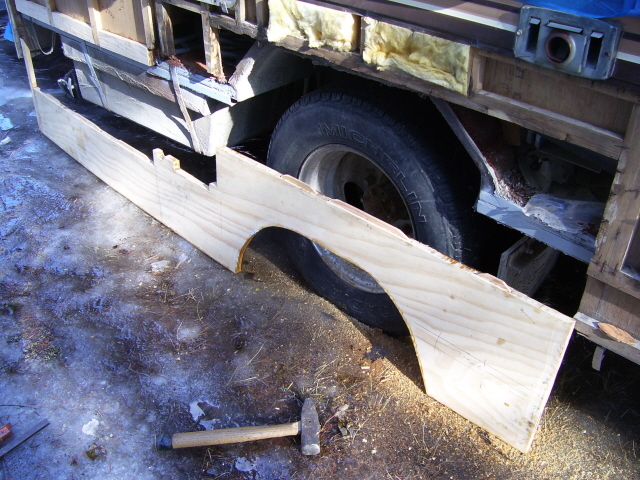
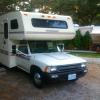
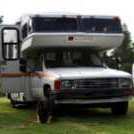
I did the same job you're doing on my '85 Dolphin a few years back. I didn't have to remove the tanks to fix the rotted wood in the wheel wells. I removed the outside aluminum skin from the side to expose the rot and then was able to repair the wood from the outside. If you go this route (and I think its the best way) you'll be able to see how the tanks are attached and maybe just replace the old strapping one at a time to make sure you don't lose a tank somewhere down the line. The photos show the tanks and strapping but not very close up. The wood wasn't rotten all the way up so I was able to join new wood to the old with epoxy and a 45 degree bevel cut on both pieces. The lattice looking thing is 1/8" door skin that I used to make a template for the new wood. I made the new wood out of solid 3/4" plywood and painted it with epoxy and then grey paint to try and keep water out of the wood. So far so good-no water has gotten at the new wood. When you remove the aluminum siding, handle it very carefully because the longer pieces are flimsy and will bend and kink when you take it off. John

-
Also, to keep the vinyl from shrinking too much, run a screw through each end after leaving the vinyl out for a couple of weeks. John