Sunny78
-
Posts
32 -
Joined
-
Last visited
Content Type
Events
Profiles
Forums
Gallery
Everything posted by Sunny78
-
 I am preparing to make this swap on my ‘78 Sunrader which currently has the G082 axle. Can anyone give me some more info on what the cost of getting the driveshaft made was? Also, is there noticeable difference in clearance at the diff housing? I’ve read that the 14bolt axle has a super huge pumpkin... I have not sourced an axle yet, so anyone who may have something laying around that would work for me, please let me know! I am not set on which route to take yet, but being as my rig is small like Fred’s Galavan, I think this is the right move. For the record, I don’t mind not having disc brakes but SRW is ideal. I do like the idea of keeping the same tire width that the foolies have (or close to it). thanks guys & gals
 -
Yeah, they were not cheap. I ended up finding them at an RV surplus store on eBay. Does anyone have the dimensions of the smaller side bed windows? I am trying to get as close to factory look as possible.
-
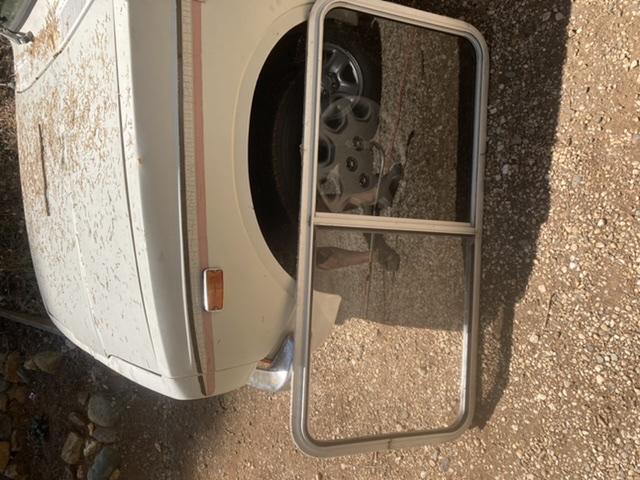
Side note: I have the two original side windows up for grabs to anyone who wants them. They are 48” x 22”, there are no screens, and one pane in one window has been replaced with plexi glass (hard to tell unless you touch it). They do include interior trim rings although they are a little beat up. They should seal back up no problem with some new butyl. Not sure what a fair price would be so shoot me an offer. I can’t really ship them, so pick up would be best. -Graham

-
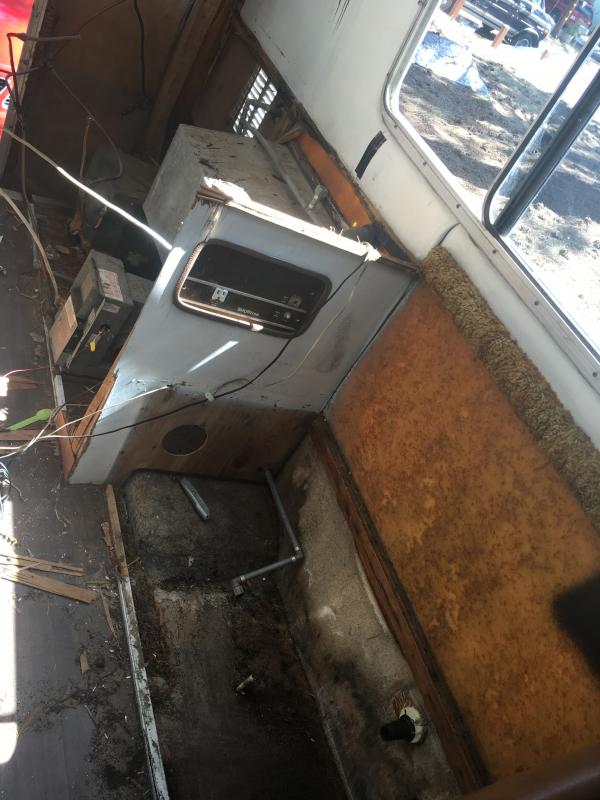
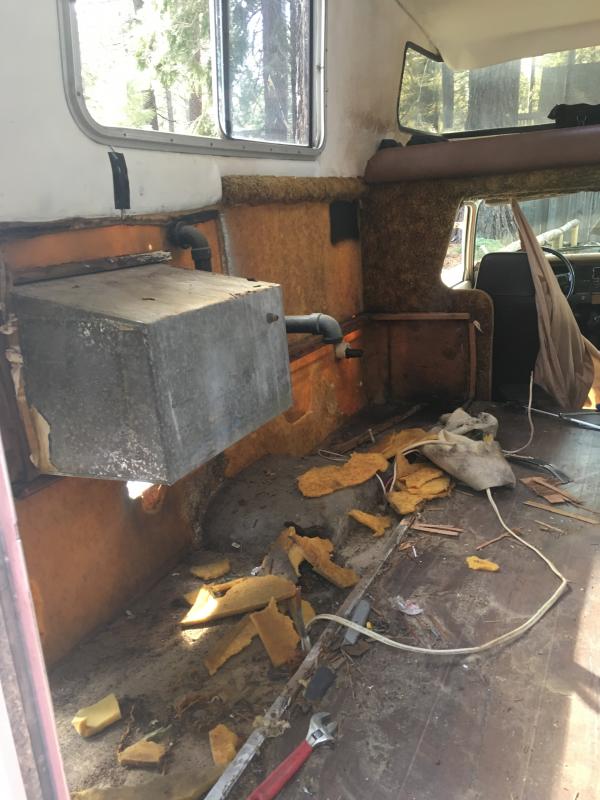
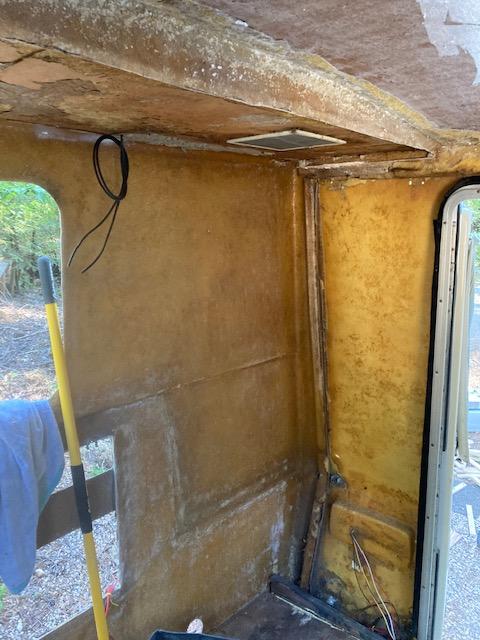
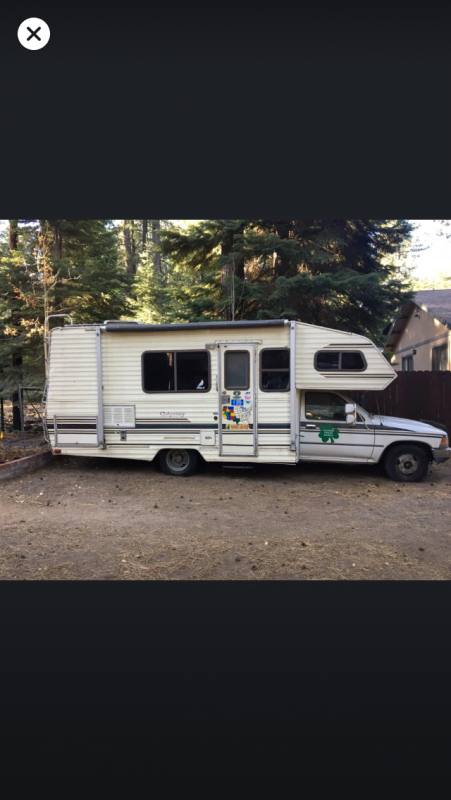
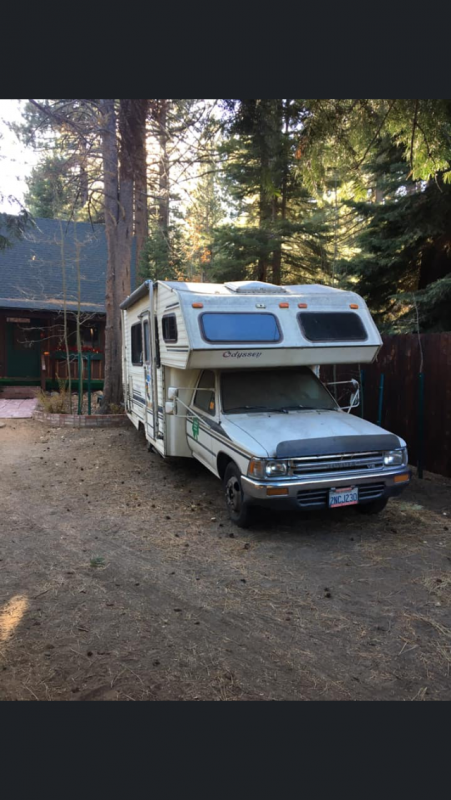
So... we have an update! We were a little stressed about the extent of the project, but we knew at some point Sunny would need to be completely torn down once again in order to get rid of EVERYTHING old out of her interior. Throughout the years, the inside of Sunny had been updated randomly here and there, including the quite extensive remodel we did last year, which has been deemed Remodel #1. Never having been fully replaced were a sagging floor, ceiling material, and the old Dometic glassed-in fridge. We knew tending to these issues would be a serious project, as many things needed to be removed before they could be dealt with. After a couple really gnarly storms living up near Donner Summit last winter, we had one of our front wrap-around plexi windows blow out of its frame. At first, we hoped to fix it with a new seal, but that wasn't the case. We took this opportunity to do some research, and have decided to fully fiberglass in the front of the camper. Due to the lack of air flow that glassing in the entirety of the overcab would create, we have decided to install new small windows on either side of the bed very similar to what the later sunrader models have. Additionally, throughout the winter we realized both of the large side windows were getting leaky and we were going to have to take them out again, so the decision was made to replace those too. We are even going to be switching up the layout a bit, and adding to storage and counter space. So yeah, there is a lot to do! I know it seems like we've gone back to square one, but our new mantra is "Do It Right" so this time we are cutting no corners. Also, we have already accumulated many of the appliances, wiring, solar, batteries, water tanks, lp tank, etc. that will be reused in Remodel #2! I also have a couple surprises planned so stay tuned for more to come -Sunny78
-
Pretty sure I got it on amazon. Linda S had posted a link somewhere on the forum in the past.
-
Sounds good, I’m glad it’s going to good use!
-
Hey guys and gals, I’ve got 25 feet of the seal and locking strip for Sunrader front windows up for grabs! Purchased just a few months ago when I was planning on a re-seal, but unfortunately we are going to be fiberglassing in the windows for good. I can throw these both in a flat rate box and send anywhere in the US, as long as you can pay for shipping, probably $15 ish. PayPal is probably the easiest option. First person to PM gets them! -Sunny78
-
Hey man, The horn is located behind the driver’s side headlights. It’s a bit of a mission to get to from the top, but if you look up underneath you’ll see it. Should be blue wires and a little plug into a silver saucer. You’ll be able to get to it without removing much.
-
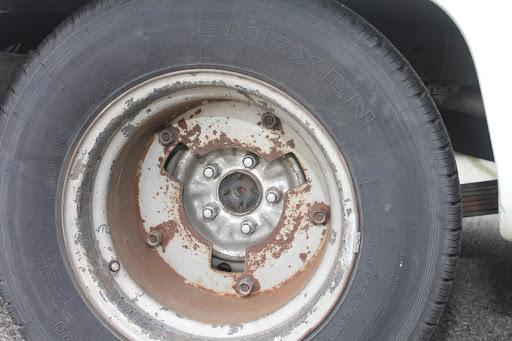
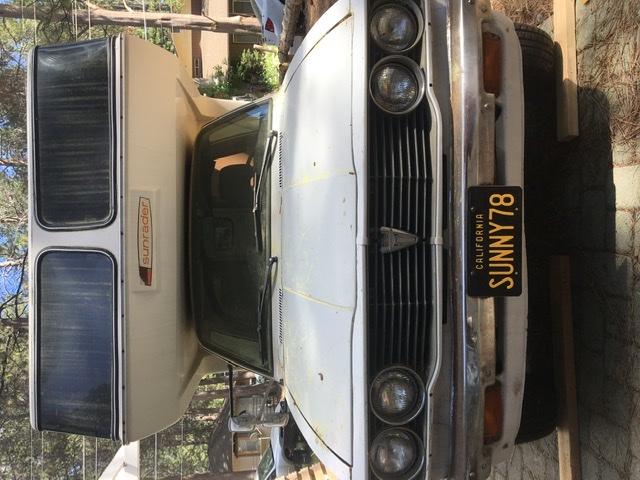
These are the foolies.
-
Yeah that’s what I expected. Ive got the ceiling over the bed torn out almost all the way out and it is definitely trampoline-like. I will be adding plenty of bracing in that area especially. I once saw a post of someone doing this job that used curved metal tubing that was fully custom and seemed very strong. Anyone got that link?
-
Speaking of the famous amount 1 offs and weirdness that Sunrader has done... I am currently ripping out the ceiling in my rig and have came across something I didn’t expect to. It seems that the ceiling insulation is original (although the vinyl glued to the ceiling was newer) and it is fiberglassed to the roof shell in many places, which is making it a p.i.t.a. to tear out. I am wondering if this is normal for the earlier Sunraders like mine, and if I should know anything about the structural support of this foam board glassed to the roof before I go cutting it out. My plan is to update the ceiling similar to the newer sunraders I’ve seen remodeled with furring strips for bracing side to side, a frame to support a new roof fan, and wood paneling instead of the glued-on vinyl. What do you guys think?
-
I think because my old rig has an especially small cab it’s pretty close. I’m sure similar seats would be fine for all later toyhomes no matter your height. The bucket seats that I purchased my rig with just felt like they were sitting on the ground, it’s much nicer to be higher up. I believe my ‘78 came with a bench seat so those weren’t original either.
-
The Forester seats were pretty easy. I drilled new thru bolts with lock nuts on the back two seat mounts. I used the same bolts and nuts for the front mounts which I was able to keep on the front seat mounting rail with no modification other than the mount near the door was moved out And drilled wider. I basically went off of that front rail and figured out where the other mounting spots landed. The seats ride a bit higher, but I’m only 5’8” so my head isn’t quite hitting the roof. The seat belt females from the seats were removed and I used the stock seat belt from the toyota. They do sit pretty close to the doors because I didn’t want to go tighter in the middle.
-
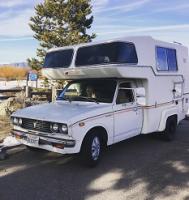
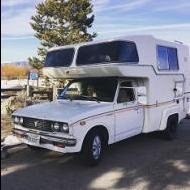
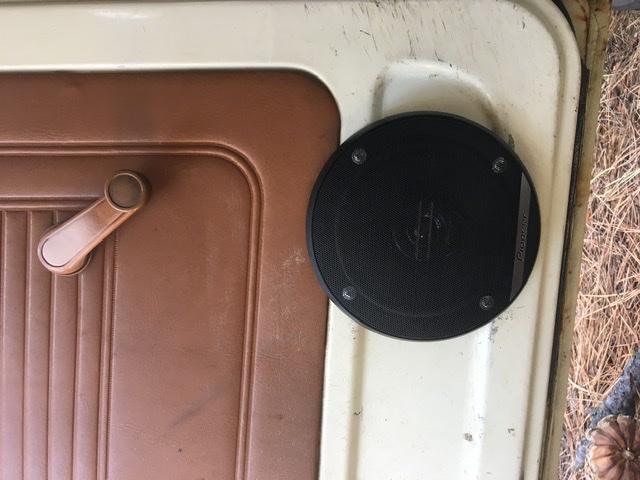
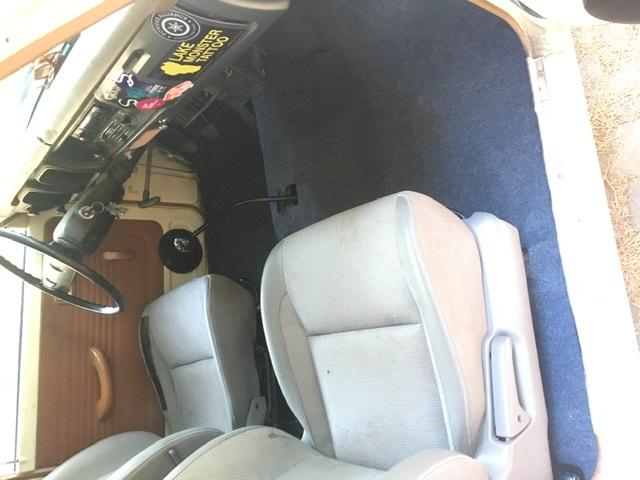
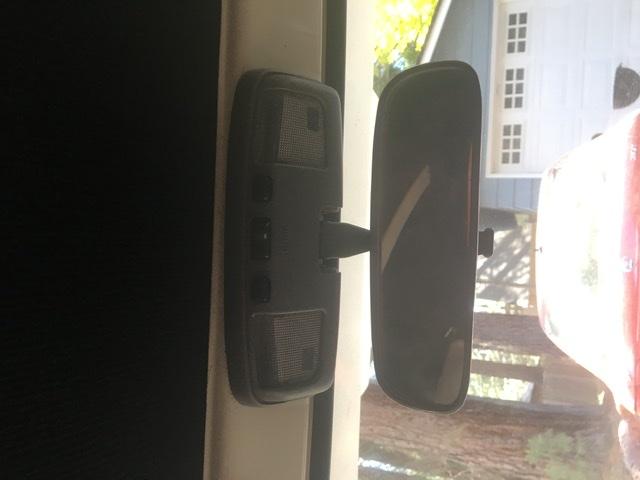
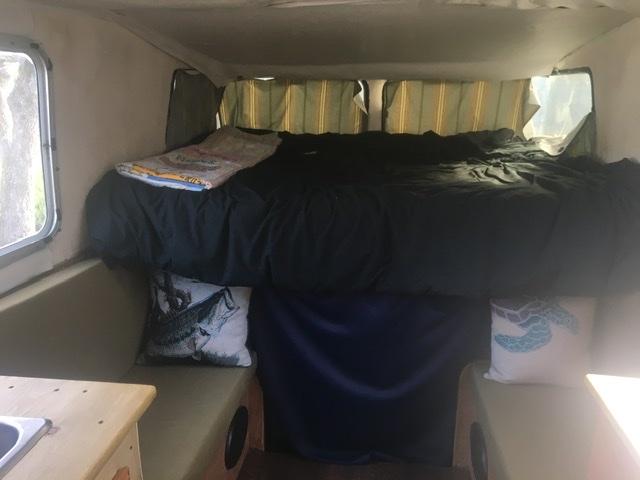
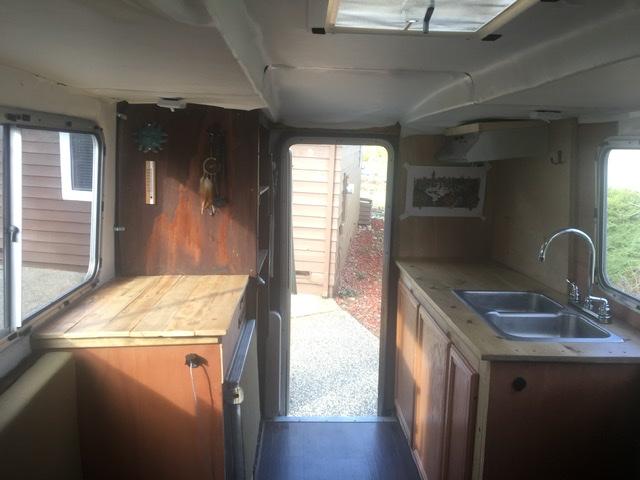
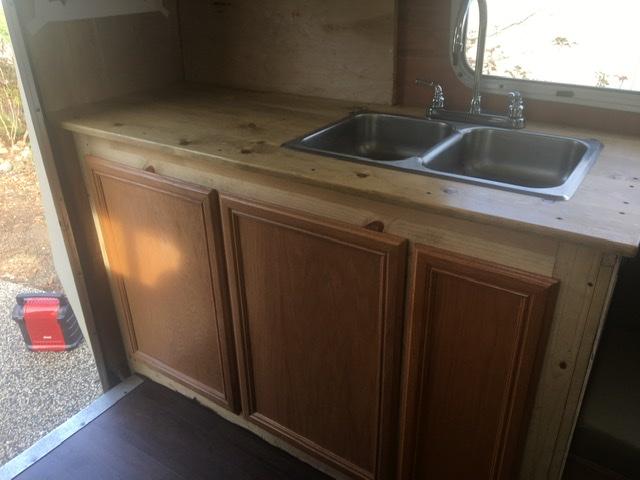
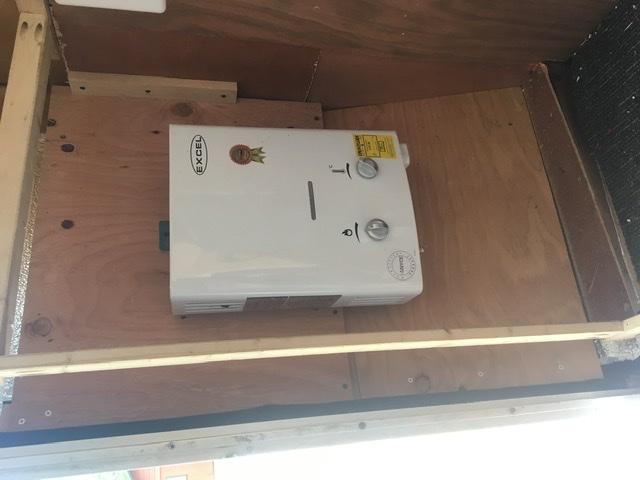
Hey thanks Fly Juice! your post reminded me I haven’t done an update in a while. So, here’s some more photos of our restoration. We did a new sounds system with pioneers all around. I ended up finding some seats for sale on a local garage sale page from a 2004 Subaru Forester and they worked great, also added some new carpet in the cab to go with them. Also, I swapped the old map light with one from a newer 4Runner. We finished up the main kitchen cabinet and plumbing for sink and outdoor shower. We went with a ventless tankless water heater which works great. It hides behind the counter near the back door and is mounted to account for its clearance requirements. We are running 5 gal propane, 13 gal fresh water, 16 gal grey. I redid the bed and brought it out 6 inches or so, that way a full size mattress fits well side to side instead of the original “slide out king” style one that covers up the dinette area. And to top it off, Sunny got some new plates. -sorry about the sideways pictures, wasn’t sure how to fix that
-
Anyone tried portable tankless hot water heater?
Sunny78 replied to Nana Banana's topic in Coach ApplianceTech Issues
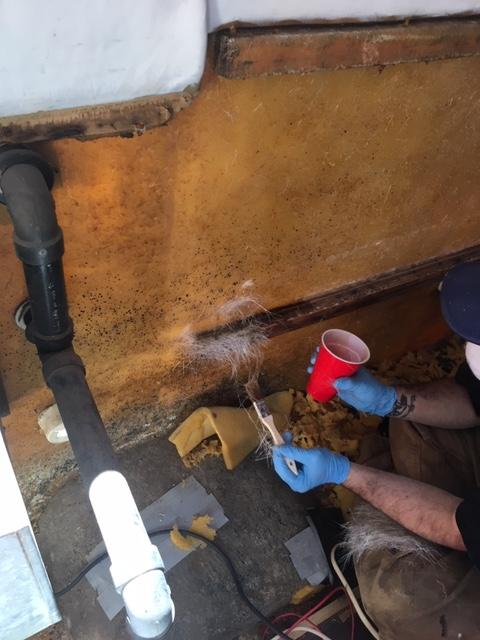
Like Linda mentioned, it does have an auto off oxygen sensor built in. We also use a mr. buddy heater inside and have never had it shut off, unless it gets bumped of course. The water heater has been great, I don’t doubt it would be hard to make the clearances work in a limited space like swapping into a stock tank heater spot, but mounted to the wall behind my license plate on our rear door rader it fits great after our rebuild. This photo was before any pex was ran to it.
-
Anyone tried portable tankless hot water heater?
Sunny78 replied to Nana Banana's topic in Coach ApplianceTech Issues
I recently installed an Excel 1.6gpm tankless water heater in our Sunrader. It is a vent free model and only needs 8in clearance above and 3in clearance on the front and sides. It uses a couple D batteries for the spark and has a pressure switch that lights the flame at 2psi. So far it has been excellent and it uses very little propane. It sits below the counter and we have it plumbed to an outdoor shower and the sink. It takes 10-15 seconds to get hot and has knobs to adjust the water/gas flow so you can dial in the temp nicely. I would highly recommend it. Cost was around $200. -
Damn I looked those up and they are sweet! Anyone find any literature on those Wolverine trucks? The Jeep drivetrain is more what I’m leaning towards if I end up going 4x4. Dana 44s are cheapish and easy to find. Also not entirely sure if 4x4 is the right route for me yet... I just picked up an ‘89 odyssey with a 1ton ff axle. After reading about the differential swap that needs to be done from my axle into the new one it’s growing a bit over my head. Is there anyone that does these full float swaps in the Northern California or Nevada area these days? I could trade the rest of the coach for the work. The appliances and all systems are there and working great. Motor needs some cooling system love and the shell has a bunch of water damage per usual. I really just want the axle and wheels.
-
Thanks for that Linda. That is something I definitely hadn’t read anywhere til now. Makes It all more difficult for sure. It seems like something like a Dana 44 or a Chevy 14 bolt rear might be more fitting for my set up as I am planning on doing a 4x4 swap at some point. Has anyone done a similar swap to 4x4 on any 1978 Toyhomes? I’m thinking the lower weight on my rig would do just fine with single wheels in the rear, just a matter of finding the best combination front and rear. Not planning on doing any rock crawling, just would be nice to be able to get through chain controls and such.
-
Any news on what the end result of this swap was? I am picking up a ff 1-ton axle tomorrow and looking to swap out my 5-lug on my 78 Sunrader. Am I correct that the 3 mods to the new axle will be the spring perches, e brake cable, and u joint? Im having a hard time locating the best post for this swap being my rig is the older GO82 axle currently. Maybe someone can post a link? Linda?
-
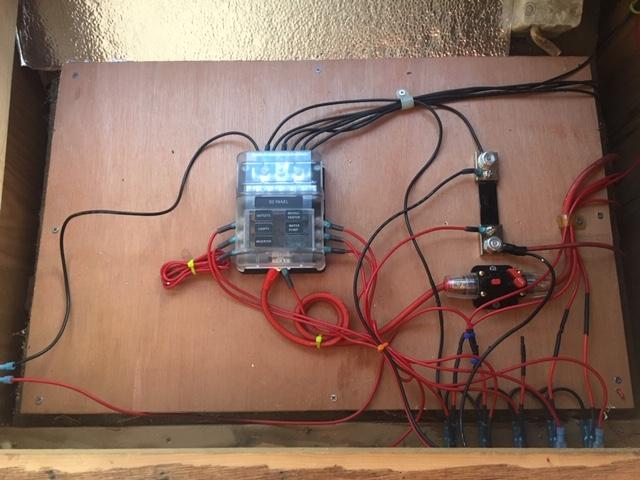
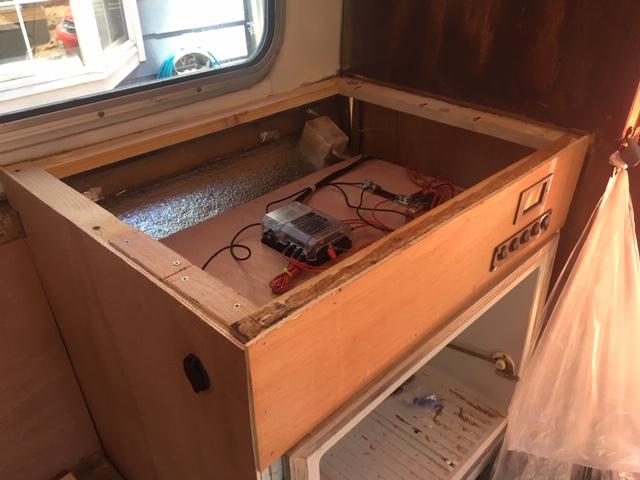
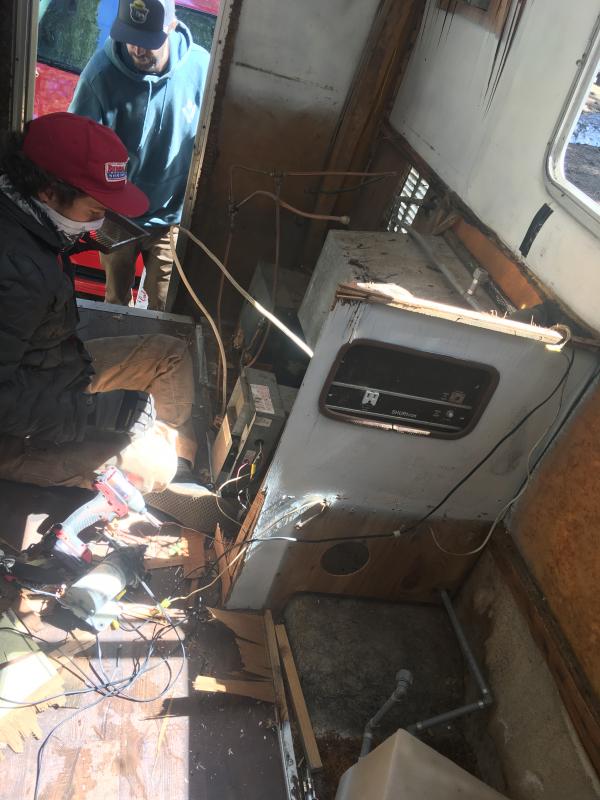
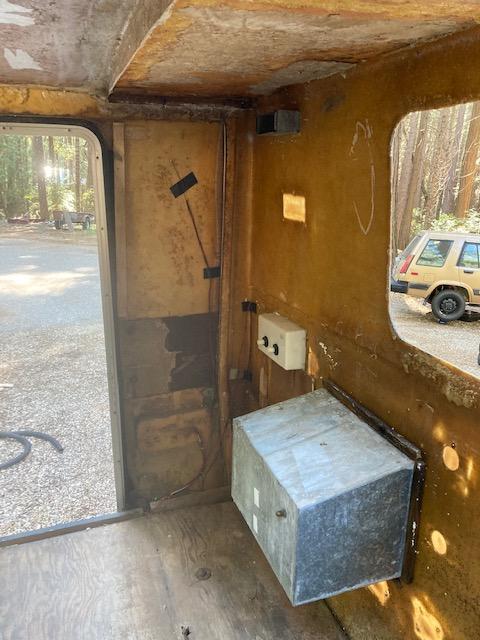
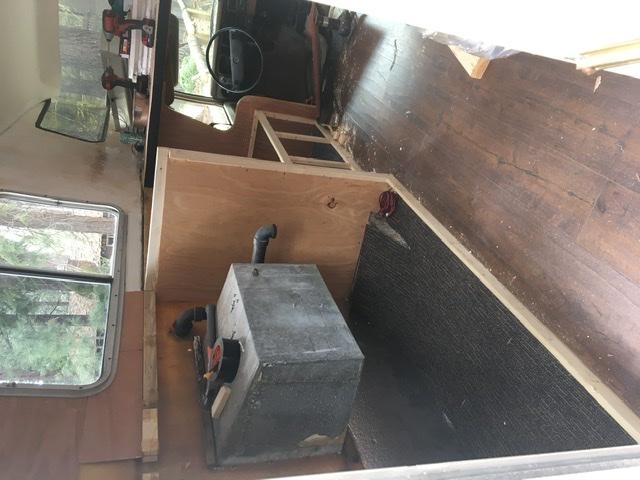
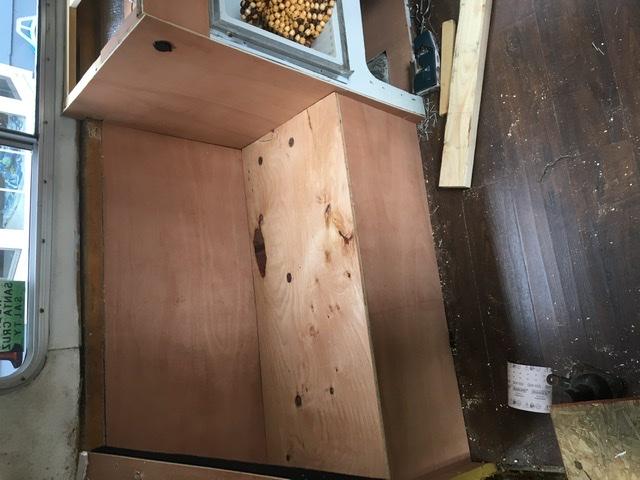
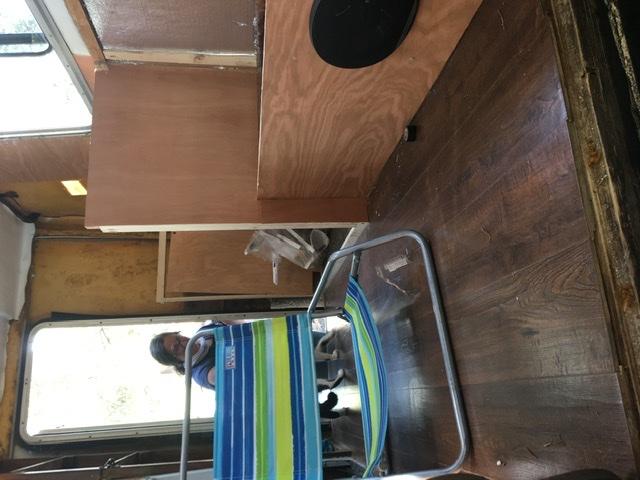
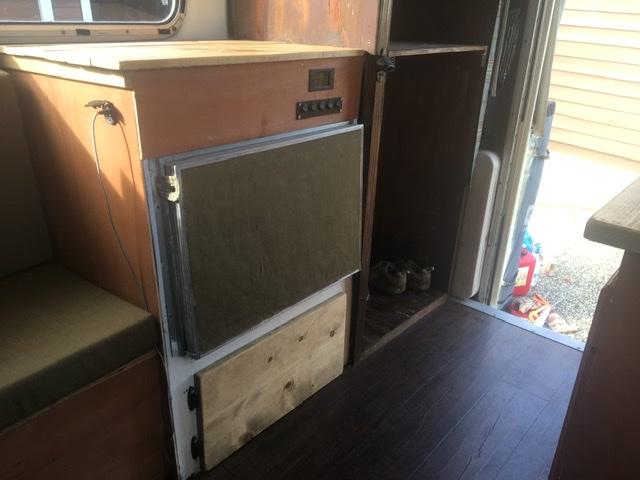
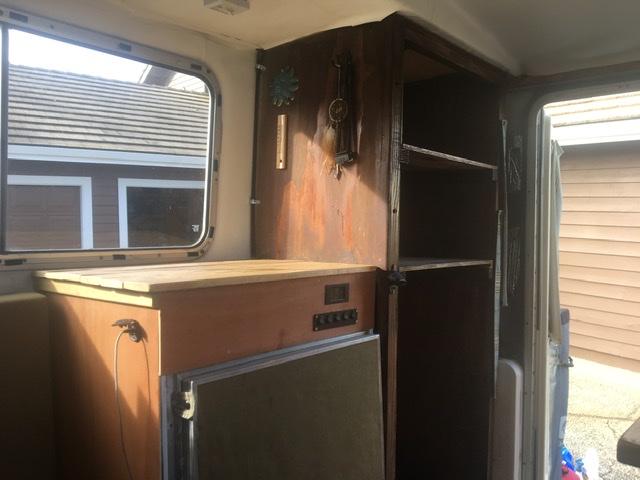
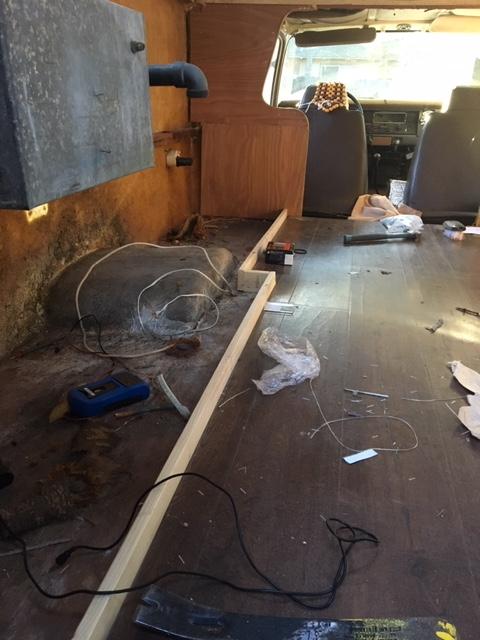
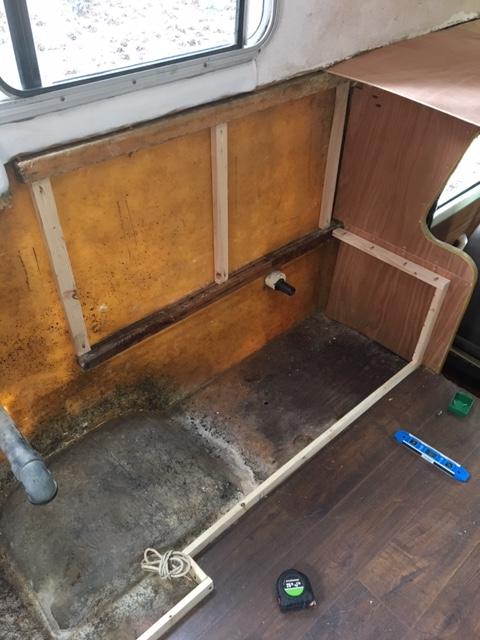
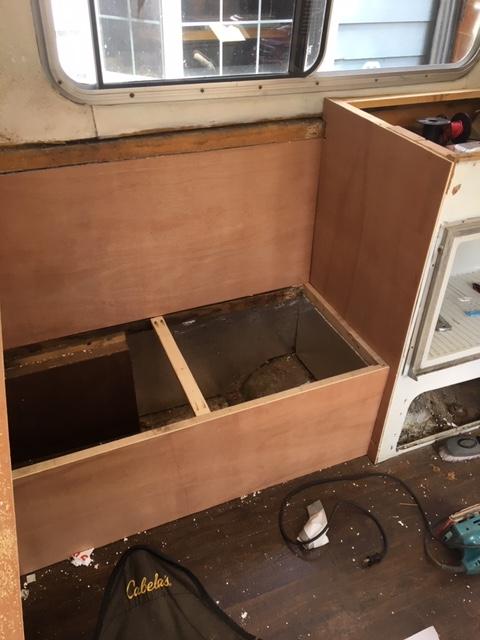
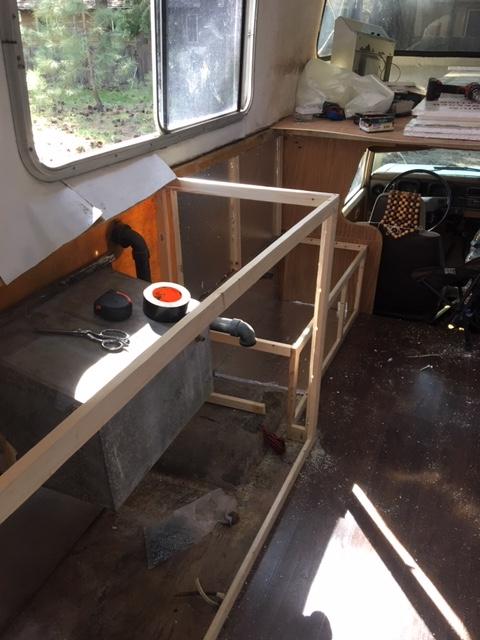
update! We have been hard at work rebuilding the interior after gutting almost everything out of Sunny. We now have almost all electrical hooked up and running. I have designated the spot above the old refrigerator as the panel for the 12v circuits. The counter top on that side will have a hinge to access the panel if we need. The passenger side bench which will be used for storage is just about finished, and I've began work on the driver side bench and counter. The driver's side bench will be the home of the fresh water tank and water pump as it was in the original set up (much more insulated now though) with the grey water tank residing under the sink. I have yet to fully figure out the layout of this main cabinet, but it will have some drawers and some doors and hopefully utilize as much space as possible. Also, there are a few more studs that we need to fiberglass onto the walls in order to insulate and hang wall panels. After the framing is finished we will complete the rest of the electrical circuits and mount the exhaust hood above where the camp stove will go (factory spot just a little higher up toward the ceiling) as well as begin work on running the LPG and water lines and such. Overall we are getting very excited with the progress and can't wait to share the next steps with you all.
-
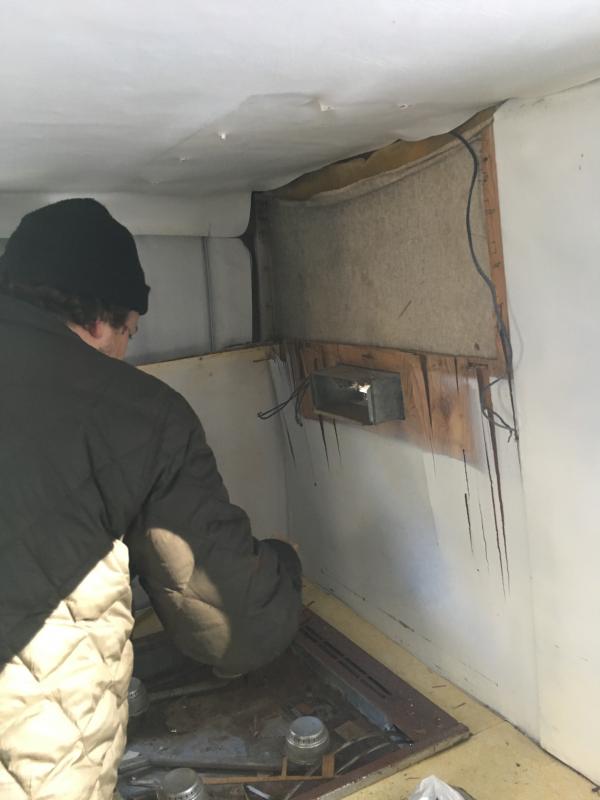
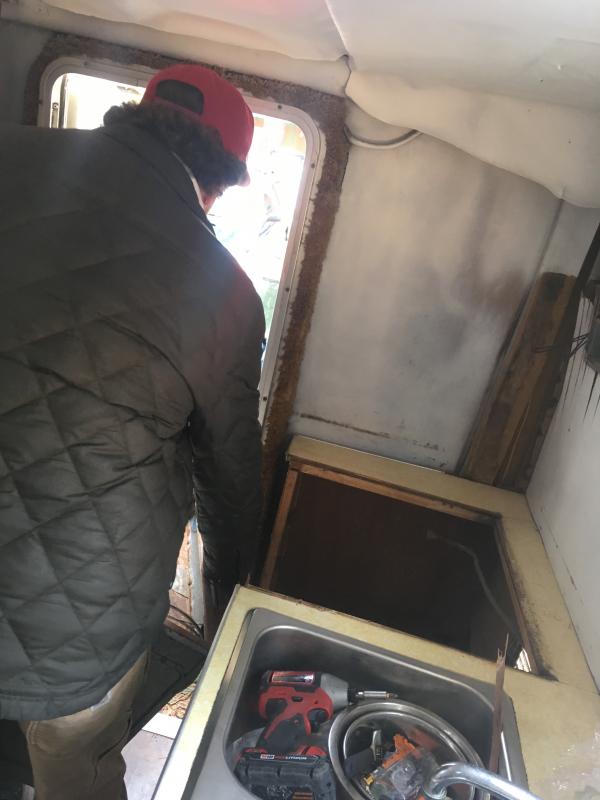
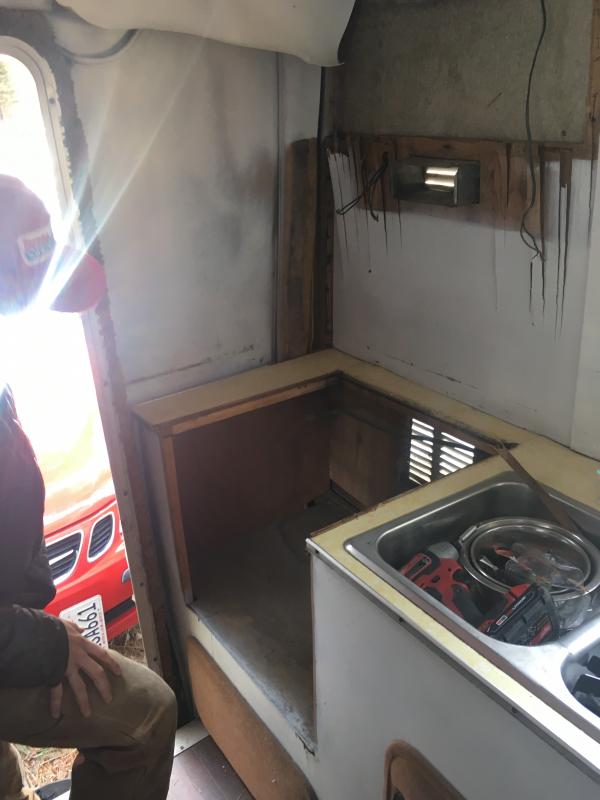
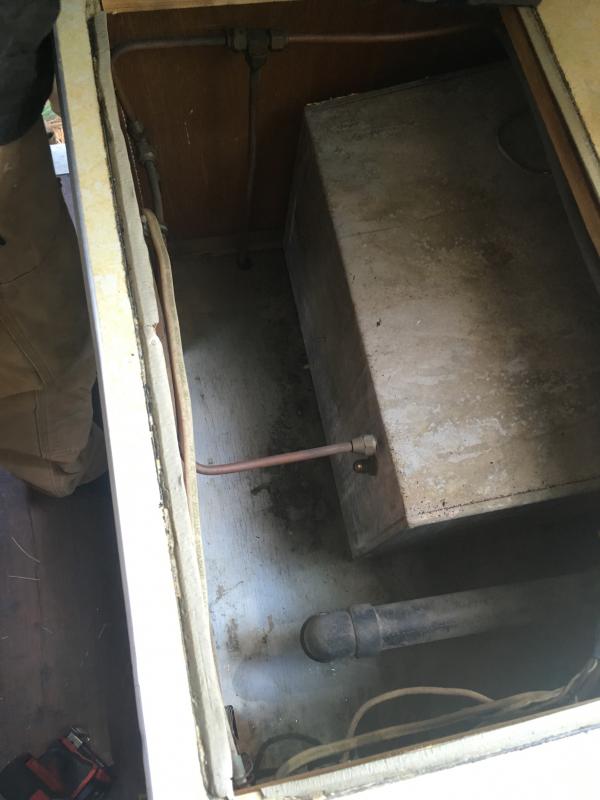
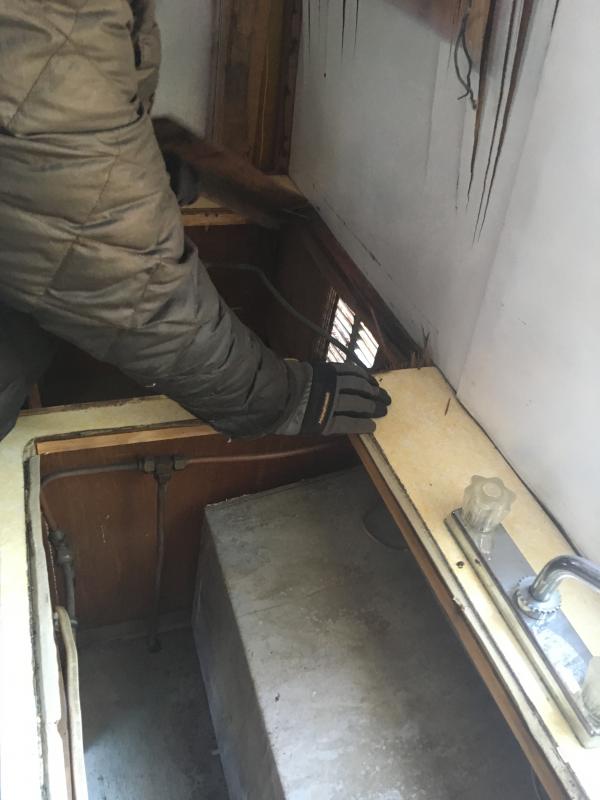
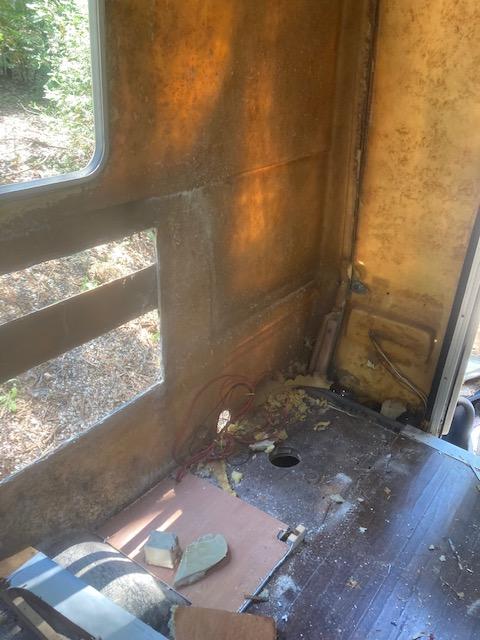
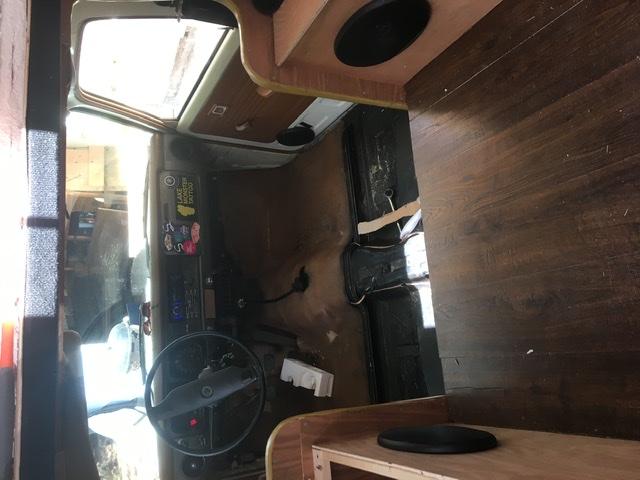
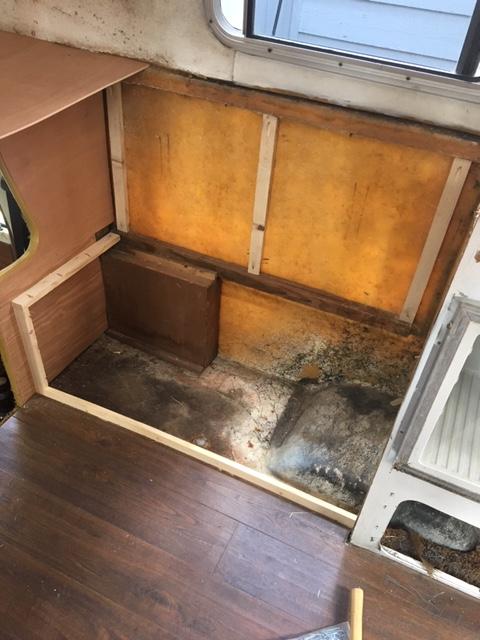
Hey everyone! Super stoked to get a chance to post an update on Sunny. We’ve got her pretty much gutted and I am in the process of fiberglassing holes that were created by removing the appliances. Lots of sanding! We will be going with all new cabinets, dinette as well as new electrical, gas, and water systems. Systems will be pretty minimal. I will have hot water for sink/ outdoor shower, fresh and gray tanks, pump and heater. Gas will include three lines: one for stove top, another for my mr. buddy heater, and the last to the water heater. Electrical will be coming from my coach battery up front. I have 6 circuits I’ll run from a new fuse panel: inverter, lighting, water pump, hood fan, usb hub, and cooler/freezer. I plan on running some solar some day! The cabinets and dinette I am planning on building myself, and will feature much more storage than the previous original set up. There will be folding seats at the dinette that we can put larger items in and several drawers under the main counter where the oven used to be. here are some shots of the gutting process, enjoy. -Graham
-
Thanks for the insight, what is your axle and suspension set up?
-
I have been doing some reading about a possible Dana 60 rear axle swap.. can anyone post a link to the post that Fred made about this? Or are there any other threads similar? I can’t seem to locate...
-
Agreed. Lug nuts are important! also, I’m leaning toward the option Neil mentioned. What is the best/easiest axle I can swap into my 17ft Sunrader that I can run single wheels on? I would rather not have duallys if not needed.
-
You’re right, not too far. And the offer is great, but I’m not in a place to move that quickly with this project yet. Looking to get all my ducks in a row and figure out what direction I’ll be going with this overhaul so I can get a budget plan laid out. Thanks so much for the help everyone!


.JPG.4428becd1abf13e9605708e88b7cab2c.JPG)